Ark's City Goblin #187 (2008 SS/TC donor)
- Thread starter Ark :D
- Start date
Karter2026
Goblin Guru
I have finally given in and tomorrow I will take mine to it's winter storage / modification home. Should be a cold ride in the morning gathered up some gloves and hand warmers.Gonna try. We don't have much decent weather left, as you well know.")
Ark :D
Goblin Guru
Frame goes to the powder coater tomorrow. I think I have finally decided on going with a gloss black frame with Ford's Kona Blue for the hood, engine cover, body panels, and fenders when the time comes, whether it be a wrap or automotive paint.
Runners-up on the color scheme were;
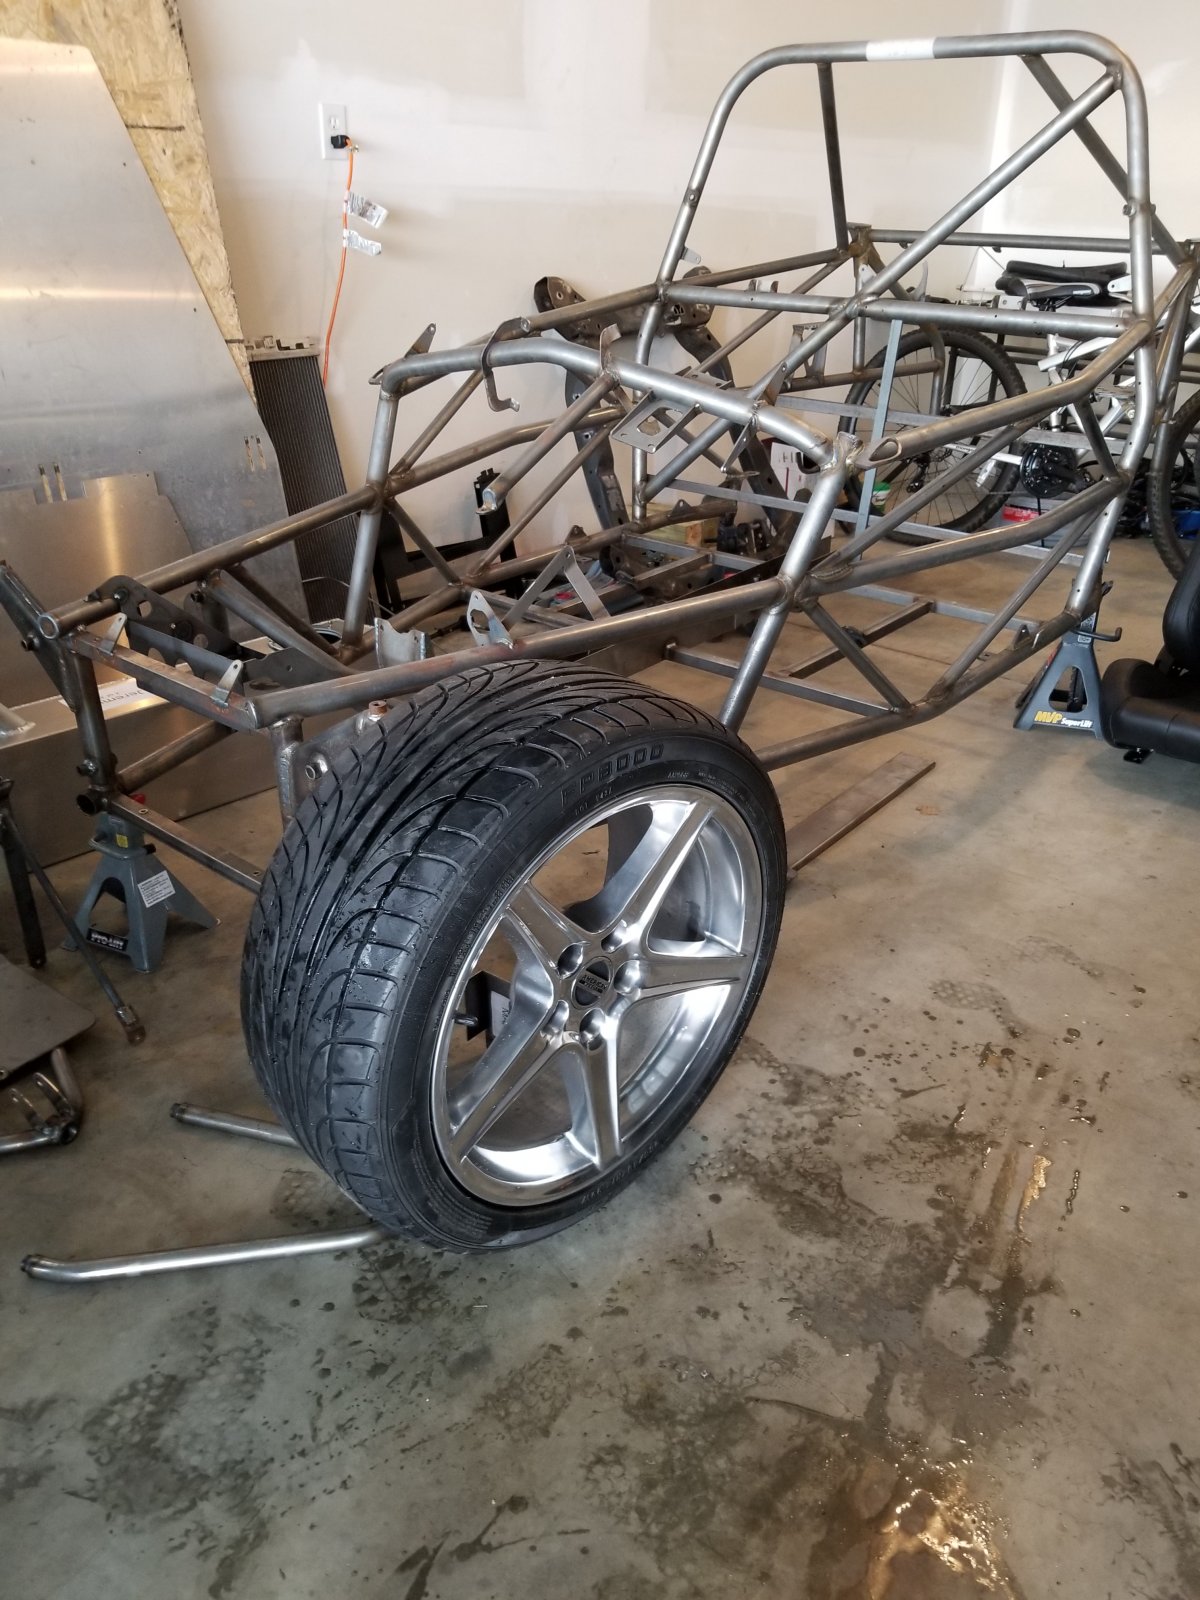
I could not refuse them for $450.
Runners-up on the color scheme were;
- Flat black frame with metallic gray body panels and two black SS stripes down the middle, like Eleanor from Gone in 60 Seconds
- Performance Red frame with metallic black body panels (stripe, no stripe, no idea)
- Black frame with a military theme on the rest (could still do this if I get an idea I like)
I could not refuse them for $450.
Ark :D
Goblin Guru
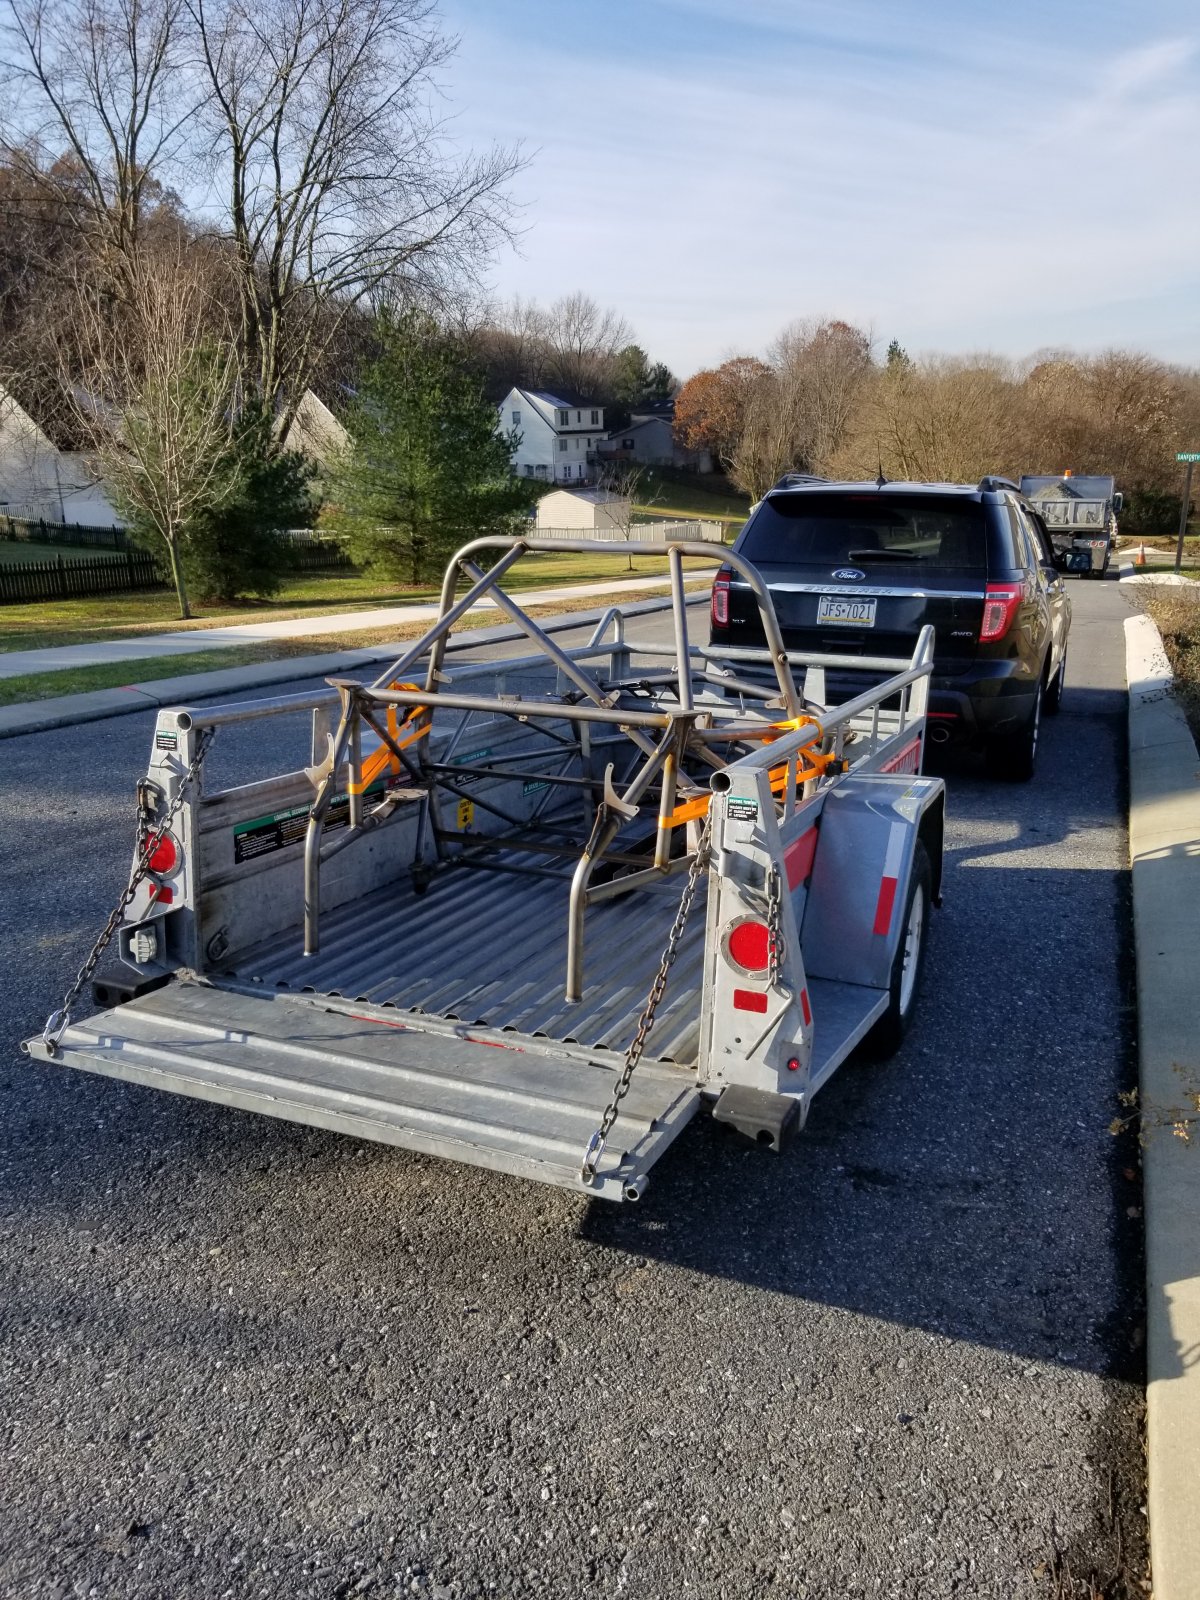
Off to the powder coater we go. For reference, a 5' x 8' Uhaul utility trailer fits the standard Goblin frame perfectly. Well almost ... couldn't close the gate. But that's ok.
Also... SURPRISE! I changed my mind on the powder coat color. After looking at live samples, I ended up going with this dark metallic gray for the frame. It stood out to me more than any of the colors above, so I went with it. Body panels will likely end up either metallic black or pearl white, either one with some color of SS stripe down the middle, but I'm not even going to think about that right now. I'm rather indecisive, if you haven't noticed, so my choice will probably change again anyway.
Also... SURPRISE! I changed my mind on the powder coat color. After looking at live samples, I ended up going with this dark metallic gray for the frame. It stood out to me more than any of the colors above, so I went with it. Body panels will likely end up either metallic black or pearl white, either one with some color of SS stripe down the middle, but I'm not even going to think about that right now. I'm rather indecisive, if you haven't noticed, so my choice will probably change again anyway.
TheNuker
Goblin Guru
Awesome, How much did they charge you if I may ask?Holy crap, my frame is powder coated already, not 24 hours after I dropped it off. Those Amish folks don't mess around, am I right?!
Nuker-
Ark :D
Goblin Guru
Sure, ask away. The final total was $385 (cheap as ****). I have not picked it up yet, so no inspection yet, but they have a bunch of finished examples of other customers' projects at their site that I looked at beforehand, so I am confident. Once I pick it up and inspect it, I'll post their company info in case anyone else in the northeast would want to use them.
Ark :D
Goblin Guru
Dark gray metallic. They did a bang-up job on it, and in 20 hours, for $385. This included the control arms and the center tunnel lid. I did goof and scuff up the two vertical tubes in the rear somewhat, but that's on me, and it's not too bad. I'll have bumpers anyway so I don't think it'll show much.
The work was done by:
Weaver Sandblasting and Powder Coating
39 East Burkholder Drive
Lititz, PA 17543
Phone: 717-733-0575
https://www.weaversandblastingandpowdercoating.com
Desert Sasqwatch
Goblin Guru
Looks good. The color choice should go well with so many different body color choices, since we all know you have not yet finalized your color.
Ark :D
Goblin Guru
Worked through part 4 of the new video series tonight, and a couple questions came up. Disclaimer; I haven't done the labeling as shown in the video yet, so maybe I'll find an answer there, maybe I won't.
At 5:14, a taped union of tan wires is identified near the body to dash harness connector. In the video, the instruction is to pull the one loose wire from this union, cut it out and discard it. However, for me, neither wire in the union is loose; One runs to the ECM connector, and the other runs to the large light gray fuse block connector. Which one should be cut out?
At 7:05, the video says to set aside the loose blue and green wires. Is this pair of wires for the headlights/taillights? I've also got a roll of wires containing a yellow wire, a bright green wire, and several brown wires. Correct me if I remember wrong, but these are all in some combination, for the headlights/taillights, right?
At 7:41, the video says you should have a pair of wires for the fuel pump (in the video, they appear to be purple and gray). But I seem to have three wires for the fuel pump; a purple, a gray, and a tan. The tan goes to either the large light gray fuse block connector or the body to engine connector, I can't tell which because they're all taped up. Can I get rid of this tan wire?
At 5:14 the long tan wire that is pulled out is the tan for the fuel level sensor that went to the fuel pump plug. One leg of these tan wires also went to the clutch pedal position sensor via the body to dash harness plug.
At 7:05 the light blue is for the third brake light and the light green is for backup lights
At 7:05 the light blue is for the third brake light and the light green is for backup lights
Ark :D
Goblin Guru
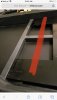
I wanted to revisit these seat brackets because I just recently got my floor pan, firewall halves, and bulkhead riveted in, so I was doing some test-fitting to see what all I would need to modify on the brackets.Here are the ebay brackets
First of all, it's quite obvious that the brackets will need roughly 3/4" spacers under the rear bolt locations due to the height of the middle support beams in the Goblin frame.
Second, at first glance, I thought these brackets would not work because the hooks on the front, while they fit perfectly in the Goblin floor pan, do not have any means of bearing weight. But (at least in my case), that doesn't appear to be true after all; the brackets sit perfectly flush with the horizontal support beam, and the sliders on my seats emerge about 1/4" past the front edge of the brackets. End result being, the underside of the sliders will rest on top of the horizontal support beams. I don't know how well the powder coat on the frame would hold up to this, but ....... anyway, If your seats' sliders are too short, this won't work for you and you'll need to weld supports of some kind onto the front of your brackets.
I've taken some pics to try to illustrate what I am saying.
First pic: the brackets sit flush with the top of the horizontal support beams.
Second and third pics: the underside of my sliders extend past the front edge of the seat brackets, thus resting on top of the horizontal support beams.
Christopher Sanchez
Well-Known Member
When you bolt in the rear of the seat mounts it will tighten up the front hooks under the frame... the seat will fit snugly however once you sit in it the mount will taco around the center floor rail causing the seat to be loose again.. I crudely welded some square tubing from Lowe’s across the front, in order to keep some upwards tension from your front hooks on the frame. could also just drill holes and bolt to it your seat mounts. I thought I painted them but I guess not haha have to love living in the desert.. I’ve had passengers pushing 300lbs and the seats are still tight! Also I did not use spacers in the rear just washers.
Attachments
-
 227.4 KB Views: 313
 -
 131.8 KB Views: 305