Canyons trackframe LSJ-T Htown
- Thread starter canyon bolieu
- Start date
canyon bolieu
Well-Known Member
JSATX
Goblin Guru
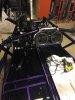
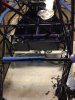
It's on the correct side. You'll just need to cut a portion of it off.Is your ignition switch on the correct side of the bracket? It looks like (in the picture) that it sticks out of the frame where it could snag something...
I thought about putting it on the other side of the bracket. But you'd have to drill the mounting hole all the way through and tap it from the other side. Not a bad idea but it moves the key pretty close to steering.
canyon bolieu
Well-Known Member
Yeah I was confused by it also but nothing ever said to cut it. but I was thinking about pulling it off and cutting anyways cause I'm not sure that will fit with the nosecone on thanks for the pic man
canyon bolieu
Well-Known Member
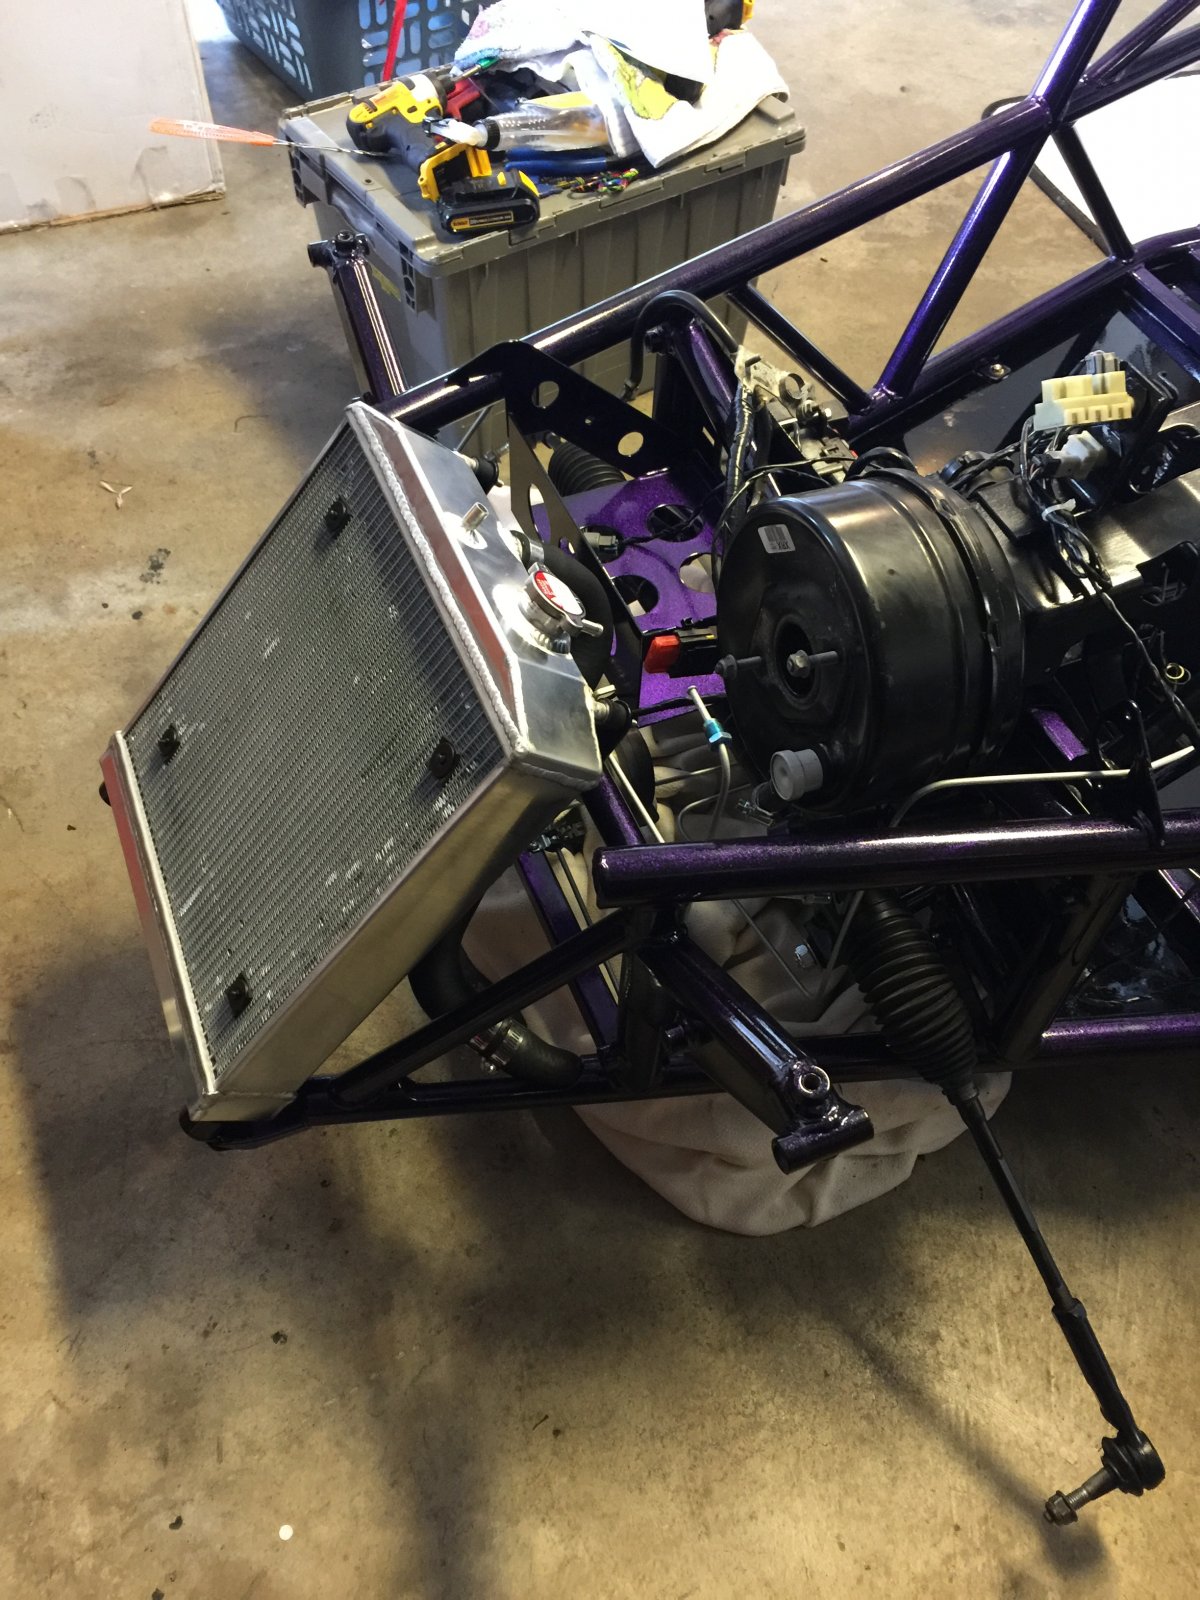
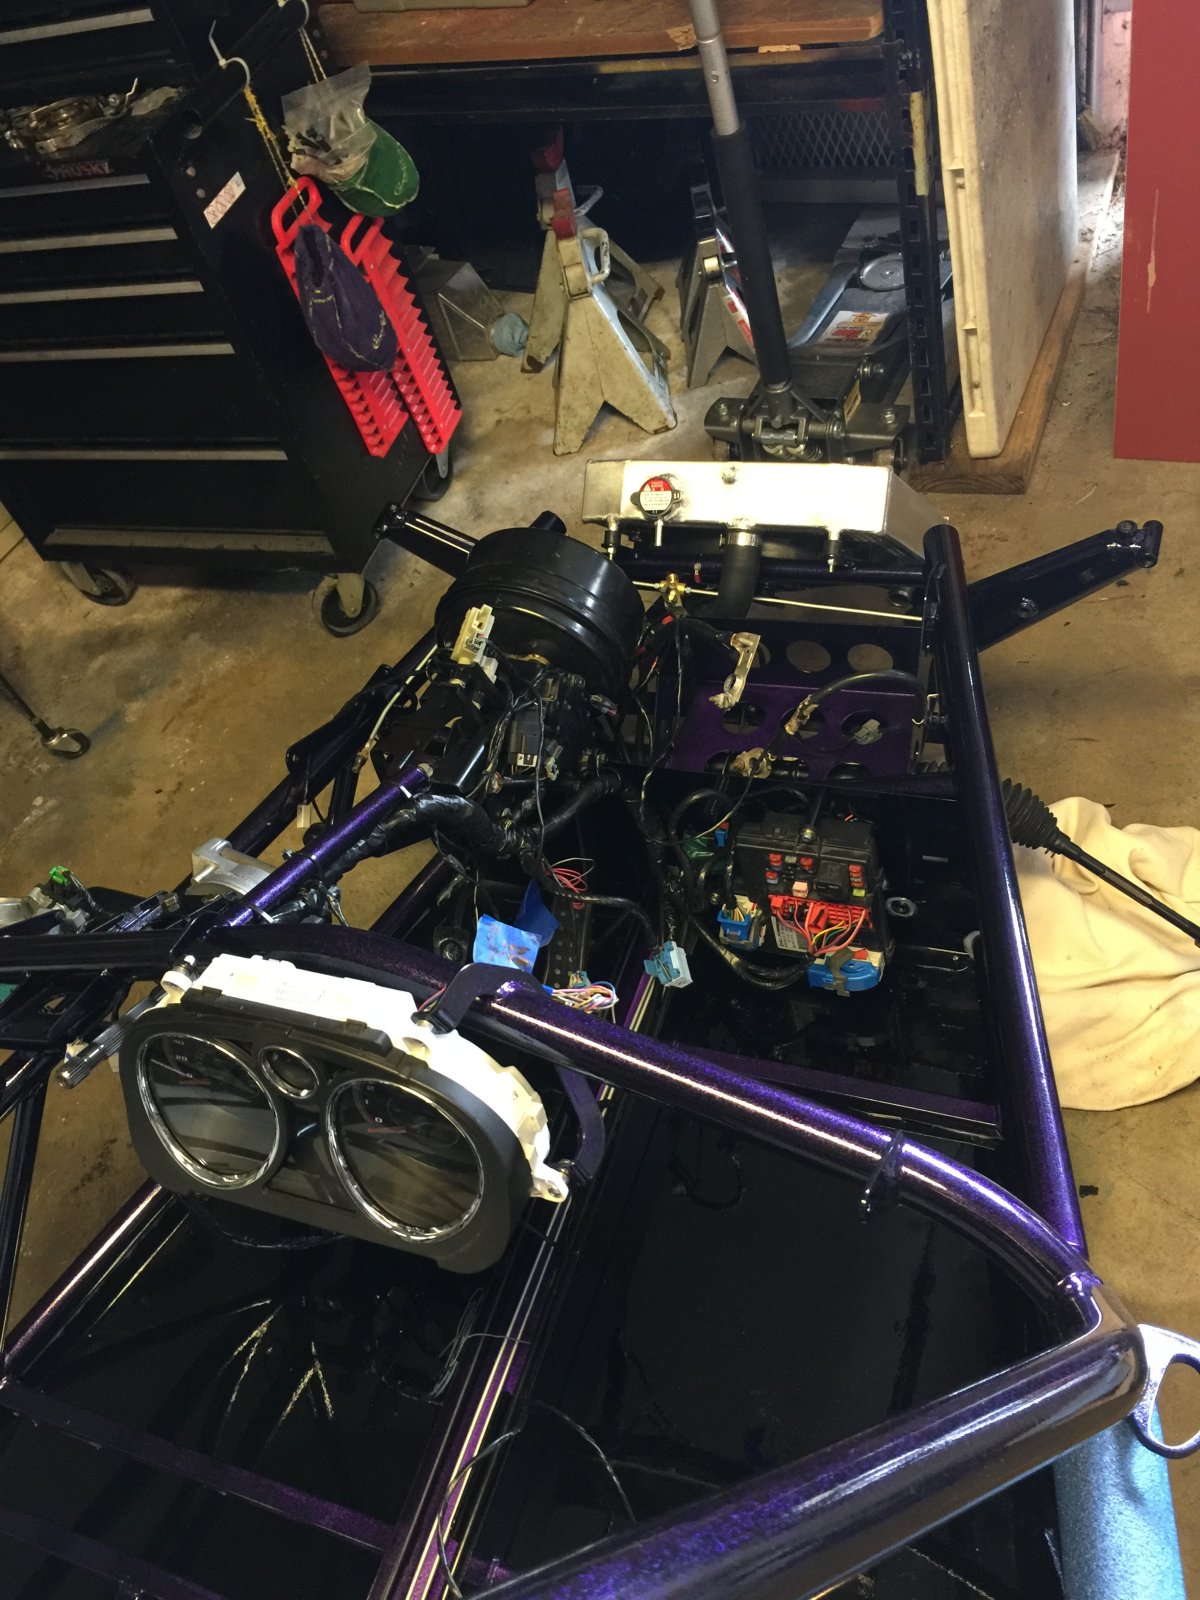
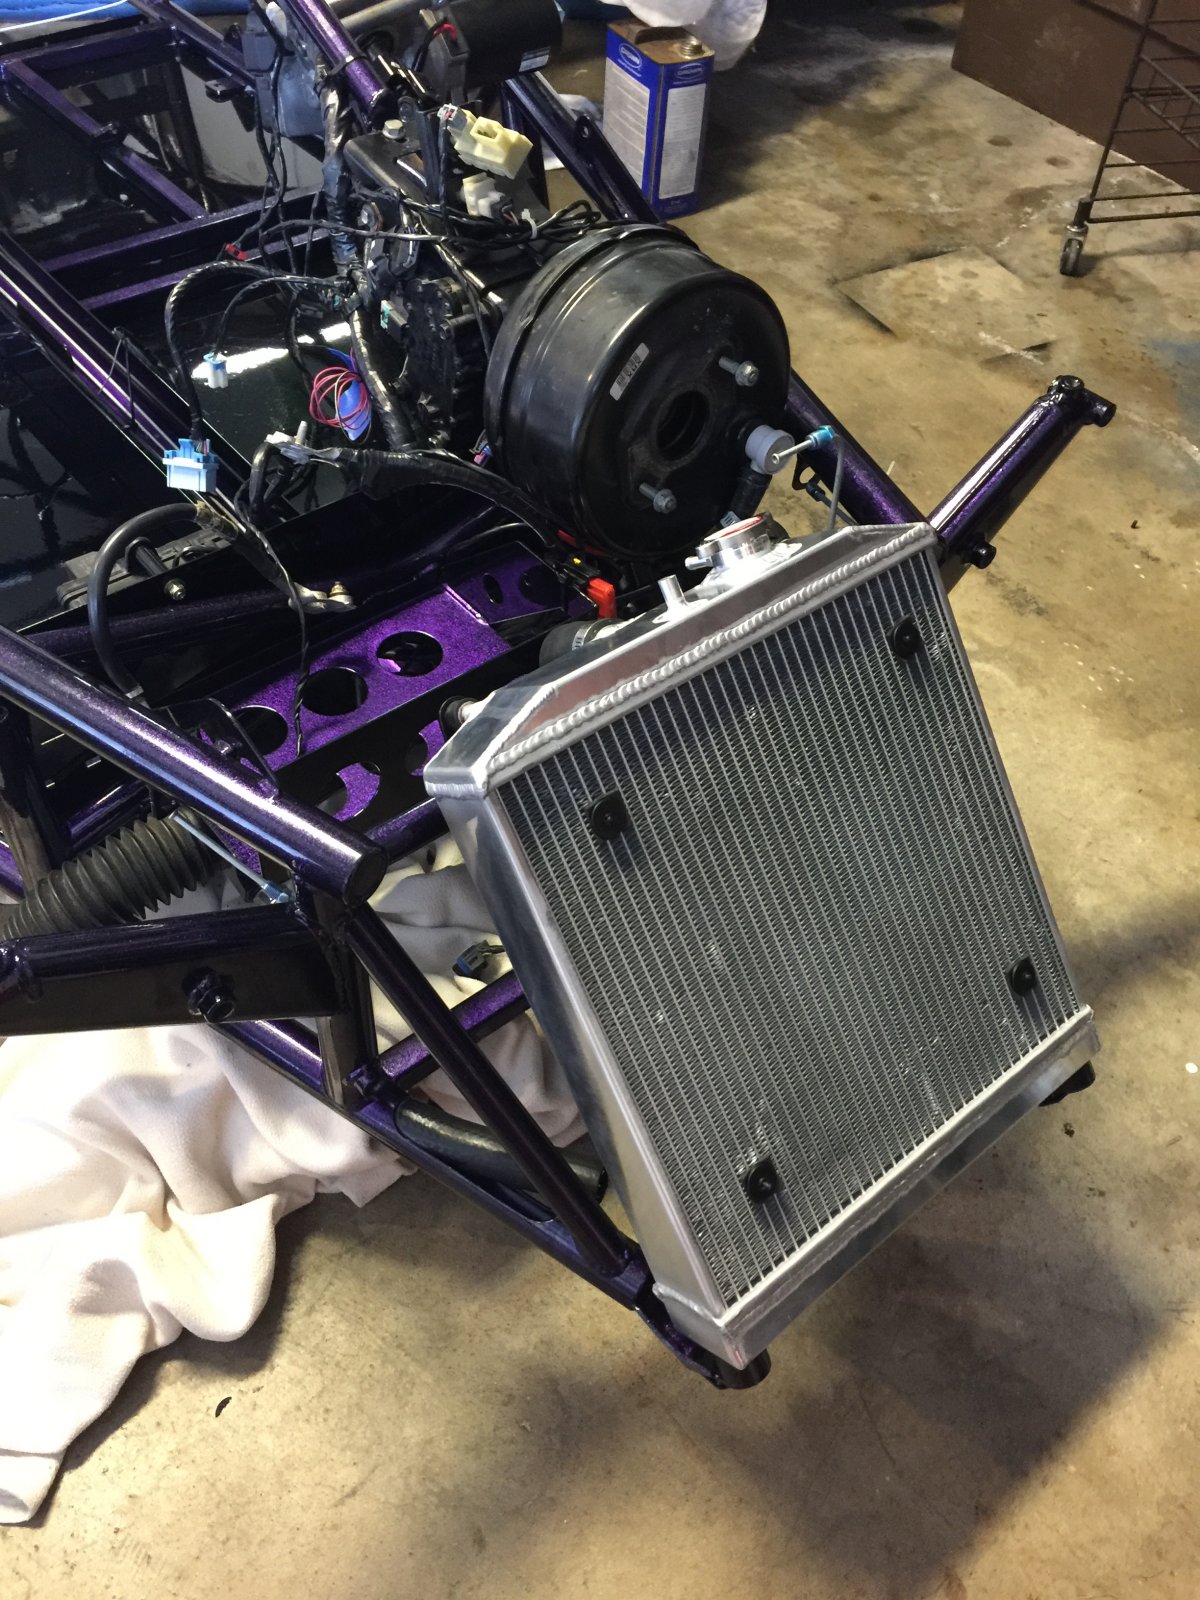
Well cut the day short going to my buddy's lake house for the weekend. Radiator in plugged up ground connected, brake lines in, got the first hose on the radiator ziptied the harness and vaccum line. See y'all Monday
DanPerryy
Well-Known Member
I ground off the hoop on mineIs your ignition switch on the correct side of the bracket? It looks like (in the picture) that it sticks out of the frame where it could snag something...
canyon bolieu
Well-Known Member
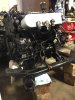
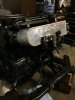
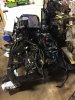
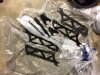
Finally got all my stuff back from the powder coat shop just the ceramic coat stuff left. Yesterday I put the fuel tank in, painted the rest of the parts, redid the tape on my engine harness, installed serpentine belt, intake, alternator, starter and got all the mounts and bolting ready. Just got my engine hoist back last night so today or tomorrow I will be setting the frame on the motor and trans
Attachments
-
 318.1 KB Views: 526
 -
 307.1 KB Views: 486
 -
 271.4 KB Views: 502
 -
 257.3 KB Views: 498
 -
 308.9 KB Views: 497
 -
 267 KB Views: 519
 -
 224.7 KB Views: 491
 -
 267 KB Views: 495
 -
 290.3 KB Views: 539
canyon bolieu
Well-Known Member
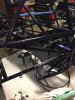
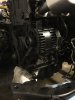
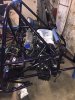
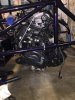
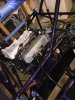
Okay so I got the motor off the subframe and set it on the ground right behind the frame then set the front on a furniture dolley and set the rear on the ground me and my girlfriend picked up the rear of the frame and set it right on the mounts.. simplest thing I have done on the kit so far. Then we set it up on the jackstands right by where the coolant hose comes out of the frame and that's where I left off today mainly just cleaned up all the tools and moved the painted parts around.
Attachments
-
 368.6 KB Views: 612
 -
 318.9 KB Views: 561
 -
 255.5 KB Views: 578
 -
 342.7 KB Views: 545
canyon bolieu
Well-Known Member
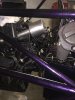
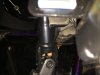
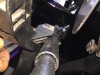
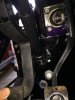
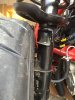
Having a problem with my clutch pedal... it's all over my steering shaft I've already put it to a grinder but **** what am I doing wrong here?
Attachments
-
 173.6 KB Views: 573
 -
 212.7 KB Views: 549
 -
 235.8 KB Views: 551
canyon bolieu
Well-Known Member
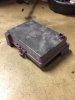
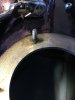
Switched over now trying to get the fuel pump in and the bolts keep spinning on me I guess imma grab some quicksteel to hold them there that would be my best bet? I tacked one of them but I really don't wanna do the rest like that
Attachments
-
 268.9 KB Views: 419
JSATX
Goblin Guru
Mine touched but not nearly that much. I bent the steel braket away from the steering shaft just a tad and that was all the clearance I needed.Having a problem with my clutch pedal... it's all over my steering shaft I've already put it to a grinder but **** what am I doing wrong here?
canyon bolieu
Well-Known Member
Okay I'll try bending it and see what happensMine touched but not nearly that much. I bent the steel braket away from the steering shaft just a tad and that was all the clearance I needed.
canyon bolieu
Well-Known Member
JSATX
Goblin Guru
Unless you have an offset of less than 20, 255 will not fit. At least I sure wouldn't bet on it. Coil overs don't help that much for tires on this particular setup because it's the actual strut housing not the spring that starts to get in the way.View attachment 1128 View attachment 1127 So i ordered my wheels and tires. I got 15x7 and 16x8 enkei rpf1 and 205/50R15 and 245/45R16 toyo proxes r888 then the next day the company called me and said they had shipped out the fronts but the tears are on back order and have been for over 6 months she said so I cancelled the rears. so now what tires should I get in the rear? Will a 255/50R16 work I am getting the coilovers so they should fit???
The 255/50 16 R888 is what I ran on the rear of P2 for a long time. We did have to run a wheel spacer with the 16x8 RPF1. The tires are wide enough that they get into the strut tube. They are also kind of tall which is why I didn't go with them again (I went with 225/45R16 but 245/45R16 is better based on your horsepower goals).
I was under the impression that the R888 isn't on backorder and is instead being discontinued. It would be nice if they don't discontinue them because I like that tire.
Here are two places that claim to still have the 245/45R16 in stock:
Tire Crawler R888
Discounted Wheel Warehouse R888
I was under the impression that the R888 isn't on backorder and is instead being discontinued. It would be nice if they don't discontinue them because I like that tire.
Here are two places that claim to still have the 245/45R16 in stock:
Tire Crawler R888
Discounted Wheel Warehouse R888