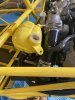
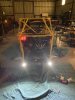
I haven’t had a chance to do too much, so Instead of doing big things, I have just been messing with the tail light wiring, mostly to see if my lights will work properly.........and they won’t.

. The wiring is correct, but the lights themselves kind of have their own logic circuit internally. So, basically, the car circuits and light housings are not being happy with each other.
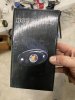
im using Honda Grom tail lights, but they are aftermarket ones that do all kinds of things. I decided to see if a stock Grom light will work, and bam, it all works perfect, so I have another stock light coming and it looks like the Grom gets a cool aftermarket one, and 1 needs to go back to where I bought it.
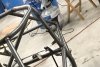
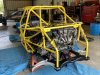
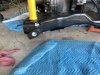
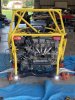
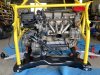
I also wanted reverse lights, but I didn’t want anything big and bulky. I happen to have some extra under carriage rock crawling lights I use for my Jeep, that are small and flat. I ran the wiring through the cradle and tucked everything away.
edit: I’ll take a pic of it actually mounted properly, so it doesn’t look like the are thrown on there.
 233.1 KB Views: 261
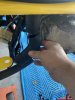 251.7 KB Views: 268
 297.7 KB Views: 277
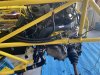 393.5 KB Views: 269
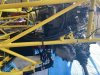 367.8 KB Views: 277