Escapepilot’s 06 SS/SC Ext Track Build - COMPLETED

escapepilot

Goblin Guru
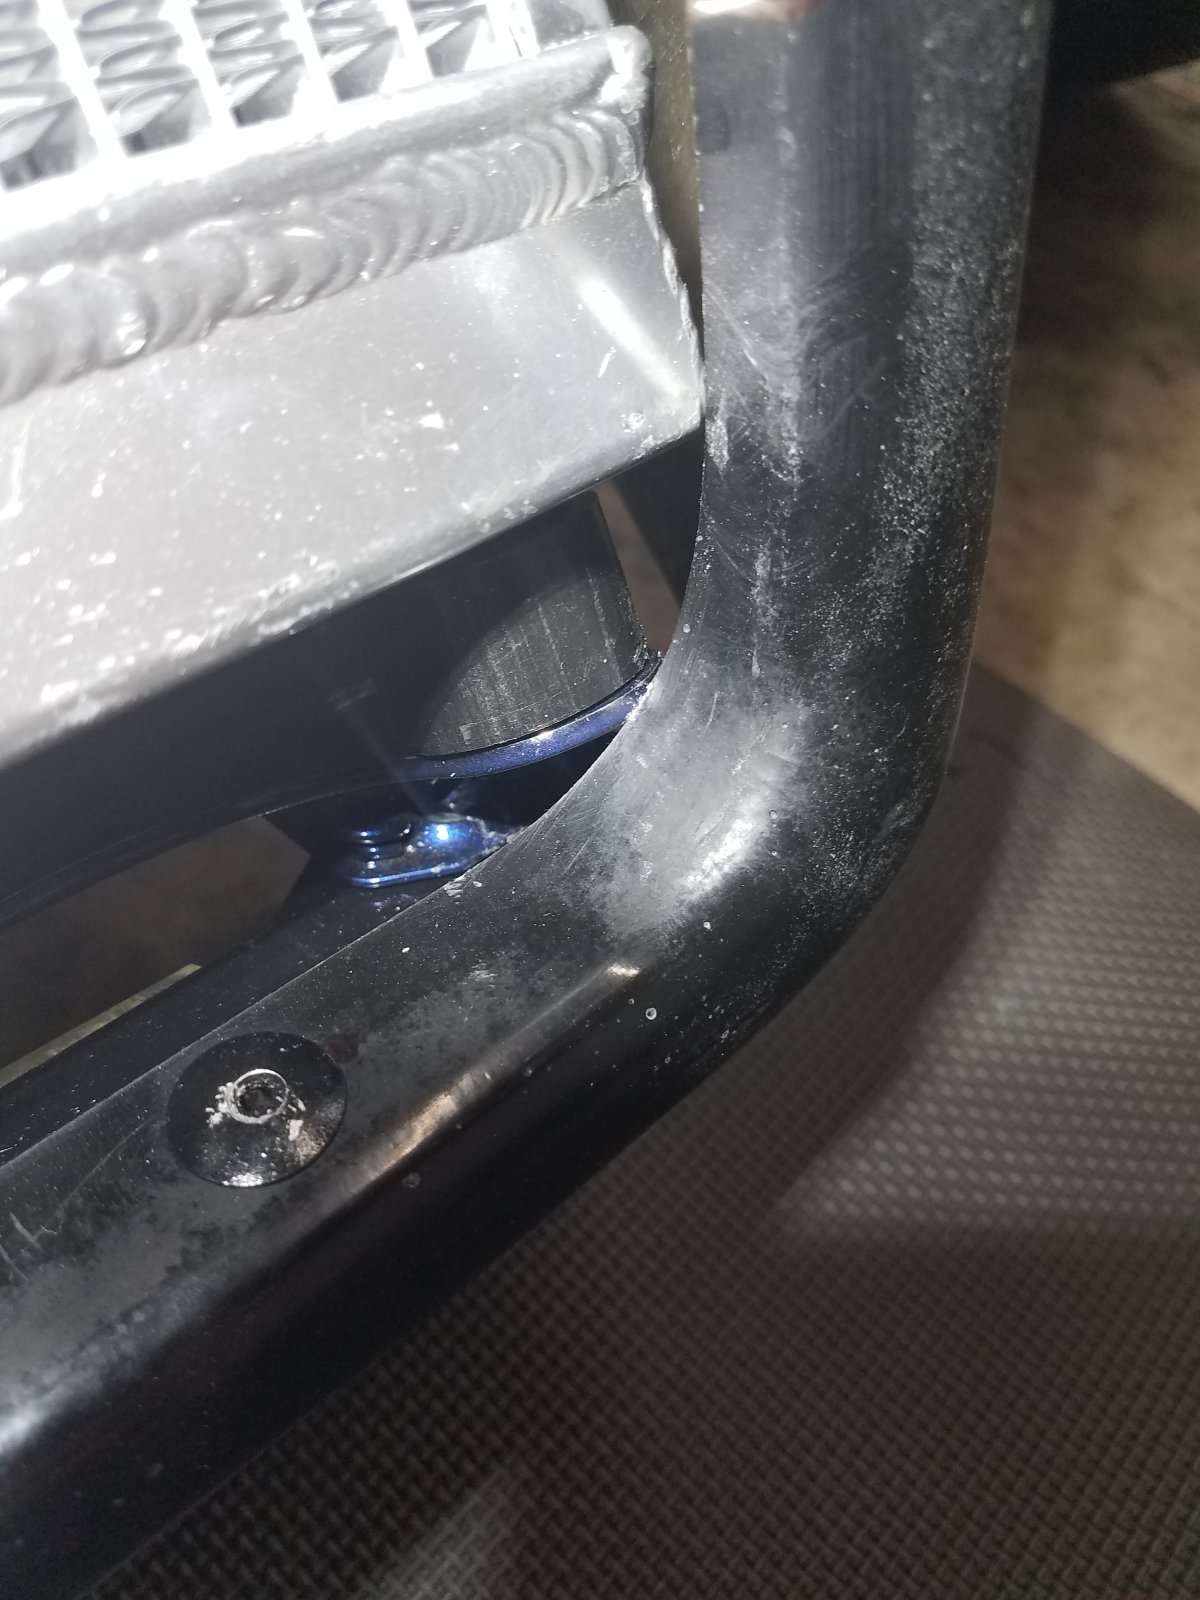
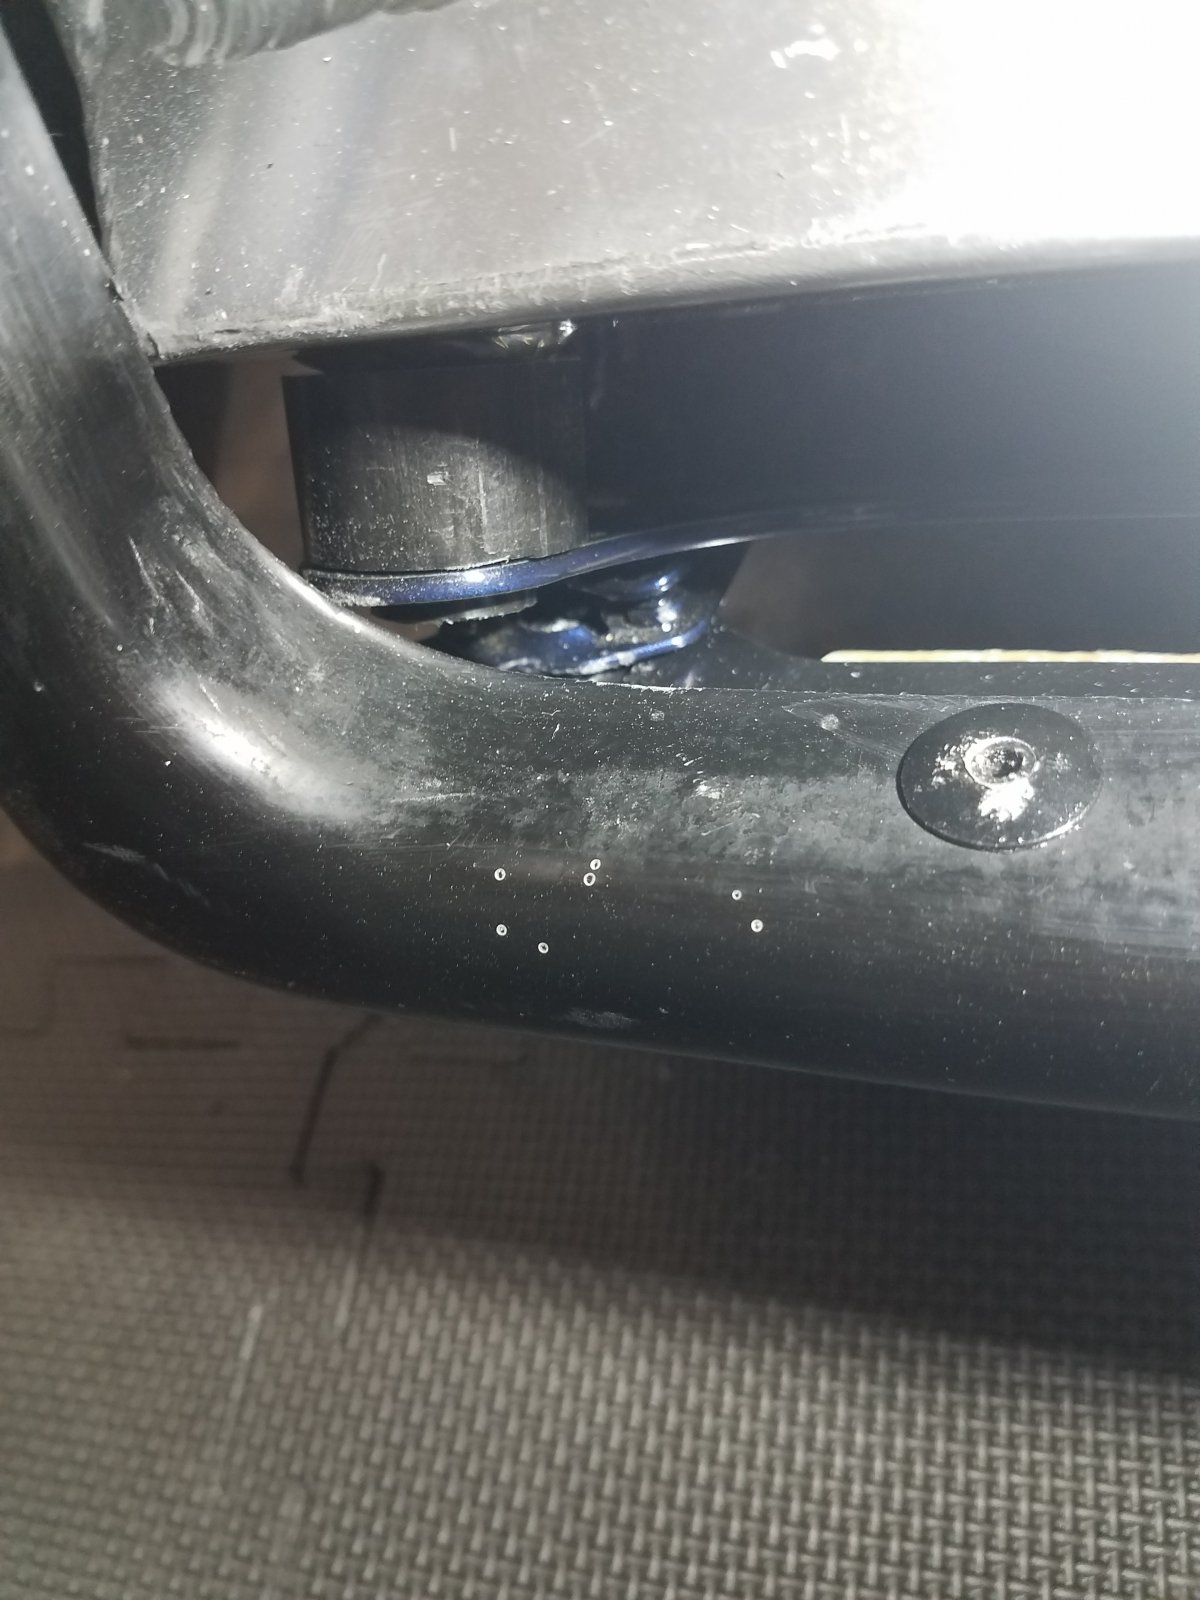
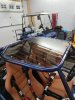
Looks like I may have to backtrack a little more. Everything has fit so well, I assumed the hood would also but it's a little tight. I had to remove the grille and it still hits the radiator and mount. I couldn't get the passenger side front fastener to align. I have an idea, but if it doesn't work, I get to practice my fiberglass skills.
36592
36594
 

jamesm

Goblin Guru
I really struggled with the hood pins on the bottom. I ended up removing them and putting a couple hinges between the hood and the frame so I could tilt it up. It also let me push my hood out enough that it didn’t hit on anything.
 

escapepilot

Goblin Guru
That’s what I’m going to try and maybe even add a small spacer.
I solved my clearance issue by attaching the hood at the dash end first, installing the attachment plate to the chassis, then redrilling the holes in the hood. This made installation easier and gave me enough clearance to mount the plastic 1/4' thick grille.
 

Robinjo

Goblin Guru
I solved my clearance issue by attaching the hood at the dash end first, installing the attachment plate to the chassis, then re-drilling the holes in the hood. This made installation easier and gave me enough clearance to mount the plastic 1/4' thick grille.
I do mine the opposite way, from the nose first. I did open the holes in the cabin/dash area on the frame and the hood a little bit to allow the bolts to go through. With the 40+ times I taken it on/off, I've gotten a pretty good routine down.
I considered a hinge in the front (nose), but I'm getting a front splitter soon so that will cause an issue with the two.
 
Last edited:

escapepilot

Goblin Guru
Spent several hours with the inspector today but it looks like all is good. First issue was he had to get a pic of the chassis serial number. After powder coating, it can be read but doesn’t show up in pics well so that took time. Second issue was he had to take pics of the vin # on the block. Then had to get one of the trans. Neither are easy to get to on the LSJ. Third, we were not sure if the engine vin was on the pad of the oil filter area or on the pad by the starter. Both had numbers but didn’t match. Finally determined it was the one by the starter. Then those numbers didn’t match up with the Cobalt vehicle vin. Ugh. He was able to get a lieutenant to confirm that’s ok especially since I had the Cobalt title and it was high mileage. Could have had an engine swap at some point. I knew the trans didn’t match but all the numbers came back with no theft records. Fortunately he was easy to work with and was willing to take the time to get answers instead of risking the main office in Raleigh making him come back.
 

Rttoys

Goblin Guru
This is why I tell people to keep the title no matter what. It’s “proof” you didn’t steal anything. Engines and trans get replaced here and there, the title says it’s still all mine. At least hopefully. :p
 

Rttoys

Goblin Guru
That’s where it gets sketchy and kind of dumb down here. You can’t scrap a vehicle without a title, but you can cut it up and scrap it without a title. :rolleyes: Most of us down here cut them, scrap them and keep the title for our new title paperwork.
 

escapepilot

Goblin Guru
Finished the tinted roof yesterday. I welded 8 tabs 1"x1" around the halo before powder coating. I cut a pattern from cardboard the used a piece of MDF to make a template. After a few adjustments, I finish sanded the edges of my template and drilled the mounting holes undersized. I used a small bit to start. I found a good deal on a leftover piece of 3/8" marine grade acrylic and traced my pattern onto it. I rough cut it oversize by an 1/8 to 1/4" with an 80 tooth blade on my circular saw and a plastics blade on a jig saw. I then aligned it on the template and drilled the holes. I enlarged those just enough to attach the acrylic to the template with a few 10-32 button head screws I had. I cut the acrylic to final size using a router and a 1/2" flush citting bit. Makes a HUGE mess but works great. Enlarged the holes in the tabs to fit a 6mm BHCS and enlarged the hole in the acrylic to fit some rubber T bumper bushings. I used felt weatherstrip on the tabs and placed the larger diameter of the bushing on top to cushion the mounting screw. Hardest part was enlarging the holes in the acrylic enough to fit the bushings.
 

Attachments

Desert Sasqwatch

Goblin Guru
Nice! That looks like it belongs there. Question, is the tint dark enough? Just an idea, use some tint film to cover the acrylic to make it darker and protect it from scratches. The tint film is easy to replace if it starts looking bad.
 

escapepilot

Goblin Guru
Nice! That looks like it belongs there. Question, is the tint dark enough? Just an idea, use some tint film to cover the acrylic to make it darker and protect it from scratches. The tint film is easy to replace if it starts looking bad.
It doesn’t look very dark but I’m hoping it is enough. Tint usually doesn't stick well to acrylics but since it is flat, it may work. I’ve been trying to think of a way to protect it.
 
Last edited:

Desert Sasqwatch

Goblin Guru
You could put film on both sides - at least I would - since scratches can occur on the inside too when getting in and out of the car. Out here in the desert we go with 15% tint wherever we can - since we are much closer to the sun.
 

Gtstorey

Goblin Guru
I made a similar roof for mine, but I used black polycarbonate, nur-setts, and extended it about 6” in front of the front halo. The extension does vibrate when you get above about 90mph so I may try to trim it back a little or reinforce it some. It took so long for the polycarbonate to come in that I didn’t get to use it until summer was almost over.
 

Sluggonaut

Goblin Guru
I tried cutting a logo out of the grip tape but the grip tape broke the print head on my brother's cricut, so I went boring.
 
Top