Ark's City Goblin #187 (2008 SS/TC donor)
- Thread starter Ark :D
- Start date
Ross
Goblin Guru
1. I have replaced my radiator hoses a few times (due to autocross field trips) and find that an easy way to bleed the system is to rev the engine ~6000 rpm for 3-5 seconds, which increases the coolant flow rate, and pushes the air out of the system. Then top off the system. It holds over a gallon of air, so repeat this fill procedure a few times. It is quick, doesn't require any special tools, just be careful to watch your engine temperature.
2. Physics of a heavy flywheel is dampening of RPM changes. Hence it will help reduce bucking. Light flywheel would make it worse.
3. I tried to drop my transmission, and leave the engine in the car, when I did the clutch replacement. There wasn't enough room in the Goblin frame to separate the transmission, so I ended up dropping the subframe. I did leave the axles, wheels, transmission and subframe all together, just pulled the engine.
Briann1177
Goblin Guru
I'm pretty sure the thermostats are supposed to open at either 180 or 185. Also, setting your fan to 170 means it pretty much runs all the time as the typical normal operating temps are between 185 and 223.
Maybe yours is different because of the tune you're running so I'm not 100% sure why your fan is set that way but its definitely NOT stock.
Maybe yours is different because of the tune you're running so I'm not 100% sure why your fan is set that way but its definitely NOT stock.
JBINTX
Goblin Guru
No sir. Not stock.I'm pretty sure the thermostats are supposed to open at either 180 or 185. Also, setting your fan to 170 means it pretty much runs all the time as the typical normal operating temps are between 185 and 223.
Maybe yours is different because of the tune you're running so I'm not 100% sure why your fan is set that way but its definitely NOT stock.
Tuned through another member with the same specs who took to ZZP in person and they spent two hours with it on the dyno. Then flashed to my ECU.
Never enough cooling down here in TX.
")
Ark :D
Goblin Guru
Don't worry, I will pen (err, key?) many words on the subject. Many, many words.I am definitely interesting in hearing how your registration process goes.
Ark :D
Goblin Guru
I believe I am finally done exorcising my electrical demons ... figured out my intermittent horn issue today.
1) Started by directly putting 12v into my horn with it muffled in a big ball of blankets for quite a few minutes, to make sure the horn wasn't the problem (it was not)
2) Crossed the contacts of my horn switch with a screwdriver to make sure it wasn't the switch (it was not)
3) Disconnected the entirety of my harness from the front bulkhead onward, stripped the tape off the relevant parts, and double-checked all the wiring there (all was good)
4) Drilled out the rivets on the front two sections of my tunnel and disassembled the shifter to expose a part of the harness that I know had a solder point in the horn wire from earlier in my build (it was fine)
5) Running out of ideas, I took the fuse box lid off and tested continuity from end to end for the green horn wire (it was good)
6) Visually inspected the horn fuse, and then tested continuity on its contacts (it was fine)
7) Finally, I was reminded of my original electrical issue where the car wouldn't crank ... problem there had been a slightly damaged contact inside the engine connector, inside the fuse box. I took the headlight harness connector out of the fuse box and checked the horn pin there (that WAS the problem)
Didn't have it in me to rebuild the car after all that, so I'll do it one night this week, or this weekend.
On the plus side, I've all but confirmed I can get insurance through an agent that works with American Modern for $460 a year, $20k agreed-upon value, 6k miles a year. Just have to get registered first.
Ark :D
Goblin Guru
I haven't done much with the Goblin lately because it's getting cold and shitty here in the northeast. I've also been in a bit of a funk because my garbage spoiler's CHMSL functionality already stopped working; the control box is shot with 10 miles on the odometer. You get what you pay for, I guess. I'll be leaving the spoiler on there for now, but I'll probably buy something different to replace it in the springtime.
I'm going to swap out the horn button on the DF-provided button panel with one that's more of a standard push-button, rather than the rocker-style switch DF provides. Think, arcade cabinet button, except a bit smaller. I don't like the rocker-style switch for the horn, plus mine sticks a little bit which is SUPER annoying.
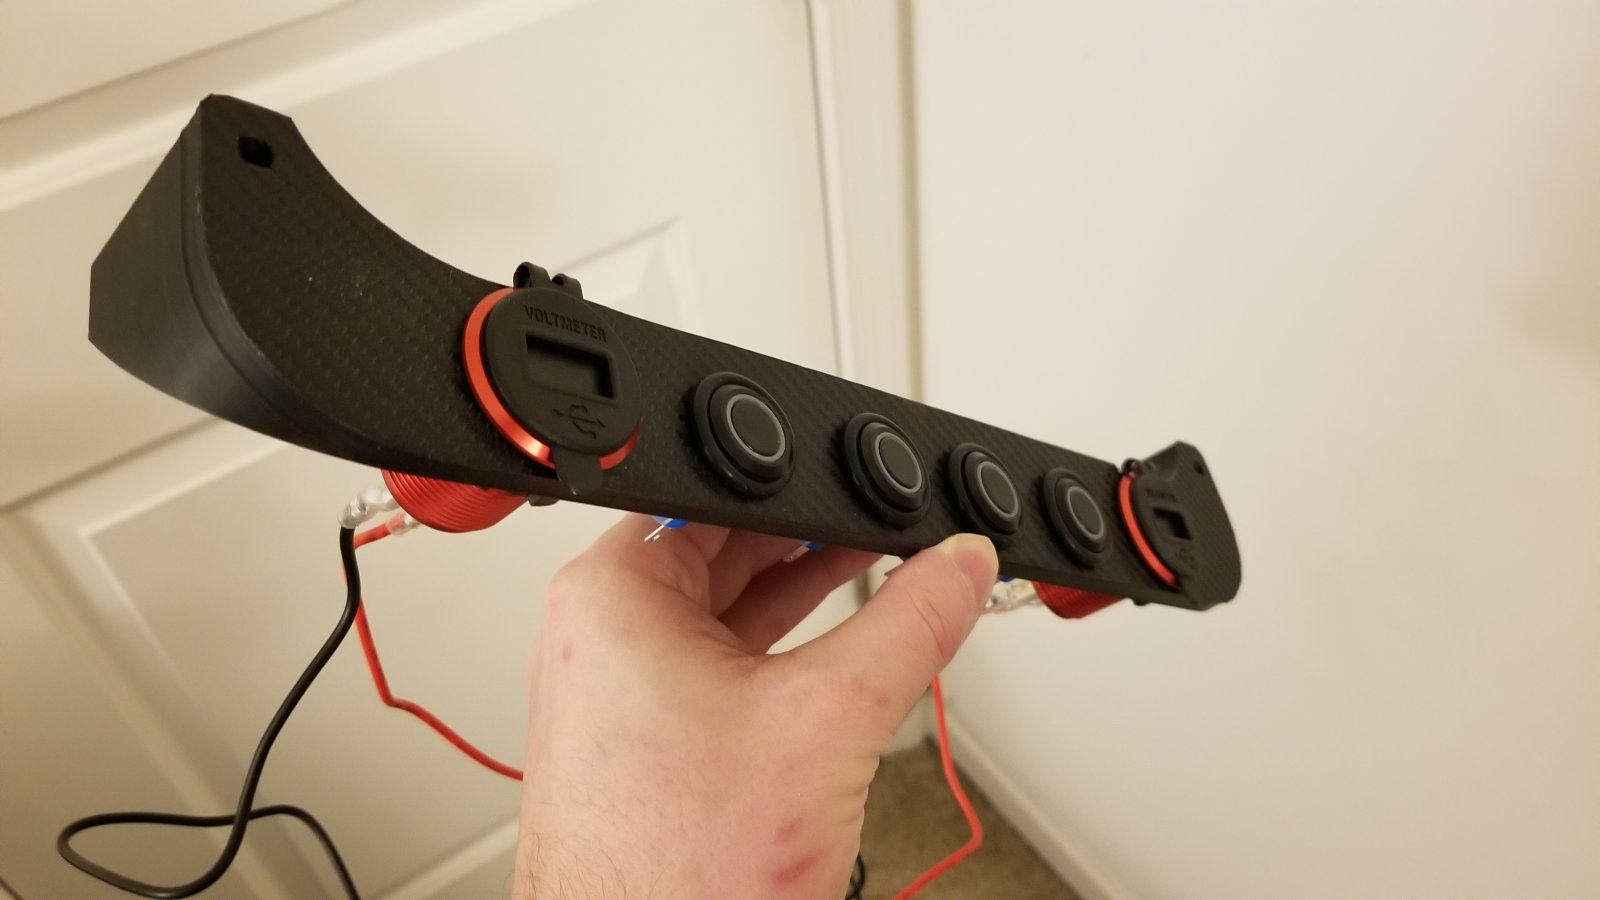
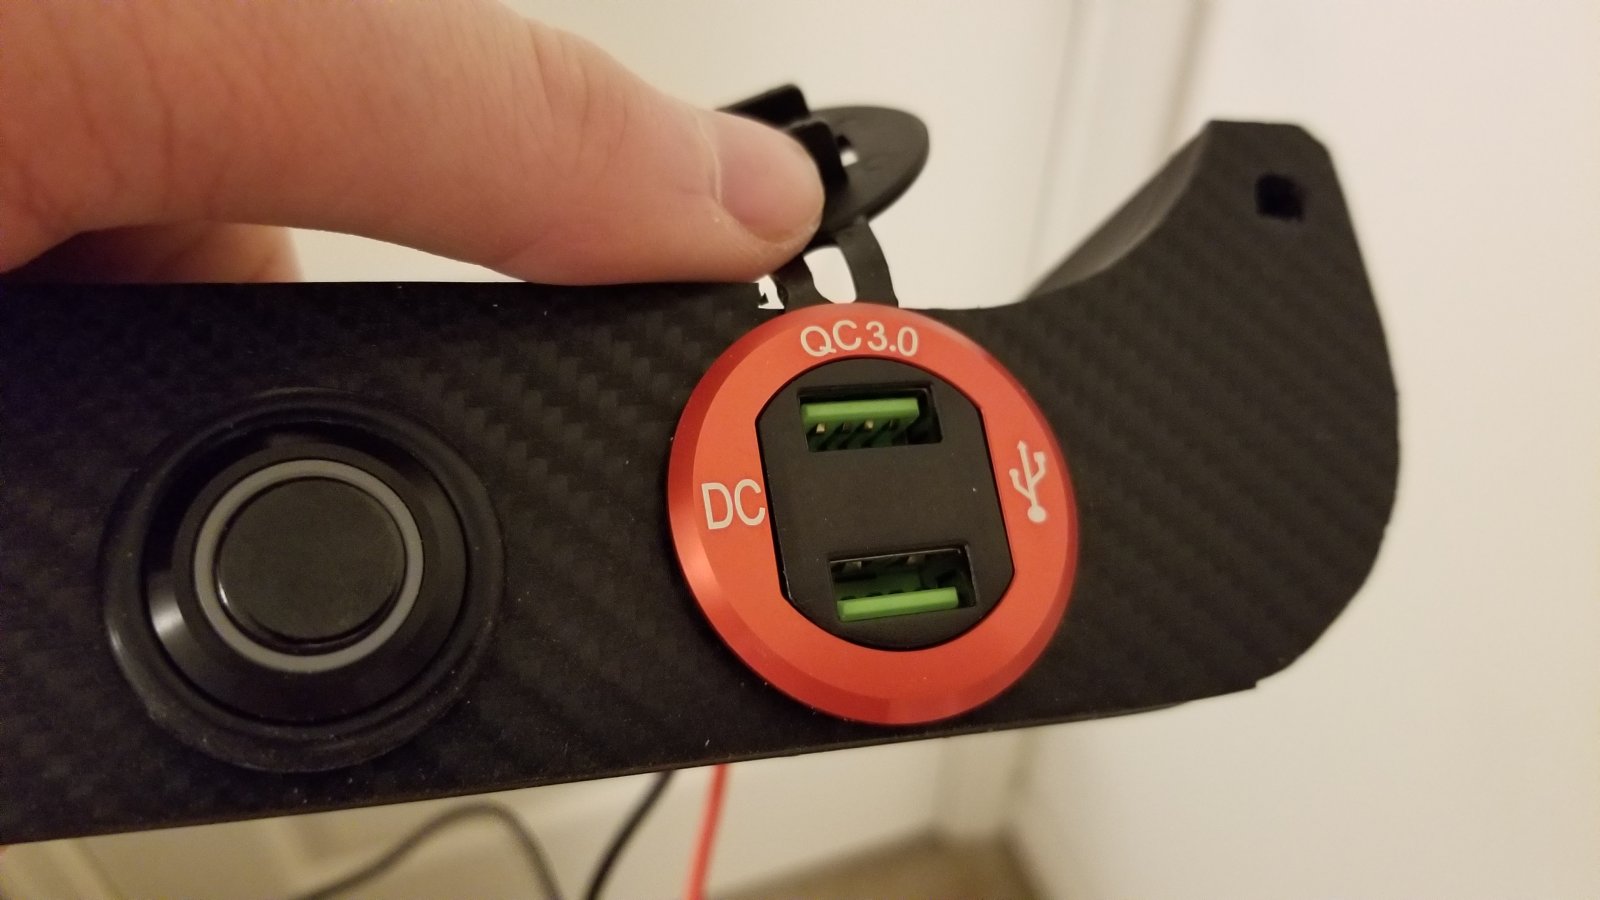
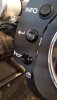
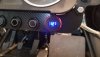
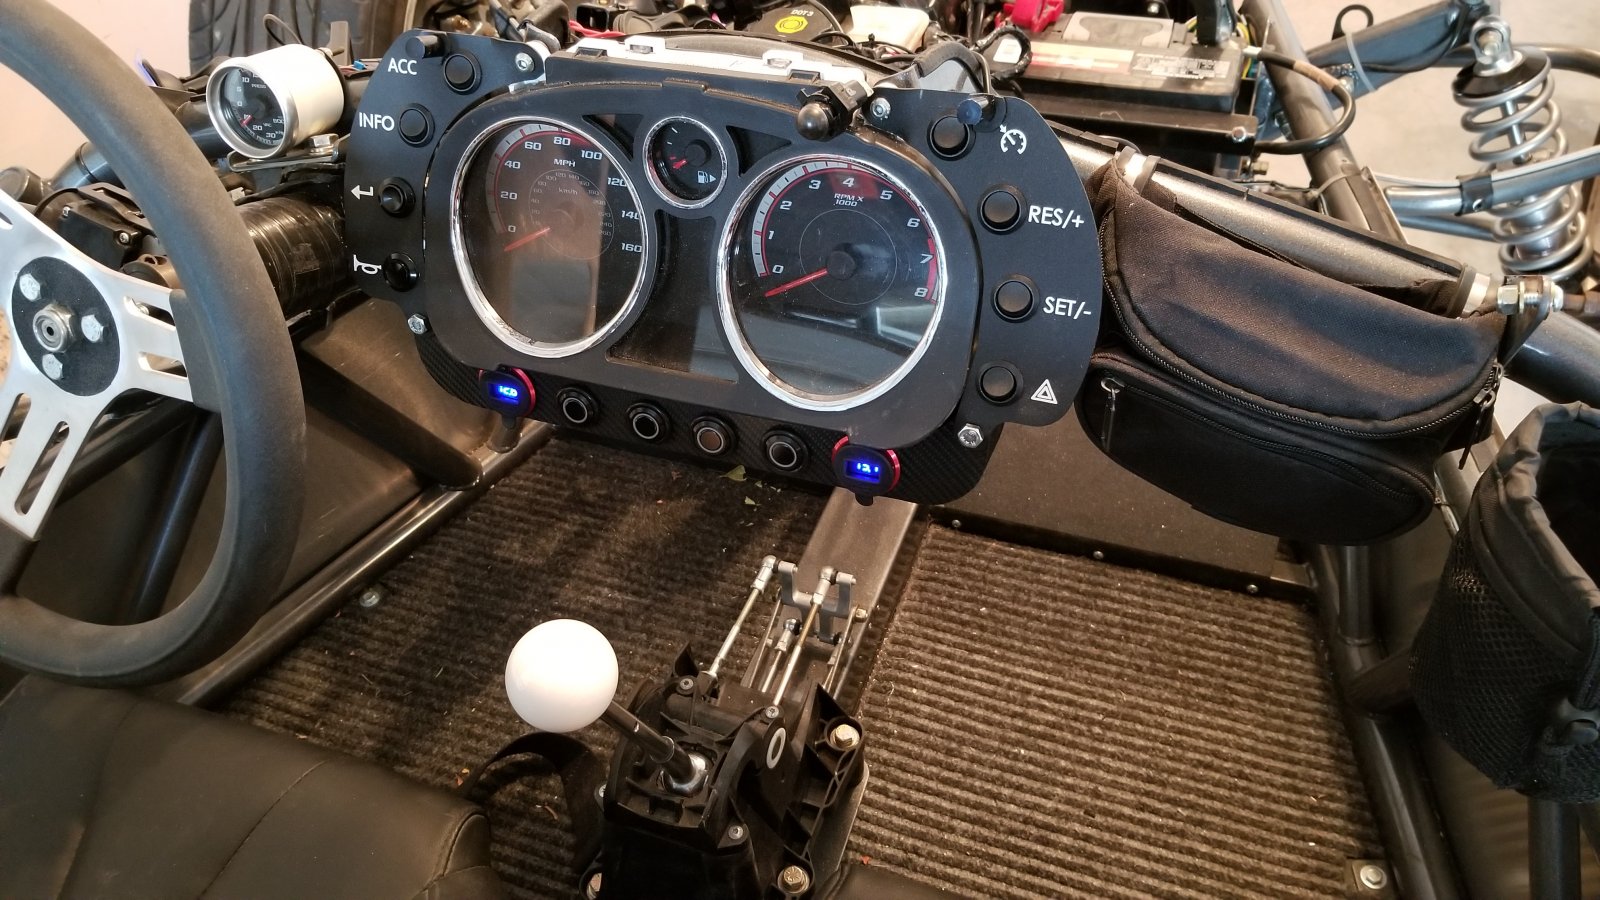
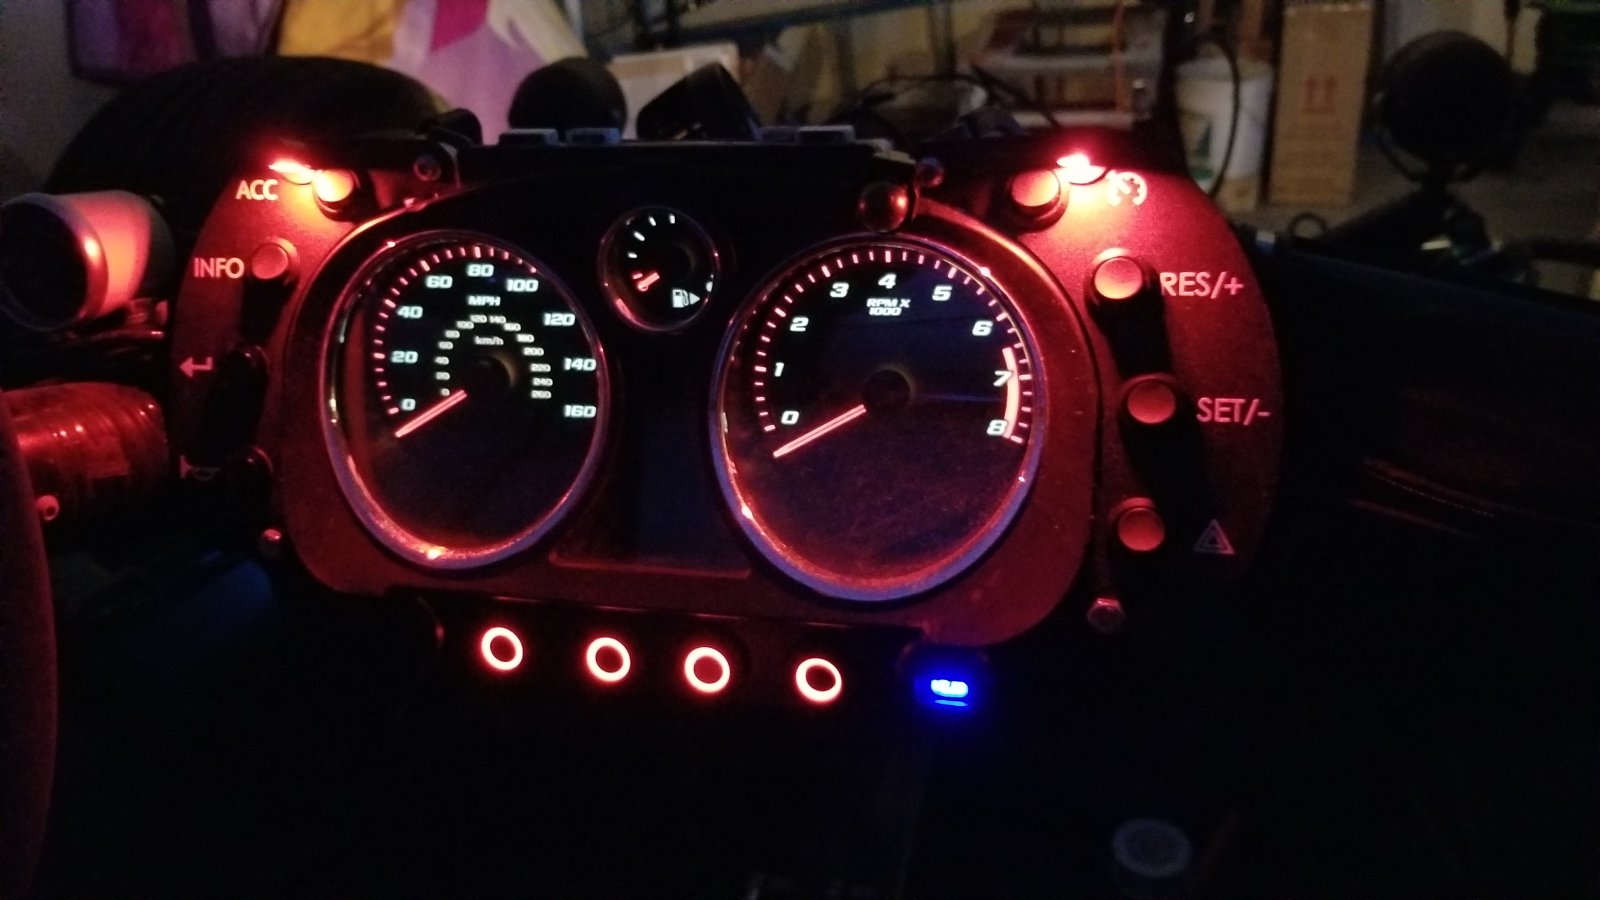
I did get the necessary stuff together to implement my secondary button panel. The center buttons are latching with a red LED ring (that I plan to wire to the running lights circuit). I will probably use one of these buttons for "A/C", one for future audio, and the other two for lighting (don't start on me JB! We'll see!). Currently I use the DF-provided ACC switch for my "A/C" but since it's the fog light circuit, it's tied to the high beams being on and I don't like that I can't have high beam and "A/C" on at the same time. Yeah, I am weird and somewhat ADD, I know. The covered ports on the left and right end are USB charging ports for phones, or whatever.
I'm going to swap out the horn button on the DF-provided button panel with one that's more of a standard push-button, rather than the rocker-style switch DF provides. Think, arcade cabinet button, except a bit smaller. I don't like the rocker-style switch for the horn, plus mine sticks a little bit which is SUPER annoying.
I did get the necessary stuff together to implement my secondary button panel. The center buttons are latching with a red LED ring (that I plan to wire to the running lights circuit). I will probably use one of these buttons for "A/C", one for future audio, and the other two for lighting (don't start on me JB! We'll see!). Currently I use the DF-provided ACC switch for my "A/C" but since it's the fog light circuit, it's tied to the high beams being on and I don't like that I can't have high beam and "A/C" on at the same time. Yeah, I am weird and somewhat ADD, I know. The covered ports on the left and right end are USB charging ports for phones, or whatever.
Last edited:
Murcielago311
Well-Known Member
It is hard to give a friendly beep beep. Haha.
OptimizePrime
Goblin Guru
Super clean dash install man, I dig the carbon
Ark :D
Goblin Guru
Updating with some pics.
Today, I put the Goblin on ice for the winter. I ran it around the neighborhood a little bit first, but this is a sad day. =(
To-Do while it's up on jack stands:
Also, I have to check the current draw from the USB ports I installed; I have them wired so they always have power, but I might need to change that, I'm not sure. Scratch that, I decided to make the outer two push-buttons send power to their respective USB's, while I will eventually use the two buttons on the inside to power radio/lighting. I'll leave the "A/C" on the DF ACC switch.
Today, I put the Goblin on ice for the winter. I ran it around the neighborhood a little bit first, but this is a sad day. =(
To-Do while it's up on jack stands:
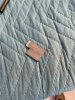
- Swap the front and back springs. I have the 300's on the front, and the 400's on the back.
- Fix another electrical bugaboo: when I step on the brake with the ignition on, my right turn signal lights with the brake lights.
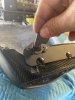
- Swap the DZUS connectors on the front of the hood with some hex-head ones I got from Amazon. I can't weld, so this might not be possible.
- Figure out a way to permanently mount my ambient light sensor. Right now, I have it fed through a hole between the cluster and the hood and while that works to keep it where it needs to be, I want something a little less jank.
- Finish my push-button starter. I can't find a button I like that's the right size, so I've been holding off.
- Finish wiring my secondary dash panel. I need to run some wire from one of the mirrors or headlights because I need "running lights" to illuminate the red rings on my buttons.
Last edited:
Ark :D
Goblin Guru
Did a couple of my winter tasks today.
Swap the front and back springs. I have the 300's on the front, and the 400's on the back.- Fix another electrical bugaboo: when I step on the brake with the ignition on, my right turn signal lights with the brake lights.
- Swap the DZUS connectors on the front of the hood with some hex-head ones I got from Amazon. I can't weld, so this might not be possible.
- Figure out a way to permanently mount my ambient light sensor. Right now, I have it fed through a hole between the cluster and the hood and while that works to keep it where it needs to be, I want something a little less jank.
- Finish my push-button starter. I can't find a button I like that's the right size, so I've been holding off.
Finish wiring my secondary dash panel. I need to run some wire from one of the mirrors or headlights because I need "running lights" to illuminate the red rings on my buttons.
JBINTX
Goblin Guru
Put donor nuts and bolts in place of dzus hood mounts and be done.Did a couple of my winter tasks today.
Swapping the springs was more of a pain in the ass than I expected/remembered.
Swap the front and back springs. I have the 300's on the front, and the 400's on the back.- Fix another electrical bugaboo: when I step on the brake with the ignition on, my right turn signal lights with the brake lights.
- Swap the DZUS connectors on the front of the hood with some hex-head ones I got from Amazon. I can't weld, so this might not be possible.
- Figure out a way to permanently mount my ambient light sensor. Right now, I have it fed through a hole between the cluster and the hood and while that works to keep it where it needs to be, I want something a little less jank.
- Finish my push-button starter. I can't find a button I like that's the right size, so I've been holding off.
Finish wiring my secondary dash panel. I need to run some wire from one of the mirrors or headlights because I need "running lights" to illuminate the red rings on my buttons.
Jason in Texas - ext. track - 09 SS/TC
I think they could be installed inside of the engine cover and a hole drilled for whatever fastener you send forward to the seat. Make sure you use a large thick washer at the seat mount so if you are ever in an accident it doesn't send a bolt through the back of your head. The weak link needs...
Rttoys
Goblin Guru
Meh. Crimp the fastener down a bit and make a special tool.
Attachments
-
 696 KB Views: 199
 -
 257.3 KB Views: 203
Vwsaabvt
Goblin Guru
I had my hood plate powdercoated then deciede to go with hex dzus fasteners after
- Swap the DZUS connectors on the front of the hood with some hex-head ones I got from Amazon. I can't weld, so this might not be possible.
. You can do it without having to cut the old ones off. Crush/break out the flathead portion of the dzus connectorthen cut the new connectors so all you have is the center portion and spring
then you can push in the center/hex part and spring into the original hood dzus connector.
If you got a 5 pack like I did you can practice with 2 of them or just wing it.