Brad's City Goblin - 10 SS/TC Donor, NY Build - FOR SALE
- Thread starter bradr
- Start date
Ross
Goblin Guru
Maybe Brad will find out. I would have to look at the parts and see if it could be done.Well done, Ross.
I assume this would still work with a quick release that is set up to transfer the electrical signal? For a horn at least.
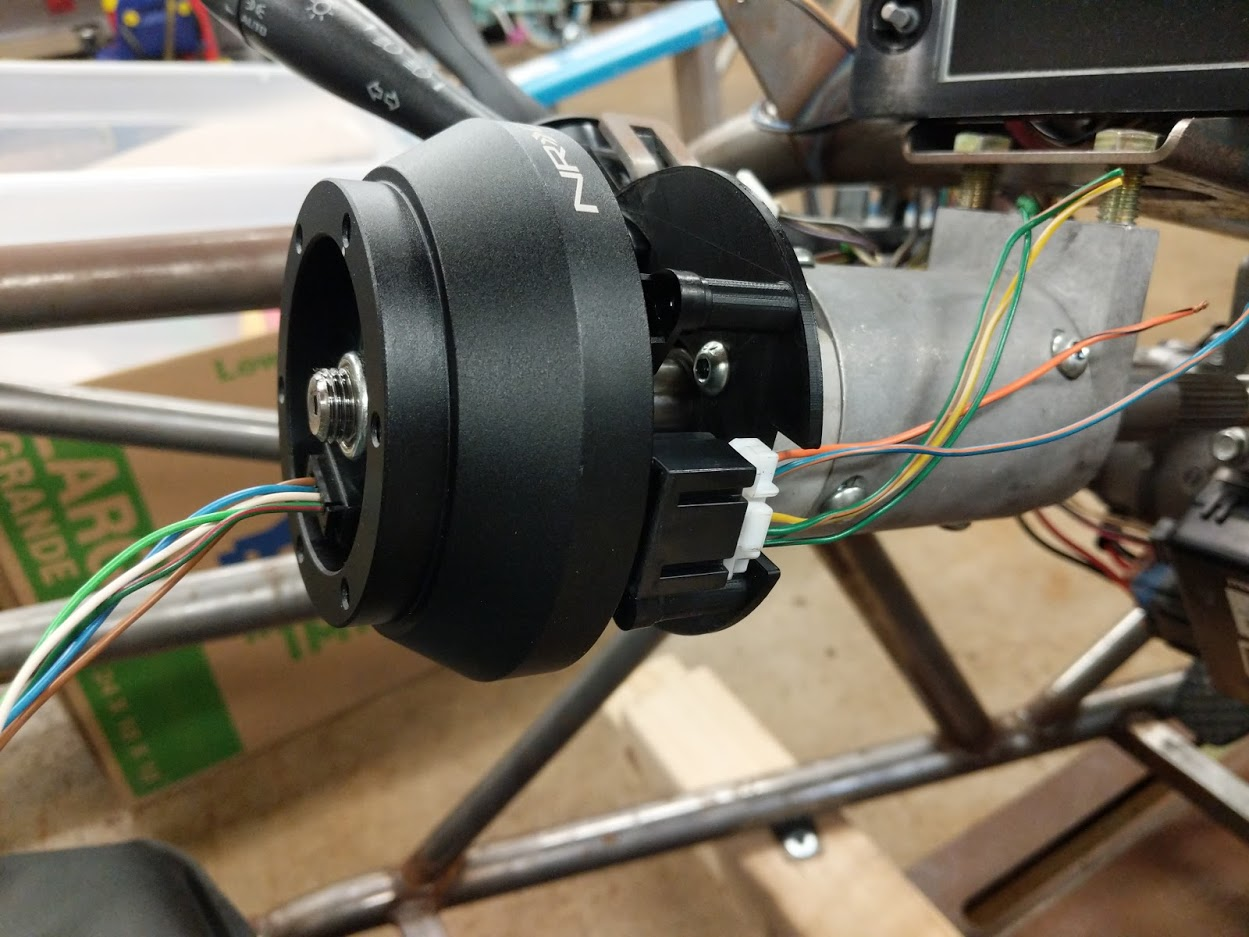
Yes, any clock spring will work with any quick release given some modifications. The only thing I am trying to accomplish is adding a clock spring to a DF steering column setup. If I am not mistaken, Ross is using the stock Cobalt tilt steering which is why he can use the stock Cobalt clock spring. With the DF steering column setup, and the NRG hub, the Volvo clock spring setup works better due to its smaller size.Well done, Ross.
I assume this would still work with a quick release that is set up to transfer the electrical signal? For a horn at least.
Last edited:
Depending on what info I am after, I have been using either proprietary software and hardware written by my work or a software emulated TECH2 tool (subscription info HERE) and MDI2 from GM (HERE). The specs for decoding the data are not listed anywhere, I have just been reverse engineering the data as I go. This all said, there are several CANbus hardware interfaces on the market with various software packages that will let you explore the HS CAN bus, but it is much more tricky to find anyone who sells hardware or software for the Low Speed GMLAN bus.Hi Brad. What software do you use to listen data bus? And where I can find specs for the data? Thanks.
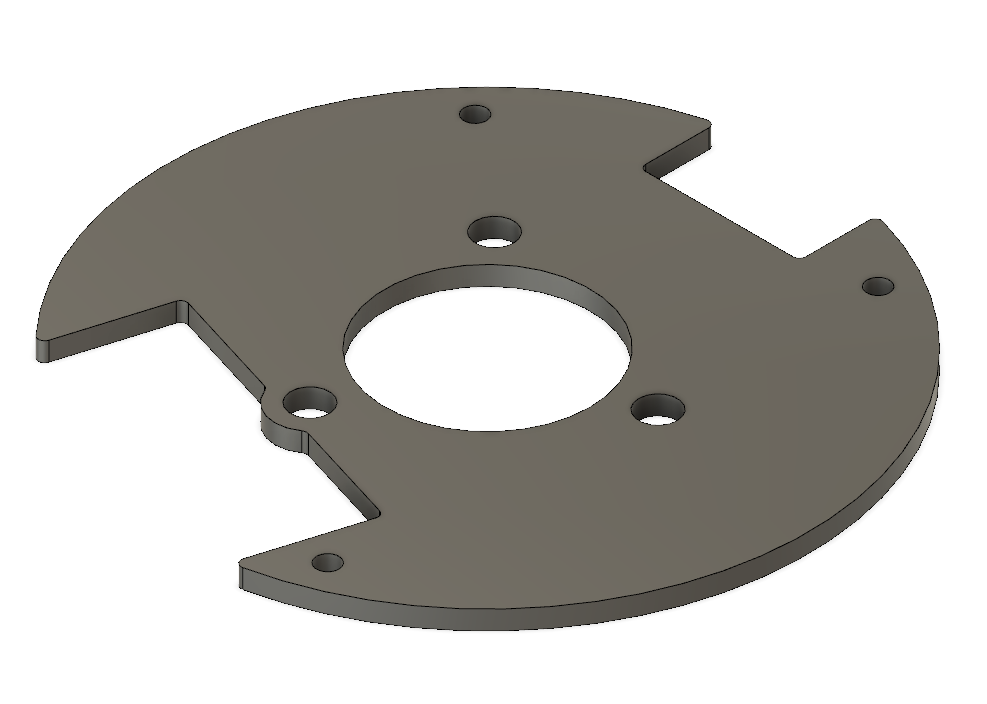
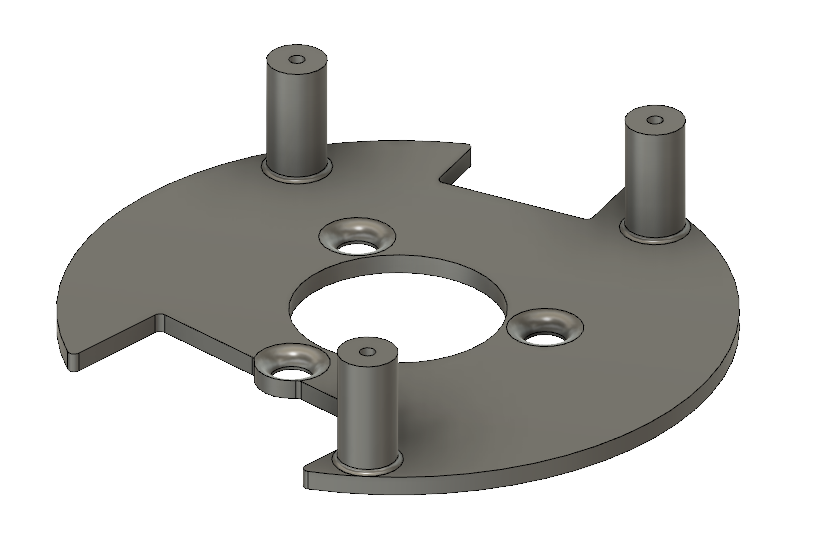
So, here is what I have for a bracket to hold my clock spring. I just need to find someone that can cut this out of ~3mm thick aluminum/steel or 3d print this in plastic and hope the drawing is close enough to "correct". Printing this on paper seems to line up well.
Last edited:
Desert Sasqwatch
Goblin Guru
See if Lonny wants to make these as an accessory for purchase. I'm sure this would be something many builders may want to use.
Thank you! I just had someone 3D print one as a test. I want to finish verifying fitment once I can pick up the proper hardware and then Ill send the file over.If you send me the file I can test cut one out of aluminum plate.
Nuker-
Briann1177
Goblin Guru
I have the NRG steering wheel hub too. Will the NRG horn button fit with the locknut? Or are you going a different route with mounting the button?
My buttons are built into the wheel I am using...I have the NRG steering wheel hub too. Will the NRG horn button fit with the locknut? Or are you going a different route with mounting the button?
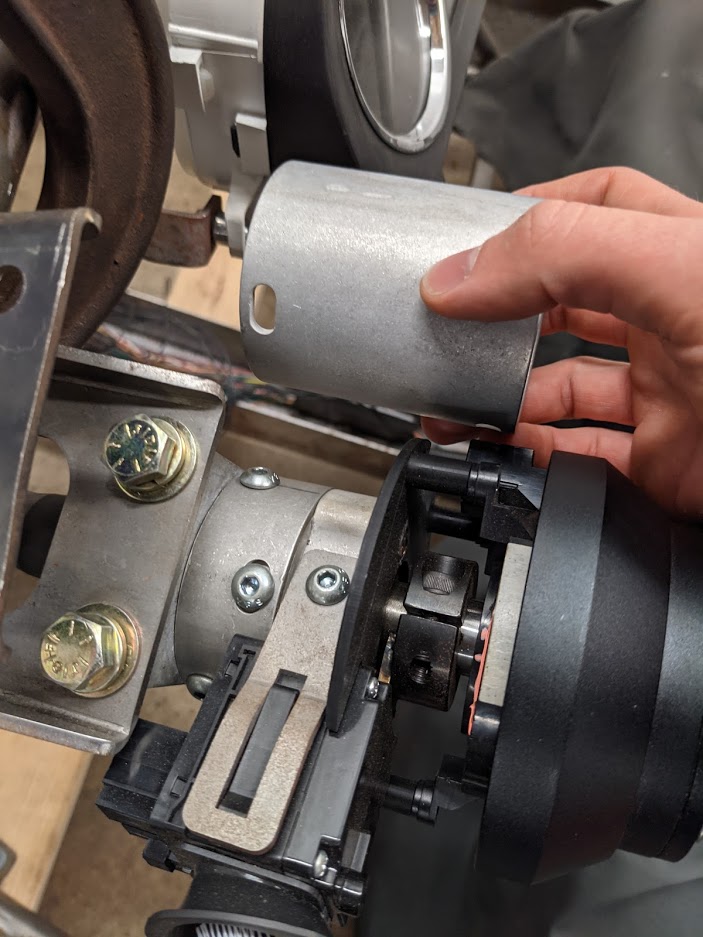
I finally got back around to my clock spring project. I updated the drawing and found that with 100% infill, this should be more than solid enough as is (thanks for the offer to cut it out of aluminum Nuker!) The only thing I still need to verify is the holes to mount the adapter to the column. I still need to source some pan head screws and see if they fit properly so they clear the rotating turn signal cancel cam.
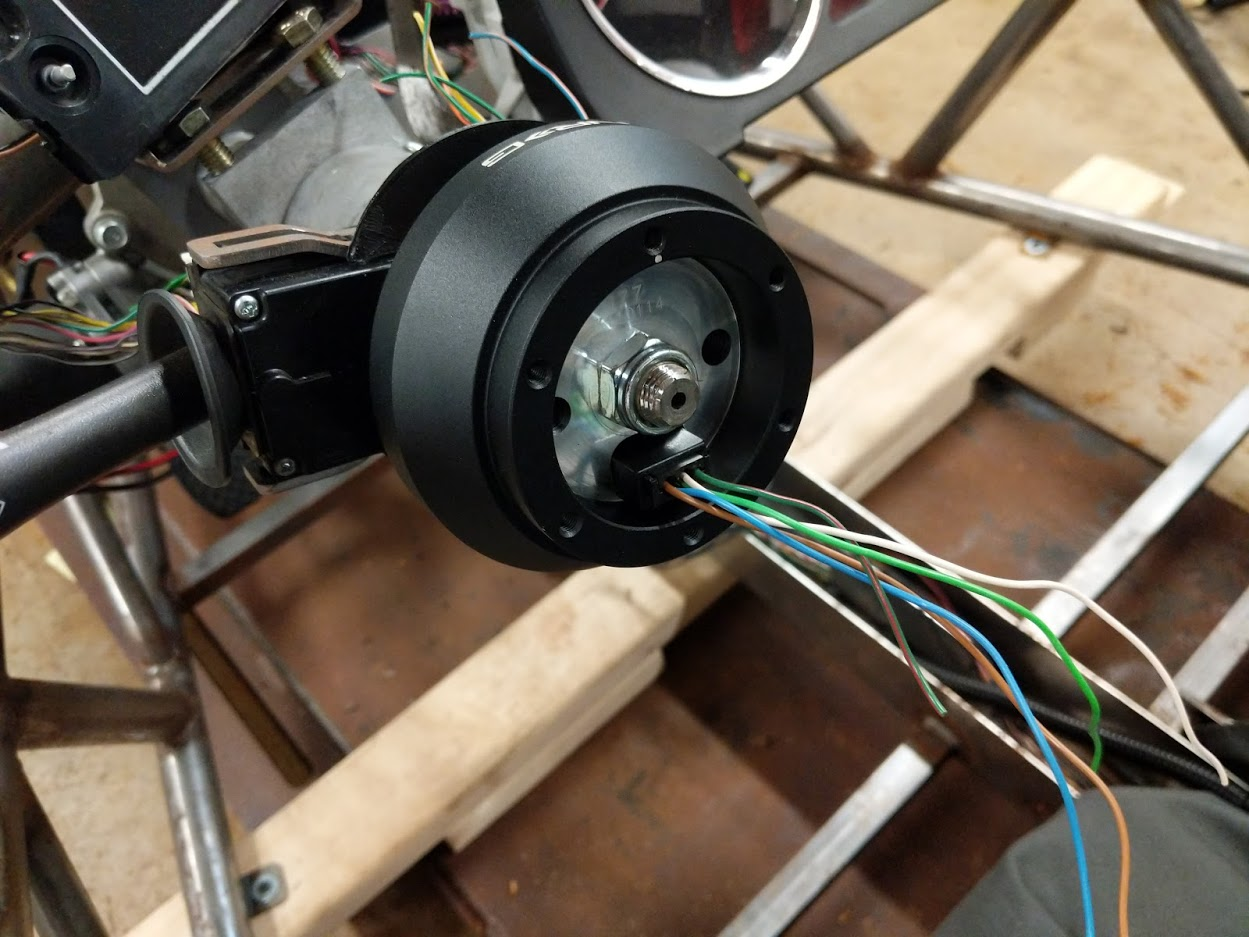
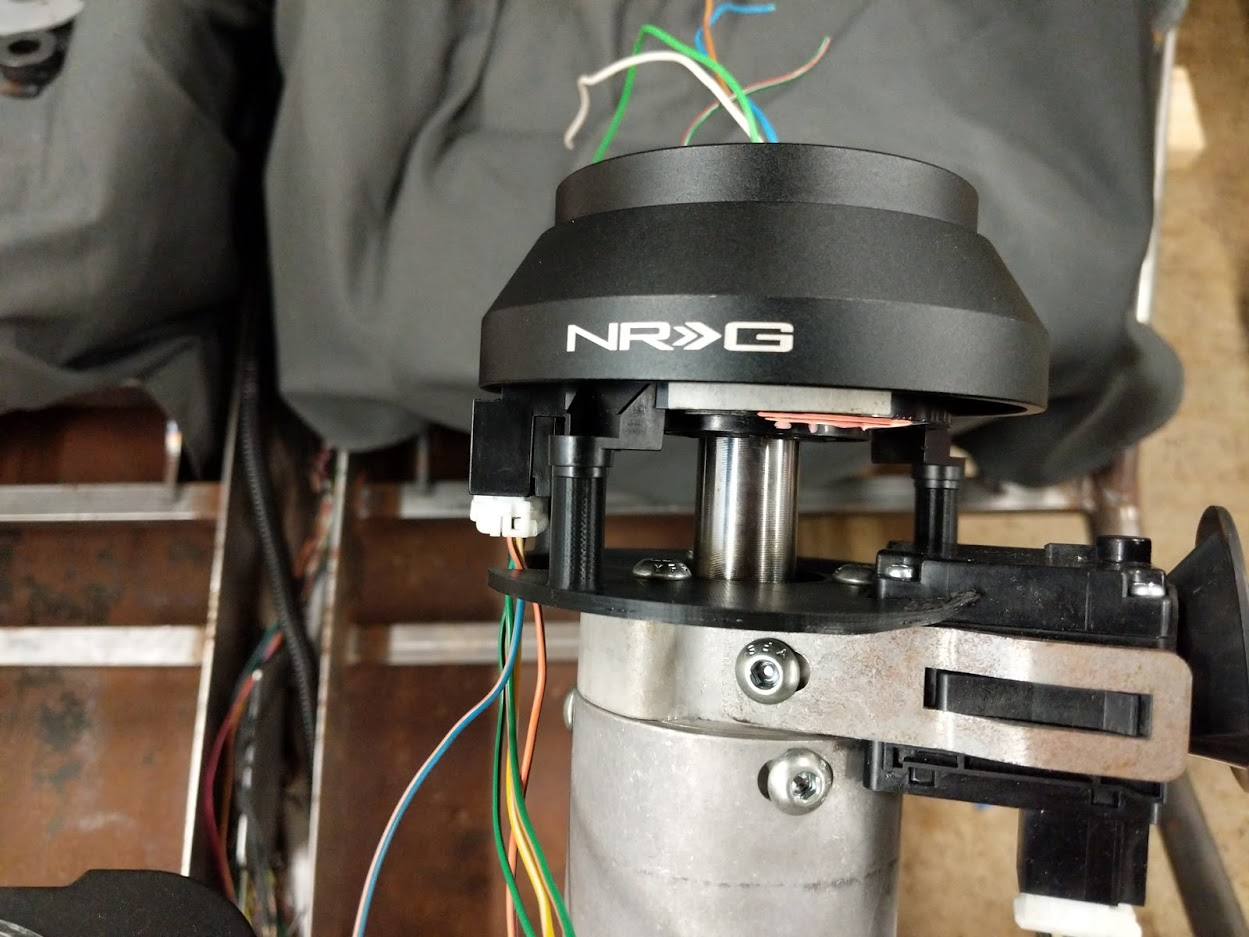
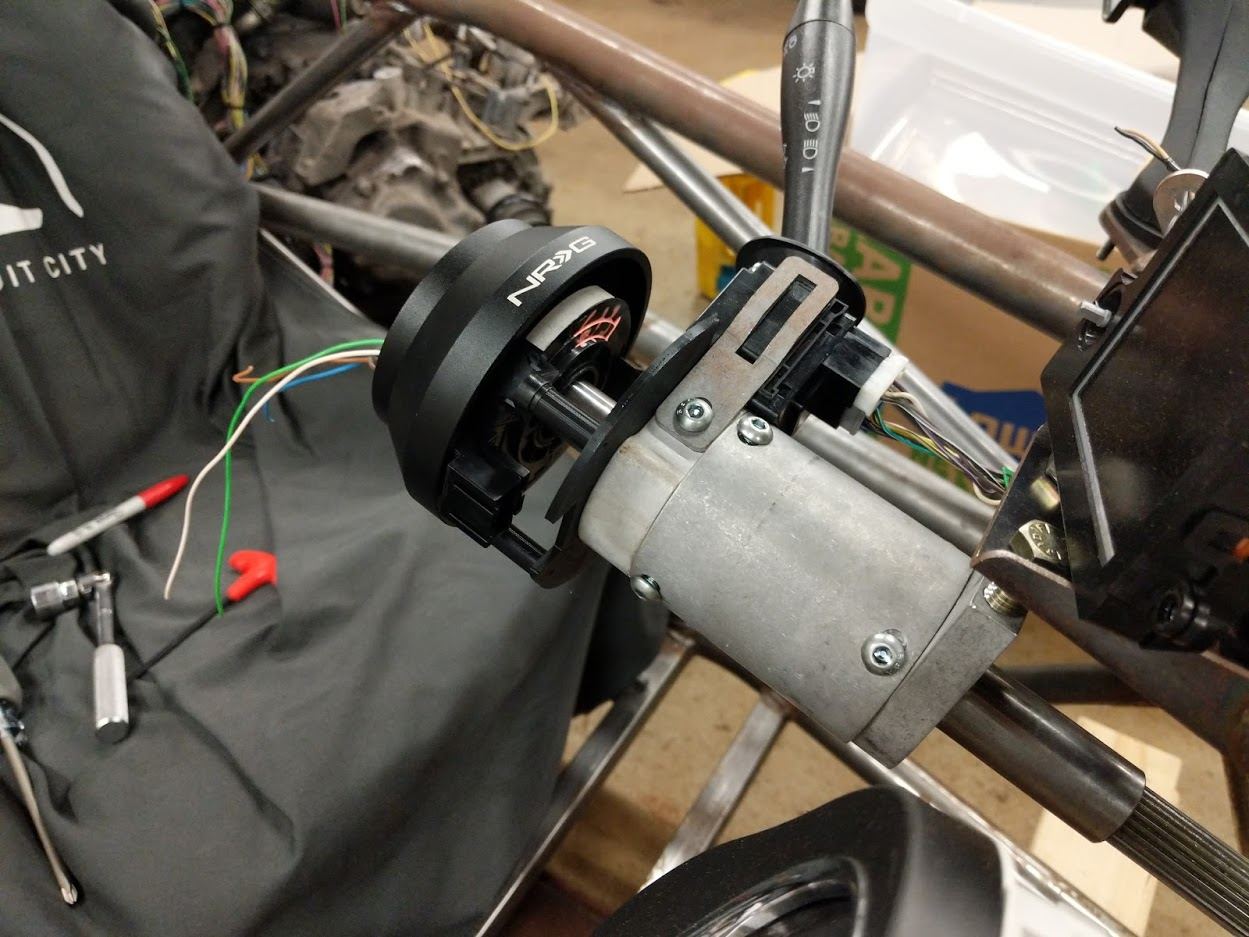
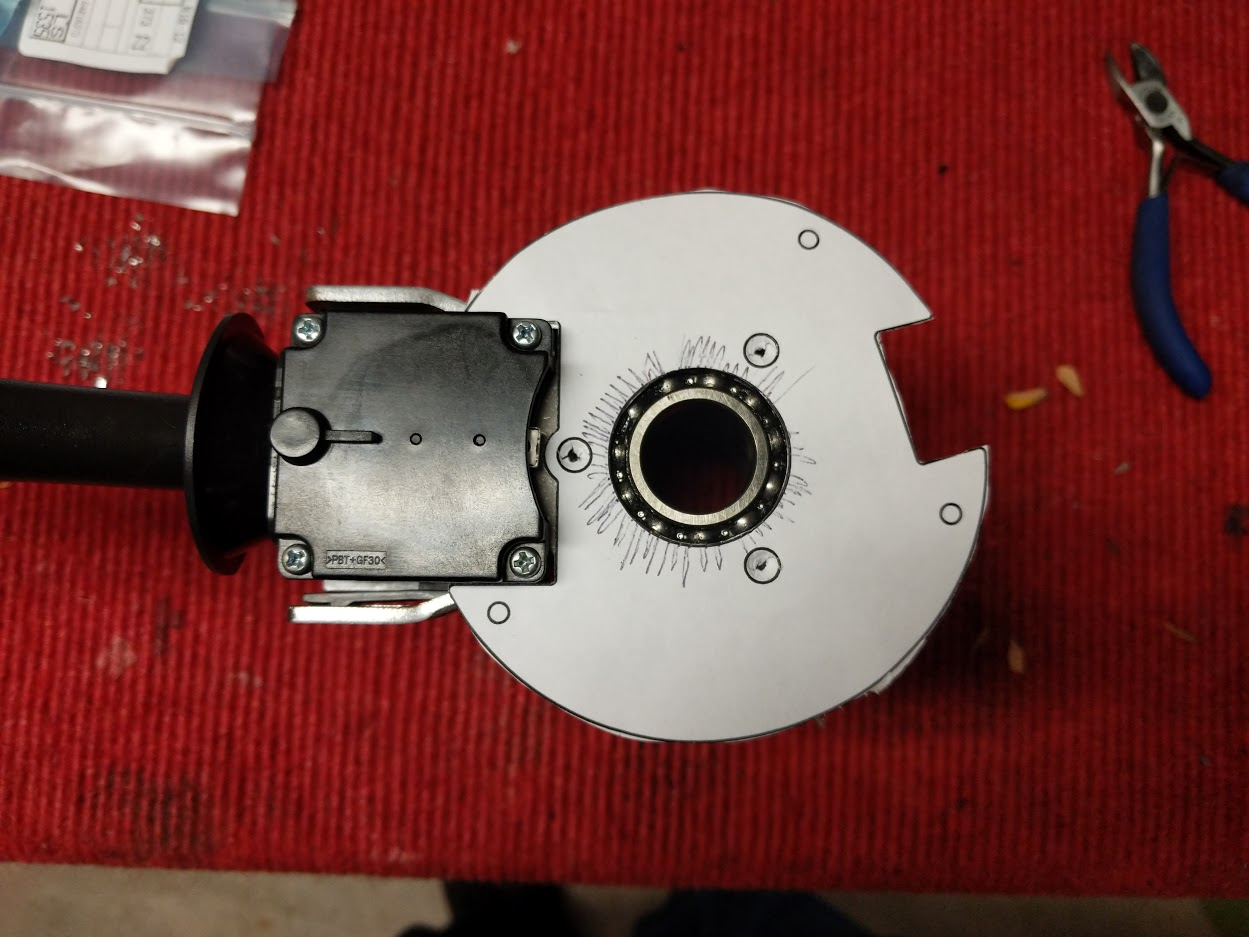
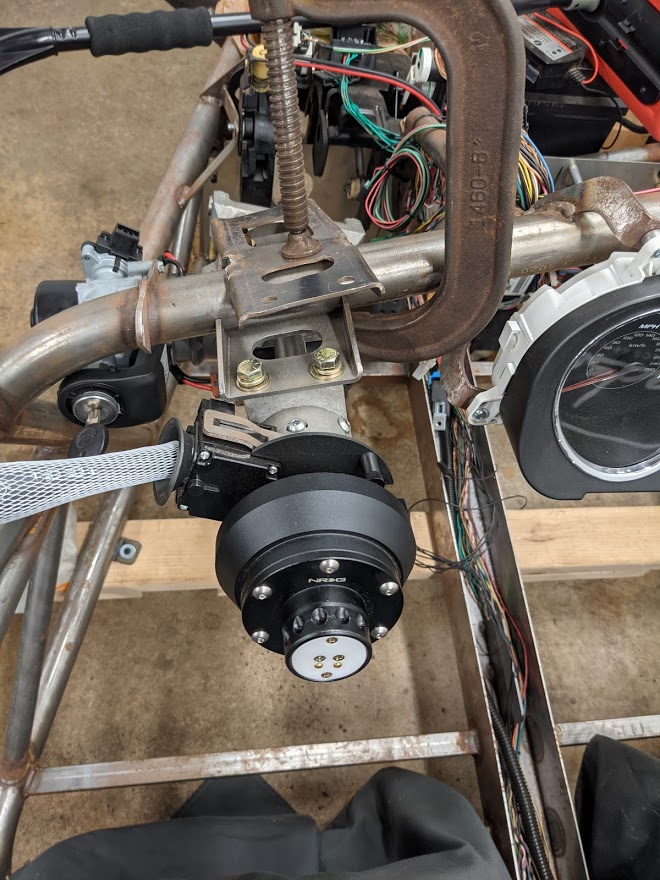
Not much progress other than wiring up the clock spring, testing the horn works and printing a final revision of the clock spring adapter that has the fitment dialed in. The clock spring allows for two full rotations of the wheel in either direction and even has a cool little indicator on it to let you know when the clock spring is centered. If anyone else wants to add a clock spring:
- Print the attached adapter clock spring adapter with 100% infill.
- Purchase an 01 Volvo S40 Clock Spring.
- Trim the clock spring to fit, as required.
Attachments
-
255.6 KB Views: 224
So I finally got a few moments to work on the car. I cut the steering bracket off the frame and repositioned it to the left in order to center it with the drivers seat. It still needs to be re-welded to the frame. This pushed the motor for the power steering outside the bounds of the frame. I will have to ditch the motor or spin the motor assembly.
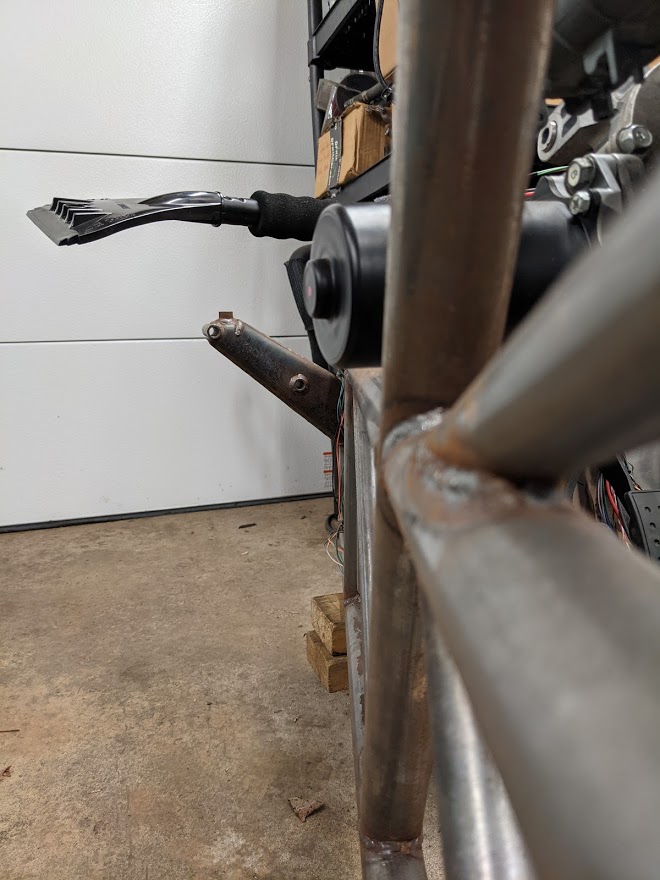
I also cut down the steering tube to move the steering wheel away from the driver. This was needed for comfort and because the quick release adds length to the steering assembly.
I also cut down the steering tube to move the steering wheel away from the driver. This was needed for comfort and because the quick release adds length to the steering assembly.
Desert Sasqwatch
Goblin Guru
By cutting down the steering tube also puts the steering wheel closer to the windshield, if you are using one. You should check your knuckle room.
Looks like the lateral shift in the steering mount bracket did push the motor outside the frame, but it looks like it may still clear the edge of the hood. The hood sits about 2 inches away from the frame.
Looks like the lateral shift in the steering mount bracket did push the motor outside the frame, but it looks like it may still clear the edge of the hood. The hood sits about 2 inches away from the frame.
I require a safety glass windshield, so it will be custom, whatever it ends up being. The nice thing is I can easily swap in different length tubes as I dial stuff in.By cutting down the steering tube also puts the steering wheel closer to the windshield, if you are using one.
Thank you for this info! My hood is tucked away and I had not yet had a chance to test fit it. If there is close to 2" then I should be good to go. The motor does not protrude more than an inch. I will have to modify the under hood fiberglass heat diverter.Looks like the lateral shift in the steering mount bracket did push the motor outside the frame, but it looks like it may still clear the edge of the hood. The hood sits about 2 inches away from the frame.
Desert Sasqwatch
Goblin Guru
Bad photo of the hood clearance on the driver's side to the frame.
Attachments
-
 155 KB Views: 156
Thank you for the photo. I verified that the motor sticks out just shy of one inch at the furthest point. Looks like I can leave it as is!
Next up, I need to wire in some 24 ohm 25W resistors for the tail lights and CHSML. I'm just trying to decide how and where I would like to mount them.
Next up, I need to wire in some 24 ohm 25W resistors for the tail lights and CHSML. I'm just trying to decide how and where I would like to mount them.
Ark :D
Goblin Guru
Bump.Thank you for the photo. I verified that the motor sticks out just shy of one inch at the furthest point. Looks like I can leave it as is!
Next up, I need to wire in some 24 ohm 25W resistors for the tail lights and CHSML. I'm just trying to decide how and where I would like to mount them.
I assume the 24 ohm 25W resistors on the taillights are to stop the rapid turn signal blink?