So, finally had some time to work on 2.0. Between 2 kids and all the family commitments, it has been extremely busy.
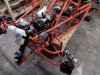
Got a solid 8 hours in on the Goblin and completed the following:
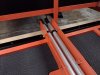
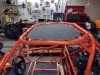
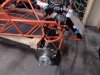
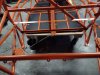
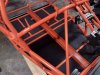
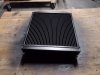
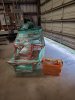
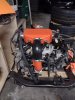
- installed floor panels
- Used the 3m adhesive that is in the new video's. That crap is sticky and gets black stuff everywhere. Advice, let it dry then use a tool that is softer than the powder coat to remove, like a fingernail.
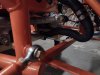
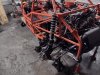
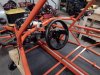
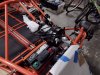
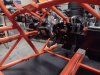
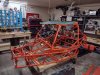
- installed steering rack
- installed steering rack limiters
- I didn't have a "thin enough wrench" so I used a pipe wrench. Left some marks but they are under the boot so the next person to see them will be the person rebuilding the rack in 15 years.
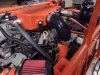
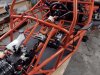
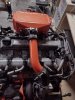
- installed power steering unit
- out of all the parts that I had powder coated, I missed the bracket for this. Quick shot of matt black and it went on the car. Kind of buried in the dash so, no one will know. Unless you read this build log ;-)
- installed collapsible steering column
- had to use a spare bolt I had since I crushed the threads putting the bolt in. For some reason, I have lots of spares.
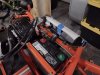
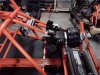
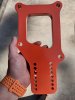
- installed pedal box
- installed gas pedal
- little worried that I will have to do some sort of ecu calibration with this since it came from a parted out car on ebay.
- installed clutch pedal
- Had to bend the mount about a 1/4 inch for the pedal to clear the collapsible steering column.
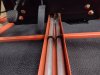
- ran hard brake lines
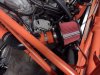
- installed brake booster
- chose not to paint it this time. Cleaned it up and it looked decent. Plus, it came from a random parts car on ebay and I do not know if it really works.
- installed master cylinder
- painted radiator
- used a can of aerosol wax and grease remover to clean up the radiator and then painted it back with Eastwood radiator paint.
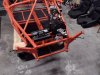
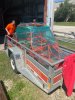
- prepped fuel tank for install
- new video clarified that I had installed the old pump incorrectly in my first build. Used a new pump and assembly went smoothly.
- installed the fuel filler neck
- How did I powder coat this part and not the power steering bracket?
Also, ordered the updated bell cranks for the shifter.
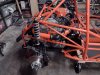
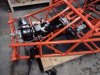
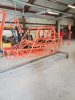
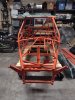
When I built 1.0, I installed the floor from the bottom. This time, I flipped the frame over and put the floor on. Definitely easier to do it this way. Then, my neighbors helped flip it back over. Fortunately, they had several people over at a baby shower and several need a 15 minute brake.
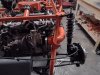
During the week, I hope to get the radiator lines ironed out, install the radiator, mount the fuel tank, and possibly install the engine.
Oh, in 1.0 I had used rubber horse stall matt for the floor of the car. All the pieces except for one made it home. Fortunately, I have enough scrap from the original build to make what I need.
I cannot speak highly enough of the new build videos. Clear, concise, short, and just the facts. Not that the older ones were bad, but the new ones are great.

")