SmsDetroit
Goblin Guru
I’d be terrified of all those wires.
They are certainly annoying. I cannot wait to bundle them.I’d be terrified of all those wires.
 youtube.com
Less than 100 lbs. Will not even be noticeable.Just put of curiosity. How much weight do you think you’ve had it to the car? Not that that matters because you can always add more power!
Probably at higher speeds. The front end may feel more plantedLess than 100 lbs. Will not even be noticeable.
With most the weight added being down low in the center of the frame (center console/floor panels & sound deadener) if anything, the cg will be down lower & more fwd.Probably at higher speeds. The front end may feel more planted
 youtube.com
I just threw them on in a hurry to check clearance when I took my initial measurements for the actuator assemblies.Fog lights look great! Looks like you're going to want to remove your front uprights to reassemble them correctly, unless a wonky alignment is part of the plan lol
Brian, that's a fantastic job and your lights work good too! Great that you have your daughter involved with your project and she seems to be as excited about the Goblin as her father.I guess my welding tank was empty. Swapped it out today to do my very last two welds, lol.
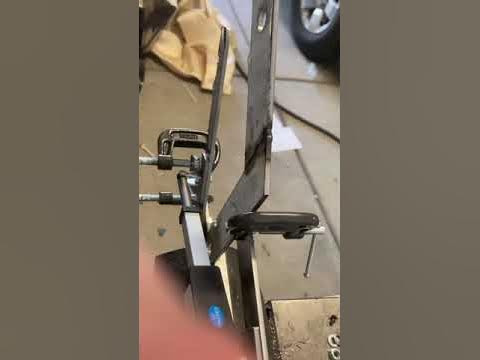
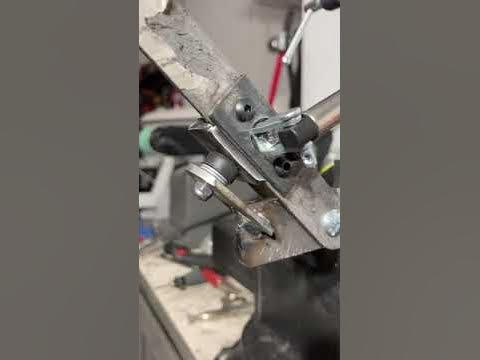
I designed some upper travel stops on the CAD, cut them out, and welded them in. Cleaned up the garage a bit, mocked up the rest of the front end, installed the fog lamp actuators and wired up all of the lighting.
For some reason, my front turn signal wires are not getting signal; will have to recheck the pins on the fuse block. Everything else works. Super happy with how the fog lamps turned out.
My next project will be getting the floorboards and center console properly mounted, and wrapping all of the wiring forward of the BCM,
as well as the dash harness I built.
View attachment 23061View attachment 23062View attachment 23063View attachment 23064View attachment 23065
