Hello fellow Goblinista's! My name is Justin but it looks like there are a few other Justin's as well, so I'll go with my old callsign Jug. This is the first time I've ever attempted a project of this magnitude, so I apologize in advance for some of my questions and overall mechanical ignorance. I've worked on cars a little but almost none of them were more than a single day job; brake pads, shocks, alternator, oil change etc., so I am feeling extremely overwhelmed but excited at same time. I don't think I would have attempted this without the information on this forum to guide me. I'm 46, divorced, two kiddo's, pilot, retired AF, and I'm pretty sure this is my mid-life crisis project, of which I'm extremely grateful.
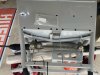
I purchased a 2009 4 door Cobalt SS/TC of copart with 89k miles. The car was rear ended so I thought it'd make a decent donor. It took me a few months of searching to finally find one listed within driving distance and I got it home for about $2k total. It's previous owner must have been Captain Caveman as this was the most disgusting and filthy car I have seen. I felt bad seeing the imprints of the child seats thinking about the baby or toddler being transported in a car that unsanitary.
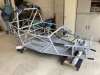
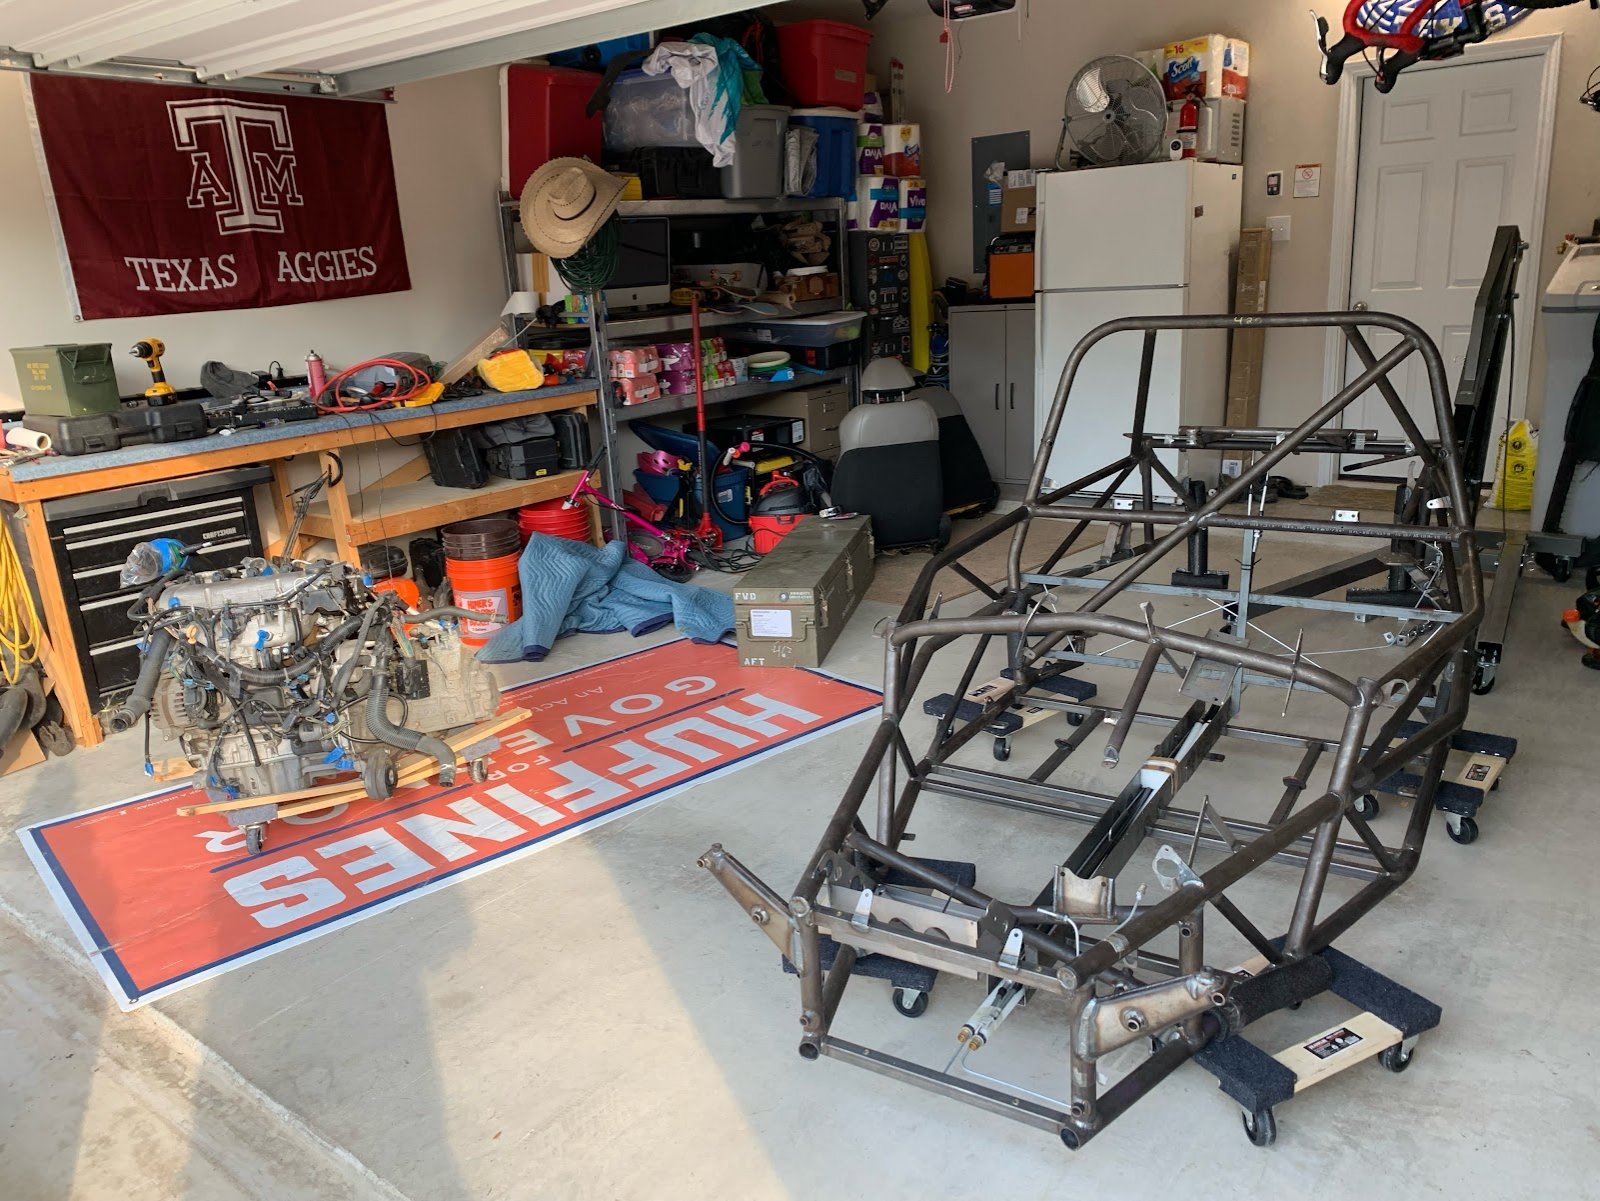
I ordered my frame on Mar 16 and the options I went with were the open cage, full door bars, extended windscreen, hood, footwell cover, side panels, wing mounts, FX1 seats, shifter kit, rear coilovers, 5x114.3 hubs, tow bar and detachable steering wheel kit.
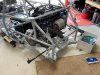
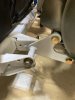
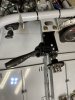
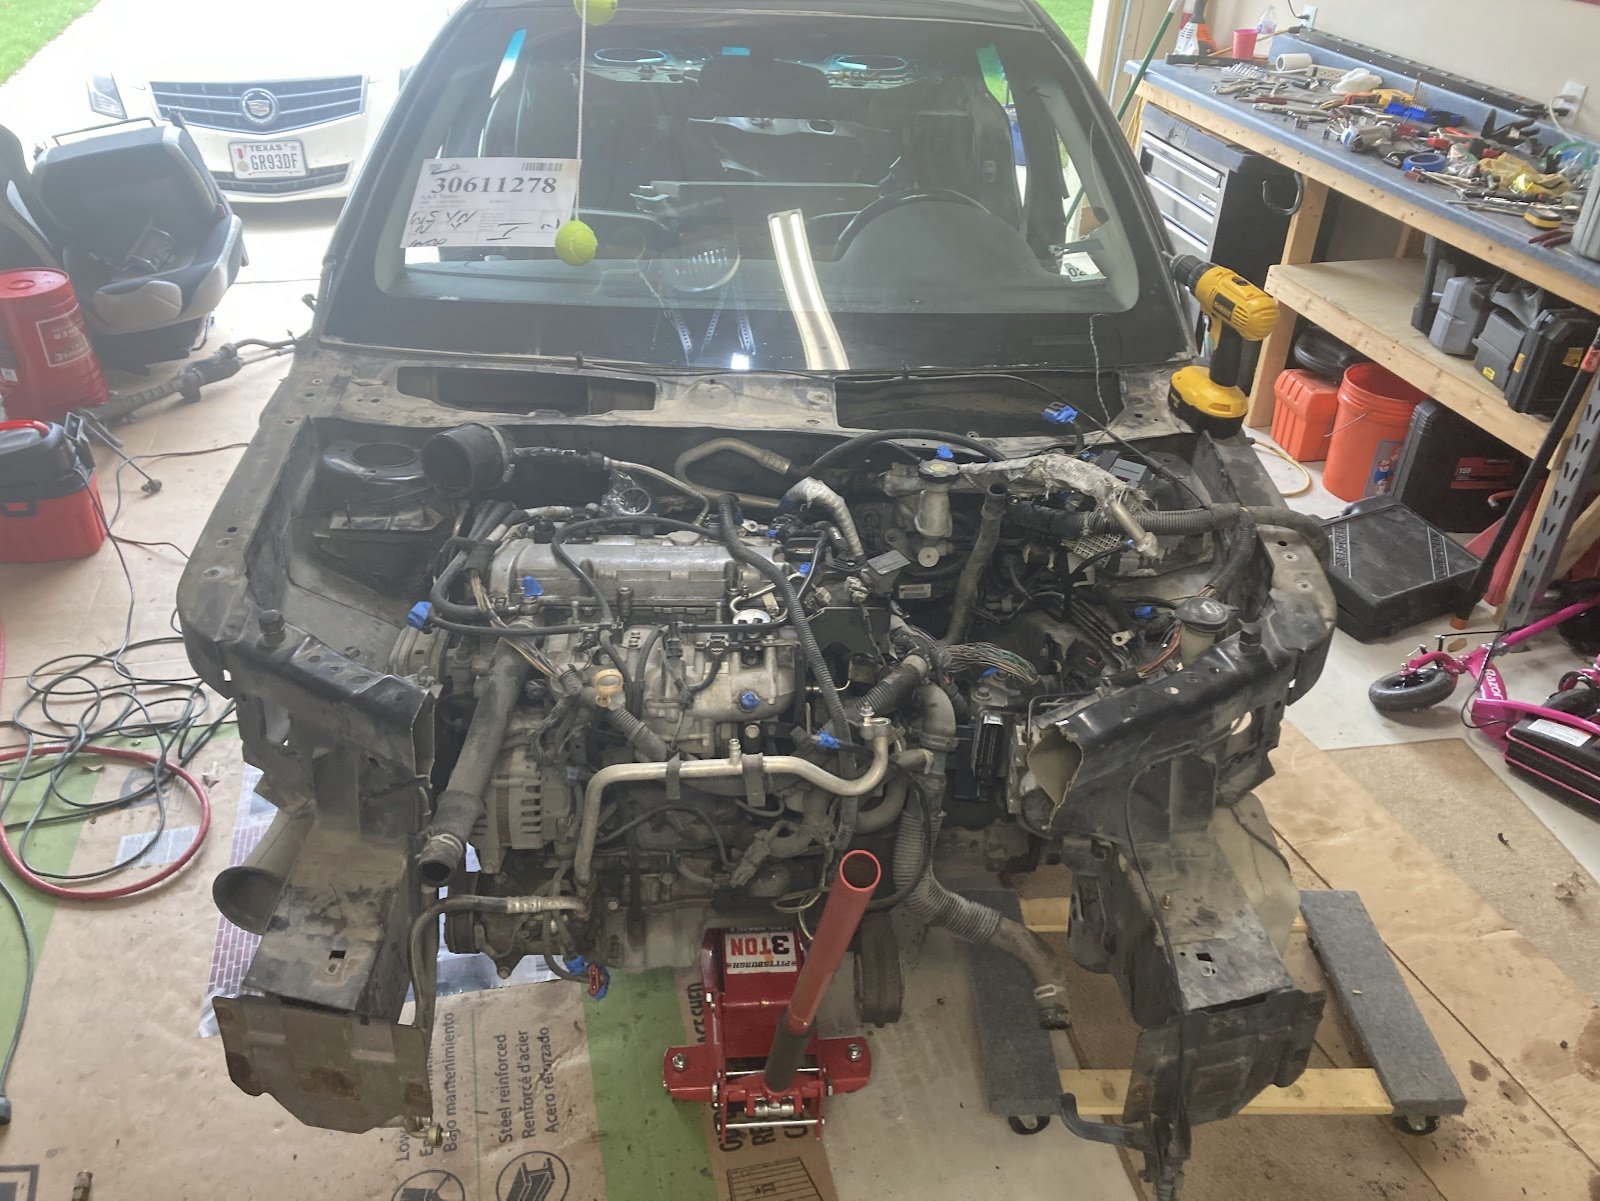
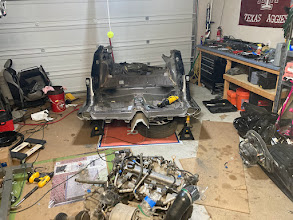
I had an absolute blast disassembling the Cobalt but had trouble finding a junkyard to take shell without taking my title as well. So I just sawzalled it apart and took to recycle center.
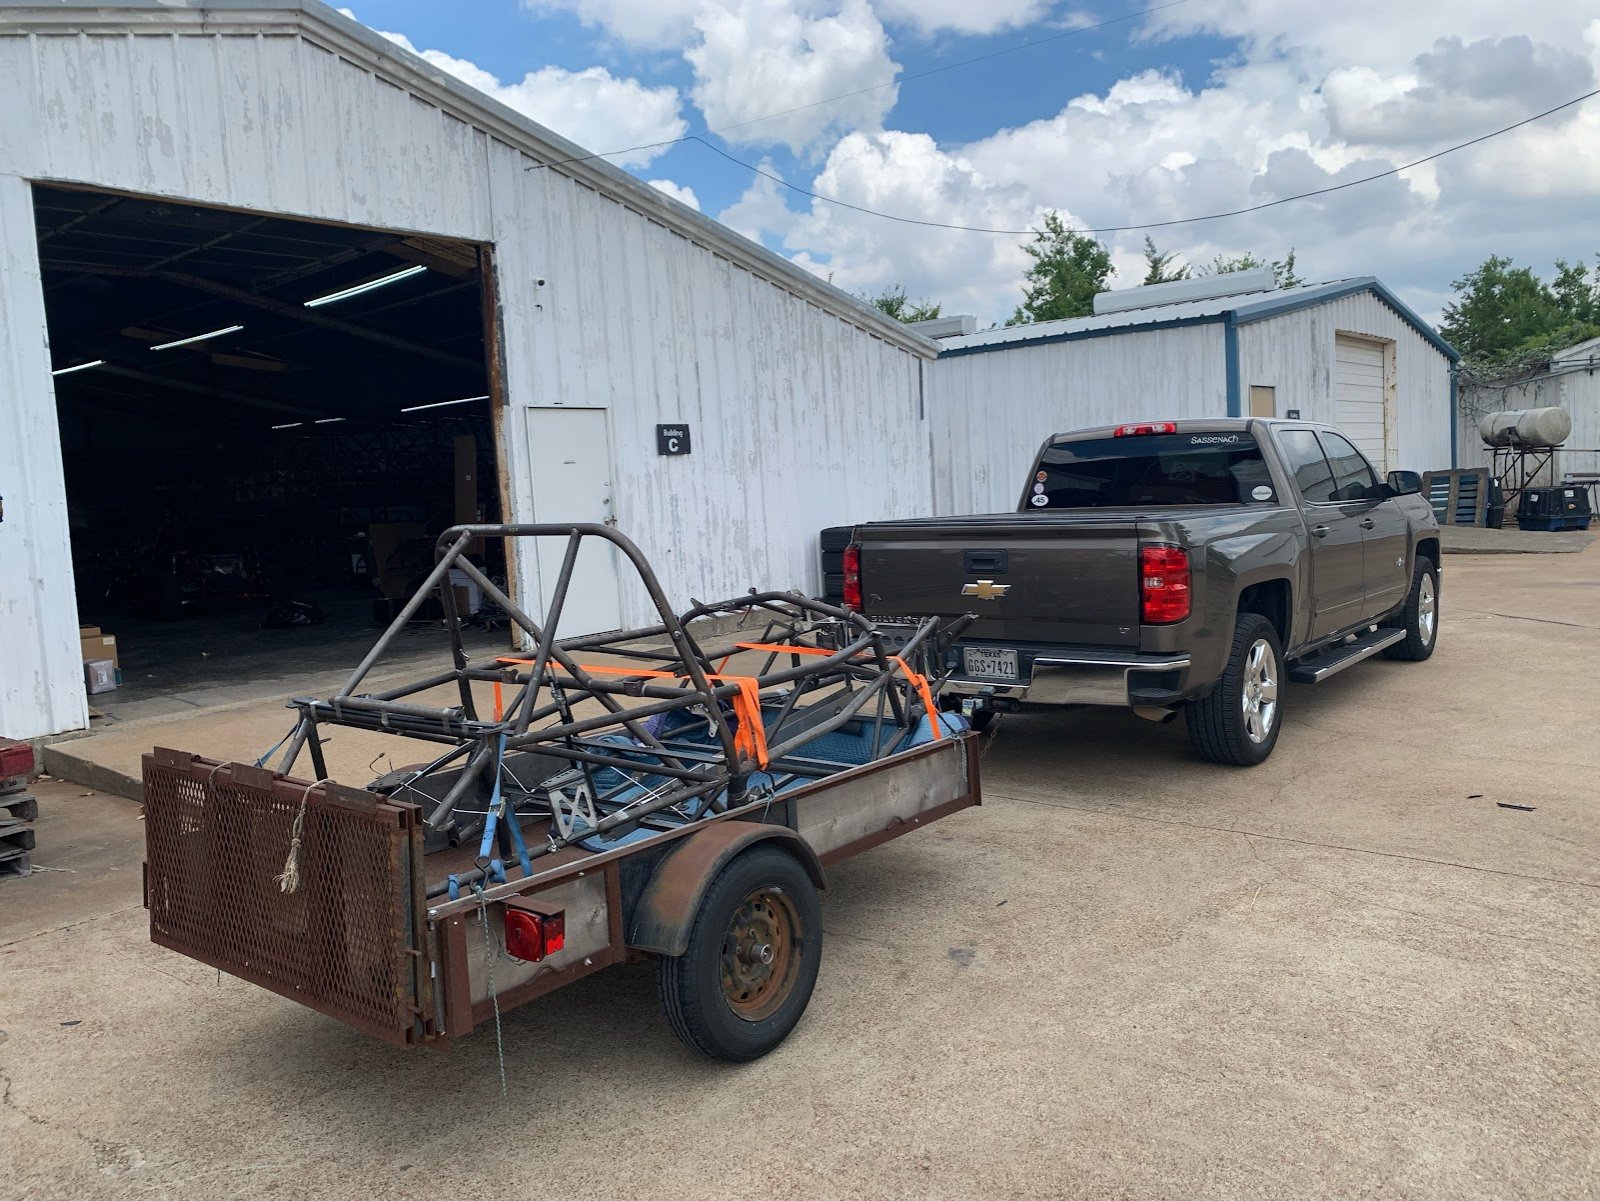
I picked up my frame from DF Headquarters in Red Oak yesterday!
Thanks again in advance for all the help!
Respectfully,
Jug
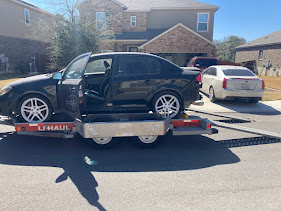
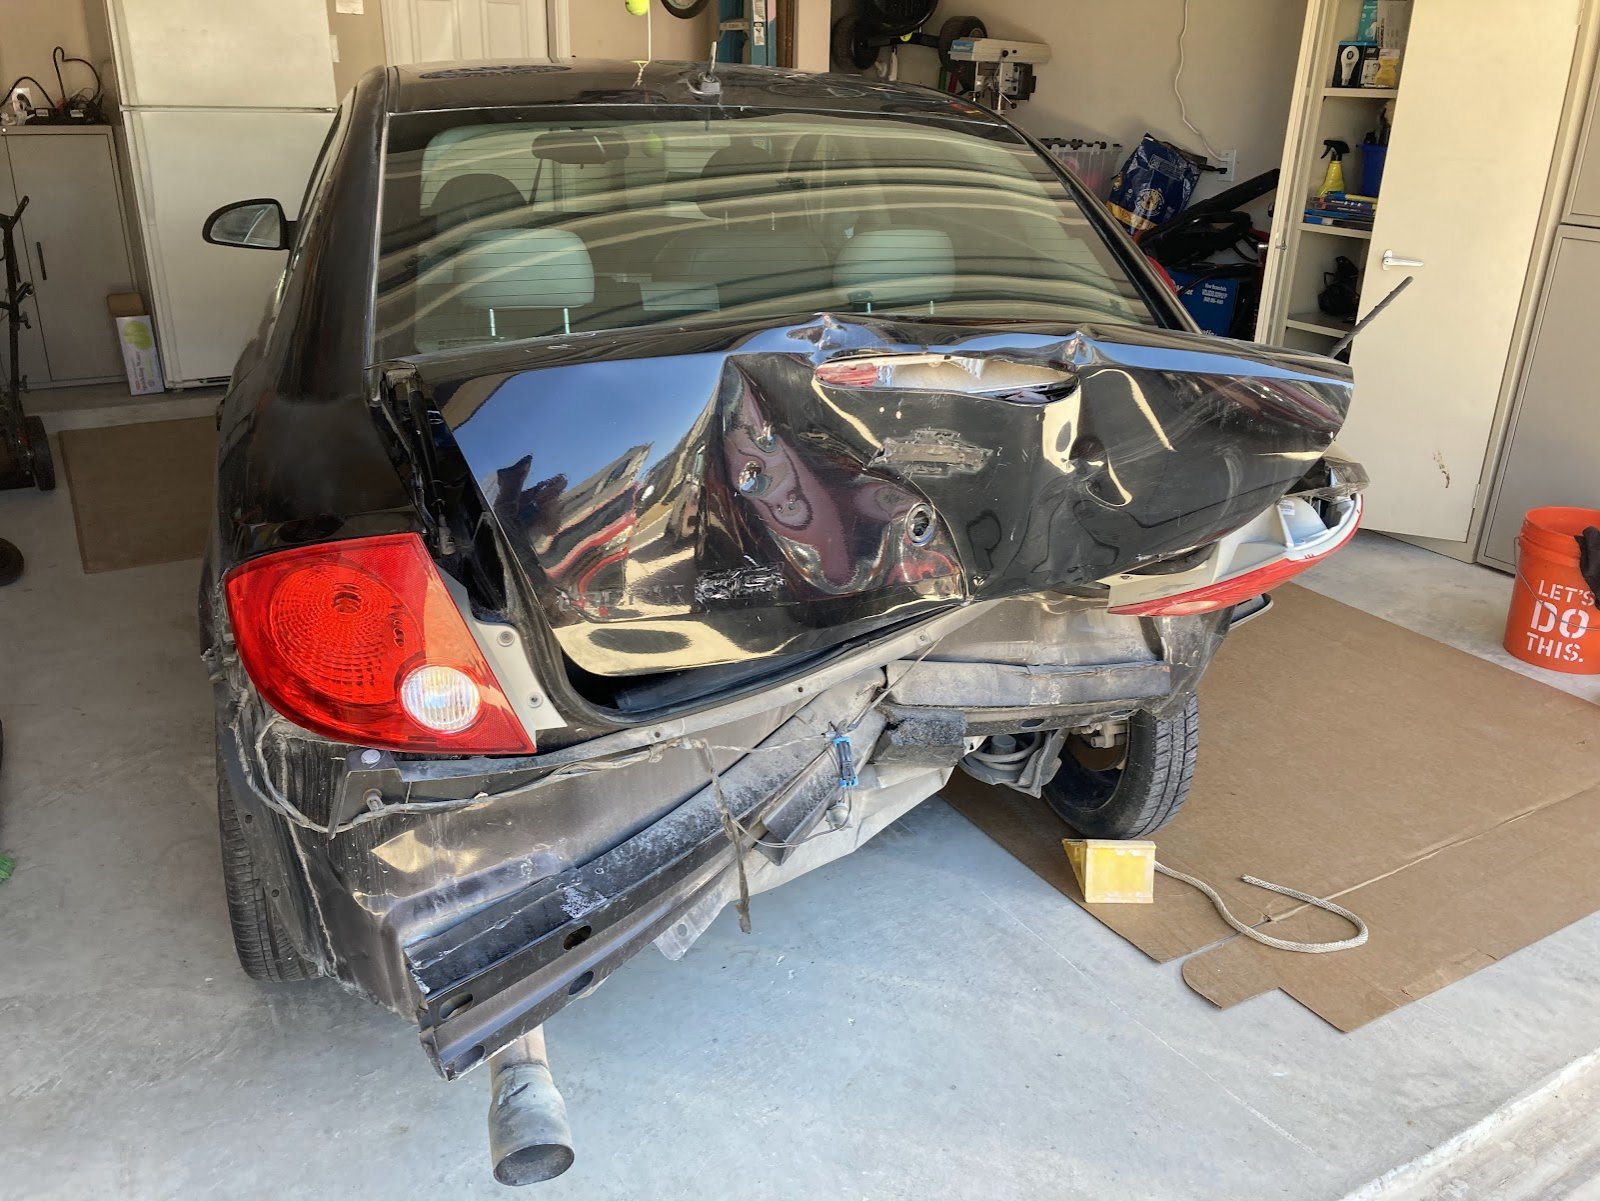

I purchased a 2009 4 door Cobalt SS/TC of copart with 89k miles. The car was rear ended so I thought it'd make a decent donor. It took me a few months of searching to finally find one listed within driving distance and I got it home for about $2k total. It's previous owner must have been Captain Caveman as this was the most disgusting and filthy car I have seen. I felt bad seeing the imprints of the child seats thinking about the baby or toddler being transported in a car that unsanitary.
I ordered my frame on Mar 16 and the options I went with were the open cage, full door bars, extended windscreen, hood, footwell cover, side panels, wing mounts, FX1 seats, shifter kit, rear coilovers, 5x114.3 hubs, tow bar and detachable steering wheel kit.
I had an absolute blast disassembling the Cobalt but had trouble finding a junkyard to take shell without taking my title as well. So I just sawzalled it apart and took to recycle center.
I picked up my frame from DF Headquarters in Red Oak yesterday!
Thanks again in advance for all the help!
Respectfully,
Jug