KingChuck24
Well-Known Member
10/14/2022
Day: 9
Hours Worked: 5
Total Hours: 47
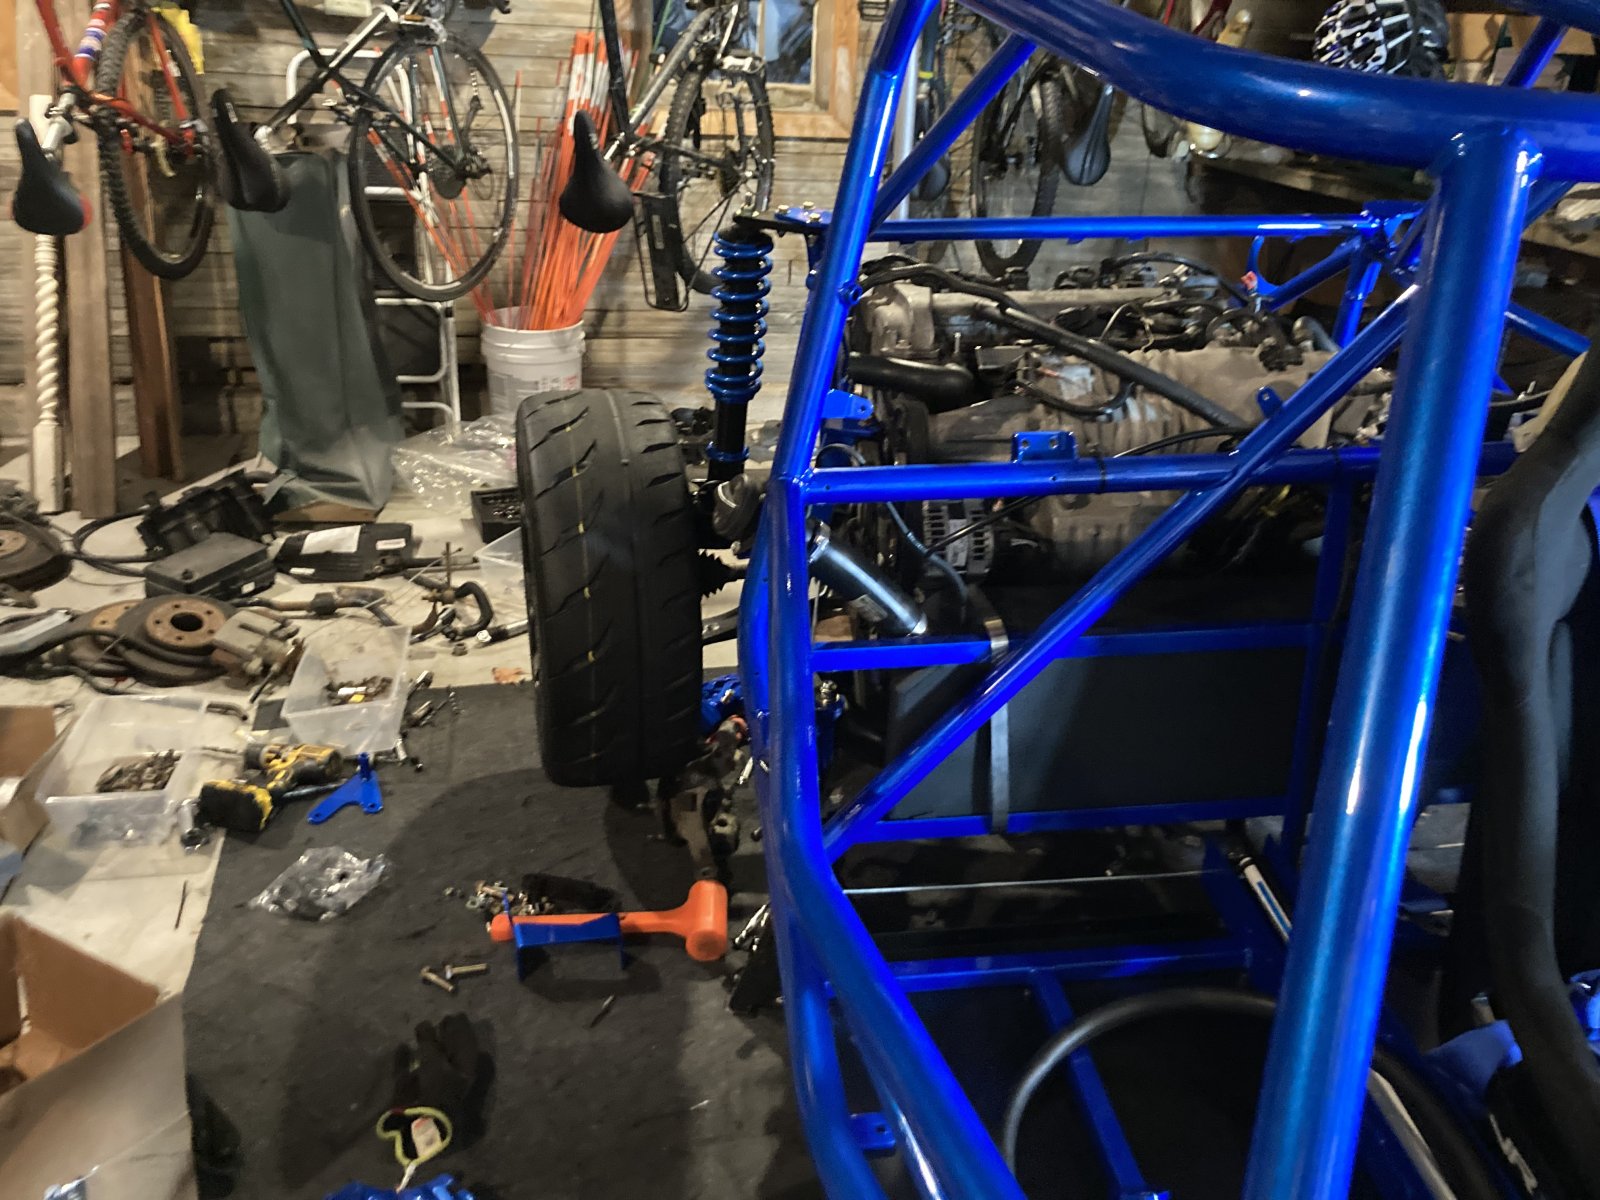
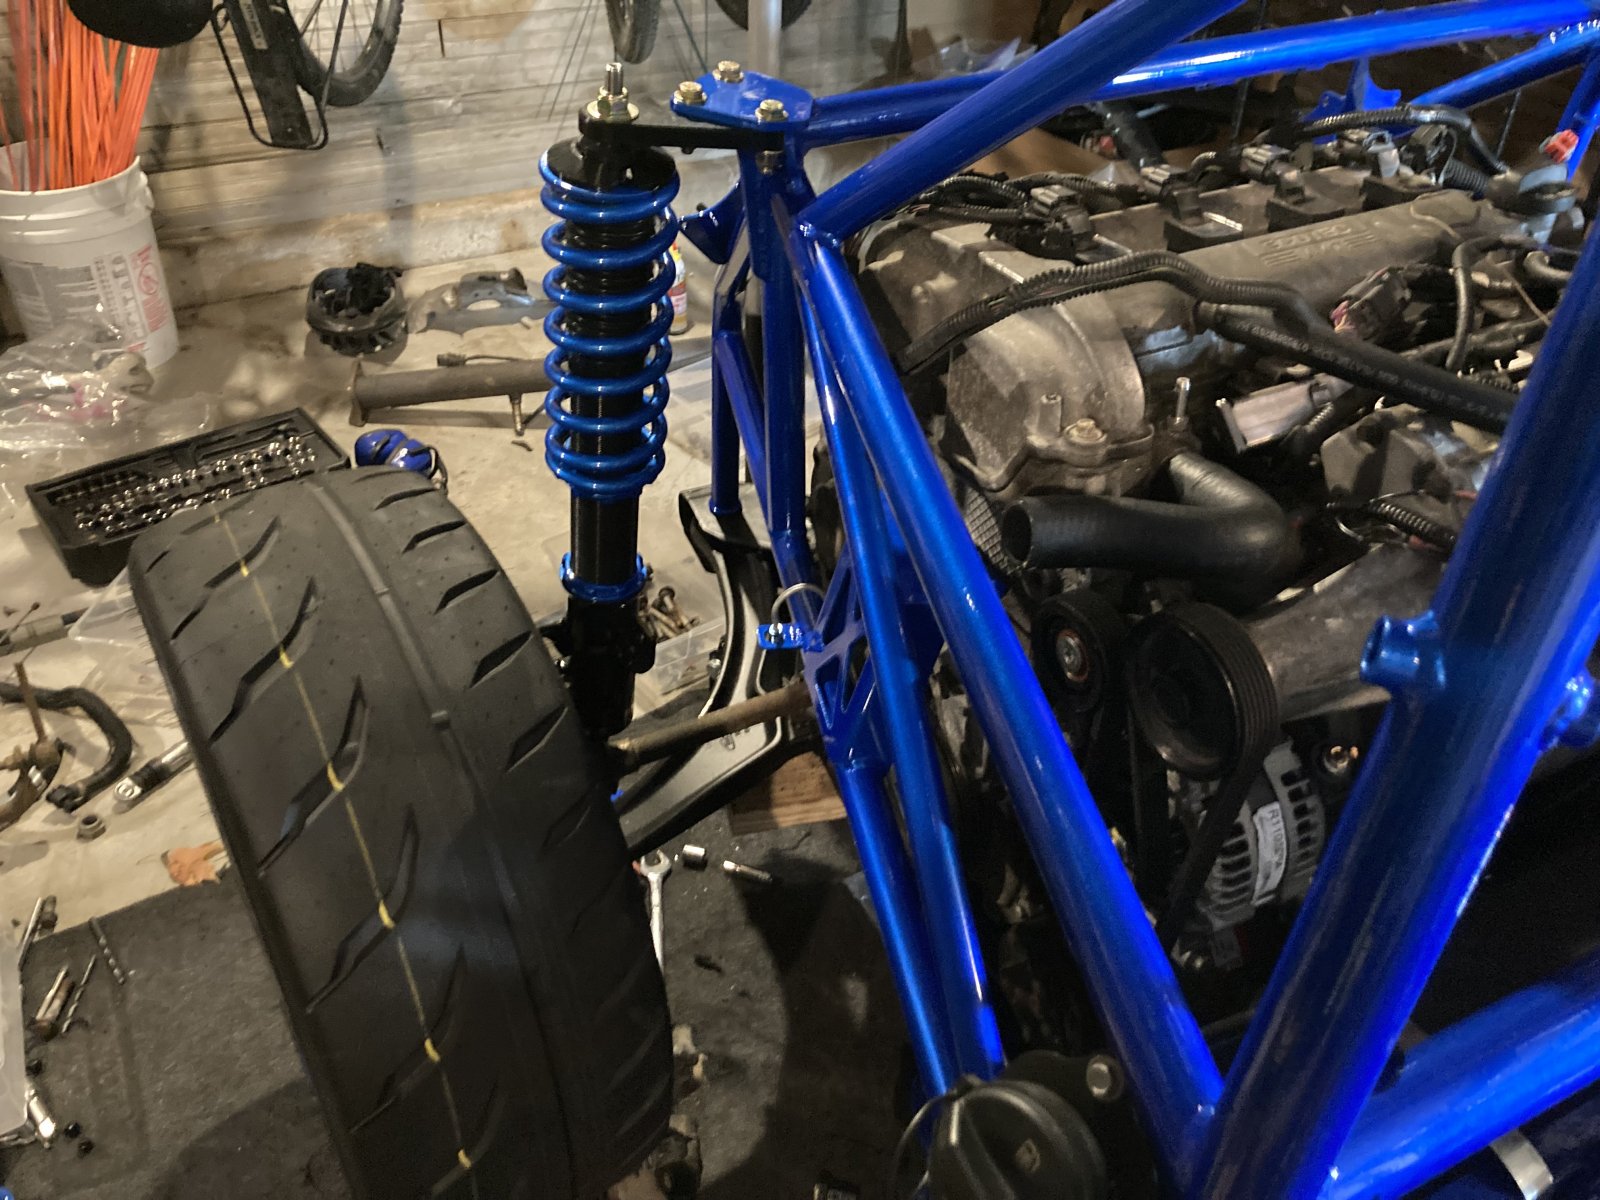
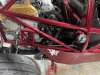
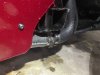
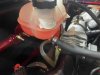
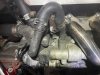
Lot's of work was done yesterday! First off we decided to connect the coolant lines and heat exchanger lines to the engine. The driver side main coolant line went great and so did one of the heat exchanger hoses but I will describe my issues with the other two in the questions. We also got the intake installed which was pretty easy. Still not sure if they MAS is the correct direction but I will post that in quesitons as well. After that me and another friend lifted the subframe and bolted it into place. We figured out we were missing one of the rear subframe mounting bolts so I will have to order a new one of those. I was a little worried about the subframe bolts getting stuck like the control arms but everything has so far gone ok. Only one side left to do. After that it was around 11 but we were on a roll so we kept going and installed the rear passenger side suspension system minus the tie rod which I am confused about as well as the sway bar. We had a little troubled figuring out how to mount the caliper but once we figured out there was an adapter we were able to install it but loosely as we are pretty sure it will need to be removed. We then tried to put on the wheel adapter hubs that we bought but then realized that the inner diameter of the adapter seemed to be a little too small so we will need to sand that out a little so it can fit. We got the wheel mocked up and it just looks amazing. I am absolutely loving the color scheme we decided to go with!
Pictures:
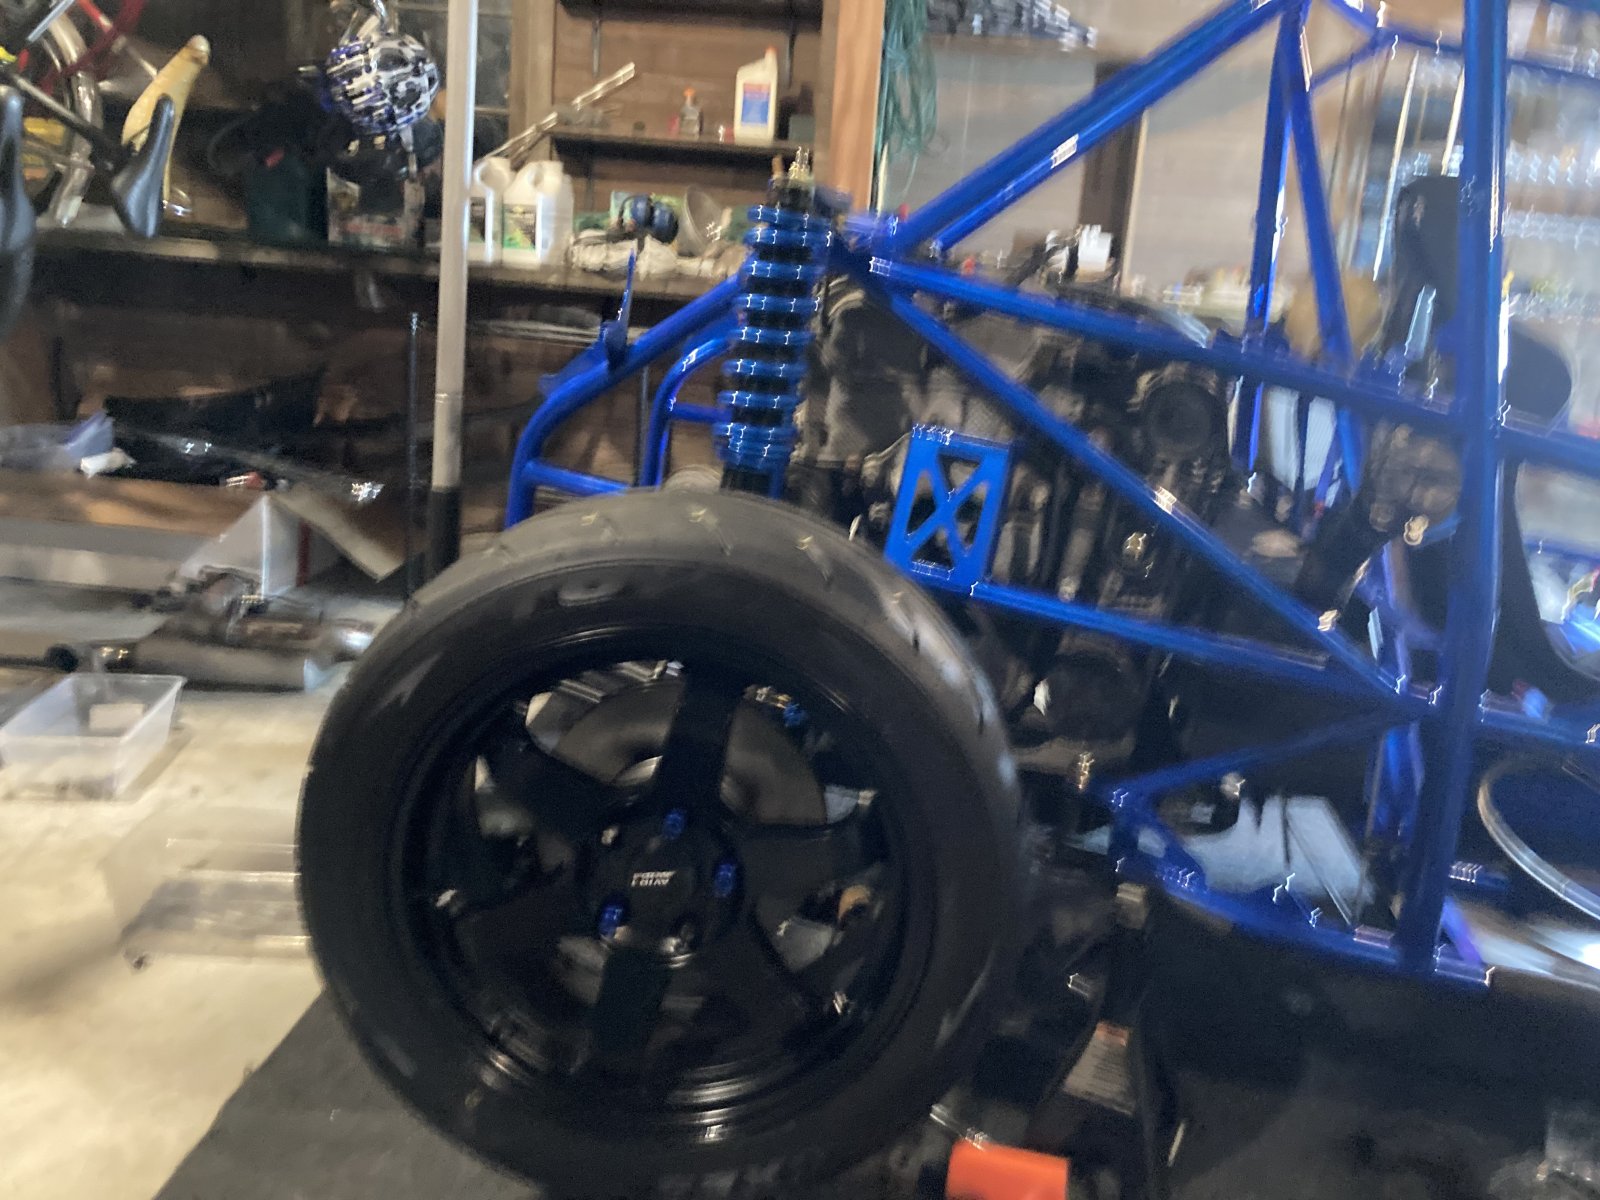
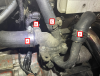
Sorry this one is out of focus, I will get a better one for next post
Questions:
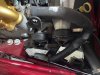
Passenger side main coolant hose:
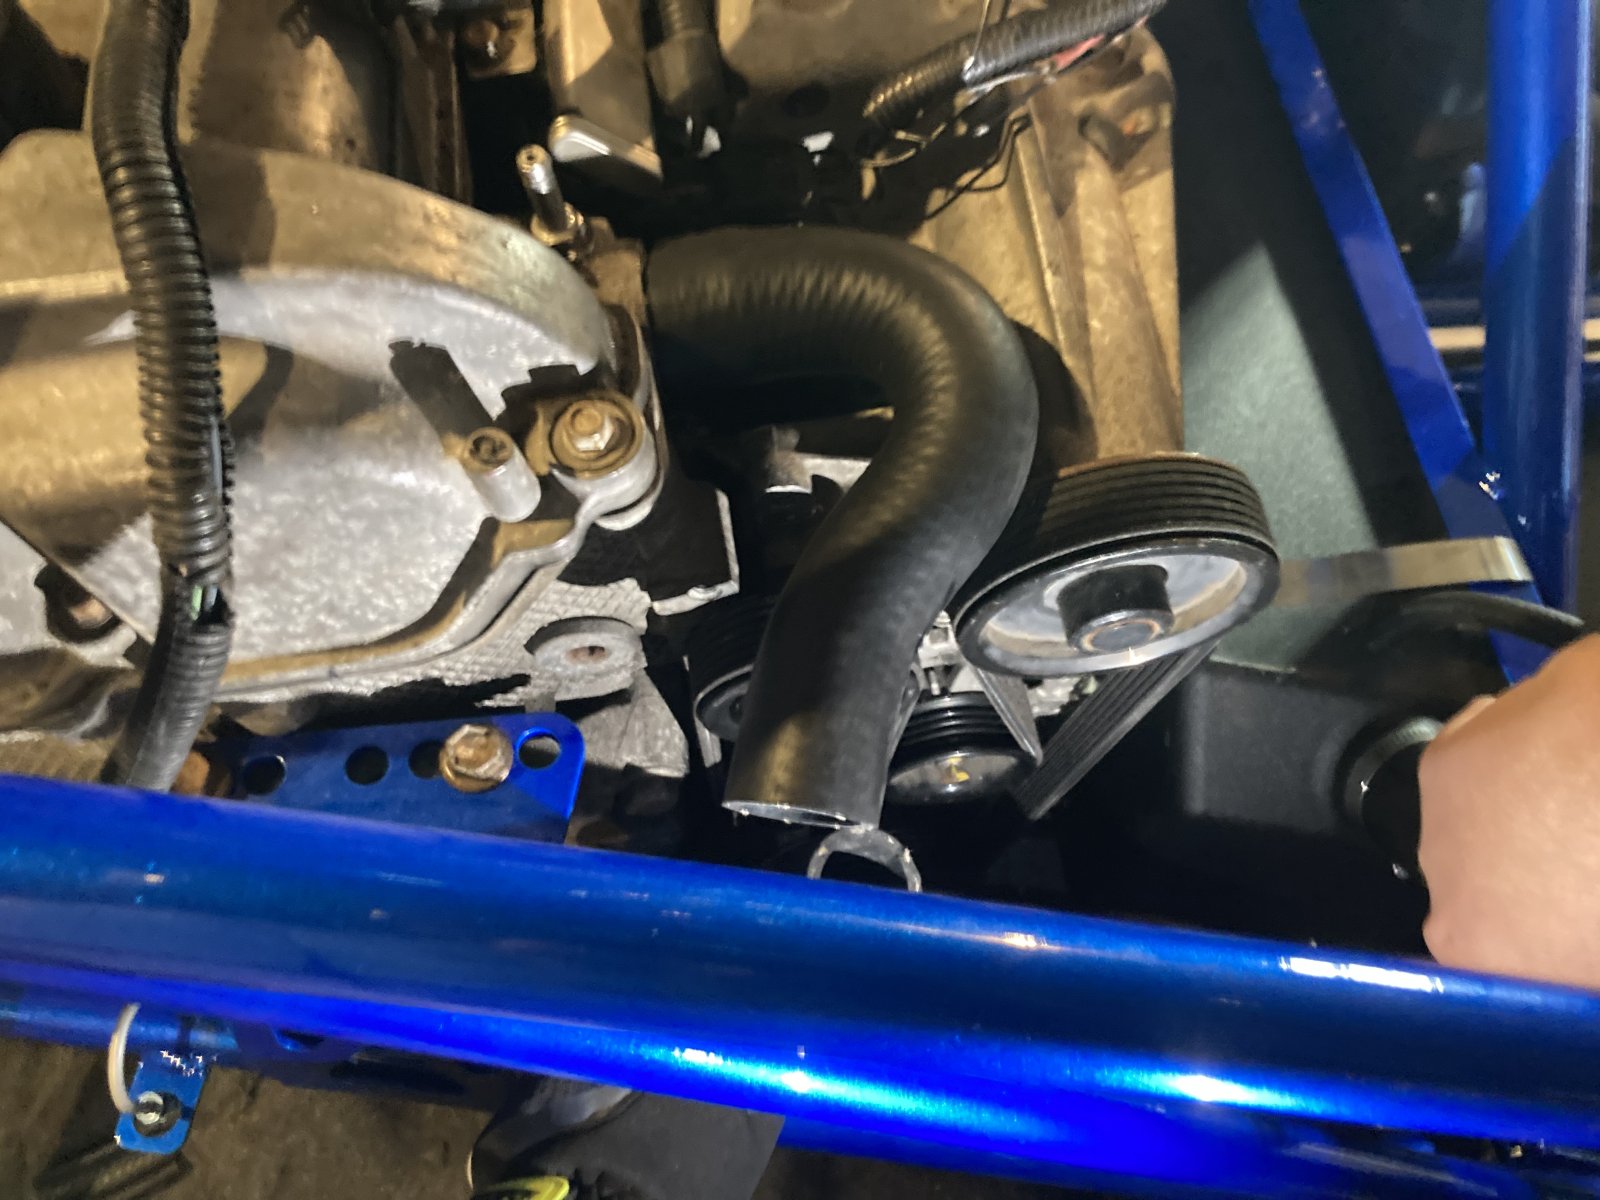
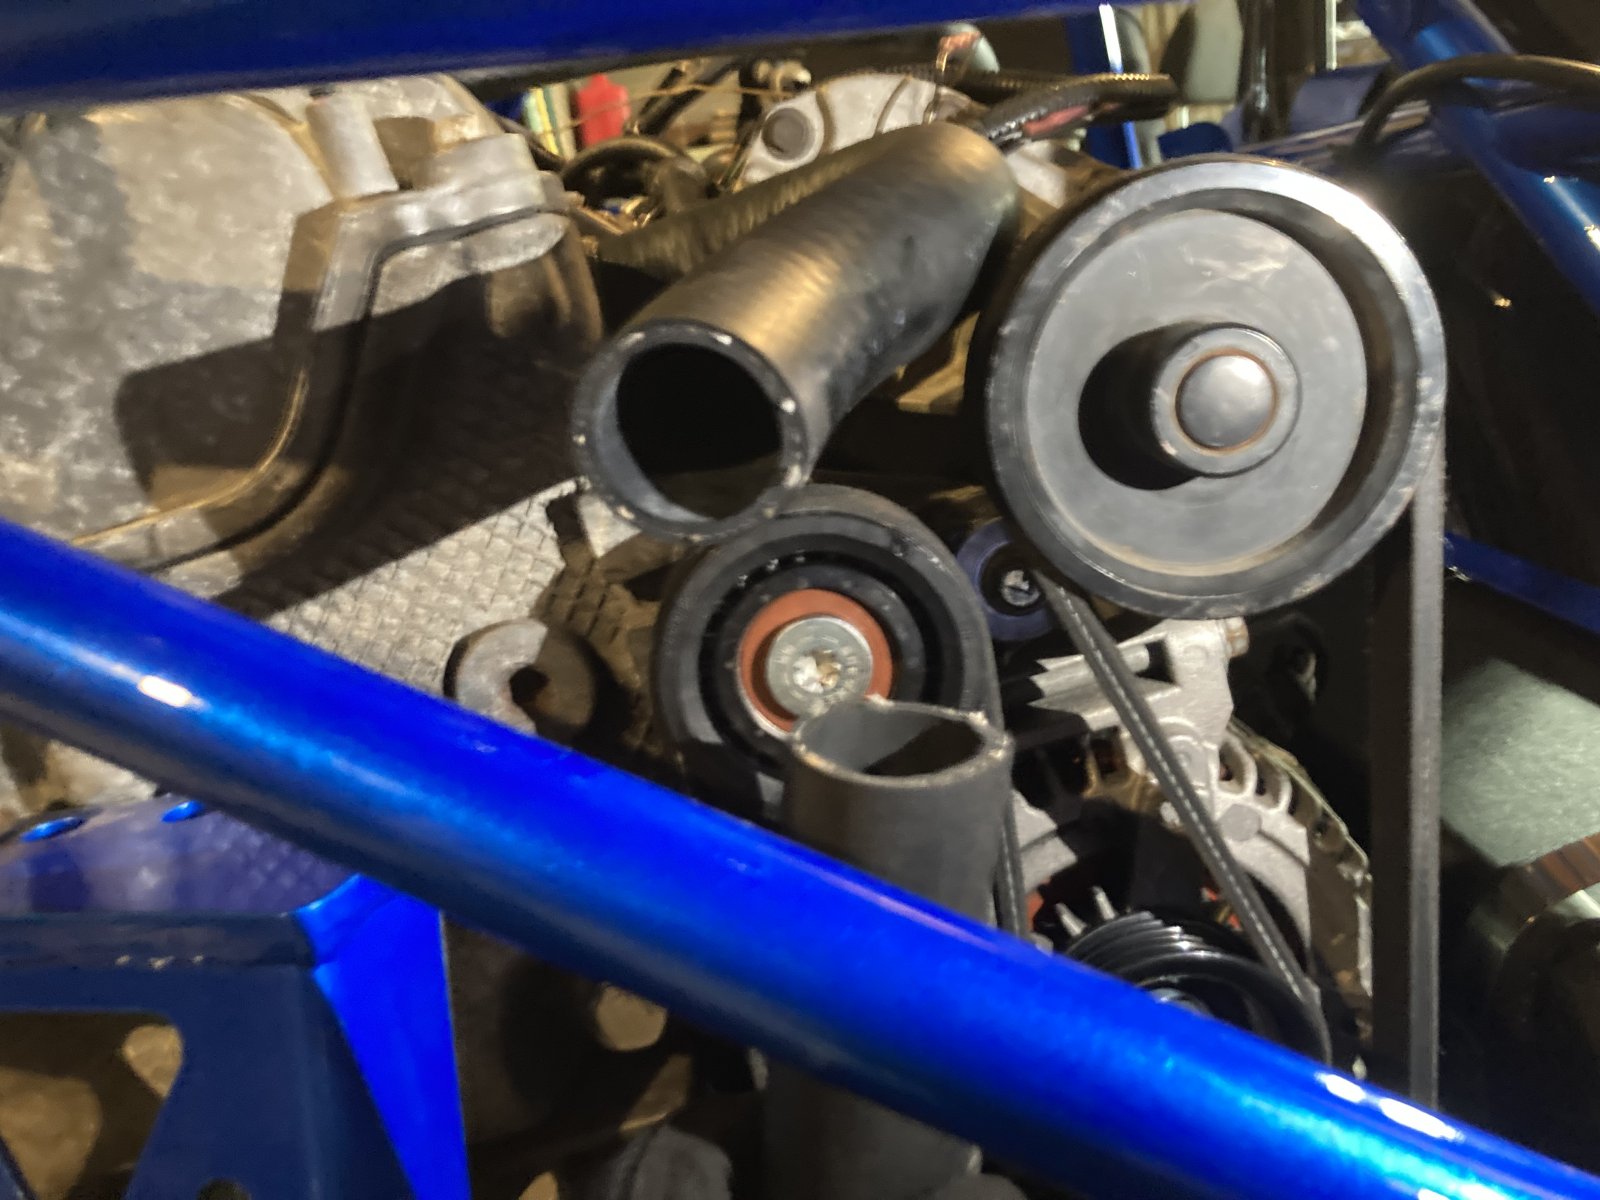
I do not understand how these meet up, am I not using the correct hose or what? If I try to connect them they will contact the belt.
Heat exchanger hoses:
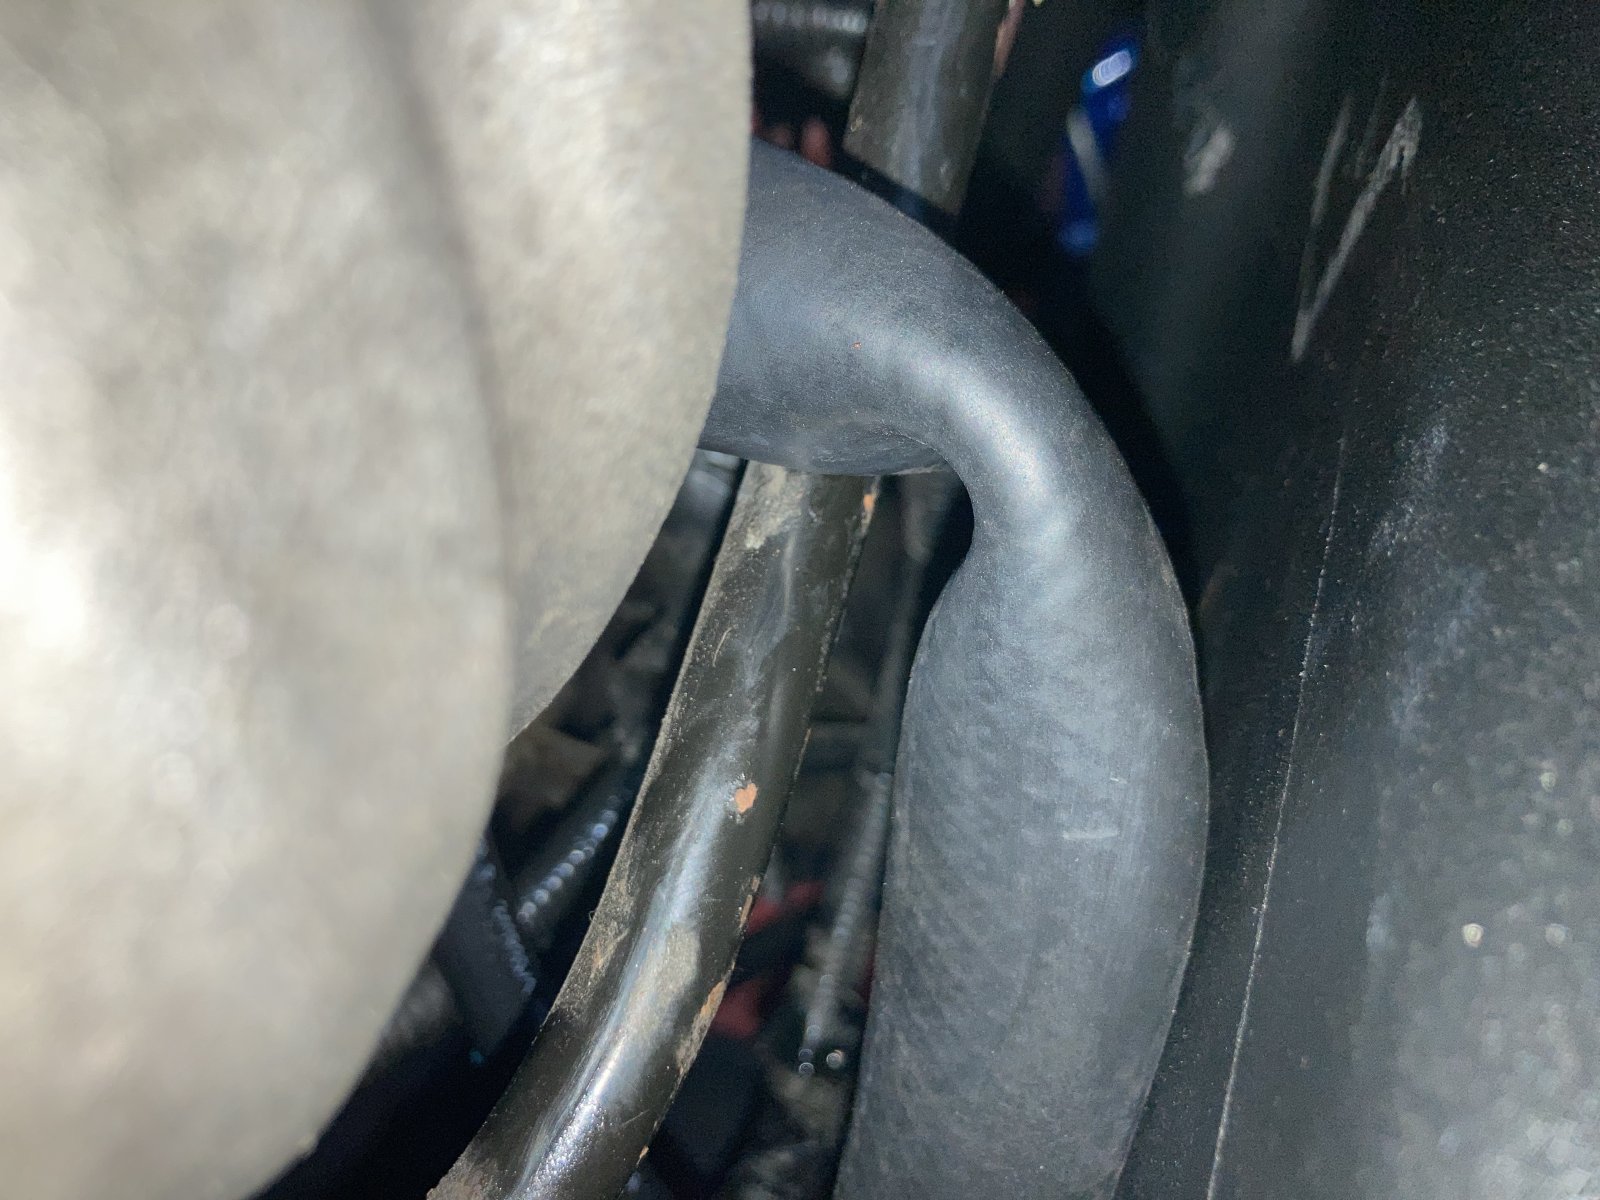
This is the hose that comes out of the port right next to the intake manifold under the turbo. The hoses provided don't seem to have a bend to facilitate the one above. It is pressing up against the fuel tank, do I need to buy a different piece or how does this actually fit in?
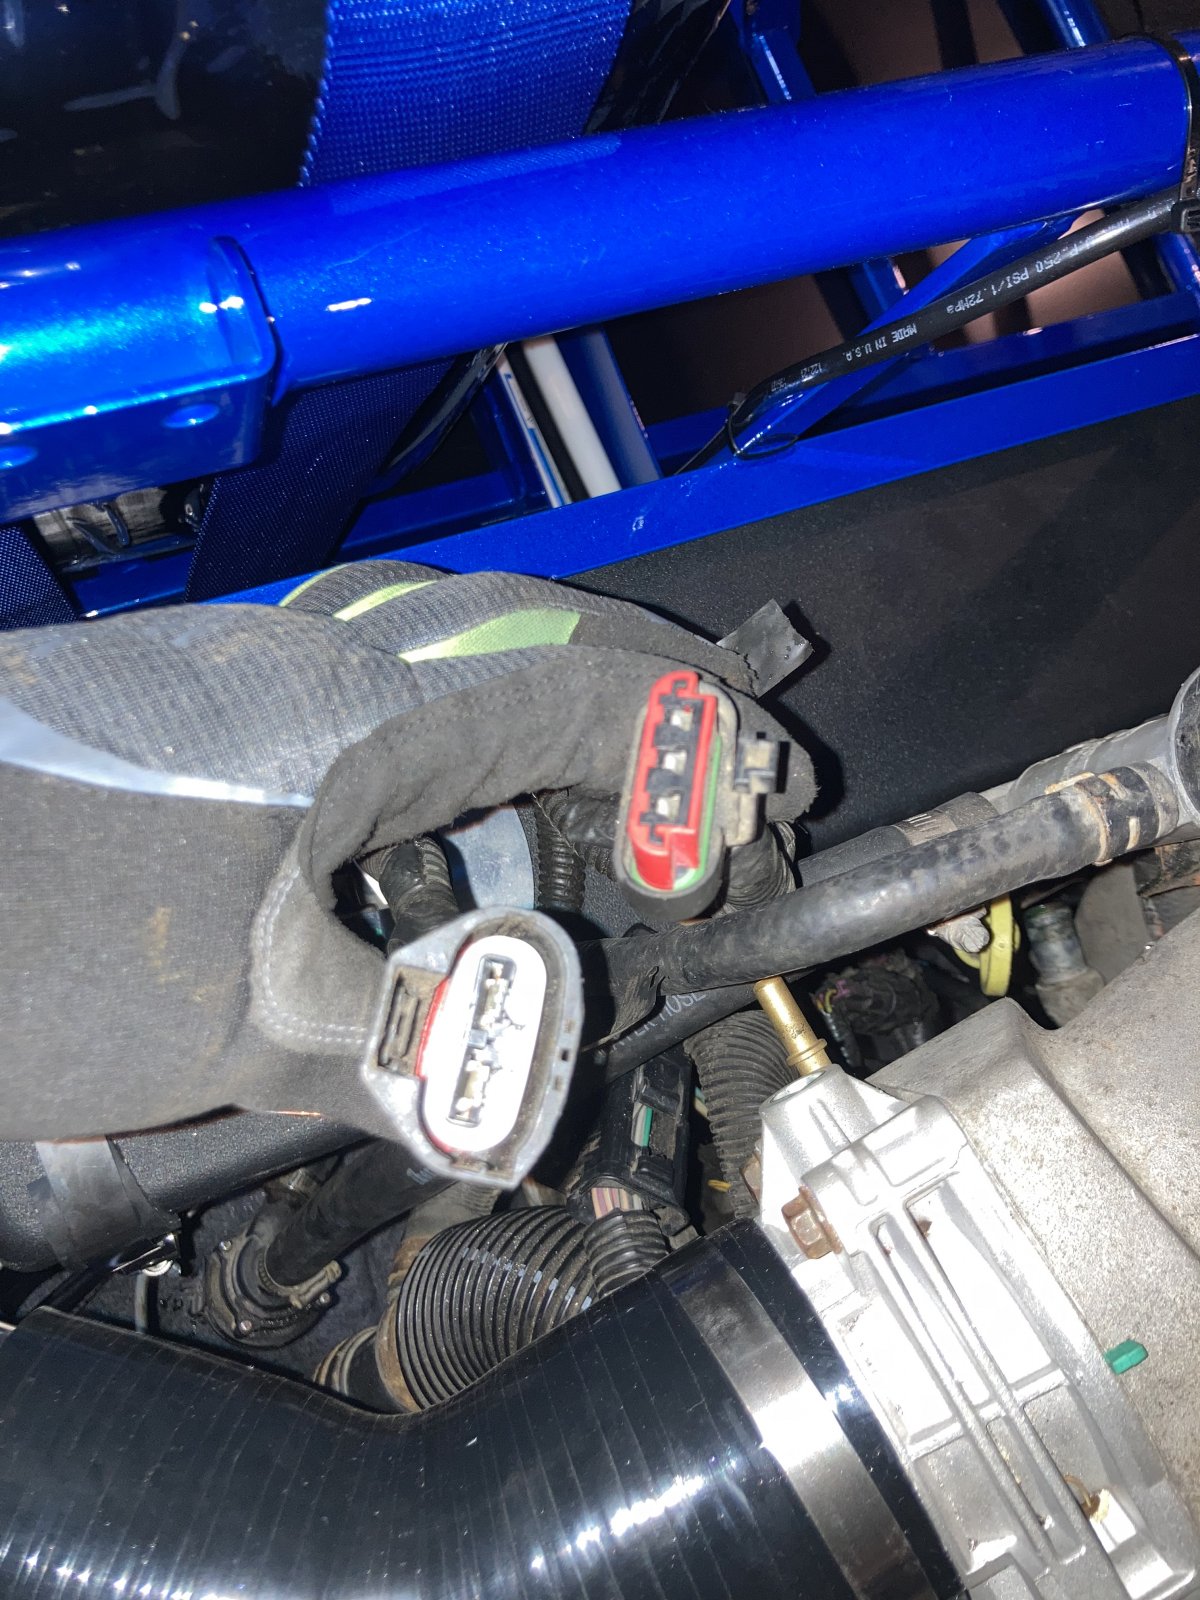
What do these plugs go to:
Summary:
Hopefully today will have a similar good result, lots got done last night so hopefully we can just mirror the other side, only issue is we are missing the other subframe bolt which I was convinced we had but I suppose not. I spoke to Lonny yesterday and he said they are doing a harness about every 2 days, he told me that there were 2 ahead of mine currently I'm not sure if this is accurate but he said 320 and 419 may have been the two in front. He said hopefully Monday October 24 it will be done, coincidentally that is also my birthday so if it somehow arrives then maybe the first start can be then as well! I ordered some parts from a place called GM Parts Direct back on October 3rd and they still haven't shipped out, a little concerning so I might end up canceling the order and getting them from somewhere else, issue is rock auto didn't have some of the things I needed. I will probably give another update tomorrow. Tasks for today are torqueing everything and making sure everything is secure, then attempting to put on the coolant reservoir and some other smaller items and finishing up the coolant system, after which probably doing the rear brakes. Each day we get closer and closer!
Day: 9
Hours Worked: 5
Total Hours: 47
Lot's of work was done yesterday! First off we decided to connect the coolant lines and heat exchanger lines to the engine. The driver side main coolant line went great and so did one of the heat exchanger hoses but I will describe my issues with the other two in the questions. We also got the intake installed which was pretty easy. Still not sure if they MAS is the correct direction but I will post that in quesitons as well. After that me and another friend lifted the subframe and bolted it into place. We figured out we were missing one of the rear subframe mounting bolts so I will have to order a new one of those. I was a little worried about the subframe bolts getting stuck like the control arms but everything has so far gone ok. Only one side left to do. After that it was around 11 but we were on a roll so we kept going and installed the rear passenger side suspension system minus the tie rod which I am confused about as well as the sway bar. We had a little troubled figuring out how to mount the caliper but once we figured out there was an adapter we were able to install it but loosely as we are pretty sure it will need to be removed. We then tried to put on the wheel adapter hubs that we bought but then realized that the inner diameter of the adapter seemed to be a little too small so we will need to sand that out a little so it can fit. We got the wheel mocked up and it just looks amazing. I am absolutely loving the color scheme we decided to go with!
Pictures:
Sorry this one is out of focus, I will get a better one for next post
Questions:
Passenger side main coolant hose:
I do not understand how these meet up, am I not using the correct hose or what? If I try to connect them they will contact the belt.
Heat exchanger hoses:
This is the hose that comes out of the port right next to the intake manifold under the turbo. The hoses provided don't seem to have a bend to facilitate the one above. It is pressing up against the fuel tank, do I need to buy a different piece or how does this actually fit in?
What do these plugs go to:
Summary:
Hopefully today will have a similar good result, lots got done last night so hopefully we can just mirror the other side, only issue is we are missing the other subframe bolt which I was convinced we had but I suppose not. I spoke to Lonny yesterday and he said they are doing a harness about every 2 days, he told me that there were 2 ahead of mine currently I'm not sure if this is accurate but he said 320 and 419 may have been the two in front. He said hopefully Monday October 24 it will be done, coincidentally that is also my birthday so if it somehow arrives then maybe the first start can be then as well! I ordered some parts from a place called GM Parts Direct back on October 3rd and they still haven't shipped out, a little concerning so I might end up canceling the order and getting them from somewhere else, issue is rock auto didn't have some of the things I needed. I will probably give another update tomorrow. Tasks for today are torqueing everything and making sure everything is secure, then attempting to put on the coolant reservoir and some other smaller items and finishing up the coolant system, after which probably doing the rear brakes. Each day we get closer and closer!
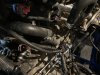
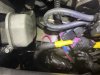
") technically it is an oil-coolant heat exchanger.
technically it is an oil-coolant heat exchanger.