this is my vinyl wrap thread

ColoradoCryptoTrader

Well-Known Member
Hello :)

I will document the various items on the car that I am vinyl wrapping. I am using the following materials...

Teckwrap - Kelly Green - high gloss (RB22-HD)
Teckwrap - Dark Platinum - high gloss (RB12-HD)
3M metallic silver pinstripe 1/4" width
Generic knifeless tape


This is my first time wrapping. I have been doing a lot of research and ready to give it a try. This Teckwrap is really nice stuff, it has a very very low initial tack.

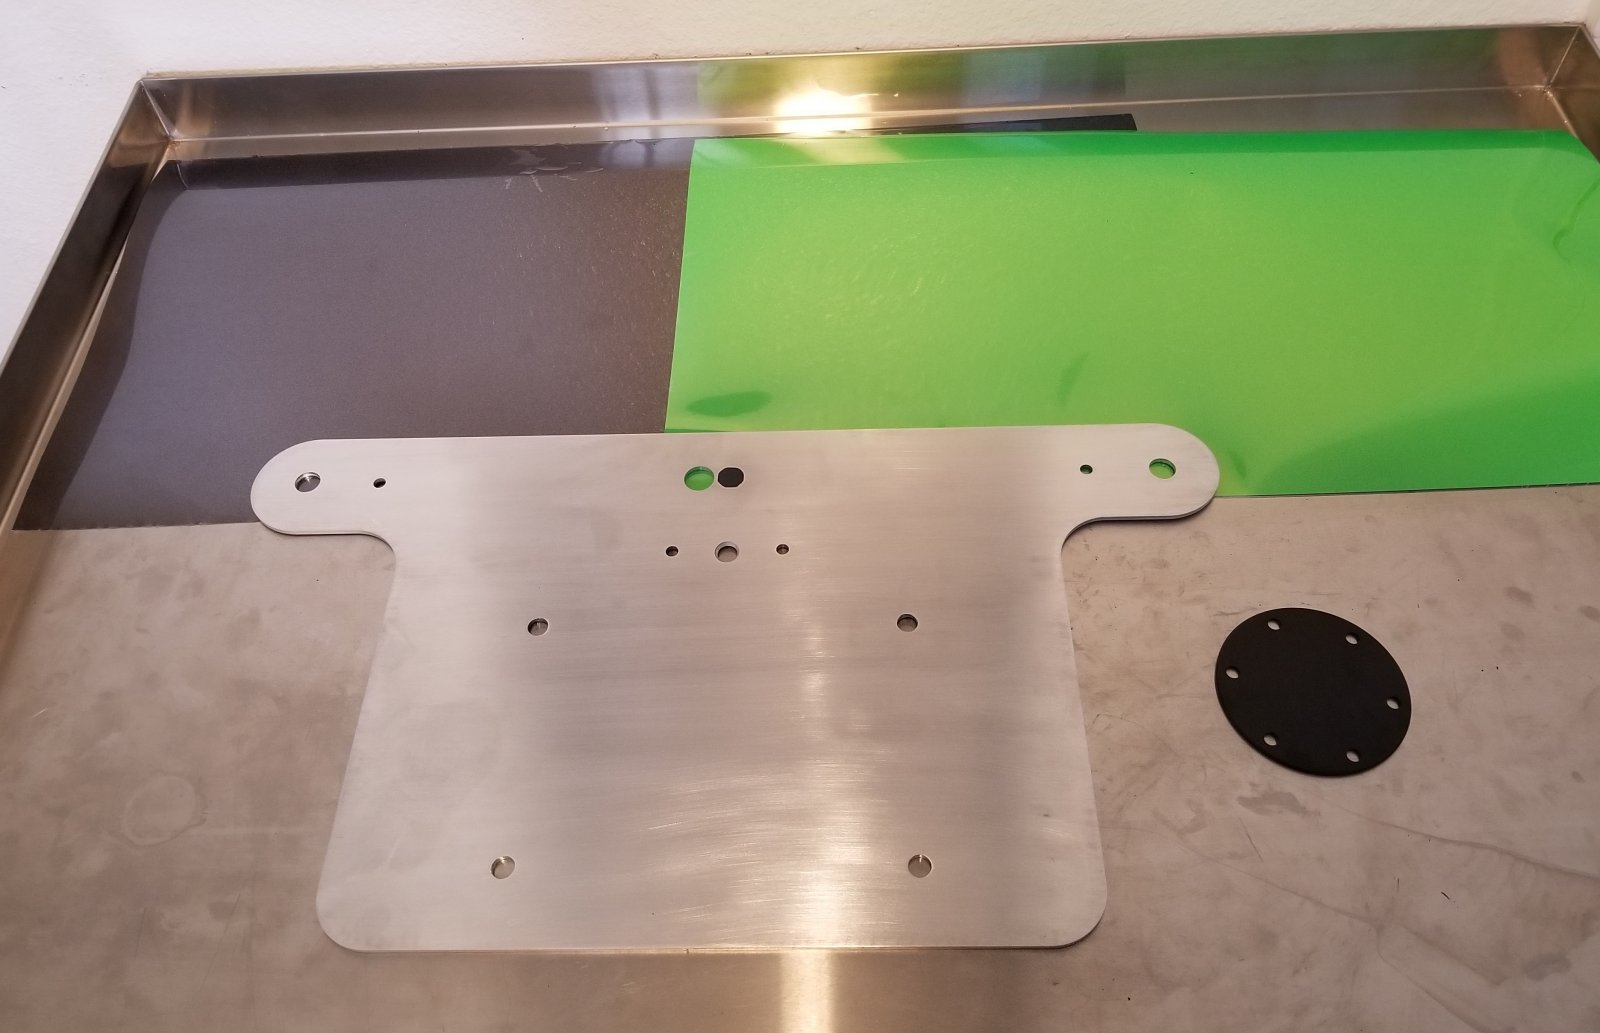
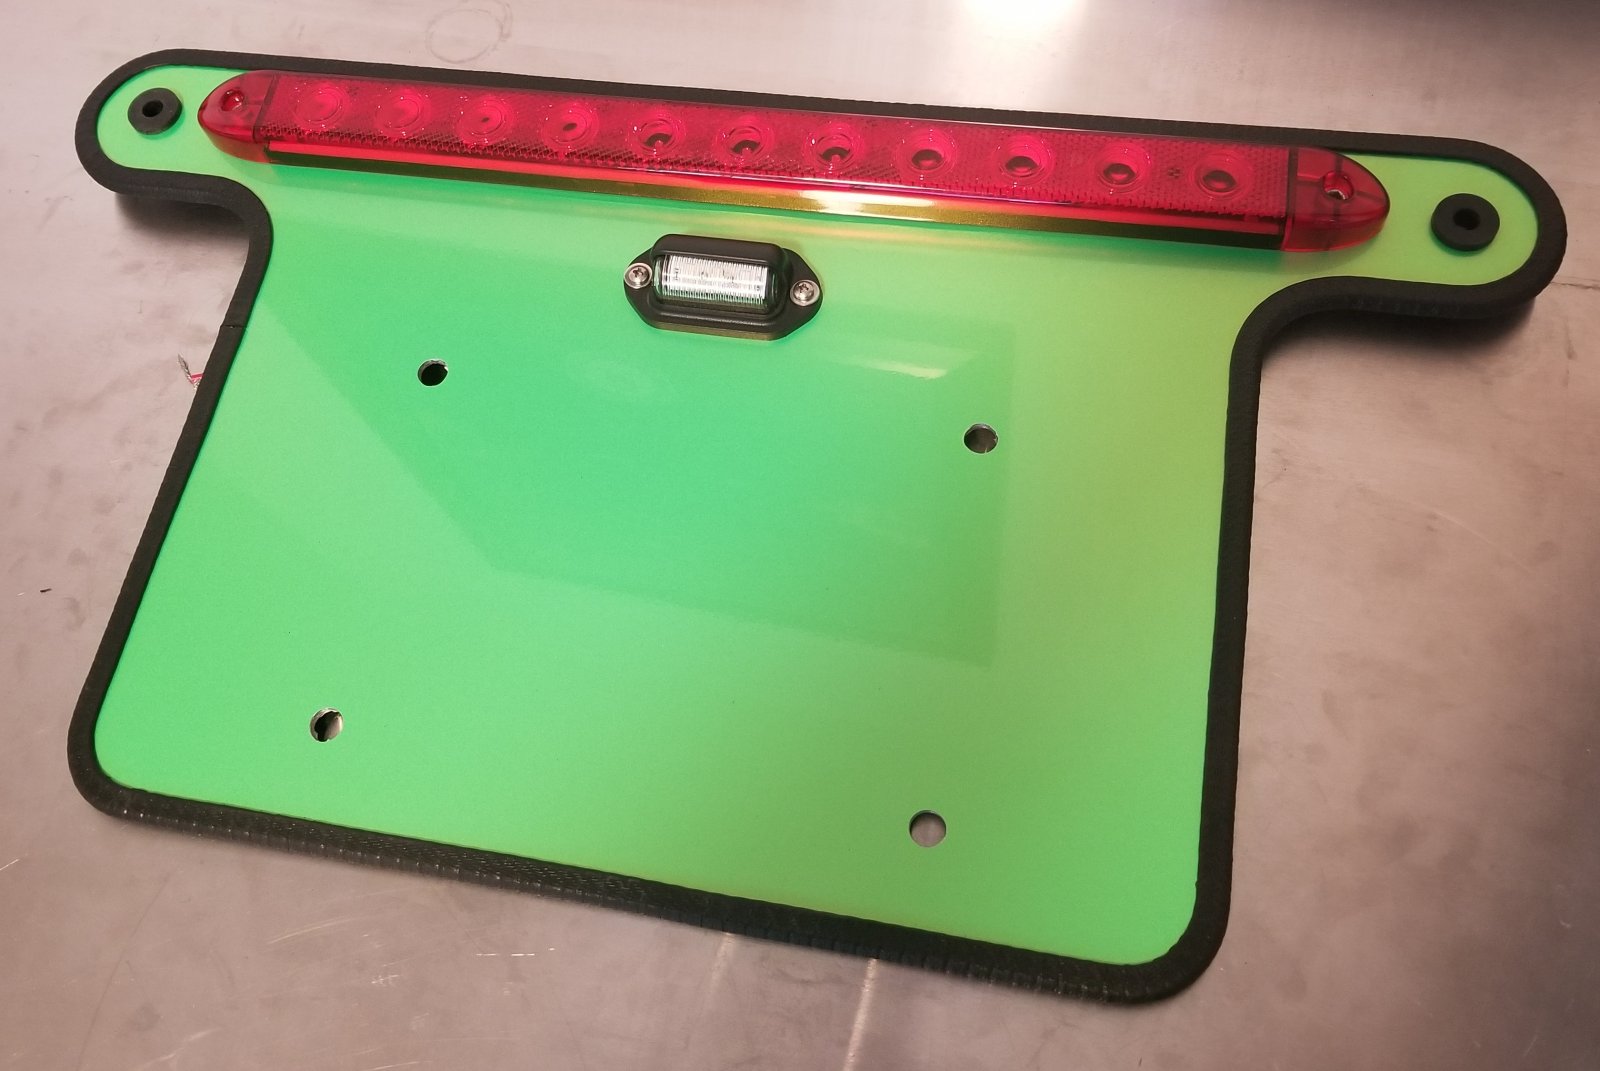
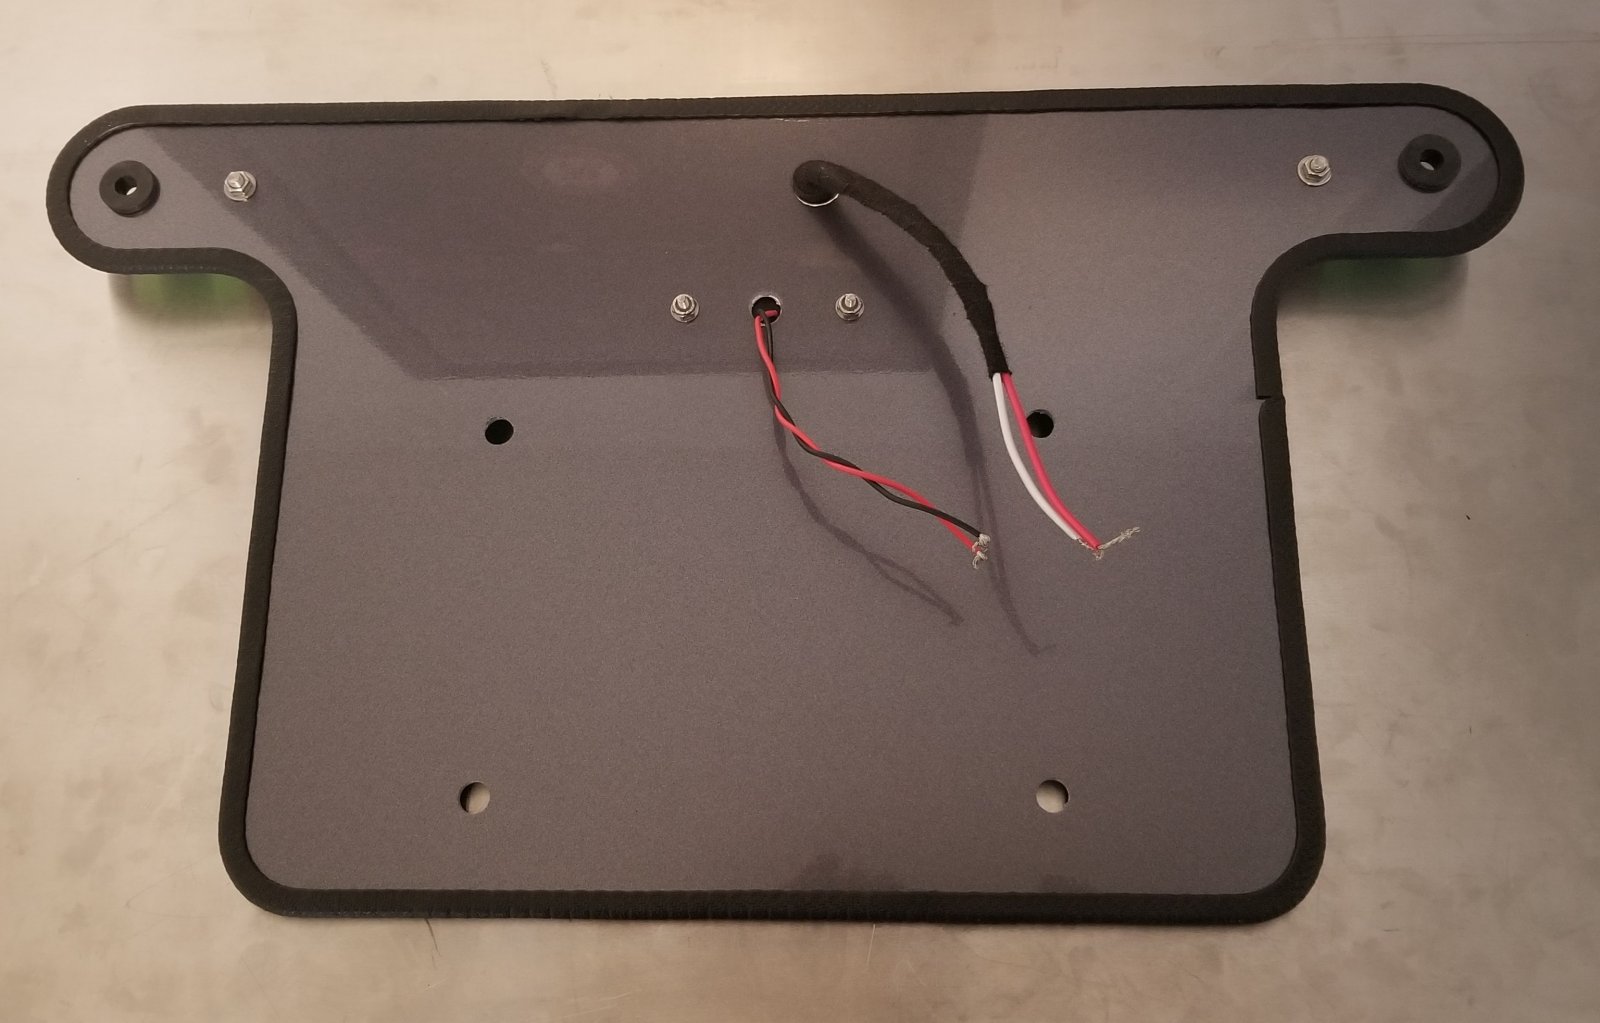
Here I have the steering wheel center and the rear license plate mount

30615

30616

30617

30618

30619
 

k.rollin

Goblin Guru
Are you using any solution prior installing the wrap? I don't think you'd really need it on the items pictured above but more complex curves I used baby shampoo in water and it made life a lot easier to get in place and squeegeed.
When I've applied vinyl, I did so per the manufacturer or distributor instructions. The Avery-Dennison films for my side panels went on dry, and the wàngskinz and die cut lettering from Spinnywhoosh went on with an IPA/water/dish soap solution.
 

ColoradoCryptoTrader

Well-Known Member
I dont plan on using any solution on the parts. Teckwrap is awesome, at first it barely feels sticky at all, there are tiny channels in the adhesive for removing trapped air also. Should be okay applying to dry surface.
 
Last edited:

PaulPerger

Well-Known Member
When I've applied vinyl, I did so per the manufacturer or distributor instructions. The Avery-Dennison films for my side panels went on dry, and the wàngskinz and die cut lettering from Spinnywhoosh went on with an IPA/water/dish soap solution.
Never tried adding good beer to the mix... ;););) Maybe into the applier!! :p:p
 

ColoradoCryptoTrader

Well-Known Member
For my first time wrapping I am happy with the result! I did inlays around the nose to prevent overstretching. CK wraps and Paradox the wrapper on YouTube were great resources. And all of the knifeless tape videos :)

31733


31735

31737

31738

31739
 
Last edited:

Keckster

Well-Known Member
I struggled so hard on the opening in the front of the hood... could you give me tips on how you got it to look so good!
 

ColoradoCryptoTrader

Well-Known Member
I struggled so hard on the opening in the front of the hood... could you give me tips on how you got it to look so good!
the green on the bottom part of my hood is multiple pieces. I used the inlay technique around the inside of the opening and used generic knifeless tape to do it. I overlapped the pieces by about 1/8" inch also, the seams are very hard to see unless you are super close. I hit everything with a heat gun before and after. for the bottom rounded corners I cut a vertical slit that runs a few inches up from the bottom and the wrap overlaps itself a bit to get around that corner, that was the hardest part of the whole hood for me. I figure those corners will be covered up by a nose wing of some sort eventually.


I wish I would have done inlays around the entire inside of the front opening, but since the top colors were thinner strips I used a heat gun and stretched it around, depends on what wrap you are using also, I think some brands have very little stretch and would be way harder to use. This Teckwrap was very nice stuff. I went with this color design to avoid wrapping with a 1 huge piece. it was much easier to manage with smaller pieces.
 
Last edited:
Top