PhilthyM's City Goblin #463 - '10 LS Donor

PhilthyM

Member
Hey guys,
I've watched and read almost everyone's build guide over the past year. I consider myself a novice mechanic, so I can't wait to see how this project turns out. I own a 2010 Cobalt LS XFE 4 door and I just luckily stumbled across this idea a while back. I've done a lot of reading and decision making, then late last year I decided to pull the trigger and invest in the process.

I am originally from Little Rock, AR. Graduated high school from Little Rock Central High, then went off to the military and college. Spring 2020 I graduated with my degree in Computer Engineering and that following year in 2021, I separated from the Army after 8 years of service. I moved back to Little Rock where I just purchased my first home right outside the city in Bryant, AR. I am a Modeling and Data Integrity Engineer for Southwest Power Pool here in LR and it has been the best place I've worked at. I grew up working with dad on his various car projects and customs builds. I'm not a professional mechanic, but I do feel that I know my way around a garage haha. I pretty much own over 85% of the tools needed for this project already before I decided to tackle this build.

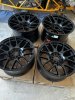
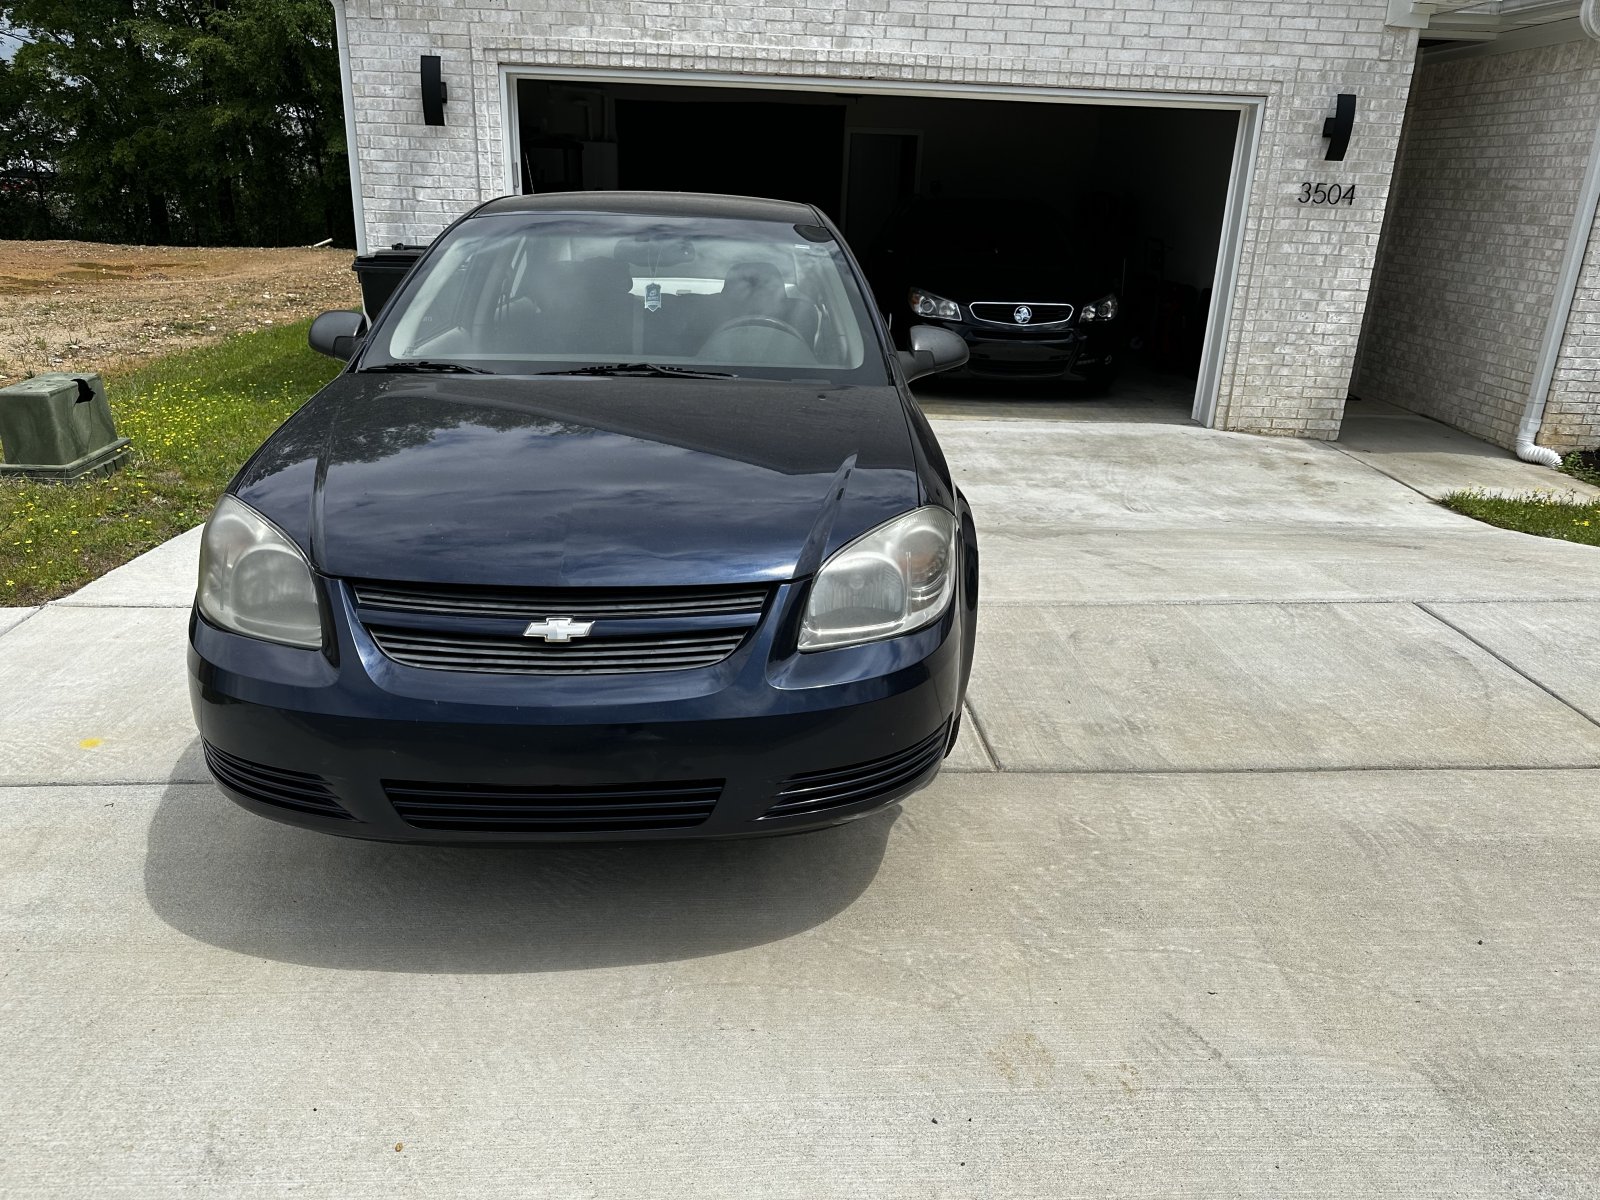
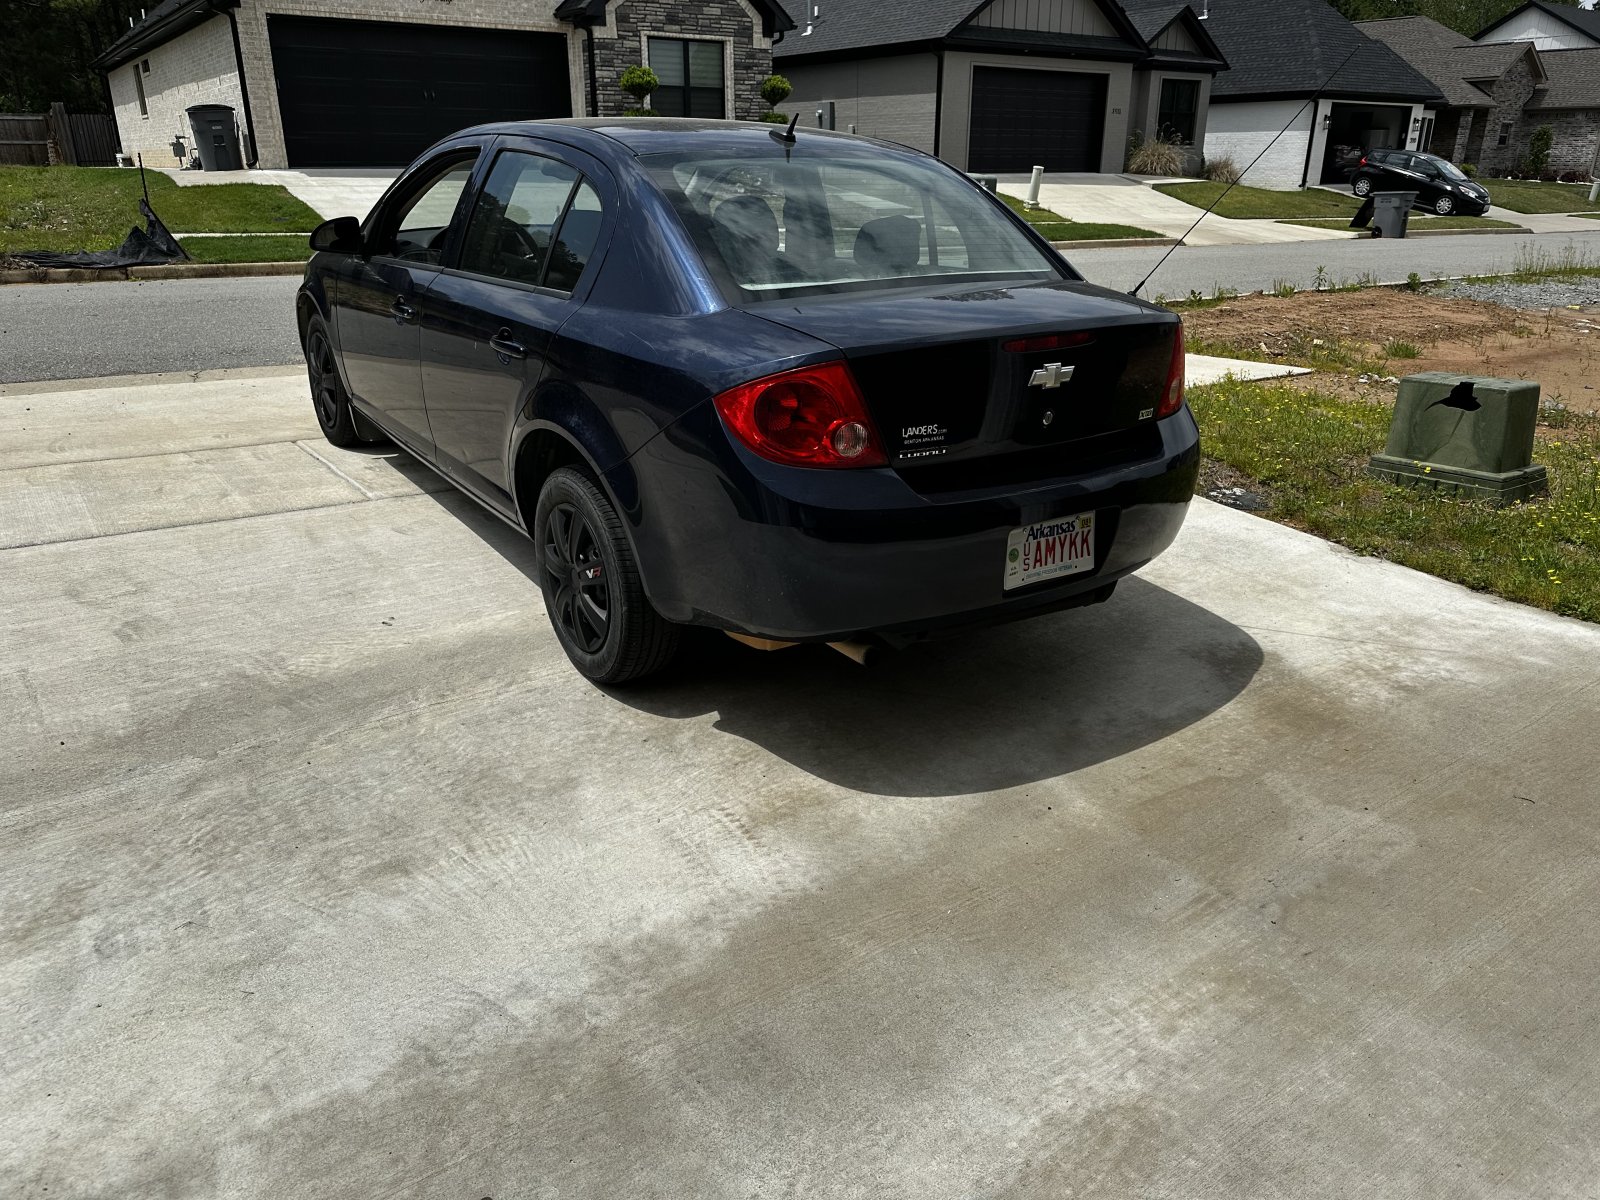
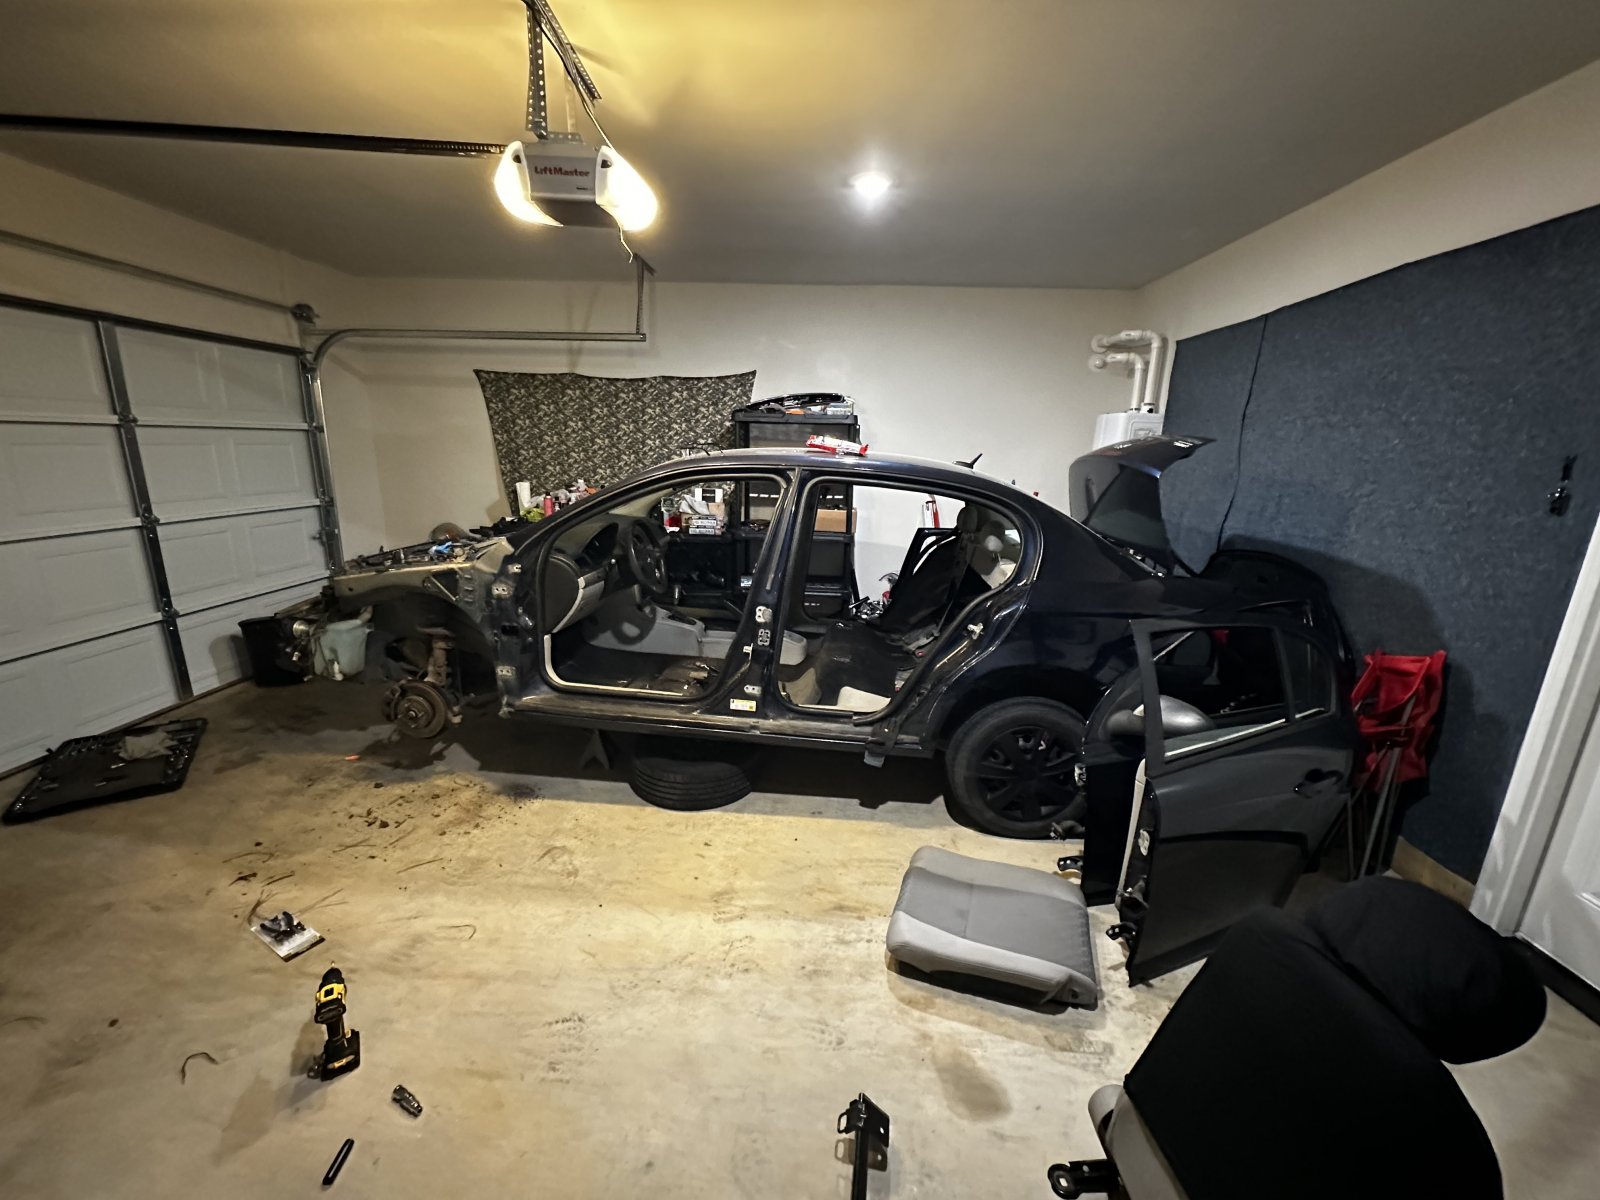
I've owned my Cobalt for a little over a year now. I picked it up because I wanted something more fuel efficient to drive to work (American muscle is not commute friendly lol). Shortly after, I found the Goblin and couldn't help but take advantage of the coincidence. It's just a base model 4-door 2.2L manual, but I do have plans on throwing on a turbo after I get the car running and driving. So far, no major issues with the car, except for the EVAP sensor, but that'll be discarded so I never fixed it. Oh yea, TPMS is out too. But again, new wheels coming soon so a non issue. I'll be tackling this in my own little personal garage, so I hope I'm not too limited on space.
IMG_1280.jpg

IMG_1282.jpg


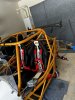
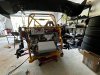
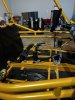
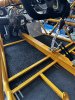
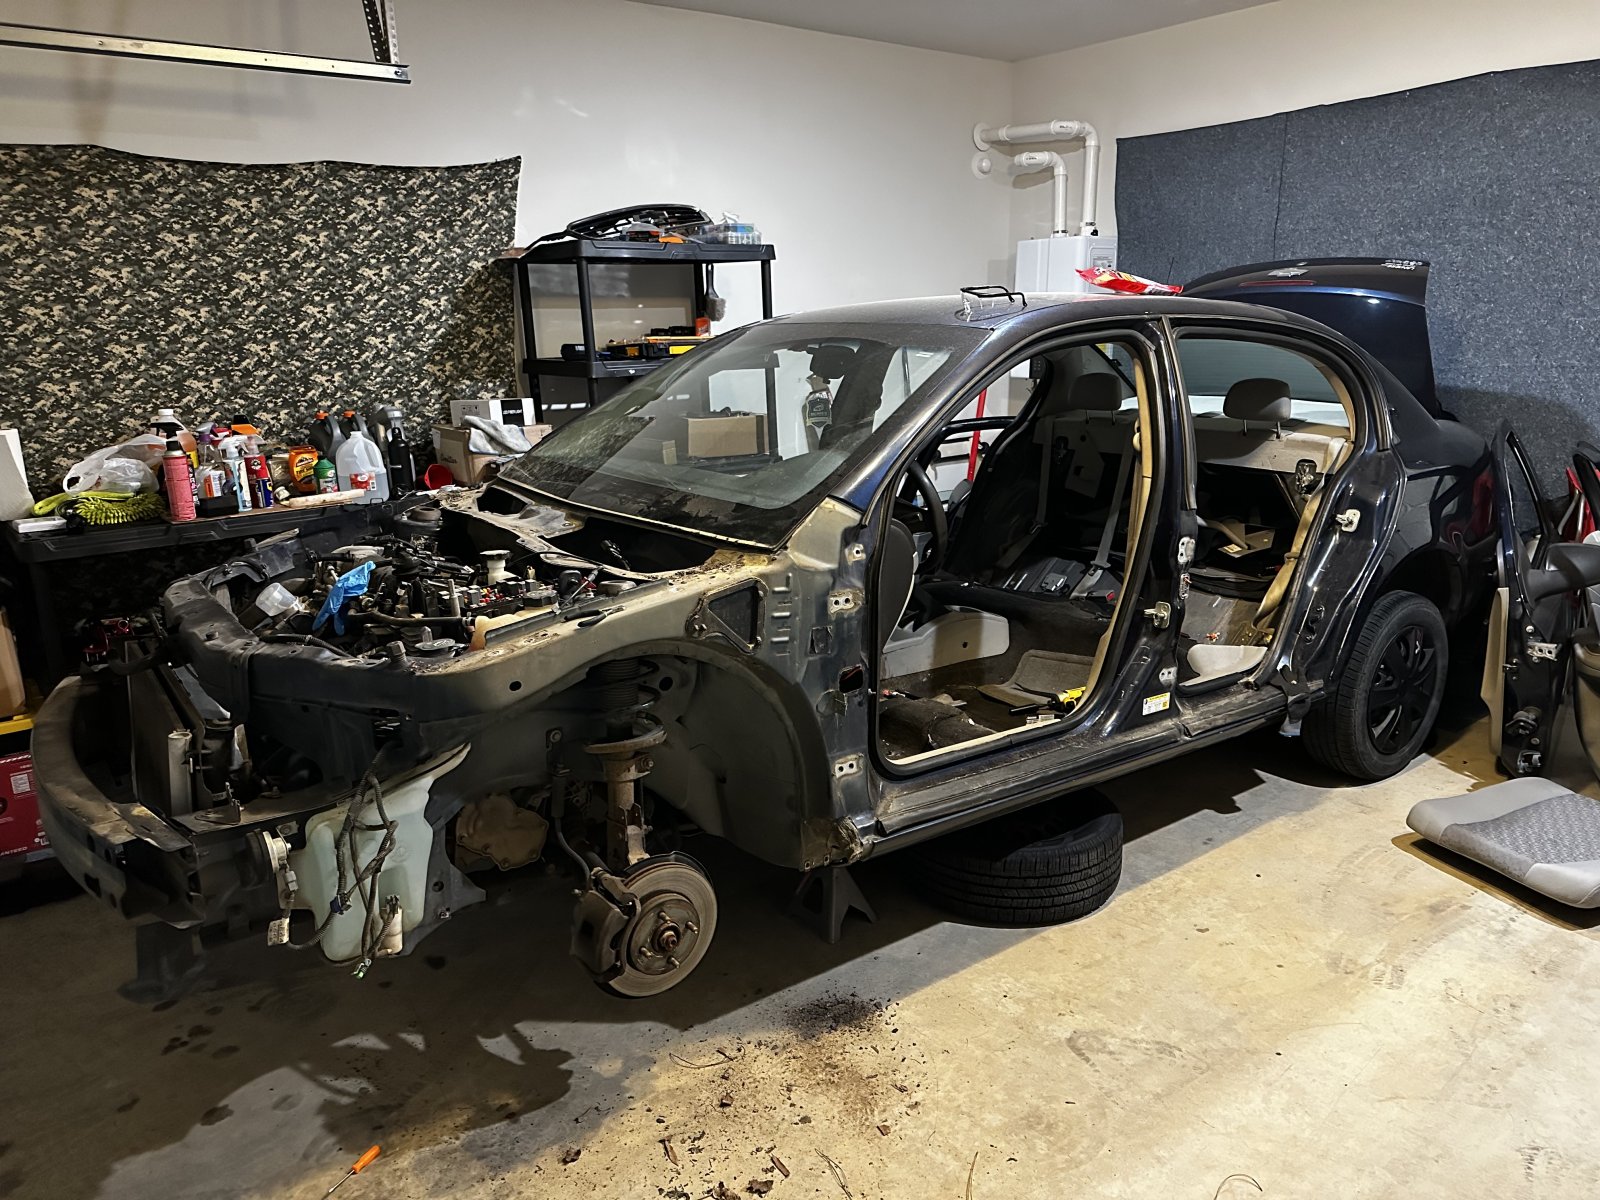
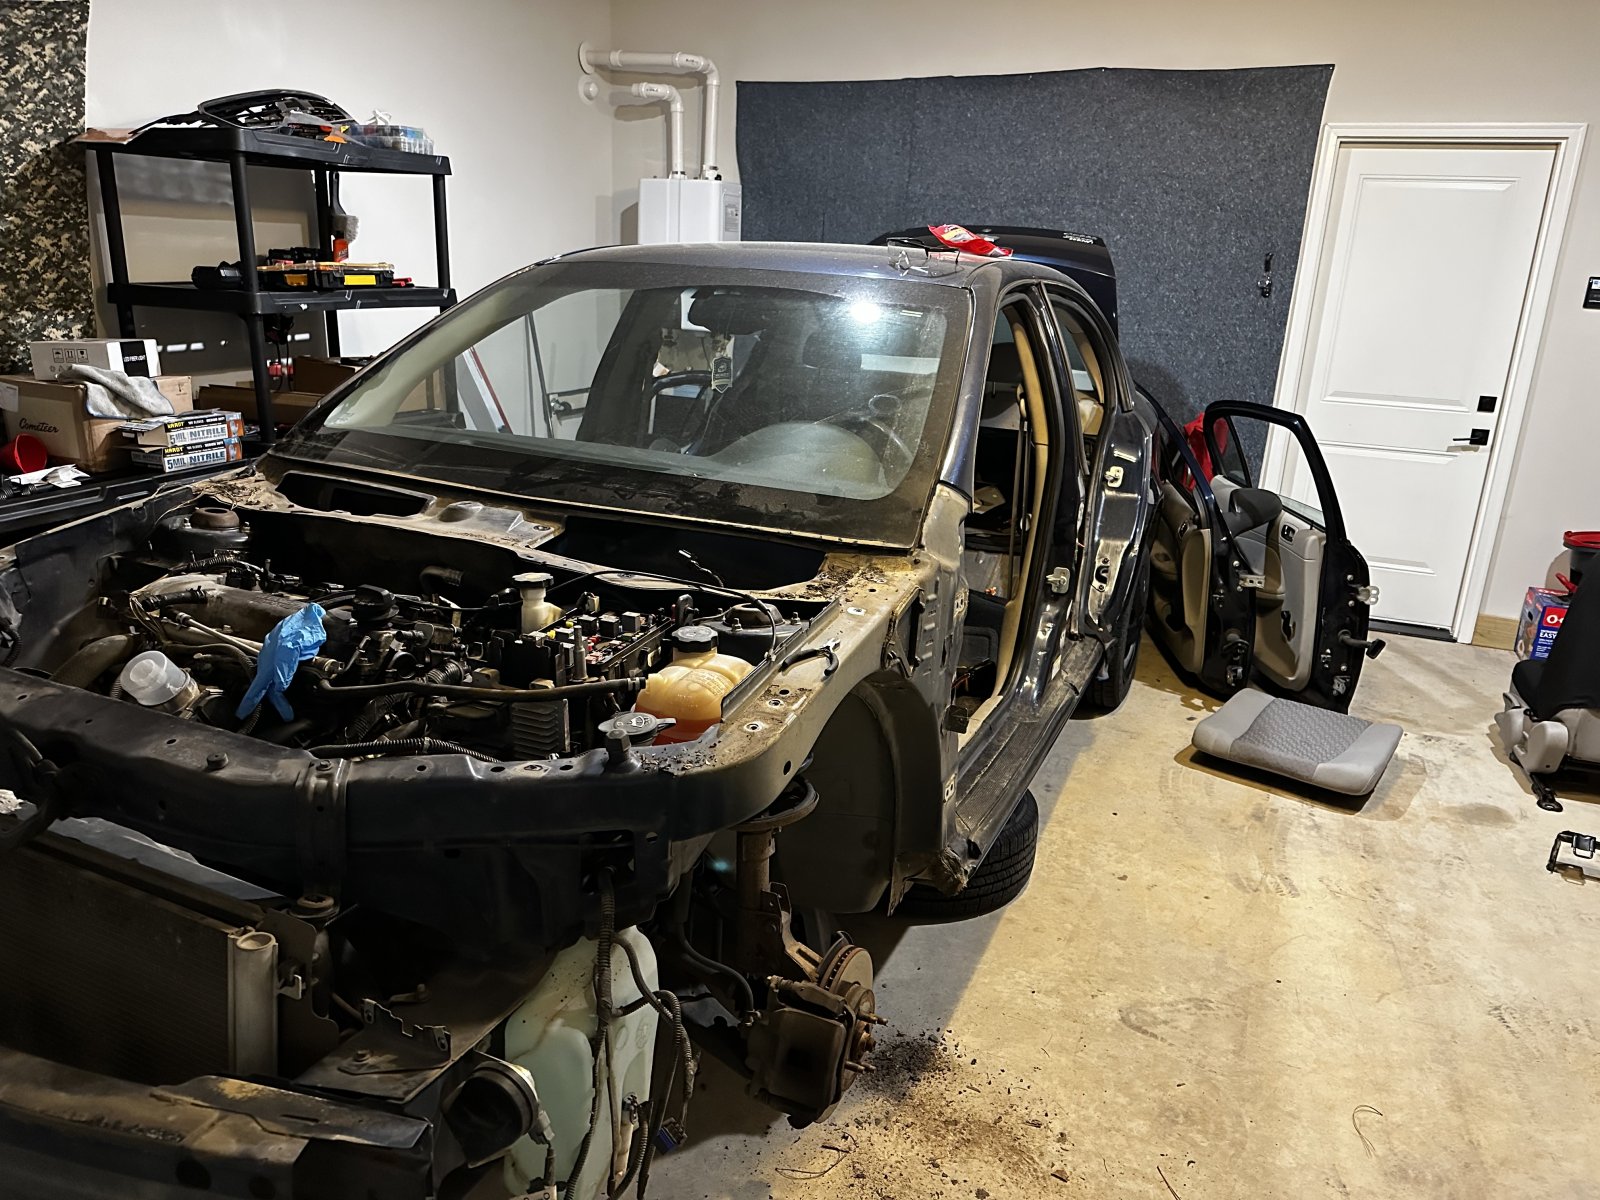
I'm ordering my kit in stages (picking up 1 and the larger parts of 3 here soon) and since DF is located a little over 4.5 hours away from me, I'll drive down to pick it up. Yesterday was the first day I decided to start dismantling the donor. A few pictures below of where I got in a few hours. More to come this weekend with stripping the Cobalt.....
IMG_1283.jpg
IMG_1284.jpg
IMG_1287.jpg
 

Ross

Goblin Guru
Small world! My son, Ian will be working at Southwest Power Pool in LR, after he graduates with his Math and a Data Science degree from UCA in a month or so. Congrats on the Goblin project.
 

PhilthyM

Member
Small world! My son, Ian will be working at Southwest Power Pool in LR, after he graduates with his Math and a Data Science degree from UCA in a month or so. Congrats on the Goblin project.
WOW! Small world indeed! I'll try to keep an eye out for when he gets here. He's made a great choice of employment. Congrats on his degree fulfillment.
 

PhilthyM

Member
What a WILD two weeks it has been! I'm not sure where to start, so I'll just jump in here....

I finished the disassembly of the Cobalt! Oh what a pain it was to get those exhaust bolts free, so I put a saw to it and called it a day. I was pressed for time that day and didn't wait use a hoist to pull the motor. I lowered it down off the jack stands with low profile jacks until it sat flush on the wooden dolly. Released the mounts and then raised the car back up into the air. Overall, that was a fairly simple process.
IMG_1334.jpg


Pulling the firewall away from the dash was a PITA. I believe it took me over a day to do so. I stopped mid process and went inside the car to start disassembling the dash while it was still attached. The next day, I gave it another shot and the firewall separated. I didn't have any extra hands to help lift the dash out of the car, but it wasn't too heavy to drag by myself. I finished pulling the seats, the carpet, the body harness, the parking brake cable and tubes, along with the engine wires/harness as well. I got the fuel tank dropped and pulled the filler and the filter, only to find out that I need another fuel pump because I have the XFE donor with the pump attached to the floor. The following weekend, I had the car towed away to the scrap yard at the expense of my insurance company (was still insured as my daily).
IMG_1395.jpg
IMG_1434.jpg


NOW, here comes the challenging part: tackling the wiring harness..... WHEWWWW.... [EDIT: I know, I know..... I was supposed to grab some OSB and plywood to make a real table. BUT I just moved and had my old TV box laying around, so I figured up a little ingenuity with what I had to create a makeshift table. If it didn't work, I would've went to the store and built a real one. But I made it through and it worked out good enough for me.] I fought and wrestled with this thing for over a week! I followed the courses on YouTube University (lol) as closely as I could, yet still managed to make mistakes. The biggest one was C5 and C6 on the X101 connector. I got myself an AllData subscription to track down the wiring issue, hand drew each connector and pinout, and finally found what was supposed to be connected where (I also spent countless hours searching the forum and found that I too wasn't the only one who made this mistake). I used a continuity tester to make sure I added the wires back in the correct places and everything was good to go. Still had a long way to go from finishing....
IMG_1441.jpg
IMG_1476.jpg
 
Last edited:

PhilthyM

Member
The day finally comes to pick up my frame! We head out around 3am to make the drive to Red Oak. What I didn't plan according what the rain during the entire trip....yay.
70548927098__B2EC7558-65AA-45BE-AFBA-CDF7D106D008.jpg


We FINALLY make it just shy of 8:30 and they greet us professionally. Real stand up guys (and gals) who make me feel extremely welcome and a part of the community. They loaded the frame and accessories onto the back of the truck and gave me a tour of the shop. (They also mentioned that I was one of the youngest guys they've seen come through in a while to pick up one.) It's nice to see everything in person how they make it all come together! I also got to see the part of the shop where they now store the frames. So now when someone orders, their wait time isn't going to be that extensive because they are ahead of the curve!
IMG_1528.jpg
IMG_1544.jpg


Sidenote: we are waiting on you Kit Owner #401 and #481.......
IMG_1527.jpg


The frame gets strapped down and we strap in the head back to Arkansas. On the drive back, there wasn't really much rained; it passed during the day or we were either on the back side of it. After making it back home, I stop by the house to drop the boxes off and hood/panels. Then.....over to powder coat she goes! I have a shop that's remarkable about 2 miles away from my house, so they'll be entrusted with the frame. I'm aiming for a Royal Gold with a clear coat on top. Can't wait to see what it looks like in another week or so!
IMG_1548.jpg

IMG_1550.jpg


I get back to the house to finish up the wiring harness. It took all day and night (literally), but around 6:30am I FINALLY completed the harness. It was tough and tedious work, but well worth the experience. I'm now ready to connect everything and see if I did it correctly. This coming week, I plan to clean up the motor and get some more of the donor parts prepped and painted.....
IMG_1581.jpg
 

PhilthyM

Member
Long awaited update!

SHE'S BACK FROM POWDERCOAT!!!

Luckily, while I was patiently waiting for the frame to finish, I decided to do some of my own painting and cleaned up the engine and some of the other parts as well. I wanted to try a custom theme with painting the axles and control arm a different color that will stand out. I hope I like it. If not, I'll just pull the parts again and repaint them a normal color. Let me know what you guys think....
IMG_1637.JPEG
IMG_1617.JPEG
IMG_1687.JPEG


Here's a pic of the frame. I decided to go with a Royal Gold topped with a clear coat:
IMG_1695.JPEG


I was so glad to get it back. The fun part was finally here. I went through all the boxes that DF sent with the kit and tried to make sense of all the baggies. I really didn't get far because I was confused every time I read a new bag, so I just decided to jump in it head first and pull out the TV to start watching build videos. Pulling the hose was NO FUN at all! I got the first hose on the passenger side with ease. But the second hose...... broke..... TWICE. First time, it broke a few inches after inserting it. Fairly simple to pull it out and try again. Second time around, I pull the hose full through the frame. I can see maybe 3cm of end of the hose come out the rear end when it decides to SNAP and recede back into the frame! I went back in about 4 inches or so, and there was no way for me to continue pulling it through. So I pulled it out fully one last time. I read in a forum post somewhere about the drilling method through the end of the hose and that helped a ton. It didn't break on me.

Next up was the floor panels: fairly easy to install. Had a large handle riveter from Harbor Freight, so my hands weren't that tired from driving all the rivets. That was done and I was on to flipping the frame back over. Once flipped and on stands, everything bolted up with ease. I did have an issue with the clutch line being a tad too long to insert in the back of the master cylinder, but a simple flex of the line and removing the cylinder first to insert it made it easy. The brake fluid reservoir relocation kit will come in the second stage, so I've removed it for now and plugged the holes until it gets here. I also did a terrible job of shaving down the ignition cylinder, but it'll do for now until the hood gets installed. Fuel tank mounted easy, engine went in next. The front solid transmission mount was a PITA to wiggle in there. I got it set after about 15 mins of hammering on it with a rubber mallet (didn't want to hurt powdercoat)…. When reconnecting the battery posts, I found out that I cut out the battery current sensor out the harness by accident, so I had to unplug my BCM to solder those wires back in. They now run next to the main harness and out under the battery box. Reconnected all the harness plugs, added some fuel, plumbed the coolant, and.....

NO START.

I sat in the garage testing everything, checking every wire, reading everyone post on the forum to see where I went wrong. I finally came across another post where someone asked the most basic question of all: "Do you have the clutch pressed?" FACEPALM. I tripped the spring on the clutch depressed it, and VIOLA. Started right up. 4-5 hours wasted because I forgot how to start a car lol. Everything is now all good to go and I'm waiting on Stage 2 and the rest of 3 to get here. I went ahead and ordered some headlights and turn signal mirrors from Amazon. I mocked the up and test fitted them to see how they'll look mounted. Looks like I'll need to source a back plate for the mirrors and a mounting bracket or similar for the headlights. They hold for now, but won't be sturdy during normal drives. SOMEHOW I managed to place the turn signal wires in the headlight bundle and the high beam wire in the turn signal bundle. Imagine my face finding out that my headlights flashed when the turn signal were on. Yikes. I cut into the taping of the harness, added some extensions, and routed the wire accordingly down the center stalk and under the battery to their respective locations. I'll also be ordering wheels this weekend. I opted for DF to drill the 5x114.3 hubs for me, so I'll get that pattern wheel setup. Looking at a set that will have 17x8.25 up front and 17x.9.75 in the rear, so we'll see how that goes too. For now, I wait.....
IMG_1716.JPEG
IMG_1738.JPEG
IMG_1830.JPEG
 

Ross

Goblin Guru
Congrats on a first start! You are making great progress. I also forgot about the clutch safety switch when attempting the first start.
 

PhilthyM

Member
Also, I started it up a bit longer today to check on the coolant and make it was topped off, then I started to notice a decent amount of smoke coming off the exhaust and turned blue really quickly up until the opening of the muffler. I also saw my blanket moving behind it and could feel a decent amount of exhaust exiting the pipe. Is that normal? Or is it something else? Here's a pic as well:
IMG_1880.JPEG
 

PhilthyM

Member
Congrats on a first start! You are making great progress. I also forgot about the clutch safety switch when attempting the first start.
Thanks! I was super excited when it first started. Ran for a few secs and shut off. I disconnected the MAF and it stayed running until I turned the key again.
 

Desert Sasqwatch

Goblin Guru
Guessing the pipe on the DF exhaust is 409 stainless steel, it will show heat color change rather quickly - so yes that's normal. And I'm fairly certain the silver paint on the muffler will also change too once you get more heat into the whole exhaust, just be forewarned.

Oh and congrats on the first start!
 

PhilthyM

Member
I know it's been a while, but I'm back with some updates:

Stage 1 has been completed. During my down time, I was waiting on my Stage 2 and 3 parts to arrive here so I can get started adding the suspension. While I was waiting, I went ahead and cleaned up my work space, threw away some old boxes, and sorted out any left over hardware that wasn't used. I finally got the headlights mounted and positioned right. I found some small mounting brackets on Amazon that I took apart and repurposed for a new mount. They fit securely over the headlight hole with no issues. Along with that bracket, I picked up some TPMS sensors with a scan tool, side mirror winglets, fire extinguisher w/ frame webbing, and a rearview mirror camera.
IMG_2006[1].JPEG IMG_2007.JPEG IMG_2076.JPEG

And with the sensors in, my new wheels showed up as well. I decided to go with XXR 530 wheels in flat black. They have a weird rim width, but they are 17x8.25 up front and 17x9.75 in the rear. Wrapped in Nitto NT555G2, with 245s in the front and 275 on the rear. I took them to a local shop and had them mounted and balanced.
IMG_2023.JPEG IMG_2017.JPEG

My new seats and harnesses came in as well. I picked up a cheap pair of Amazon racing seats because I wanted to still have the sliding function while being able to recline it as well.... and didn't want to break the bank that much for my initial build. I found an adapter bracket off of eBay so I didn't have to provide that much welding to get the seats to mount up. Didn't take many pics while I was installing them, but here's the finished product after I was done.
IMG_2212.JPEG
 

Attachments

PhilthyM

Member
STAGE 2 AND 3 ARRIVES!!!
IMG_2456.JPEG

Oh so many boxes to sort through and figure out. Honestly, I've never fully assembled suspension before, so this is going to be a fun challenge. I'll make sure to walk through everyone else's build and answer all my question first if I have any. I'm sure it's been asked before. Anyways....

I wasn't sure where to actually start first, so I went for the easier parts: rear wing and taillights. They seamed to mount fairly easily and the hardware was self explanatory. I went with the Amazon spoiler, so it took some slight modifications to get it mounted up and aligned, but nothing major. The taillights wired in easy as well. Next up was the license plates light. Same simple process, just bolts up on the rear and straight forward parts to understand. Installed the brake reservoir relocation kit because I'm running a hood and it won't fit otherwise.
IMG_2516.JPEG

And from that pic, you probably can guess that I've finally traded in my Bluetooth suspension for a REAL one! (lol @Rttoys). Everything is bolted up, but not torqued down yet. I'm waiting until the weekend to go out there and beat the heat in the morning time. I opted for the 5x114.3 hubs from DF, but they are on backorder at the moment, which means my suspension work stops there. No brakes or rotors or wheels going on yet. But despite that, she's finally coming together and looking right!
IMG_2515.JPEG
IMG_2512.JPEG


When the hubs come, I'll torque it all down and add the toe link in the rear.

I moved on to install the new DF shifter kit. Man it's nice! The step-by-step video was hard to find on YouTube, but a link was referenced in the forum and I was able to complete it from there. Can't wait to get in it and get it a nice test run to feel how well it shifts. Since I was still in the cab, I assembled the steering wheel as well. I was having trouble getting the center button to mount up, so I cut a few inches of the inner spring off and removed the horn hookup wires to get a flush mount.
IMG_2527.JPEG

I ended up stopping by Home Depot and found some quick mats to use for the floor. I mocked them up and trimmed to fit, then glued the down. I'll find a more permanent way to hold them later, but for now it will do.
IMG_2549.JPEG

As of last night, this is how she rests.... awaiting that final part so we can get an alignment and test drive in. Now that I'm on top of the build process, I should be able to update here more often. Here we go.....
IMG_2560.JPEG
 
Top