Friedhouse
Member
It's been along process to get here, and I wasn't really interested in spending the time to make a build log, but now I see that I need to have one, because I need some help figuring things out!
My name is Shane, and my Son and I decided we wanted to try and take on a car build, he is more into the idea of restoring old cars, but I thought the process of building a kit car would get us both some much needed car and mechanical knowledge, but also potentially be easier with instructional videos to follow along with.
May 2021 -We bought a donor-
2007 Cobalt SS w/ 140k $2800
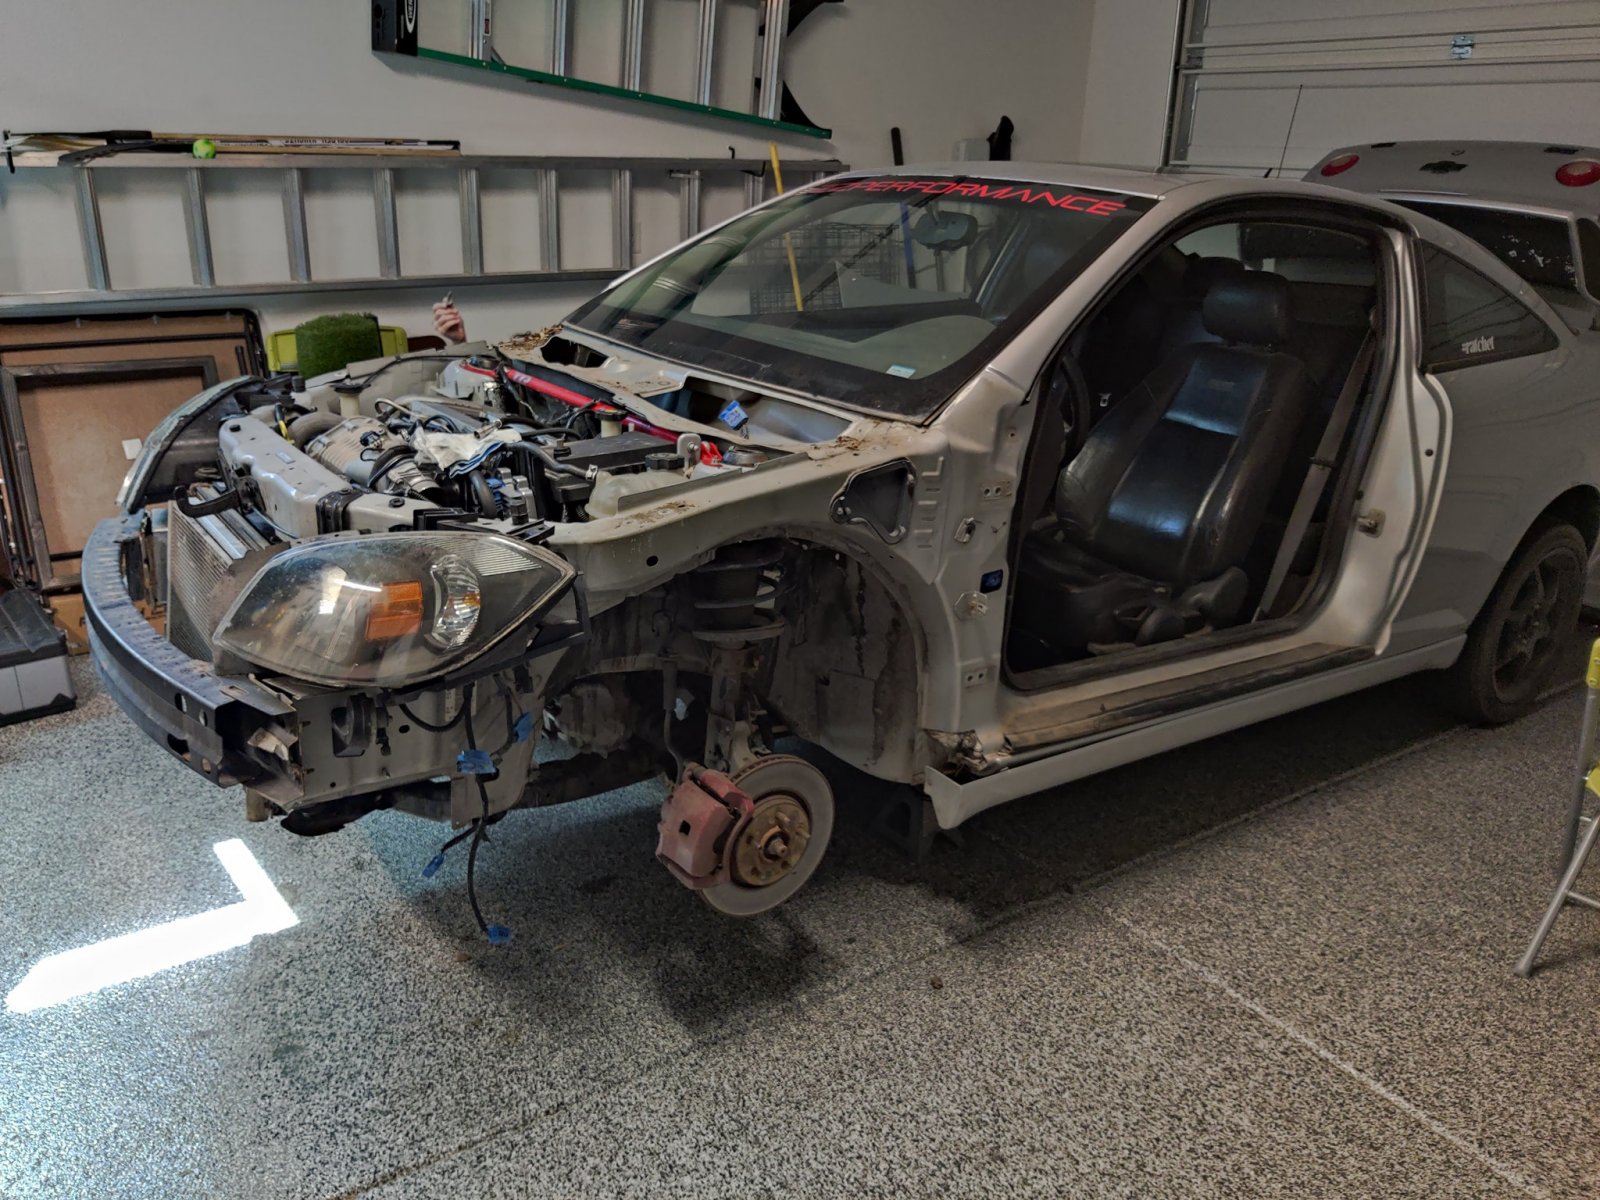
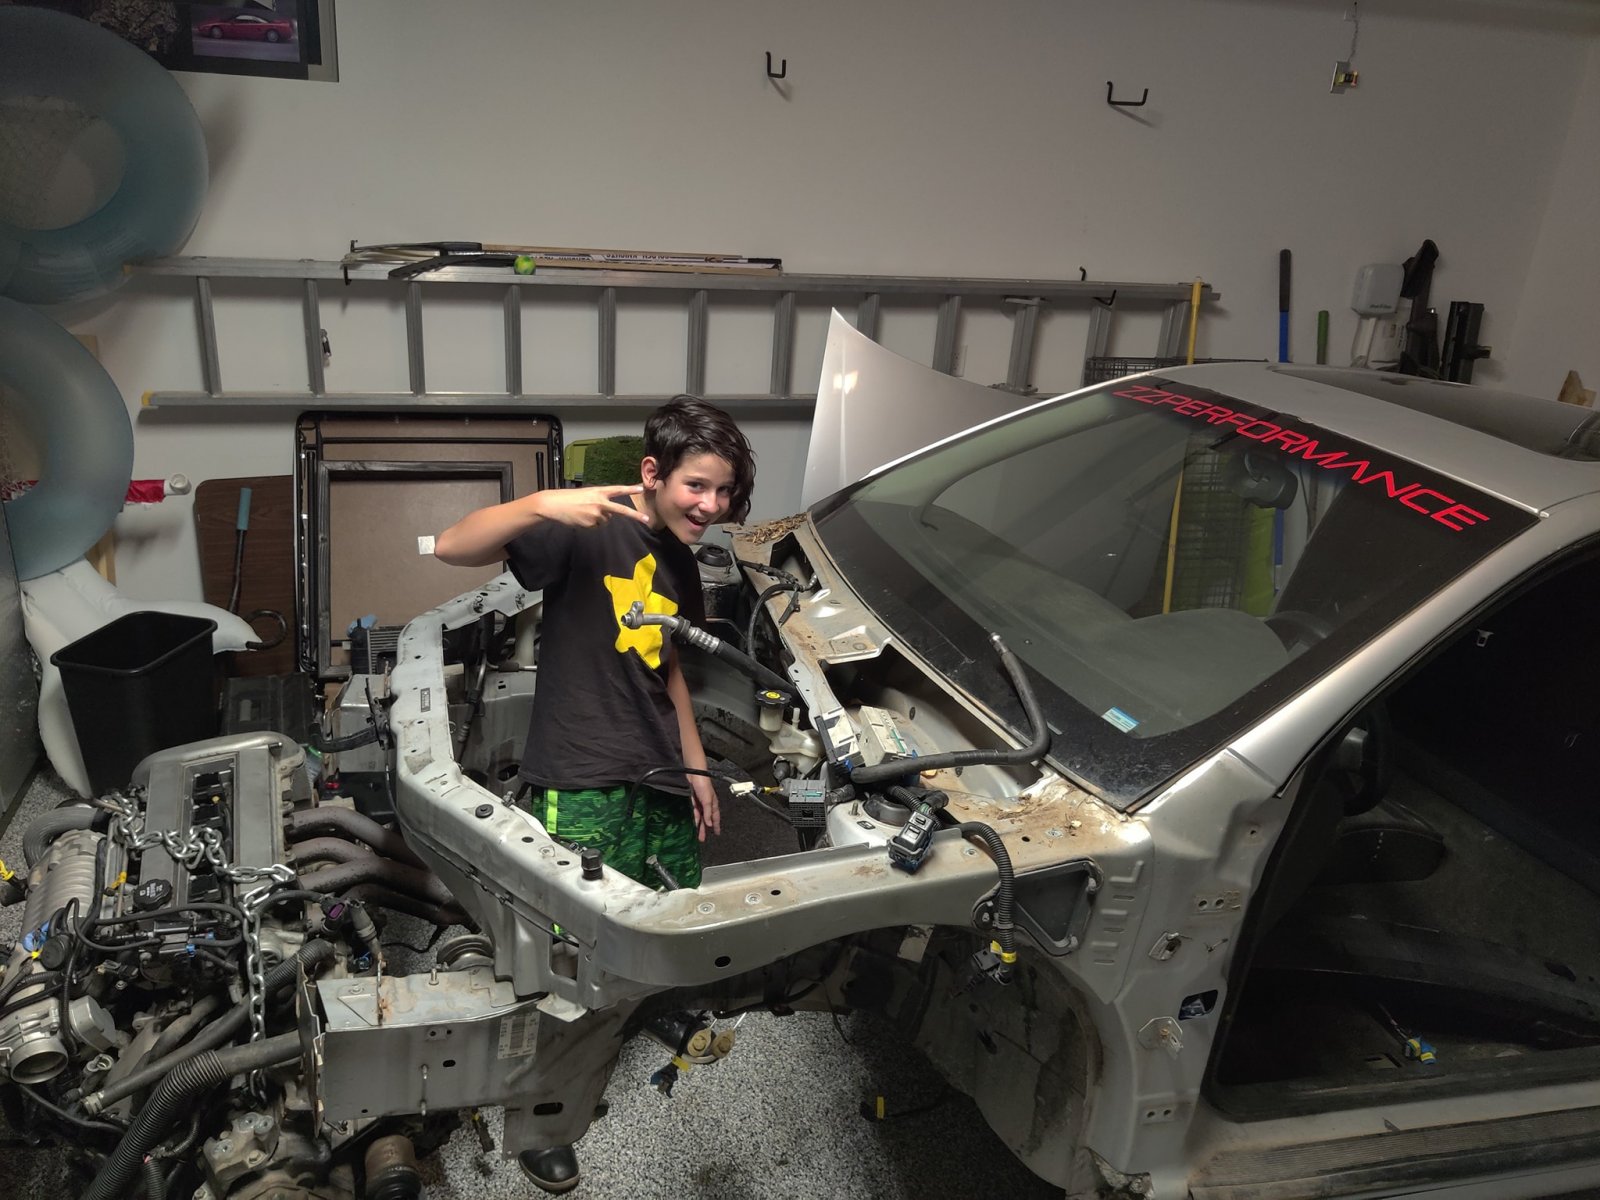
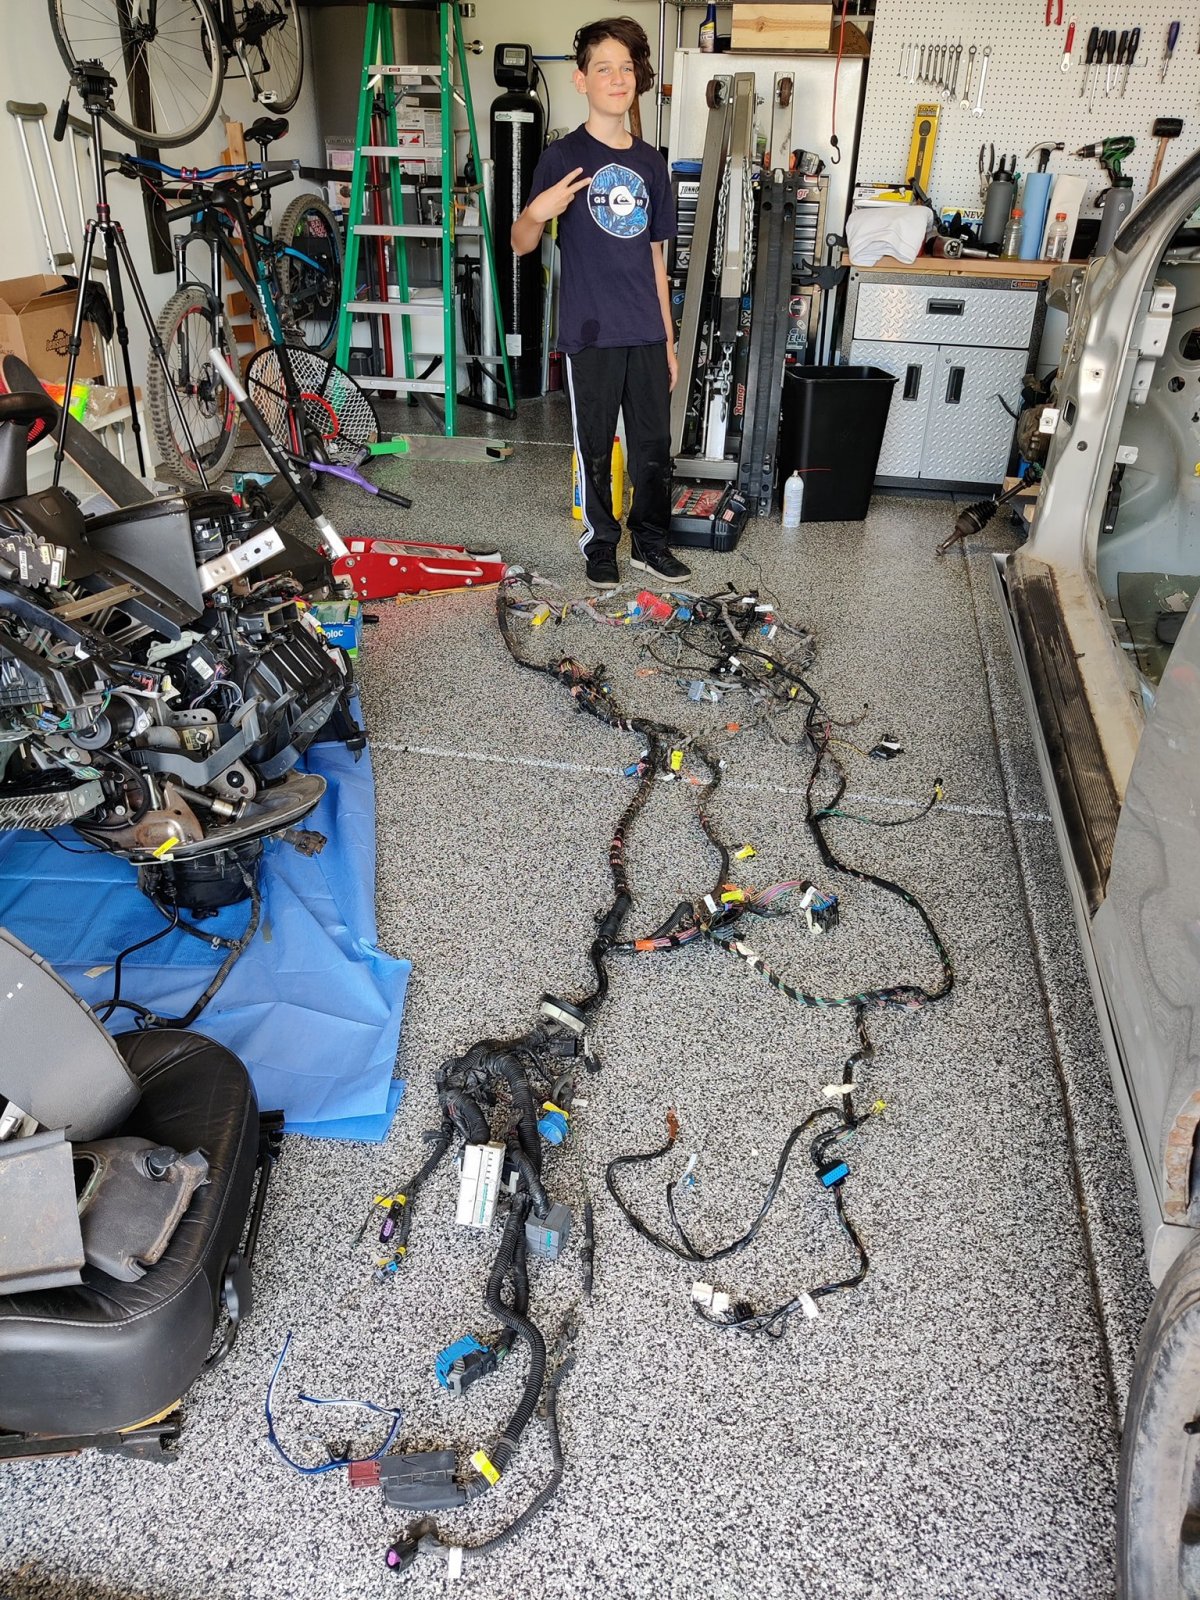
Car ran great, and we actually drove it from Provo, UT down to Las Vegas, NV and started tearing it down shortly after. Tear down went fairly smooth.

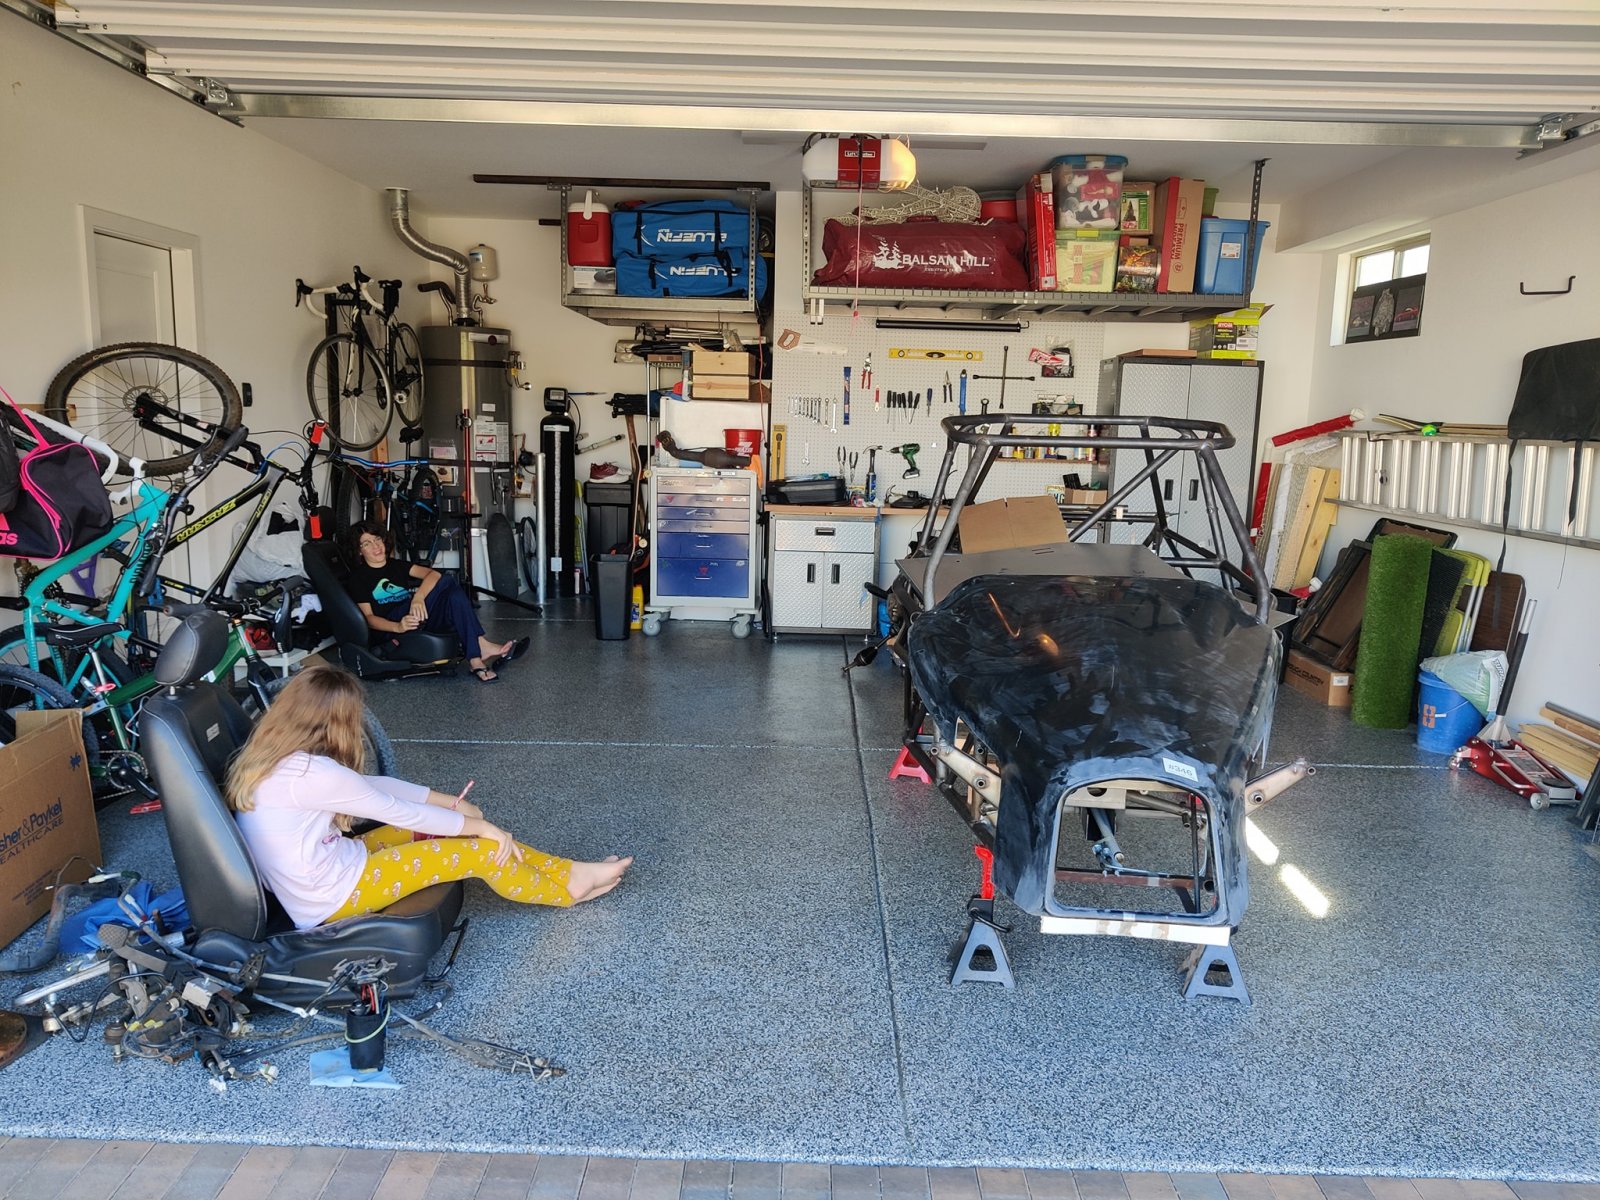
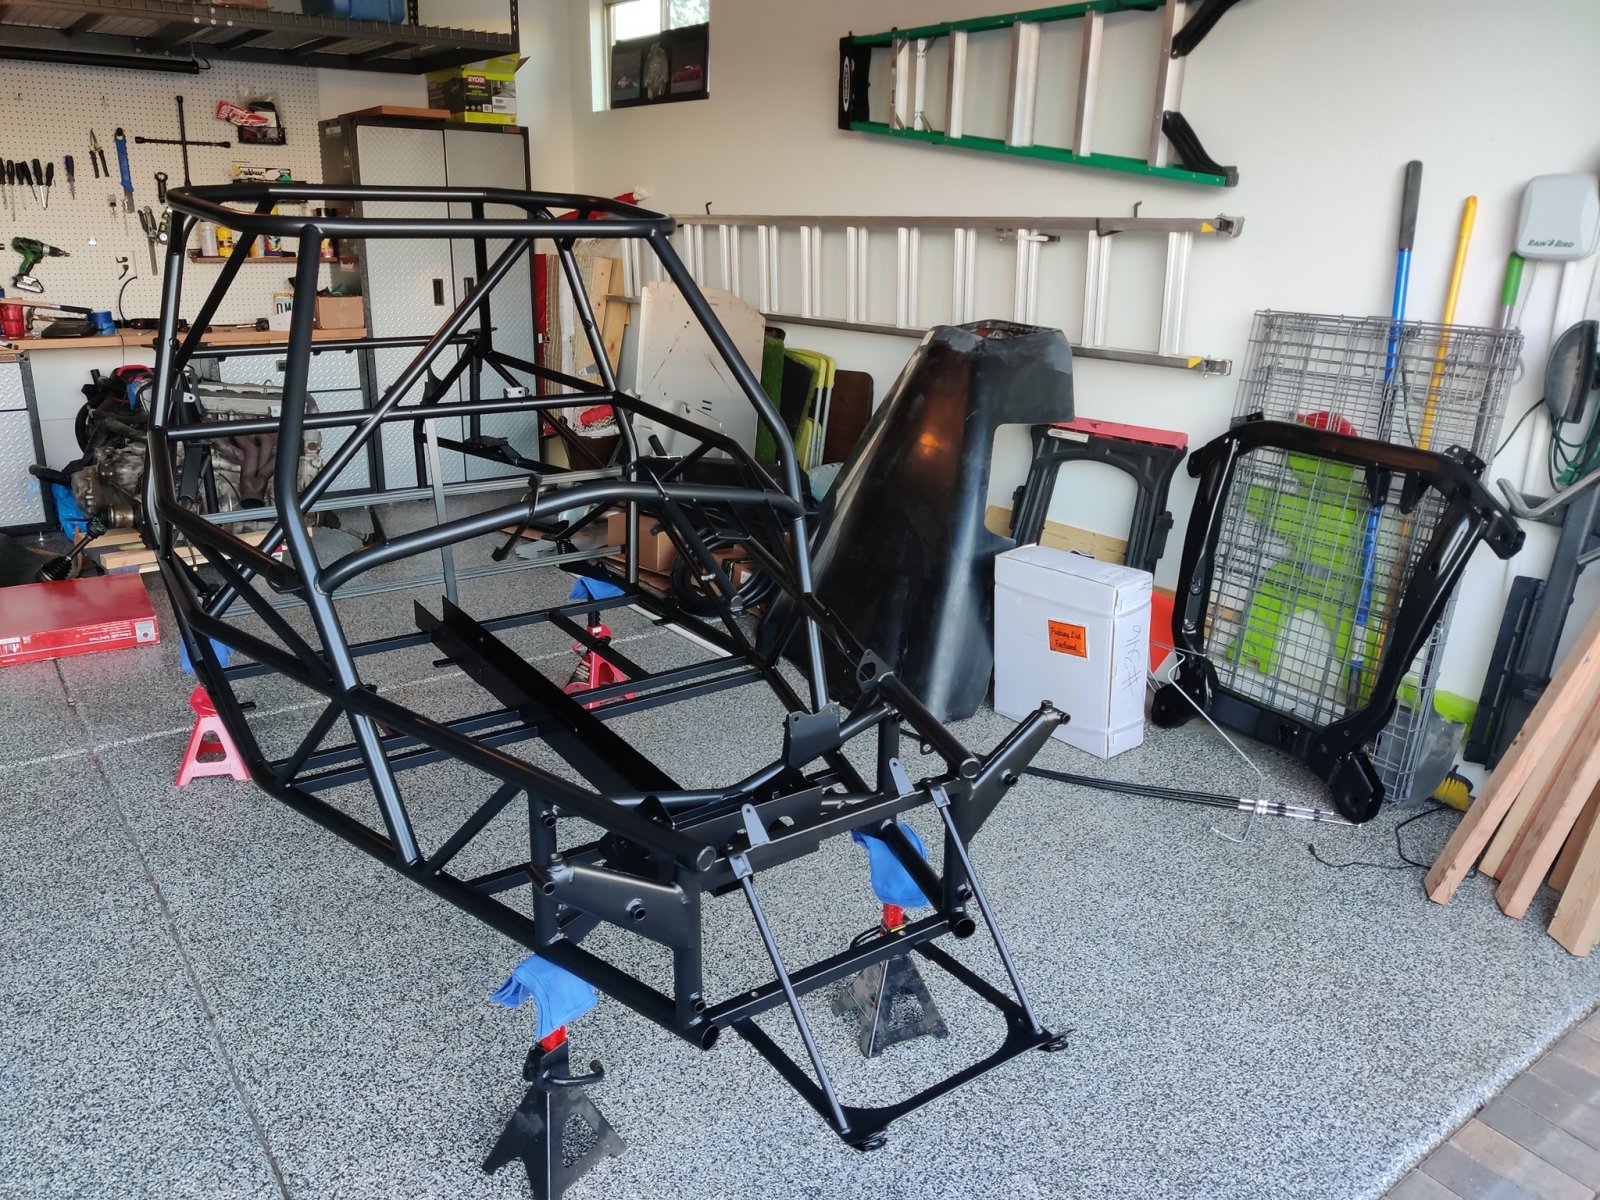
November 2021 The goblin arrives.
Took me a little bit to figure out the powder coating situation, ended up getting hooked up with a family friend that works for a iron fencing company and they blasted the goblin and parts I wanted in a nice satin black for FREE! Can't beat that. While waiting for the goblin to arrive, I sold off a bunch of parts to locals, the aftermarket bits went quick, and managed to sell the hood, and some other stock parts to recover about$1800 in total.
January 2022 - March 2022
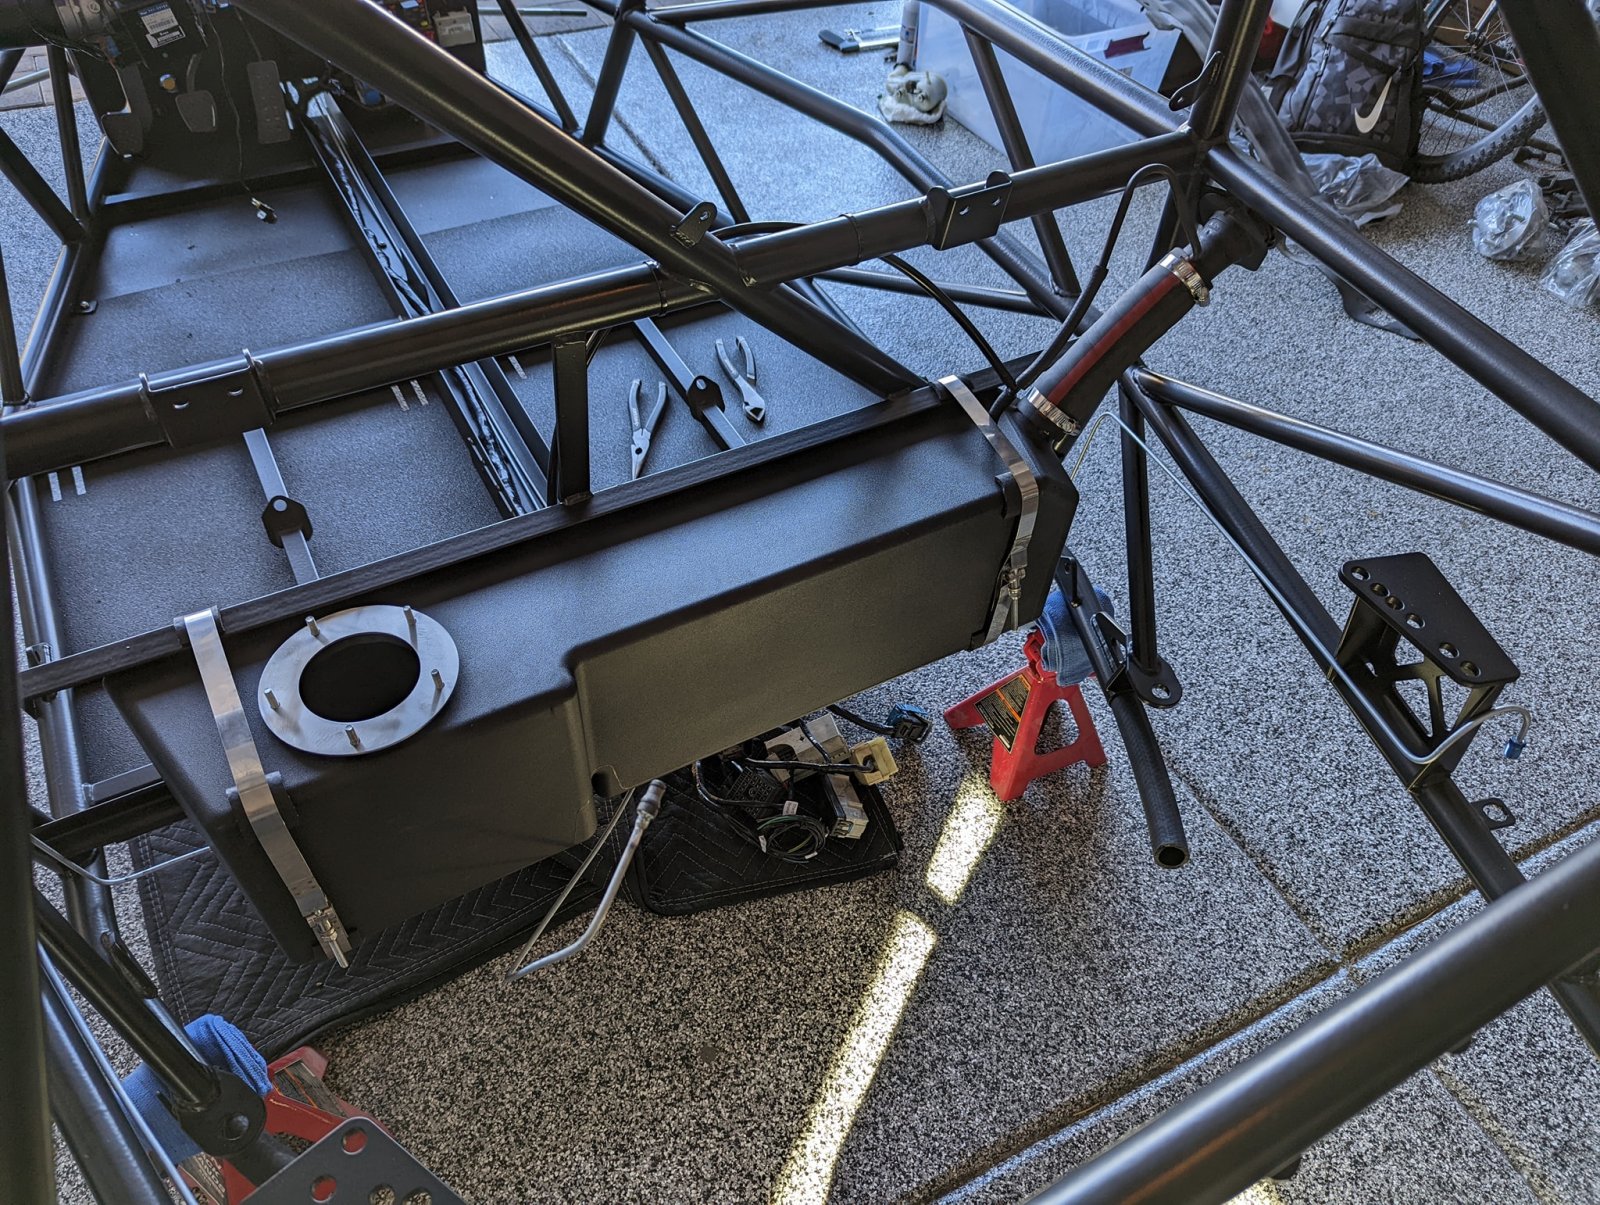
Wife and I decided we both wanted to start working towards a 'mid-life' career change into the Tech space. So we started up an online Coding boot camp geared towards Web/Mobile development. Little did I know how much time that would require. Coding started to take up 99% of my time outside of work and family. The goblin build took a backseat, and I was able to work on it hear and there, but was definitely not able to dedicate large chunks of time. I decided to send the wiring harness out to have DF get it done, mean while I managed to do some simple installed in the front of the car, and get most of everything in the Stage 1 kit installed.

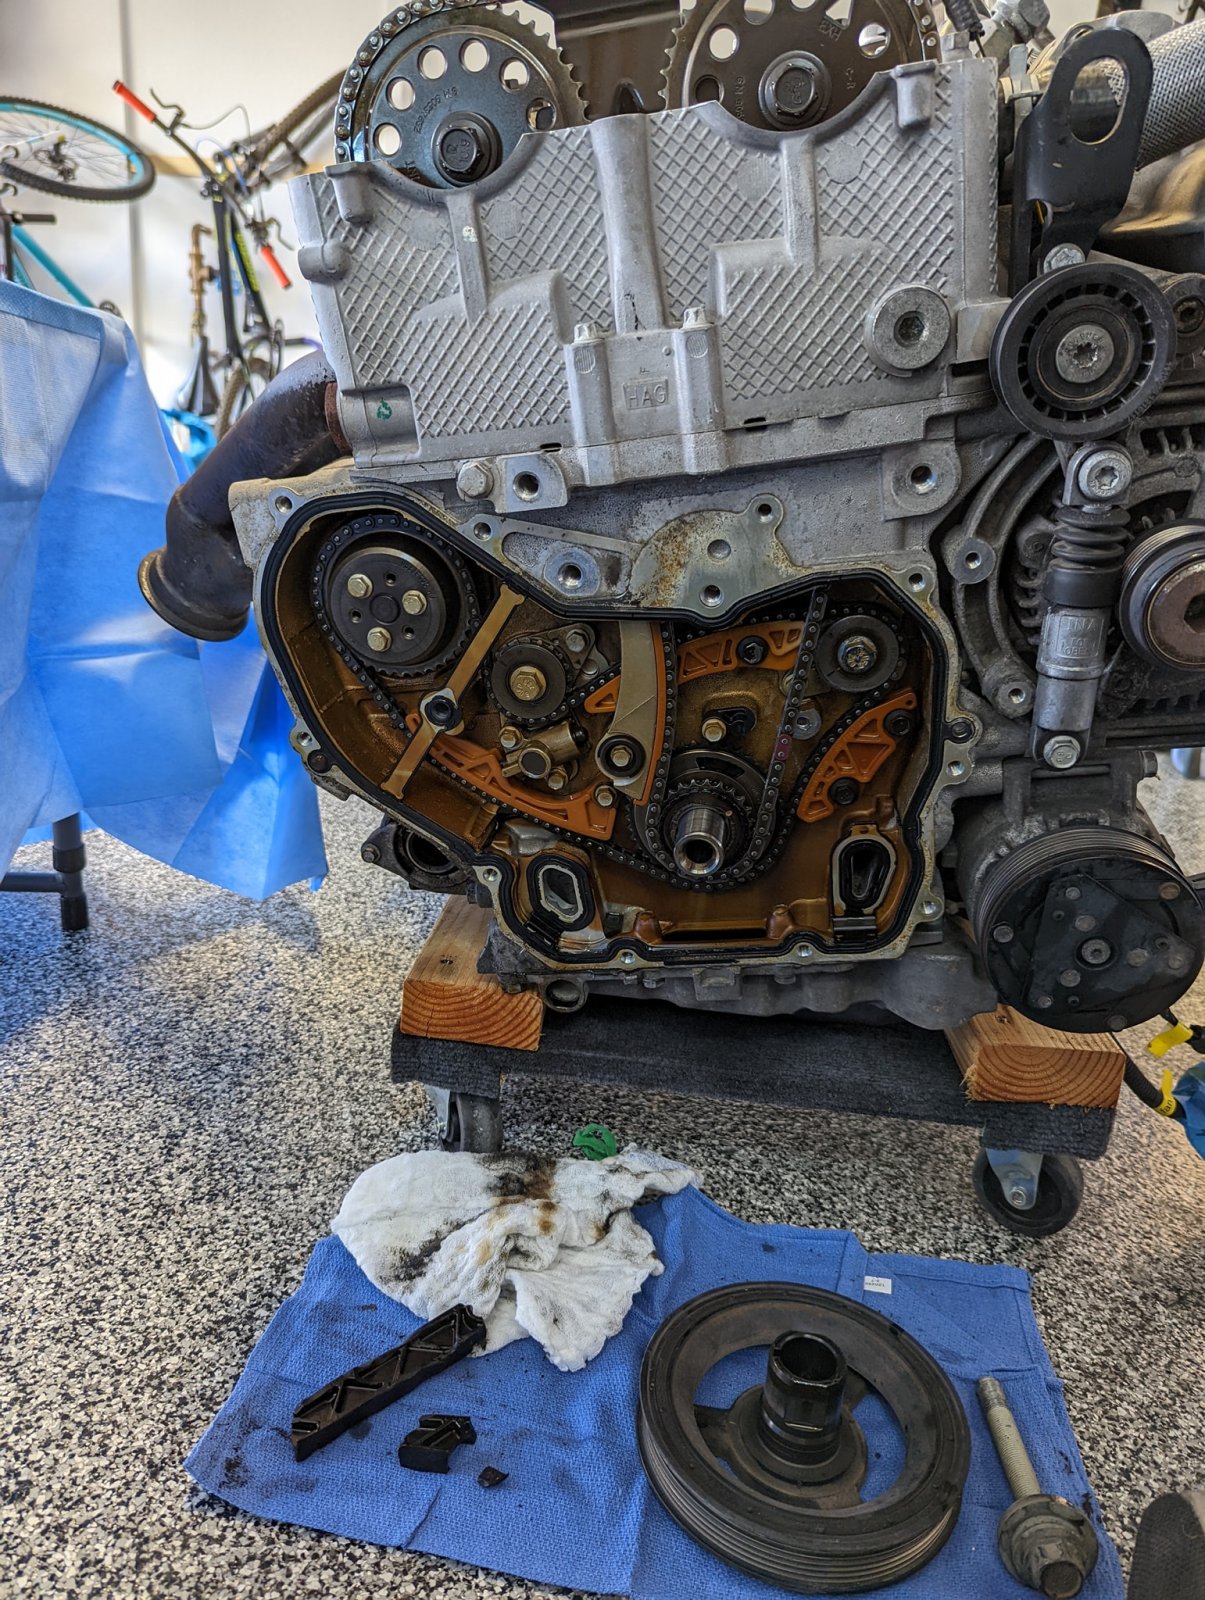
March - April 2022 Engine maintenance
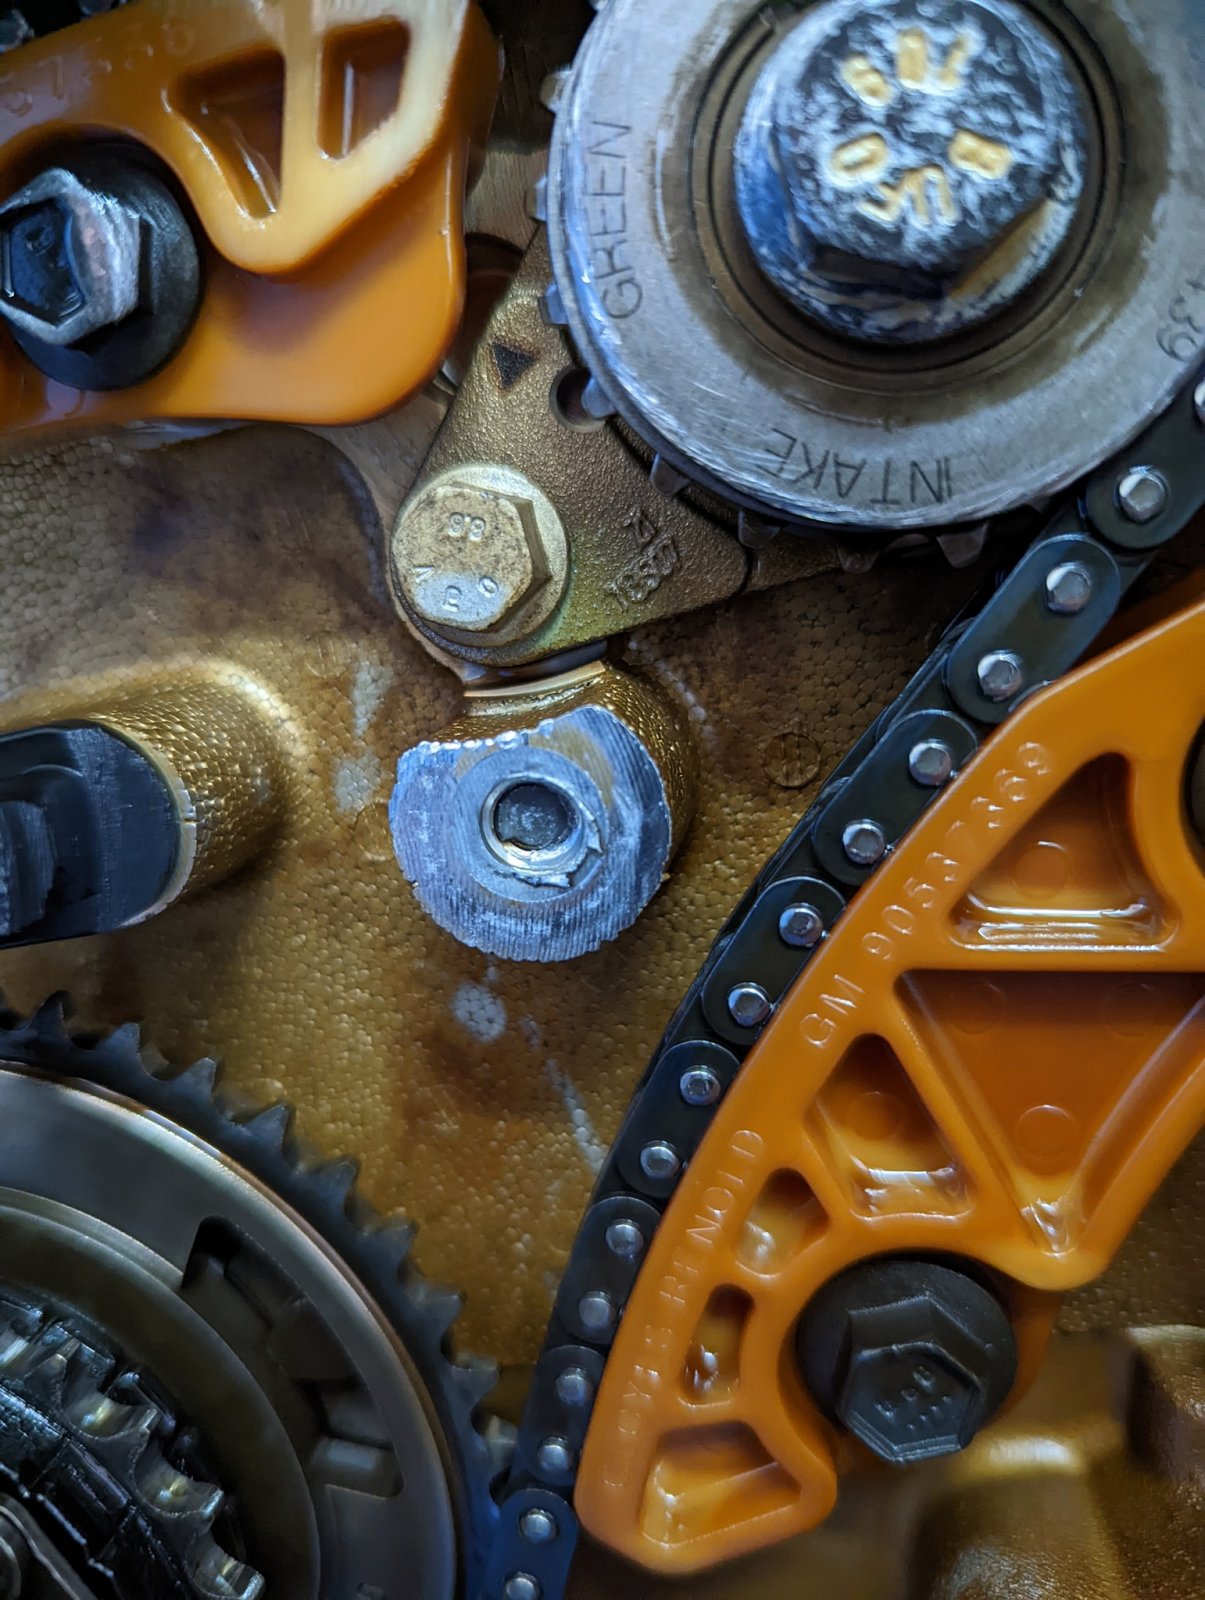
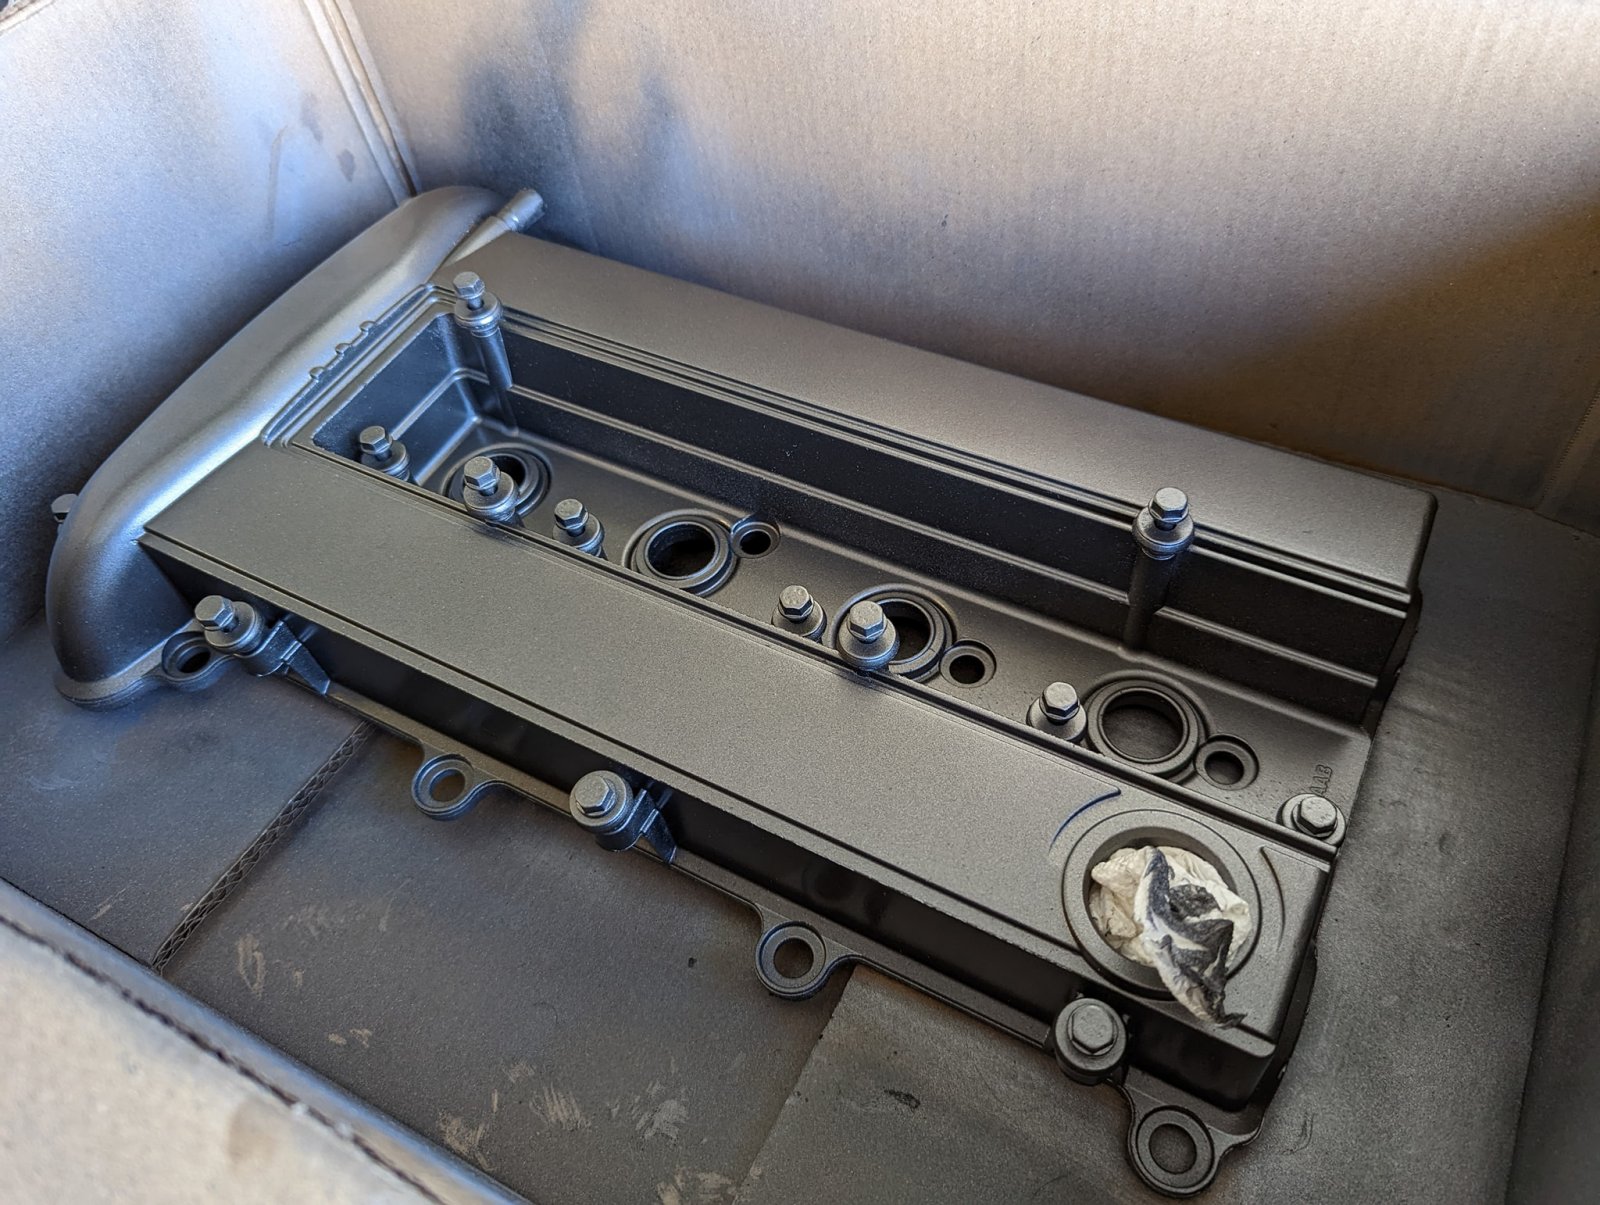
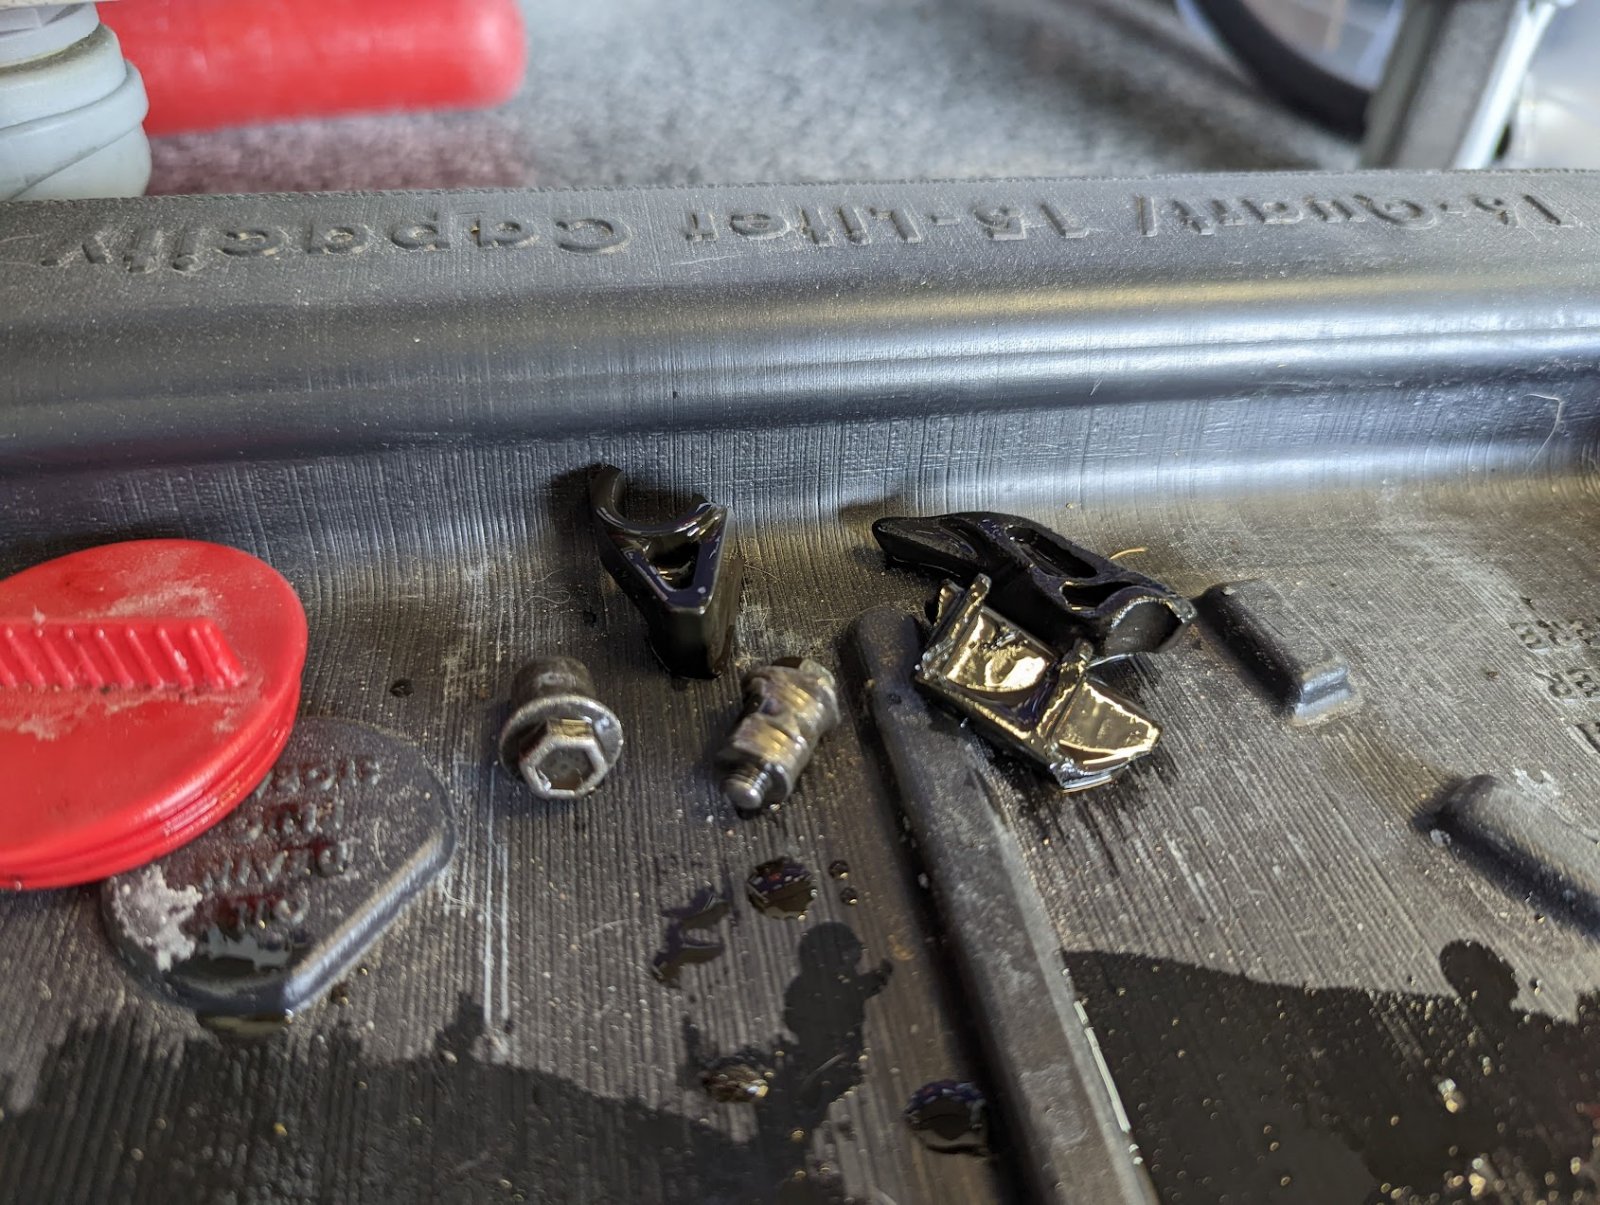
I was debating whether or not to open up the engine and just do a timing chain change, I'm not super savvy as a mechanic and the idea of it was a bit daunting. I decided to go ahead and do it though, and boy am I glad I did. Found one of the timing chain guides was broken into multiple pieces, bolt head was sheared off and no where in sight. Great. Was able to tap out the sheared off bolt, and changed out the water pump for a new one, as well as the whole timing chain kit. Painted the headcover as well, because why not. After mounting the engine to the goblin, I dropped the oil pan and found several more bits of bolt heads, metal, and timing chain guide.
April 2022 - Present
Ordered stage 2/3, took a little bit to get here. Coding school got REALLY intense, and wasn't able to do a lot with the car. The wife and I have been tooling around with the idea of moving the family back east, and I have thought more than once about just putting up this half finished Goblin for sale. I told myself if I can just dedicate at least half of a Sunday, I can get this thing on at least 4 wheels and be ready to tow if needed. It has been much harder without any videos as guidance, I feel like I'm moving at a snails pace when I work one the car, but trial and error makes us all learn faster right?

Thus concludes the journey so far! It's been a lot of fun figuring out how things go together. Too much time was lost between me breaking the donor down and building up the goblin. I feel like if that time frame was closer, and I had more free time, this stage 2/3 section would have been a lot smoother. Now comes the onslaught of questions I will have to get this thing going! Appreciate any and all of your guys help now and in the future of this thread!
My name is Shane, and my Son and I decided we wanted to try and take on a car build, he is more into the idea of restoring old cars, but I thought the process of building a kit car would get us both some much needed car and mechanical knowledge, but also potentially be easier with instructional videos to follow along with.
May 2021 -We bought a donor-
2007 Cobalt SS w/ 140k $2800
Car ran great, and we actually drove it from Provo, UT down to Las Vegas, NV and started tearing it down shortly after. Tear down went fairly smooth.
November 2021 The goblin arrives.
Took me a little bit to figure out the powder coating situation, ended up getting hooked up with a family friend that works for a iron fencing company and they blasted the goblin and parts I wanted in a nice satin black for FREE! Can't beat that. While waiting for the goblin to arrive, I sold off a bunch of parts to locals, the aftermarket bits went quick, and managed to sell the hood, and some other stock parts to recover about$1800 in total.
January 2022 - March 2022
Wife and I decided we both wanted to start working towards a 'mid-life' career change into the Tech space. So we started up an online Coding boot camp geared towards Web/Mobile development. Little did I know how much time that would require. Coding started to take up 99% of my time outside of work and family. The goblin build took a backseat, and I was able to work on it hear and there, but was definitely not able to dedicate large chunks of time. I decided to send the wiring harness out to have DF get it done, mean while I managed to do some simple installed in the front of the car, and get most of everything in the Stage 1 kit installed.
March - April 2022 Engine maintenance
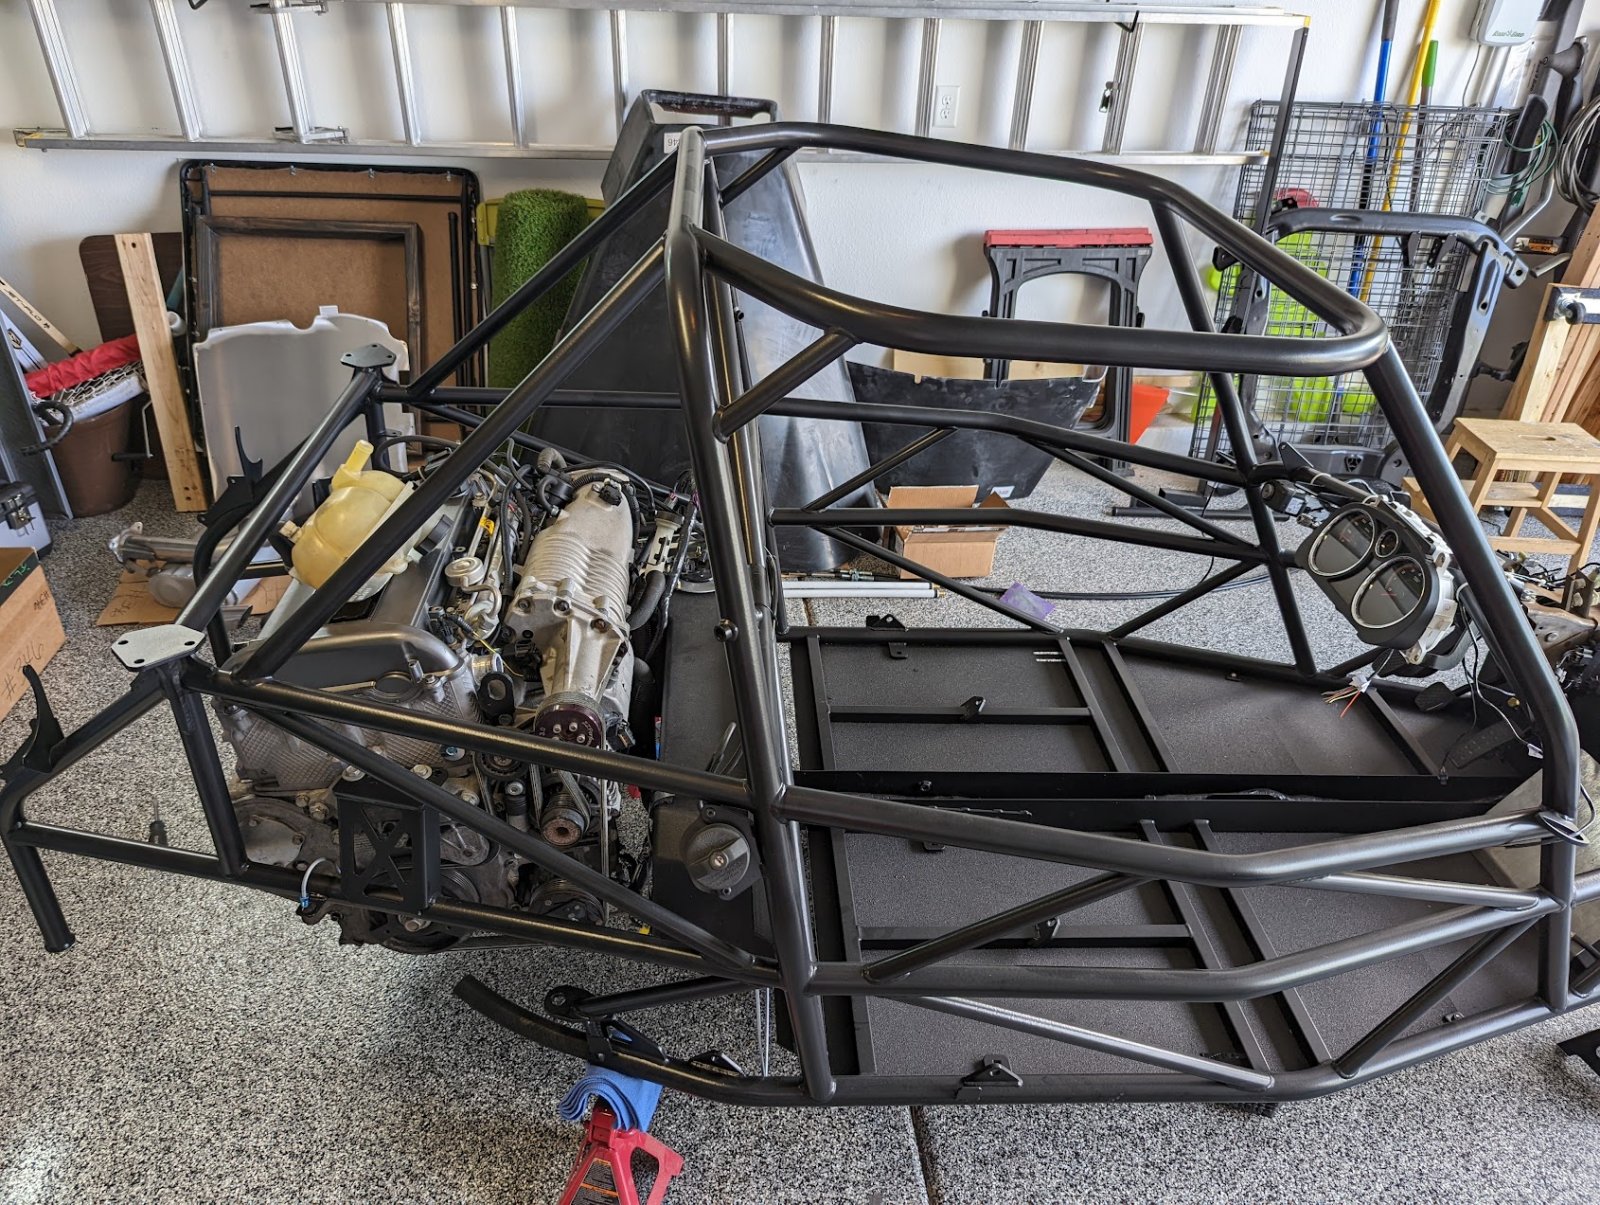
I was debating whether or not to open up the engine and just do a timing chain change, I'm not super savvy as a mechanic and the idea of it was a bit daunting. I decided to go ahead and do it though, and boy am I glad I did. Found one of the timing chain guides was broken into multiple pieces, bolt head was sheared off and no where in sight. Great. Was able to tap out the sheared off bolt, and changed out the water pump for a new one, as well as the whole timing chain kit. Painted the headcover as well, because why not. After mounting the engine to the goblin, I dropped the oil pan and found several more bits of bolt heads, metal, and timing chain guide.
April 2022 - Present
Ordered stage 2/3, took a little bit to get here. Coding school got REALLY intense, and wasn't able to do a lot with the car. The wife and I have been tooling around with the idea of moving the family back east, and I have thought more than once about just putting up this half finished Goblin for sale. I told myself if I can just dedicate at least half of a Sunday, I can get this thing on at least 4 wheels and be ready to tow if needed. It has been much harder without any videos as guidance, I feel like I'm moving at a snails pace when I work one the car, but trial and error makes us all learn faster right?
Thus concludes the journey so far! It's been a lot of fun figuring out how things go together. Too much time was lost between me breaking the donor down and building up the goblin. I feel like if that time frame was closer, and I had more free time, this stage 2/3 section would have been a lot smoother. Now comes the onslaught of questions I will have to get this thing going! Appreciate any and all of your guys help now and in the future of this thread!
")