
-
We've upgraded and reskinned the forum. Notice something off? Email us at [email protected] and we'll fix it.
You are using an out of date browser. It may not display this or other websites correctly.
You should upgrade or use an alternative browser.
You should upgrade or use an alternative browser.
V1 ccgillett's Track Goblin - '08 SS/TC

Desert Sasqwatch
Bigfoot Goblin

- Desert Sasqwatch Bigfoot Goblin
The Cobalt parts move to the back, the DF supplied parts (which are physically longer) go on the front.

ccgillett
Well-Known Member

- ccgillett Well-Known Member
The 4.25" ones are Moog ES2382s and are ones I purchased after reading on the forum and are the ones I'm worried about. When I got the car (again, an incompleted build) the tie-rod ends already installed were the 5" long ones.Were the 4.25" or so stock Cobalts tie rods the ones that are moved from the front to the back? I'm pretty sure the new fronts are shorter.
The Moog ES2382 and the SKP SESF305 that I used both cross reference to the late 80's Chevy Nova.
- Gtstorey Goblin Guru
Tie rod ends are measured from the center of the tapered shaft to the end where the inner tie rod threads in. The ES2382 is listed as 3.3 inches long.
Outer Tie Rod Ends by Dimension - Moog Suspension Parts (moog-suspension-parts.com)
I don't think there is an issue with the overall length of the ES2382, the only questions are whether the ones you received are defective (to stiff) or if the taper is incorrect.
Outer Tie Rod Ends by Dimension - Moog Suspension Parts (moog-suspension-parts.com)
I don't think there is an issue with the overall length of the ES2382, the only questions are whether the ones you received are defective (to stiff) or if the taper is incorrect.
ccgillett
Well-Known Member
- ccgillett Well-Known Member
Ok, I will assemble the front suspension tonight and post a few pictures. I appreciate the advice and info you are all providing, thank you!Tie rod ends are measured from the center of the tapered shaft to the end where the inner tie rod threads in. The ES2382 is listed as 3.3 inches long.
Outer Tie Rod Ends by Dimension - Moog Suspension Parts (moog-suspension-parts.com)
I don't think there is an issue with the overall length of the ES2382, the only questions are whether the ones you received are defective (to stiff) or if the taper is incorrect.


Desert Sasqwatch
Bigfoot Goblin
- Desert Sasqwatch Bigfoot Goblin
Oops! I meant to say shorter - got distracted while typing. My bad! 
ccgillett
Well-Known Member
- ccgillett Well-Known Member
Body Control Module and Harness: I've got the wiring harness laid out and am starting to connect the various plugs by following the build videos.
I purchased my harness pre-made by DF and the thing is a work of art. I asked them to label the plugs (actually paid a little extra) and they covered a bunch of things. But I am left with two identical connectors up front and no clue as to which is which. Anybody have any ideas? The wire colors are different, but the plug shape and pins look identical.
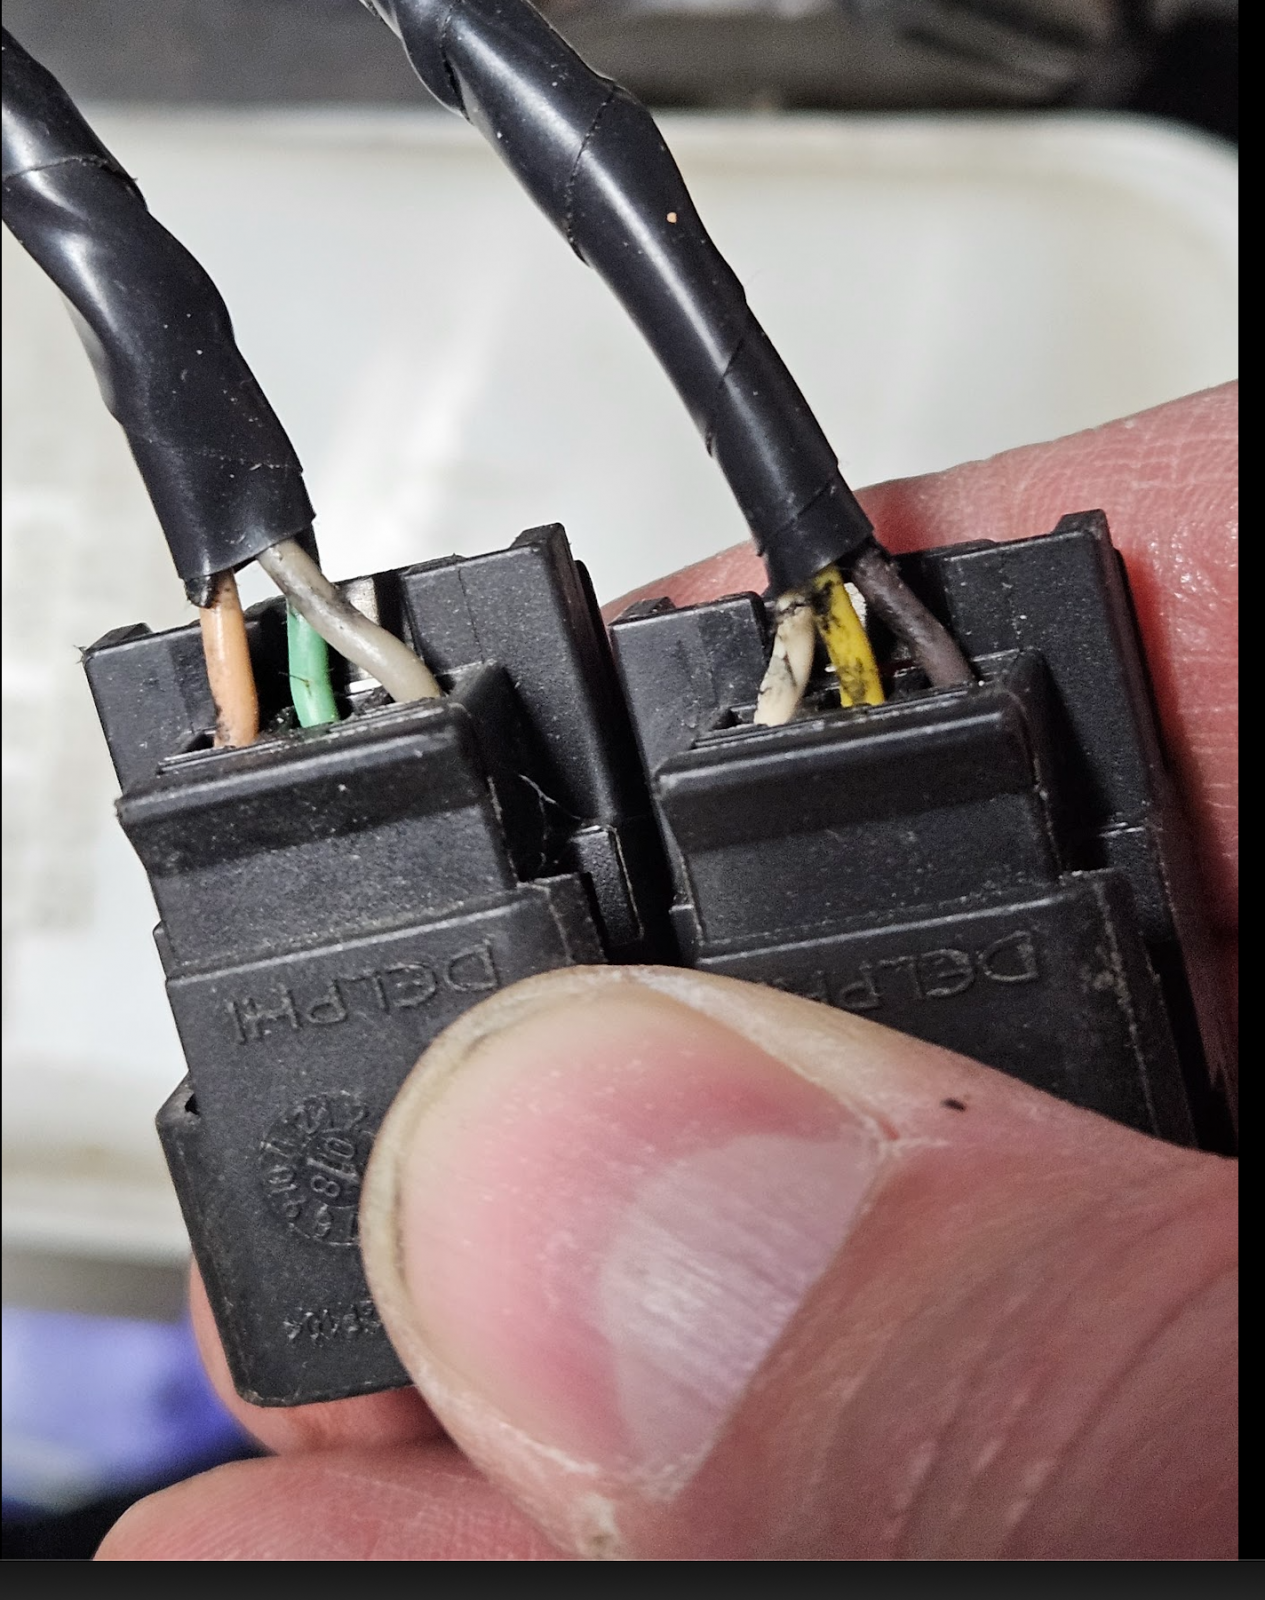
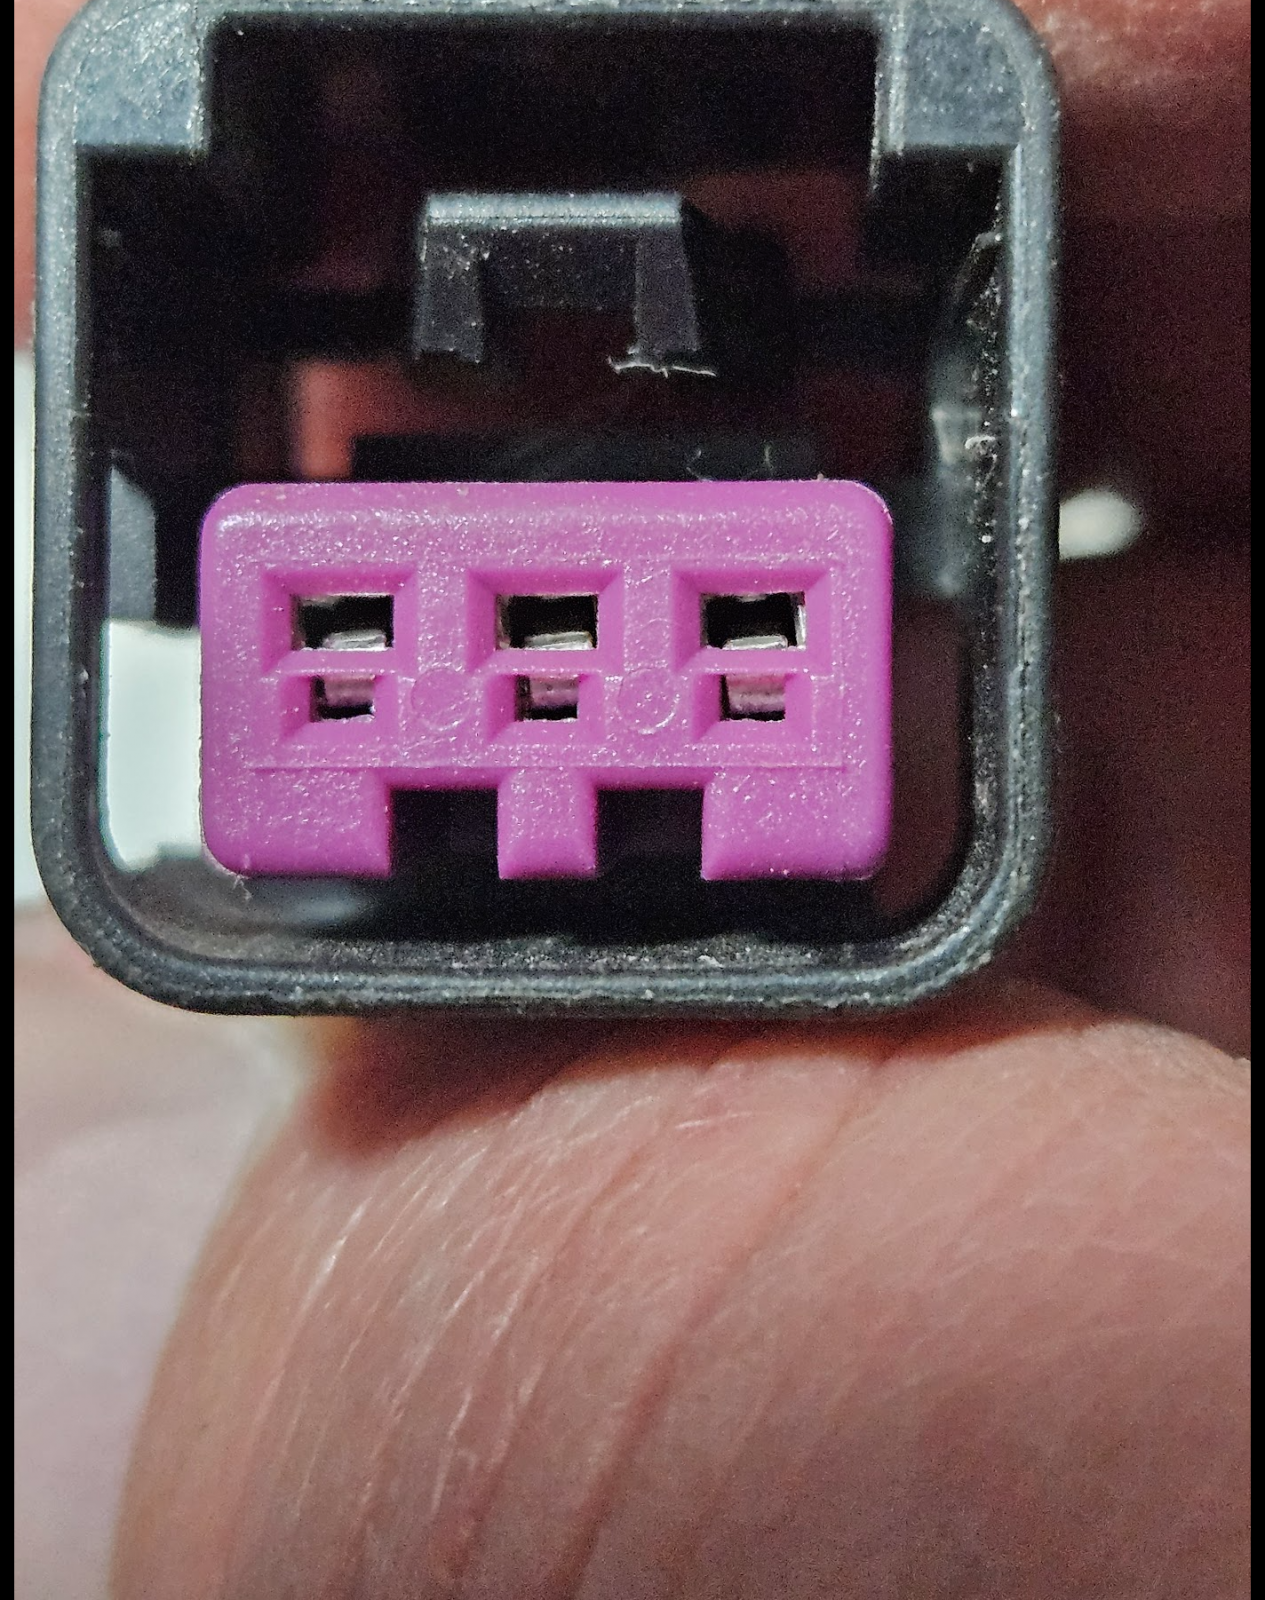
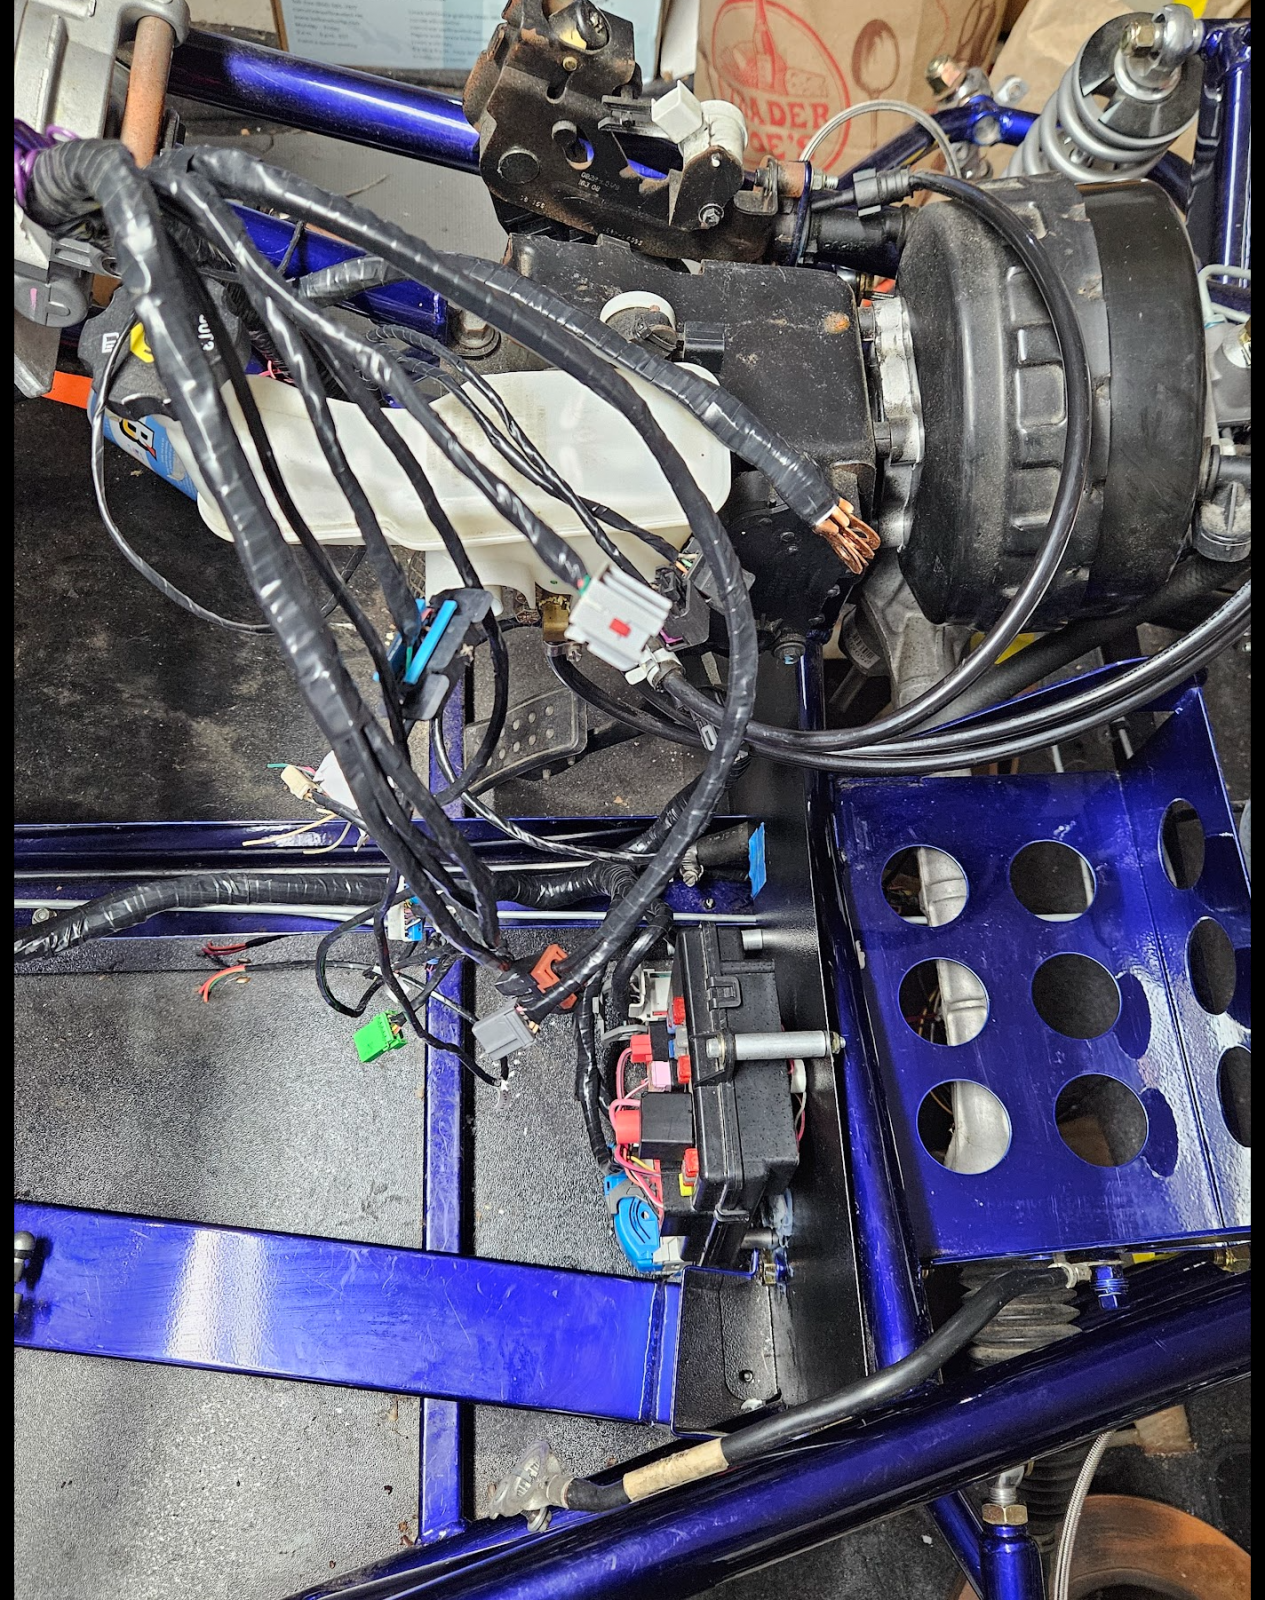
I purchased my harness pre-made by DF and the thing is a work of art. I asked them to label the plugs (actually paid a little extra) and they covered a bunch of things. But I am left with two identical connectors up front and no clue as to which is which. Anybody have any ideas? The wire colors are different, but the plug shape and pins look identical.


ccgillett
Well-Known Member
- ccgillett Well-Known Member
Back to the wiring harness install today. I've got 5 connectors I can't identify.
First up, in the front of the car:
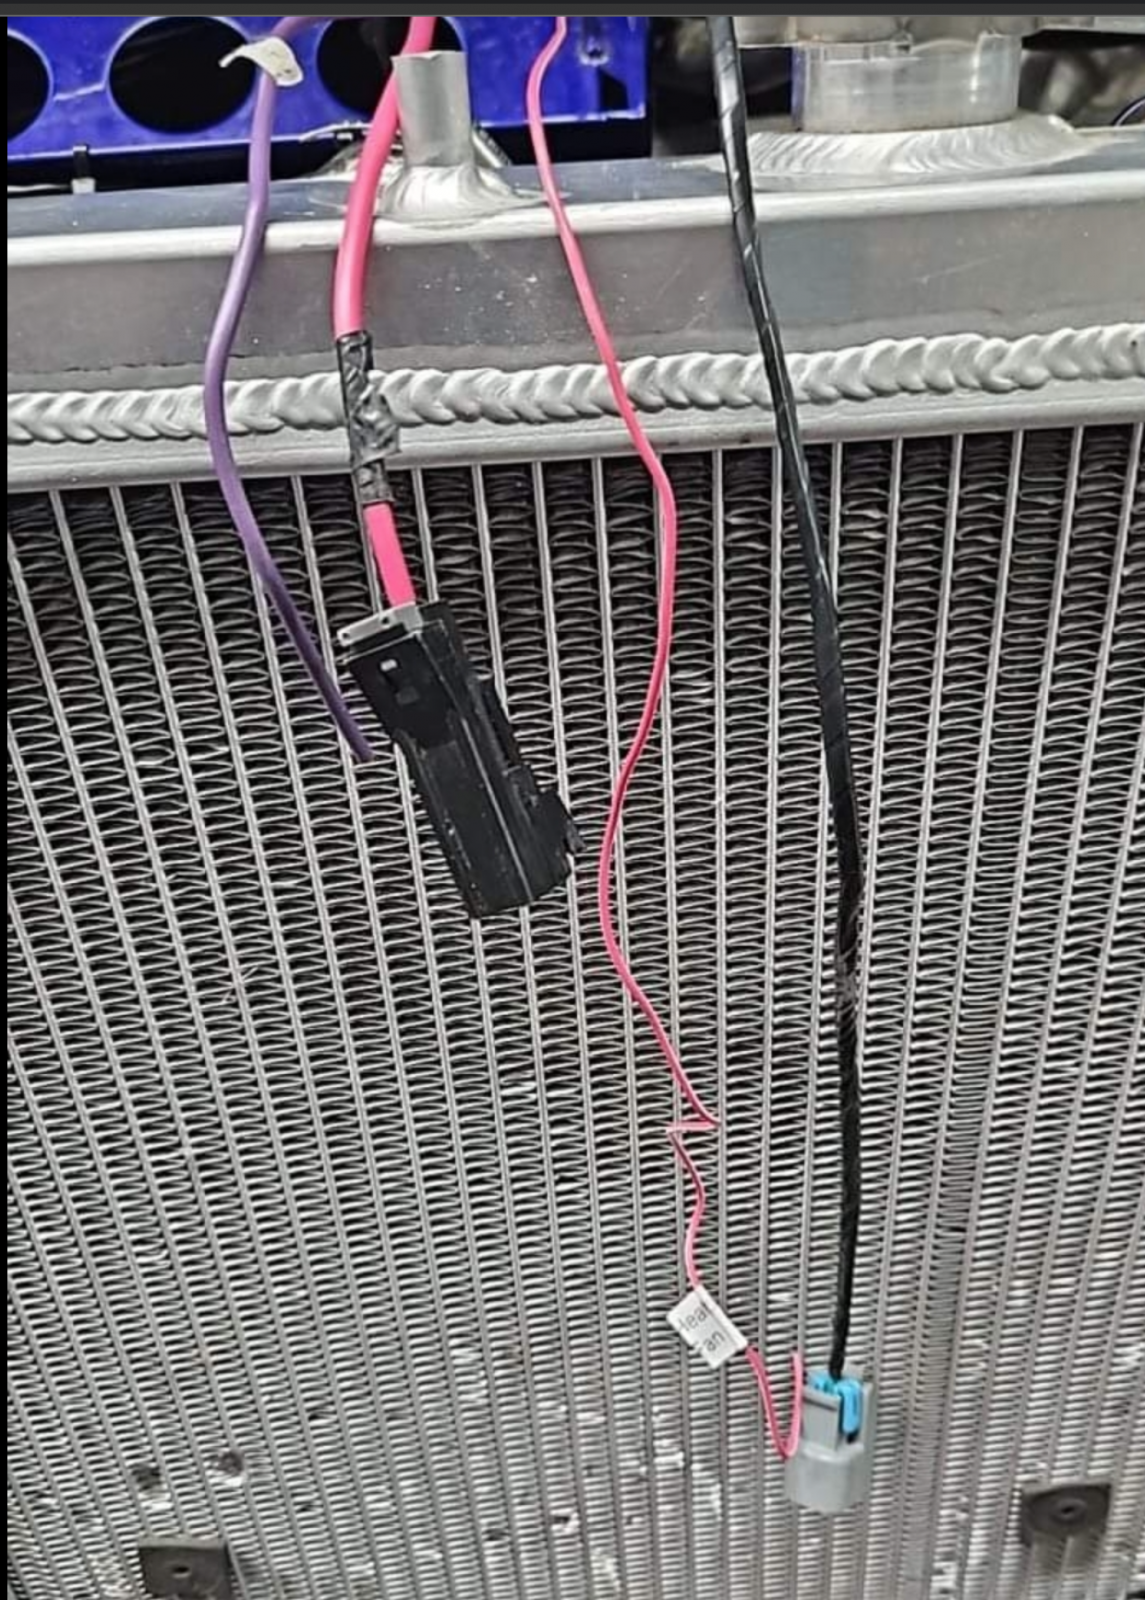
The pink wire is for the heat exchanger fan, and the purple wire is for the radiator fan. But what are the gray and black plugs for? Here are pics of those:
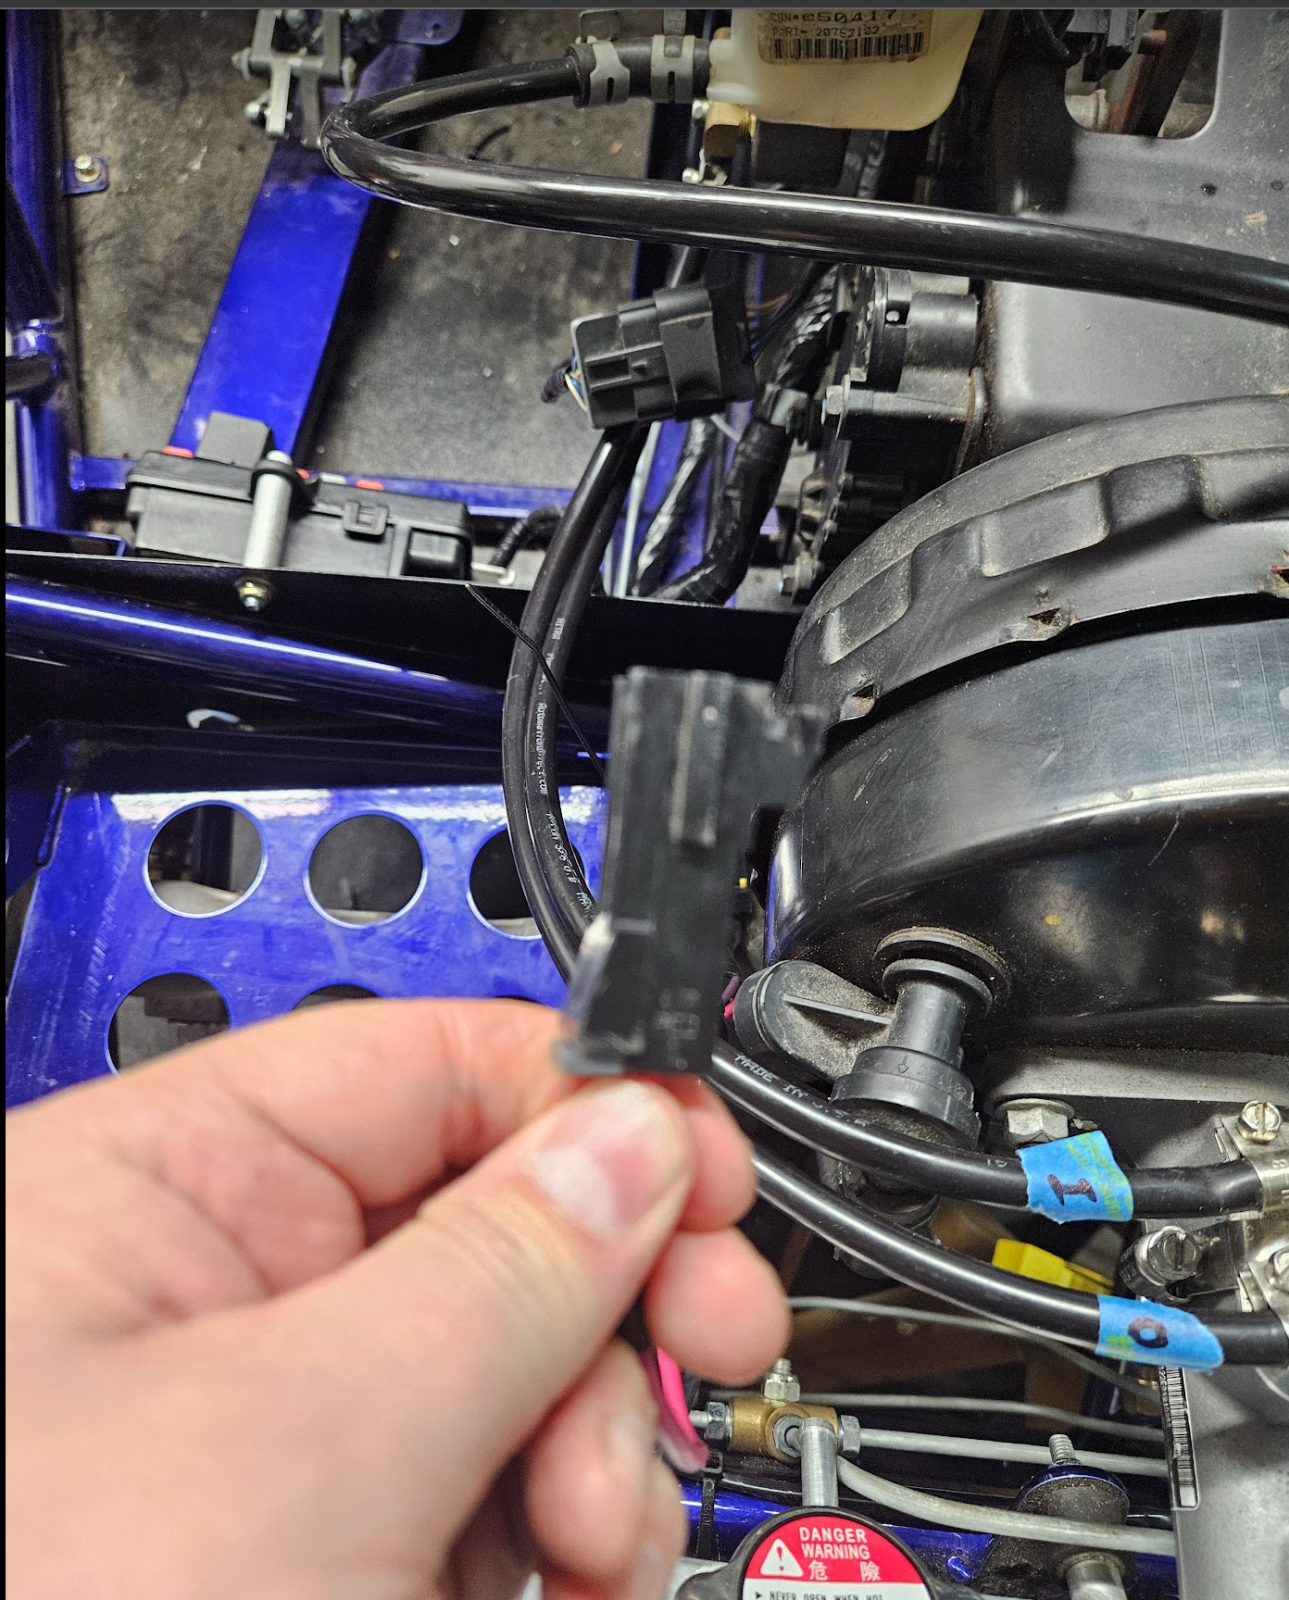
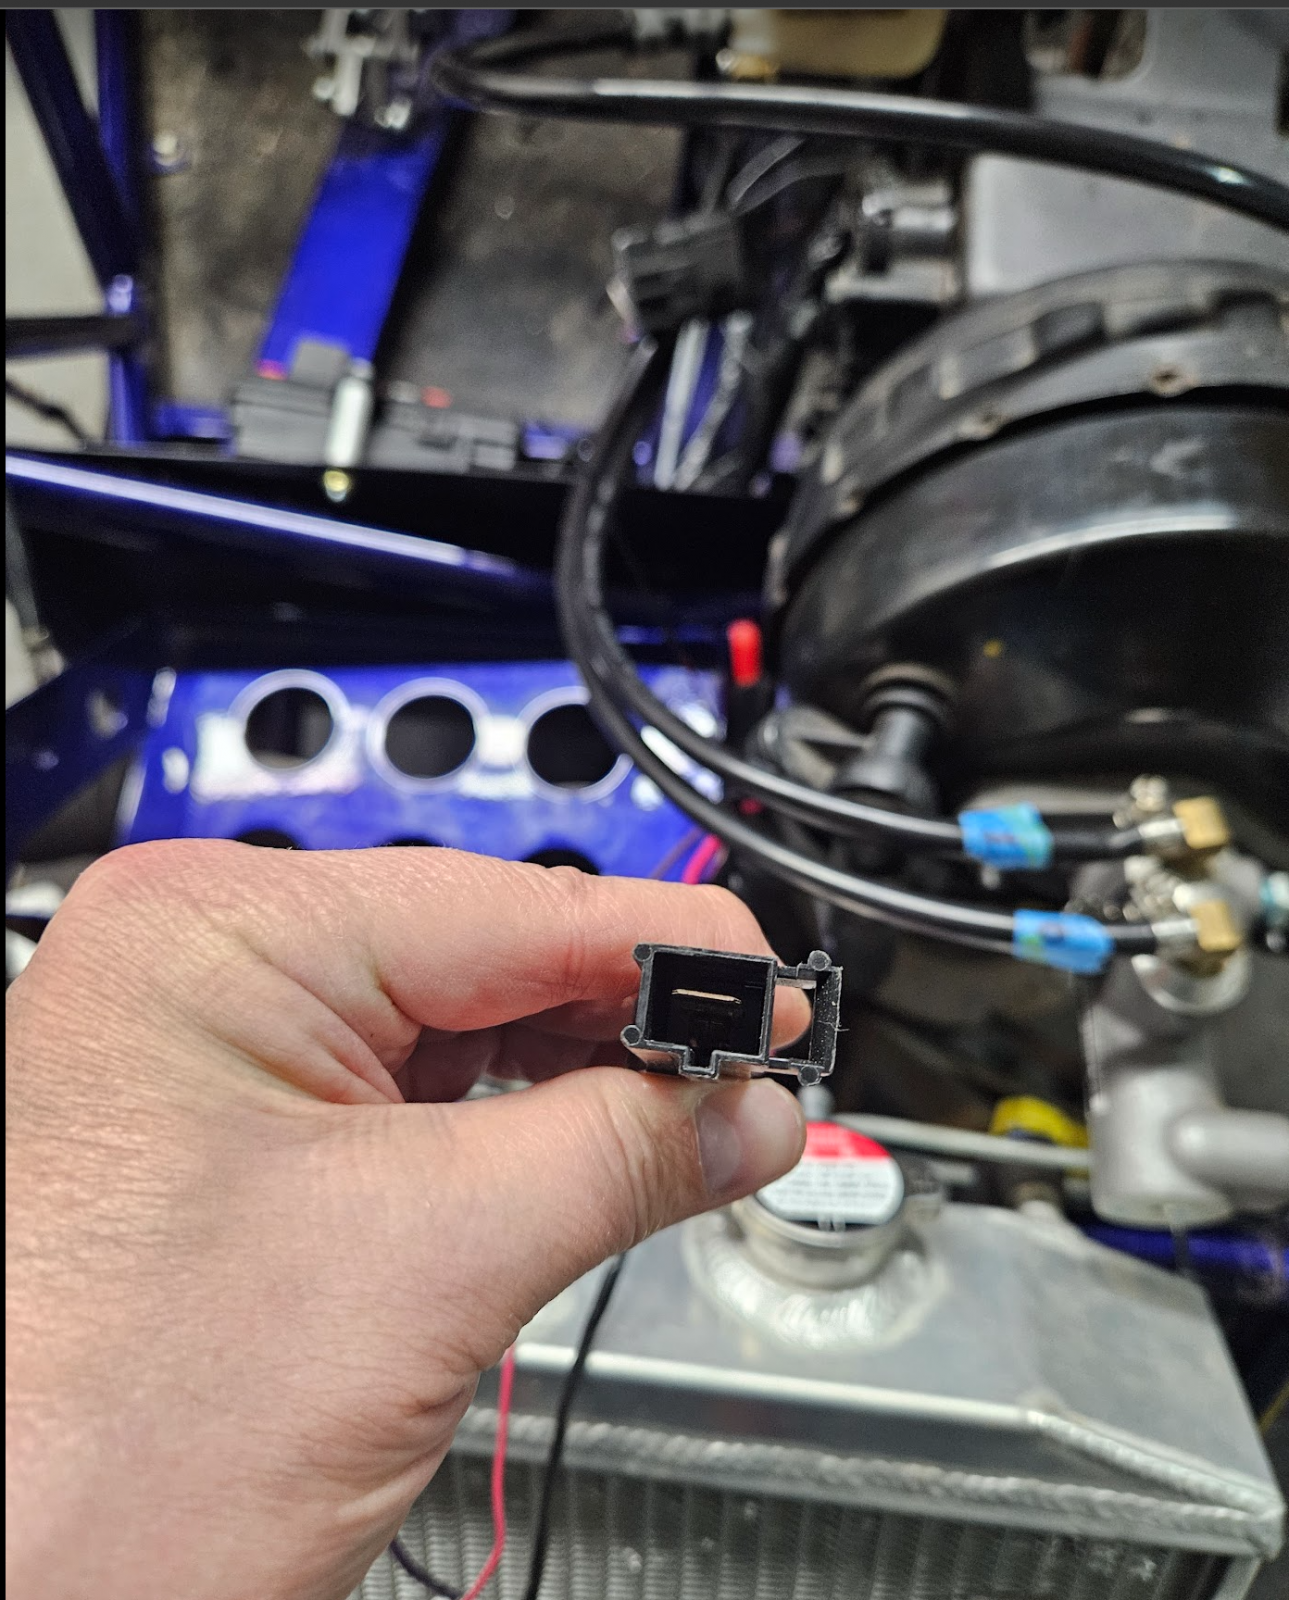
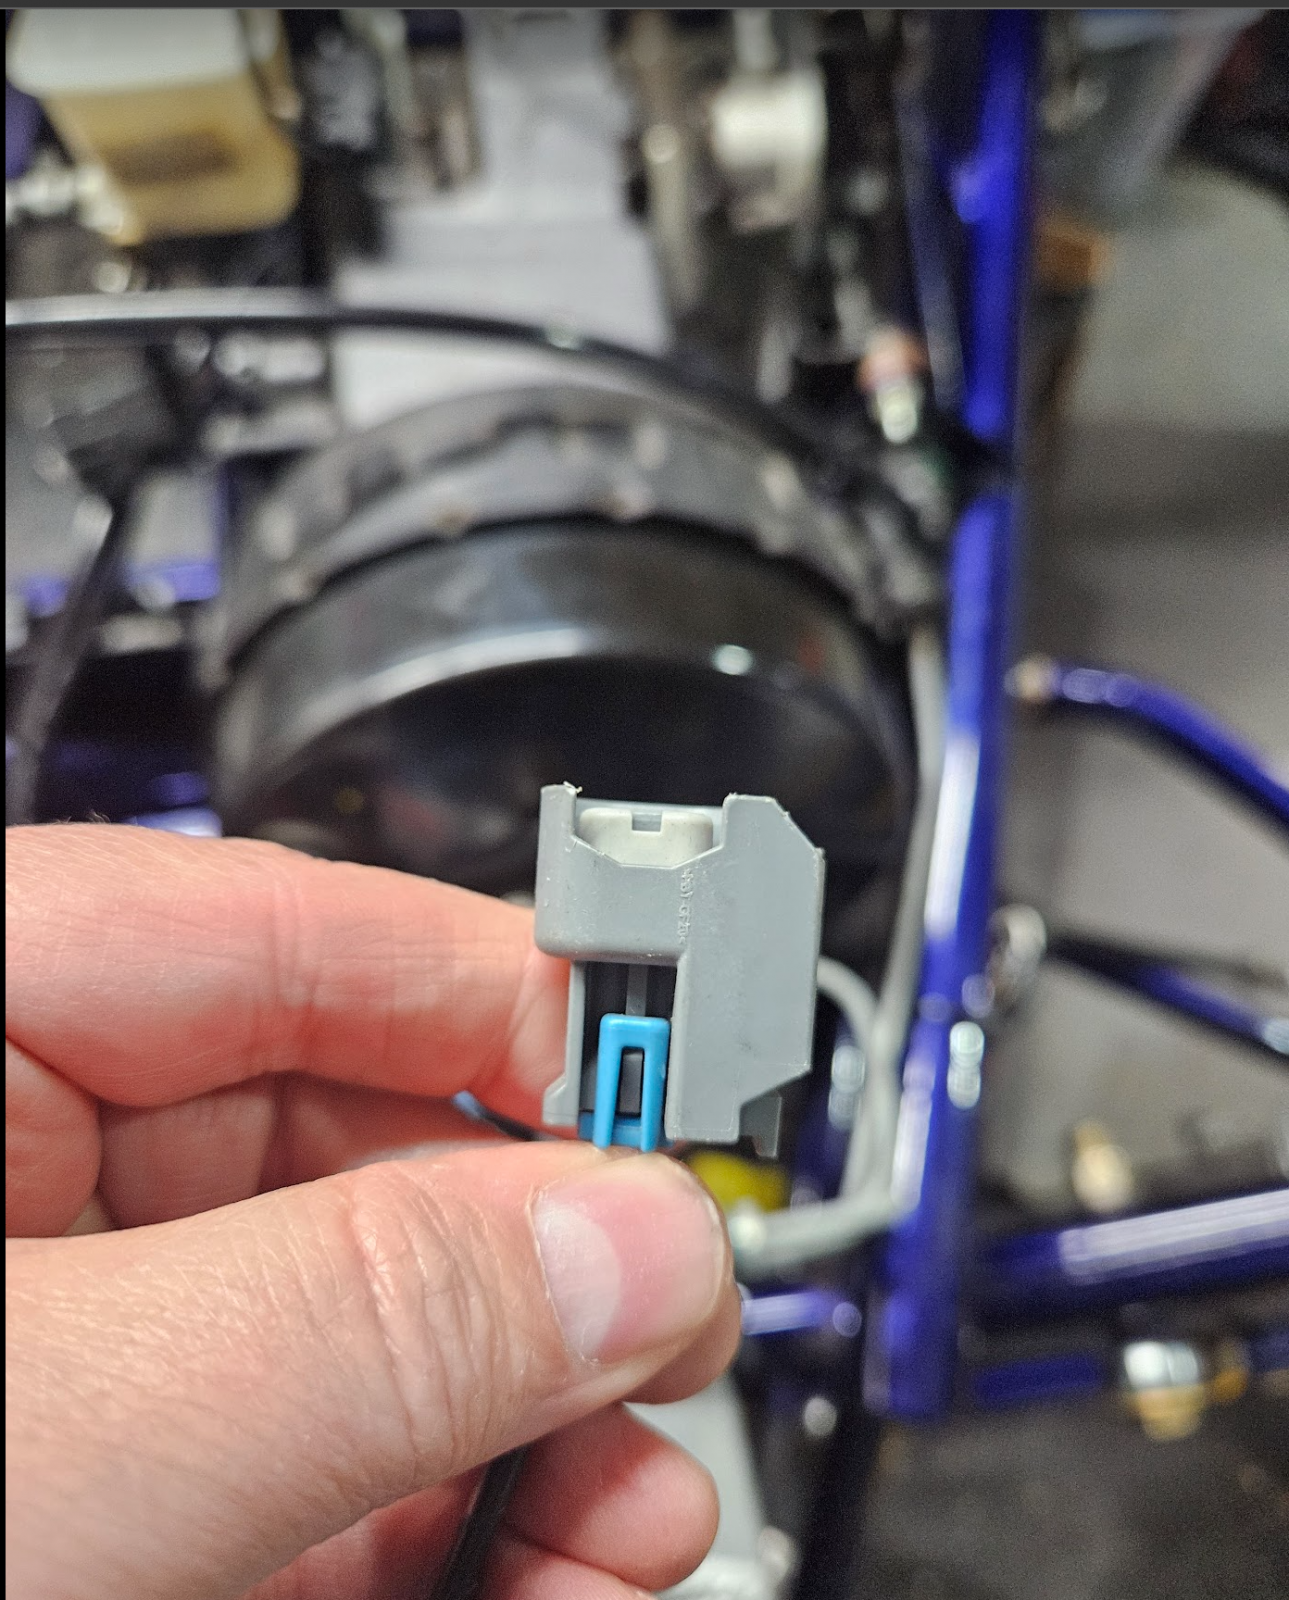
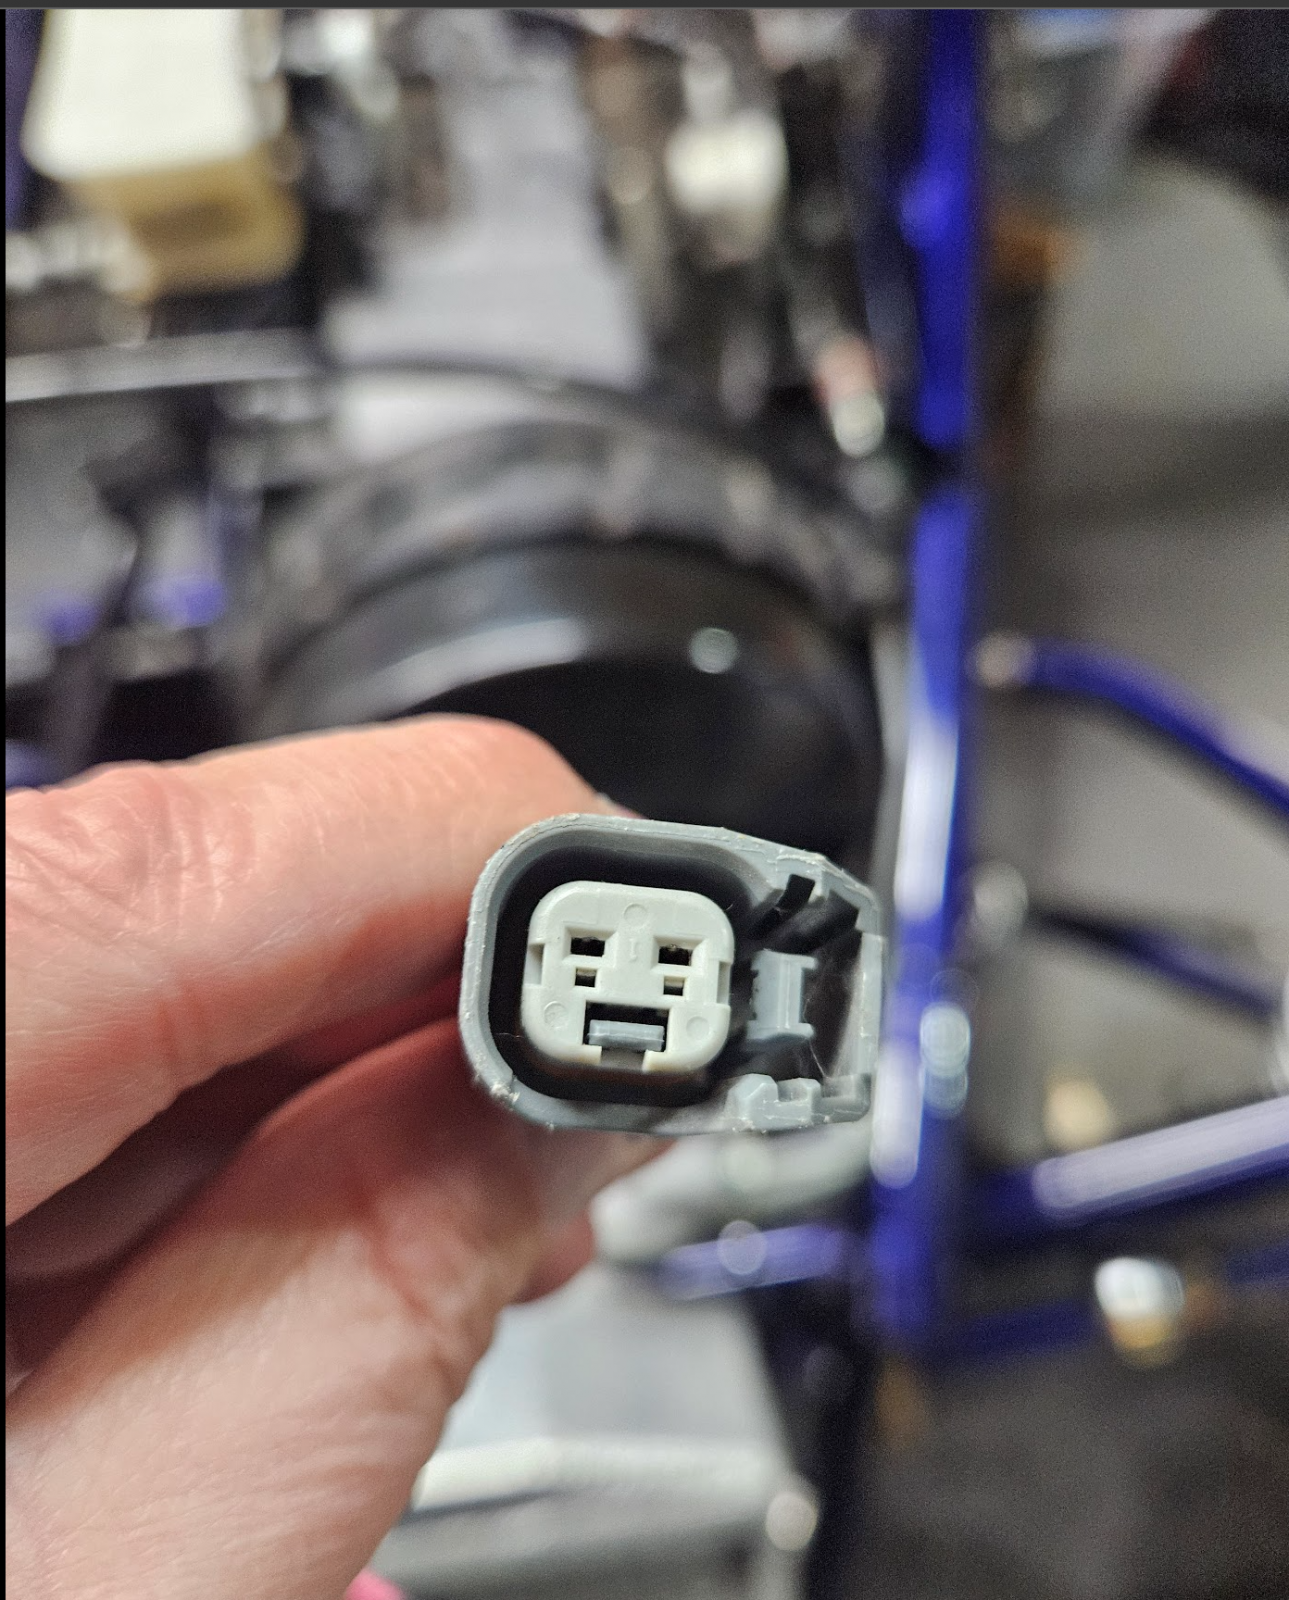
On the driver's side I thihk I have everythign plugged in per the build videos, but I've got 3 stray plugs. I did search the videos and the archive, but didn't see anything.
Stray 1:
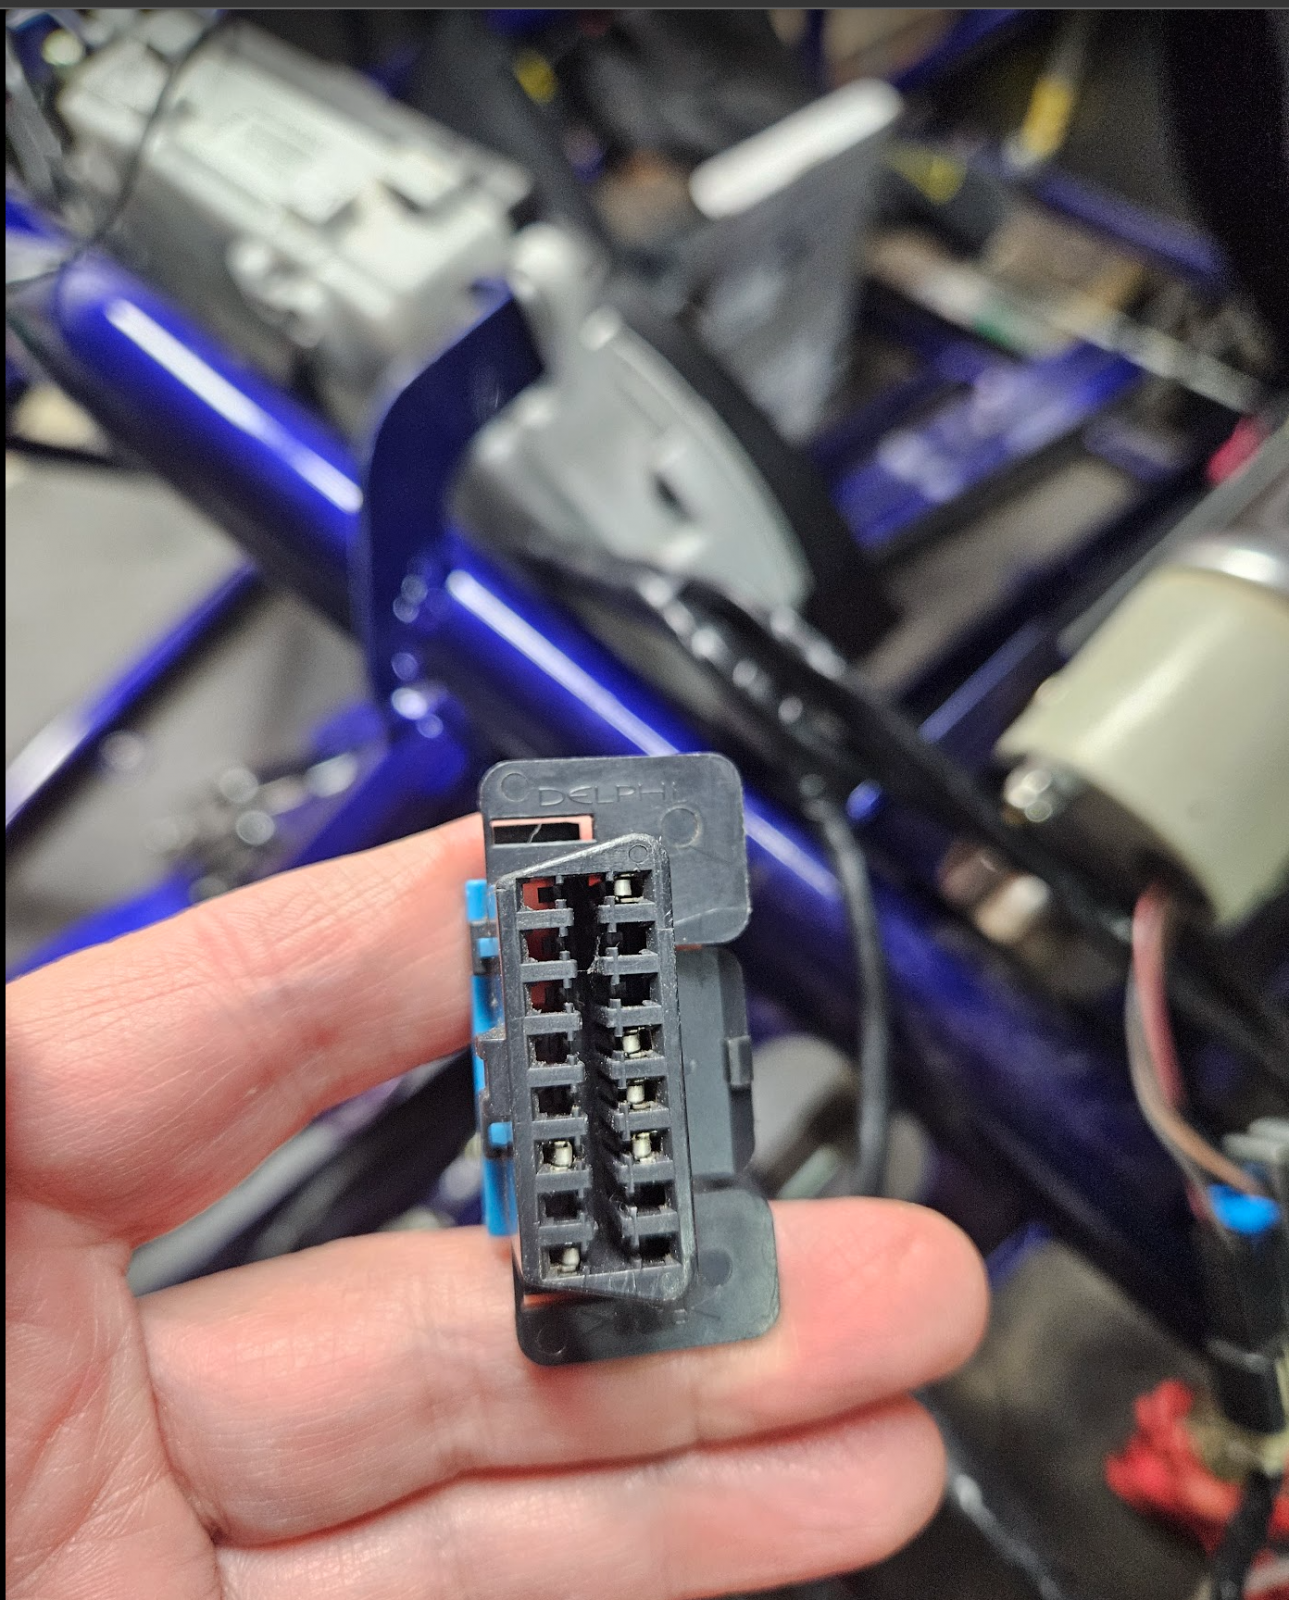
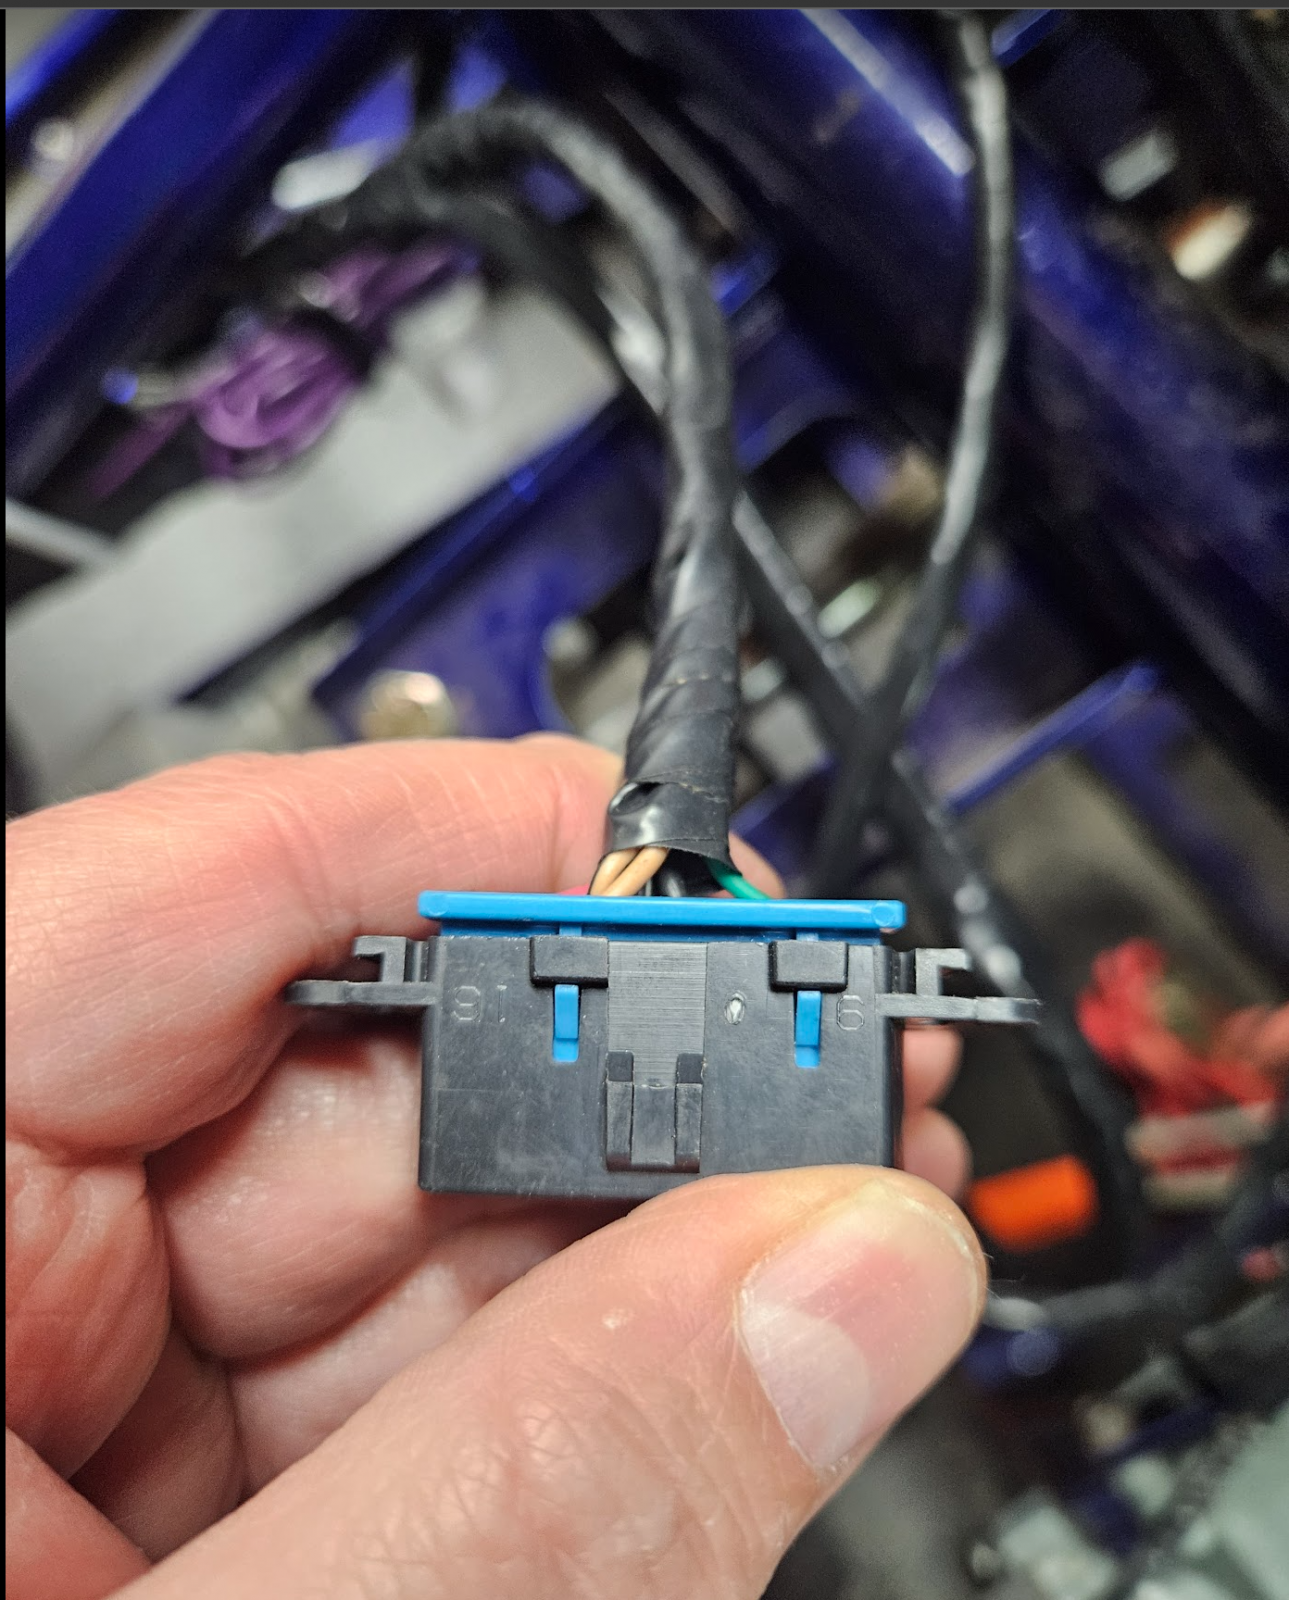
Stray 2:
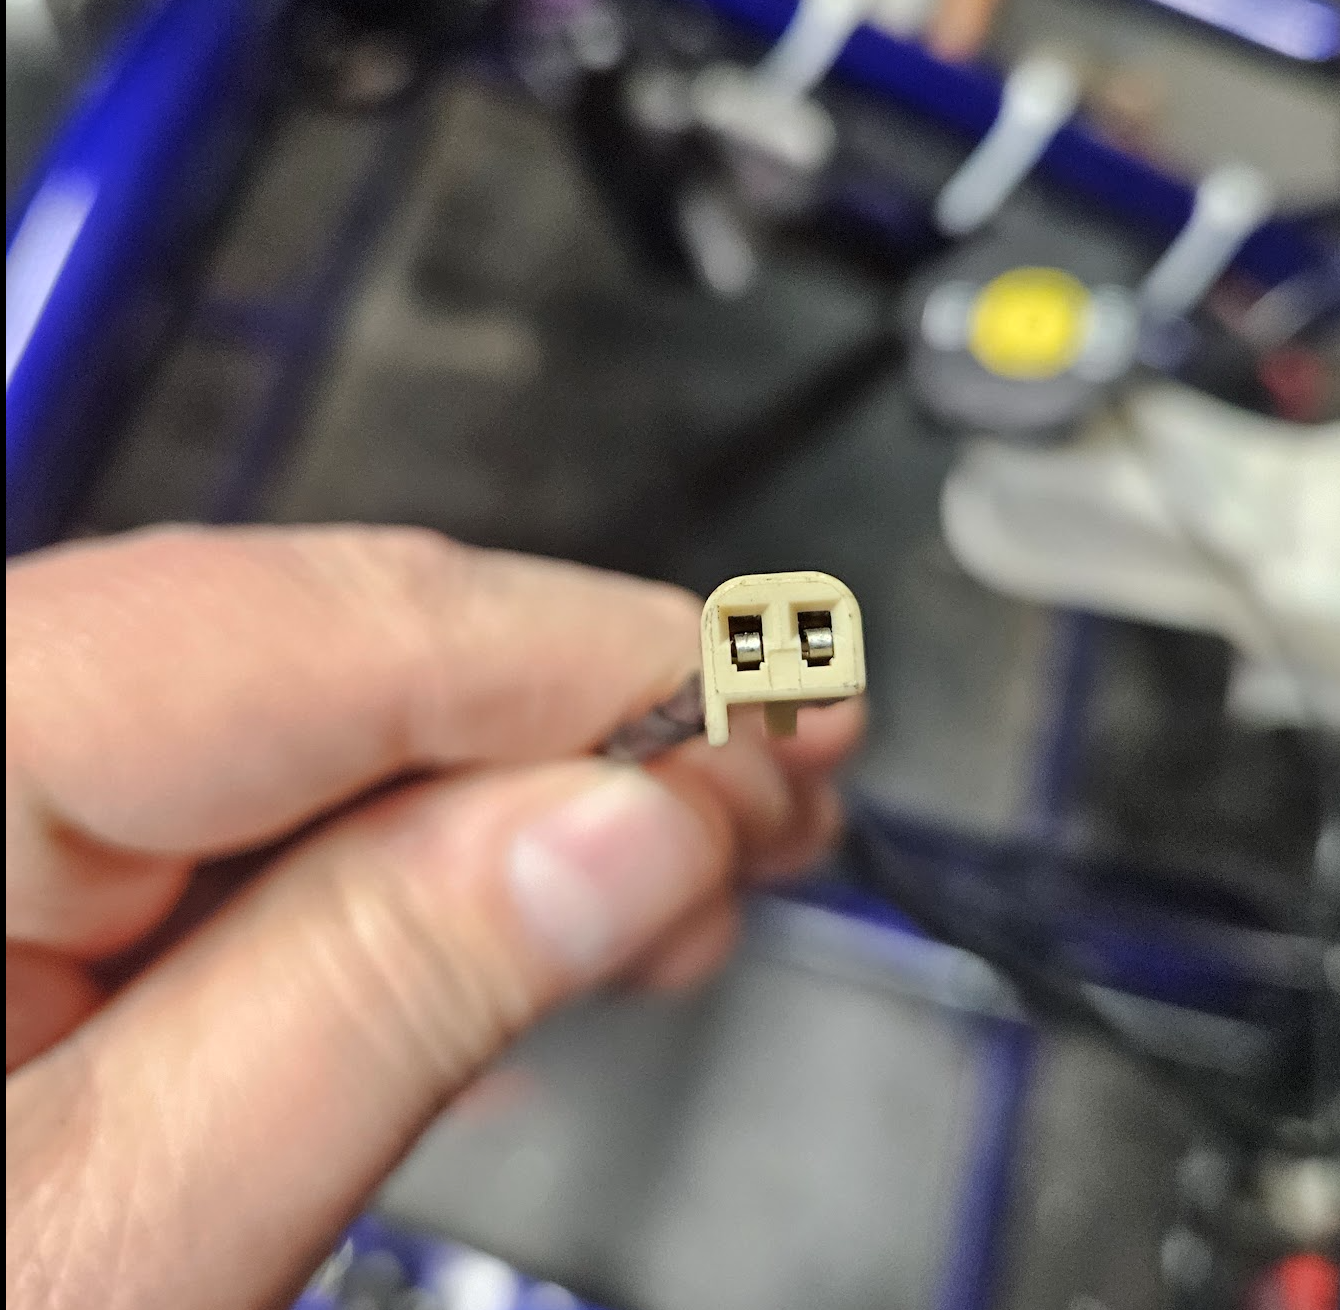
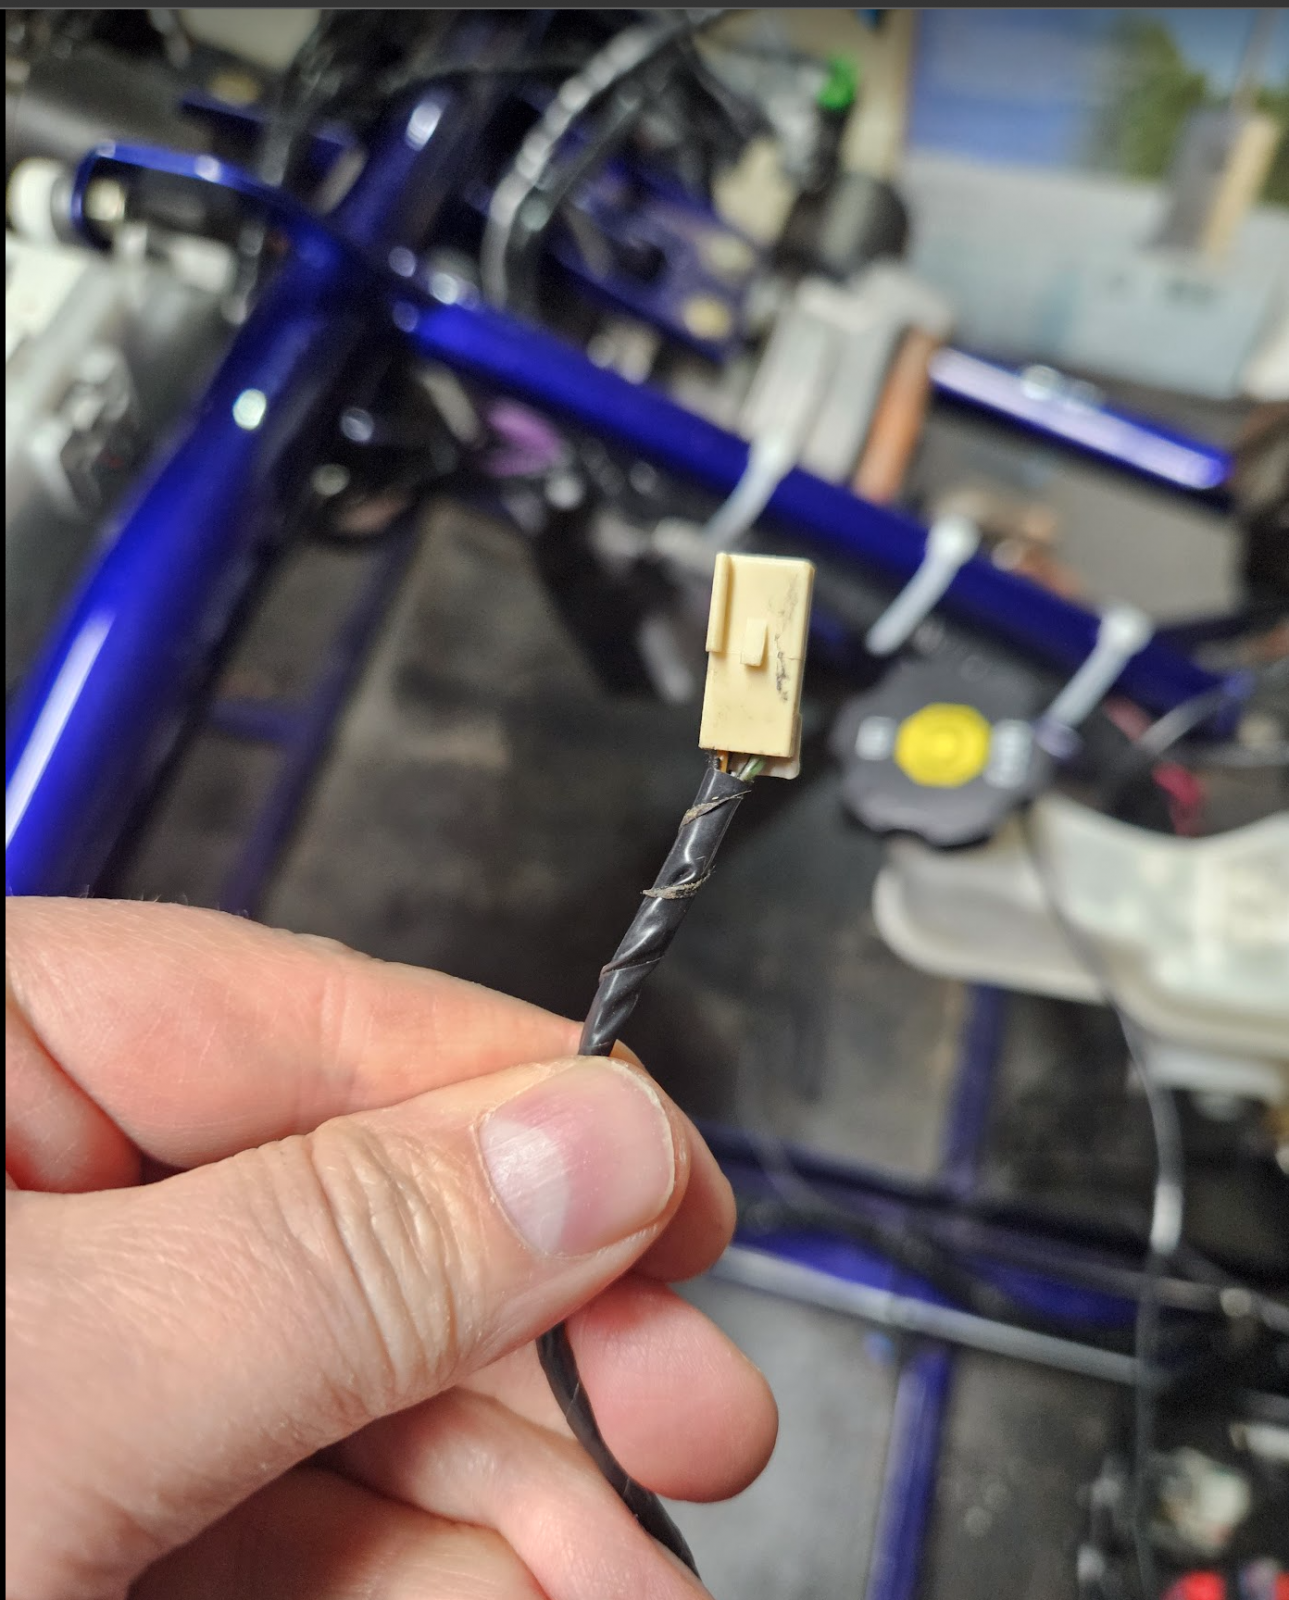
Stray 3:
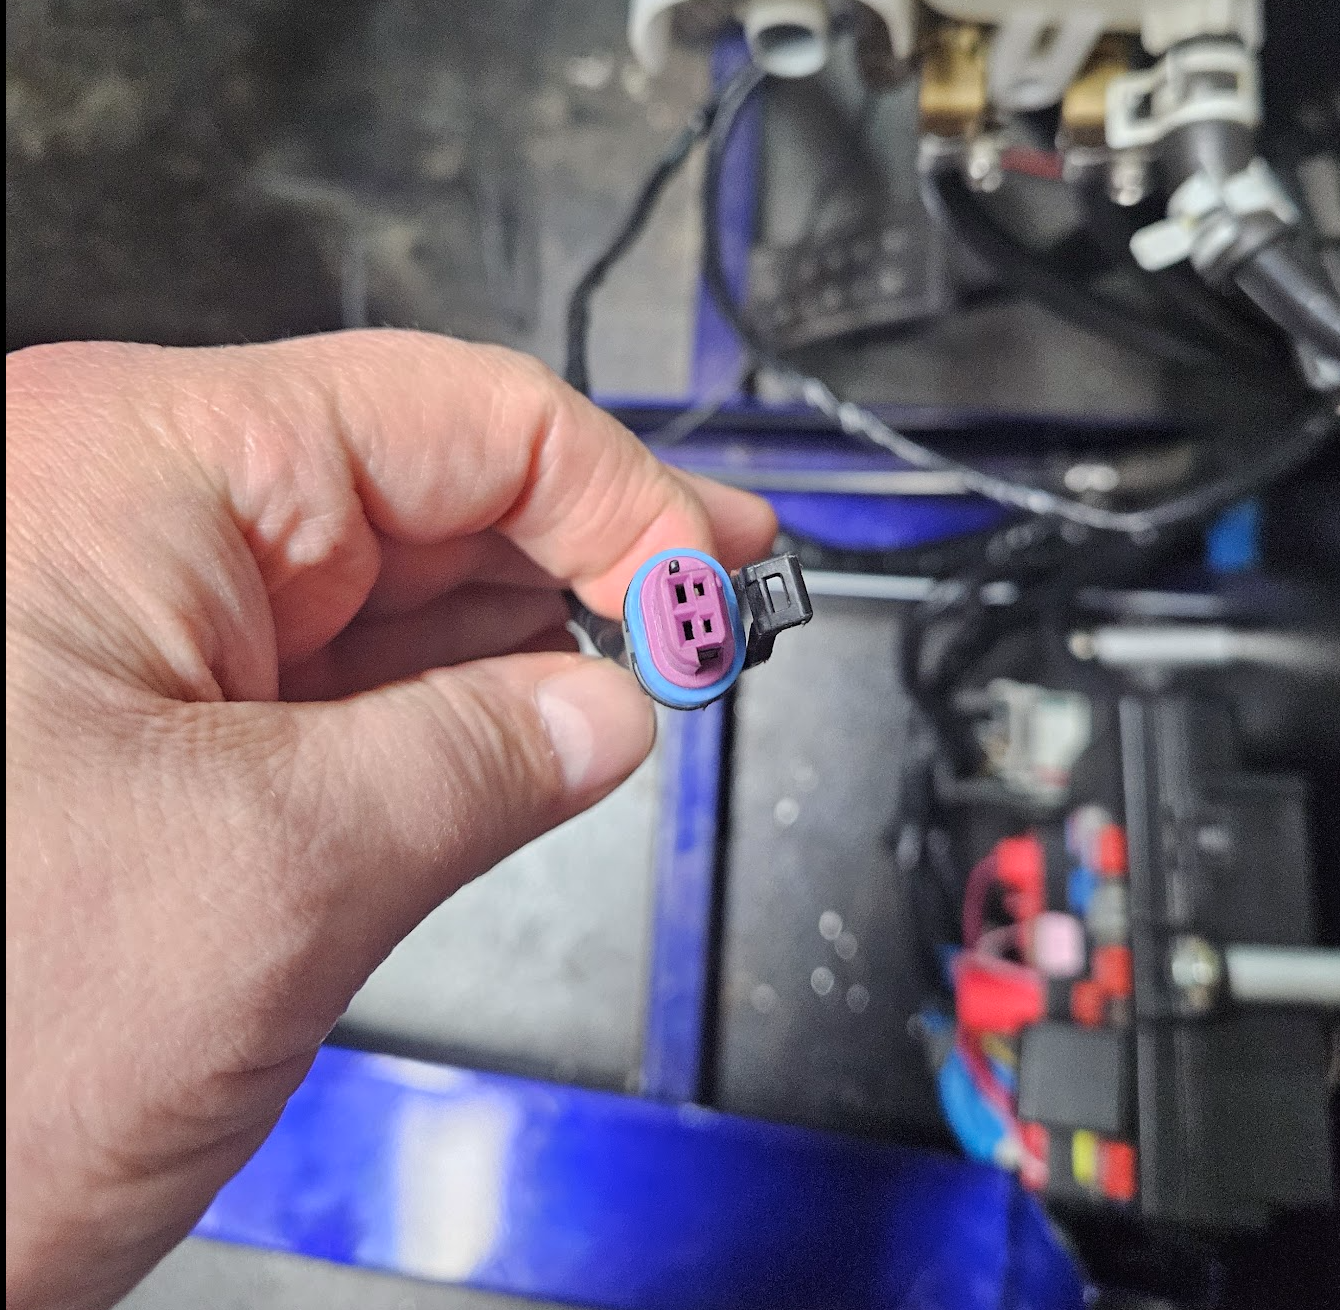
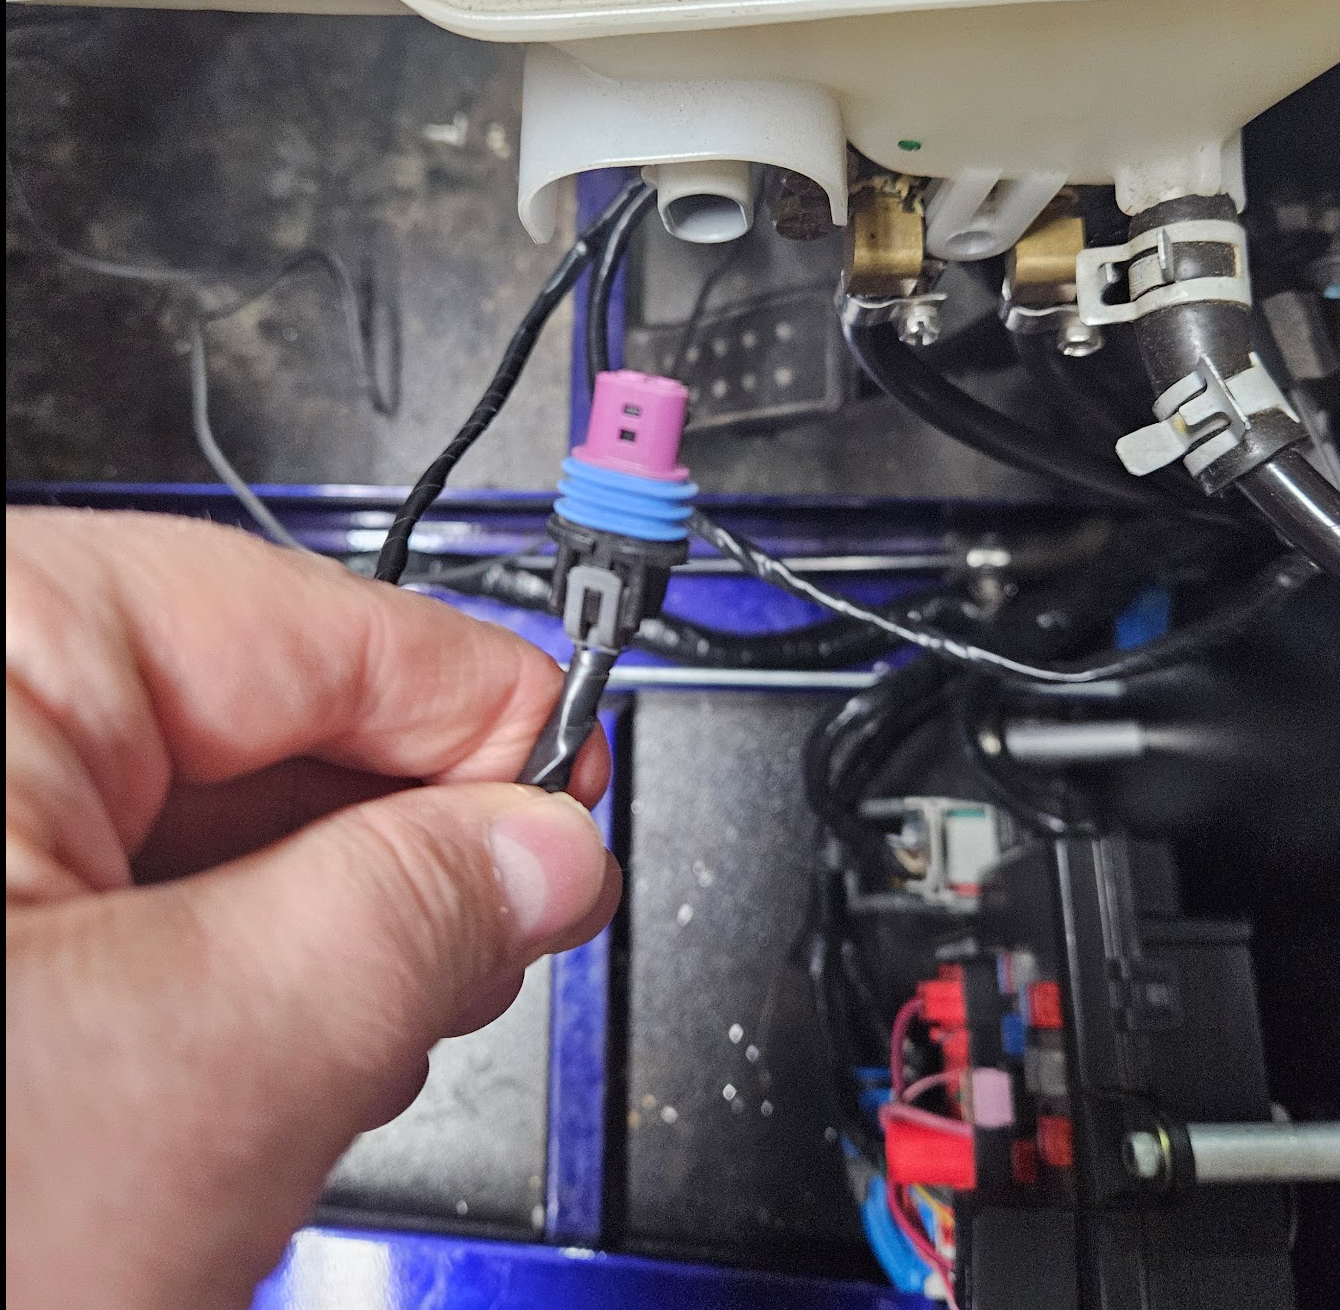
I assume I've missed something, as this is a DF-built harness and they would have stripped anything unnecessary. Any info or pointers would be greatly appreciated!
First up, in the front of the car:
The pink wire is for the heat exchanger fan, and the purple wire is for the radiator fan. But what are the gray and black plugs for? Here are pics of those:
On the driver's side I thihk I have everythign plugged in per the build videos, but I've got 3 stray plugs. I did search the videos and the archive, but didn't see anything.
Stray 1:
Stray 2:
Stray 3:
I assume I've missed something, as this is a DF-built harness and they would have stripped anything unnecessary. Any info or pointers would be greatly appreciated!


ccgillett
Well-Known Member
- ccgillett Well-Known Member
LOTS of progress to report, as I've been on vacation the last several days.
Wiring harness installed, positive cable shortened and installed, radiator plumbed and wired, front end all wired up, BCM installed and all connectors plugged in. In the back I relocated the MAF sensor plug, identified/tagged a bunch of plugs that can be removed, positive cable connected to the starter, and everything laid out for the fusebox installation. Spent a bunch of time cleaning connection points and ensuring that ground points are clean, debris-free, no corrosion, etc., and ran continuity checks with a meter between the grounding points.
Dug the fusebox and ECU out of storage boxes, checked all the fuses visually, cleaned the box and storage tray ahead of installation. Verified all the coolant hoses are plumbed and the system is closed, checked/verified fuel pump installation and fuel line running to the injector rail. Next step is to install the fusebox and ECU tray and connect everything up, and install the battery. Then it will be time to fill the cooling system, change the oil/filter, add some gas and see if it will prime the fuel system and crank. I should verify that the spark plugs are good as this thing has been sitting for a few years.
A few questions come to mind that I haven't been able to find good answers for:
1. The shifter cables are run but the shifter itself isn't yet installed. What's a good way to get the (manual) transmission into neutral, or is this not a concern (car is on jack stands, rear suspension/brakes are done, but no hydraulics yet)?
2. I purchased the muffler from DF. What gasket do I need to purchase for it? I'd like to get the exhaust in place before I try to crank, as this is in my garage and I like my neighbors.
3. I found a few grounds in the wiring harness at the back of the car. Where are you all attaching your grounds back there?
As always, I appreciate the help from all of you. You've all given me confidence to keep pushing on this build, can't wait to see it running!
Wiring harness installed, positive cable shortened and installed, radiator plumbed and wired, front end all wired up, BCM installed and all connectors plugged in. In the back I relocated the MAF sensor plug, identified/tagged a bunch of plugs that can be removed, positive cable connected to the starter, and everything laid out for the fusebox installation. Spent a bunch of time cleaning connection points and ensuring that ground points are clean, debris-free, no corrosion, etc., and ran continuity checks with a meter between the grounding points.
Dug the fusebox and ECU out of storage boxes, checked all the fuses visually, cleaned the box and storage tray ahead of installation. Verified all the coolant hoses are plumbed and the system is closed, checked/verified fuel pump installation and fuel line running to the injector rail. Next step is to install the fusebox and ECU tray and connect everything up, and install the battery. Then it will be time to fill the cooling system, change the oil/filter, add some gas and see if it will prime the fuel system and crank. I should verify that the spark plugs are good as this thing has been sitting for a few years.
A few questions come to mind that I haven't been able to find good answers for:
1. The shifter cables are run but the shifter itself isn't yet installed. What's a good way to get the (manual) transmission into neutral, or is this not a concern (car is on jack stands, rear suspension/brakes are done, but no hydraulics yet)?
2. I purchased the muffler from DF. What gasket do I need to purchase for it? I'd like to get the exhaust in place before I try to crank, as this is in my garage and I like my neighbors.
3. I found a few grounds in the wiring harness at the back of the car. Where are you all attaching your grounds back there?
As always, I appreciate the help from all of you. You've all given me confidence to keep pushing on this build, can't wait to see it running!
Desert Sasqwatch
Bigfoot Goblin
- Desert Sasqwatch Bigfoot Goblin
1. Move the levers on transmission until you can spin the output shaft(s) freely (assuming it is installed on the engine).
2. Assuming the exhaust mount flange to the O2 pipe flange - LNF O2 Housing Gasket – ZZPerformance
3. Any clean (paint/powder free) point on the frame - otherwise the ground lug under the fuse box.
2. Assuming the exhaust mount flange to the O2 pipe flange - LNF O2 Housing Gasket – ZZPerformance
3. Any clean (paint/powder free) point on the frame - otherwise the ground lug under the fuse box.
Similar threads


- Replies
- 1
- Views
- 131
