Rttoys
Goblin Guru
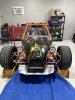
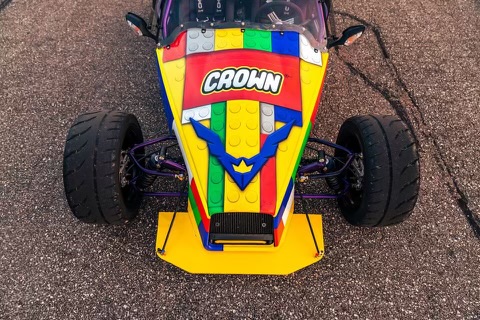
This is a quick guide on how to install the splitter. There are several ways to do it, this is just how I did it.
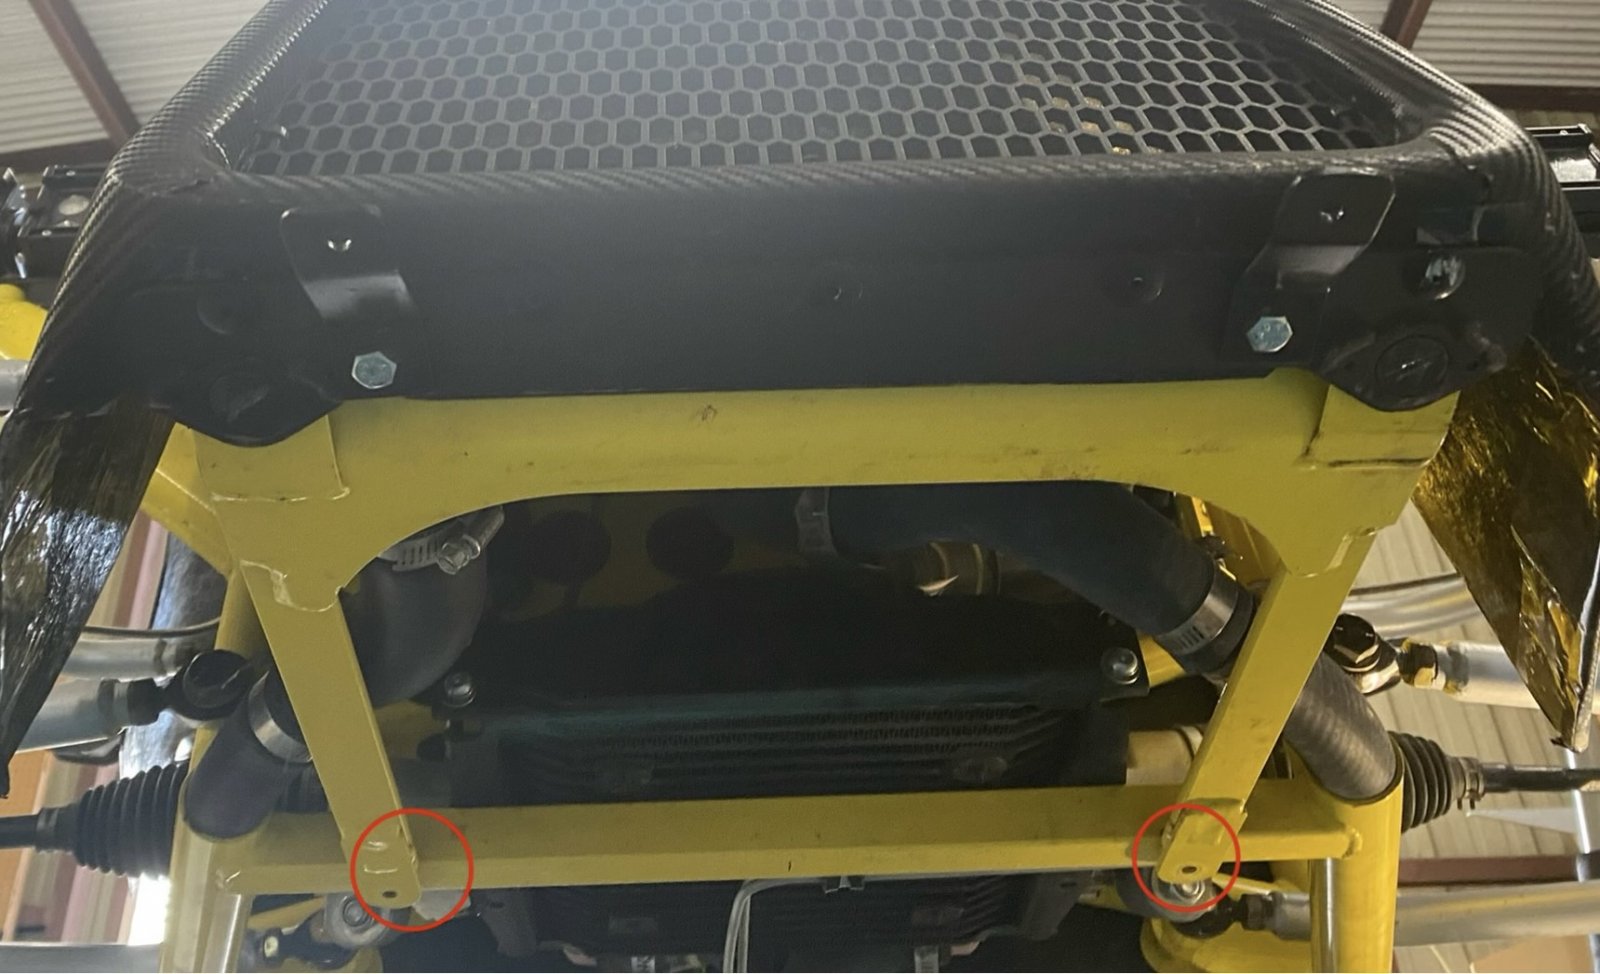
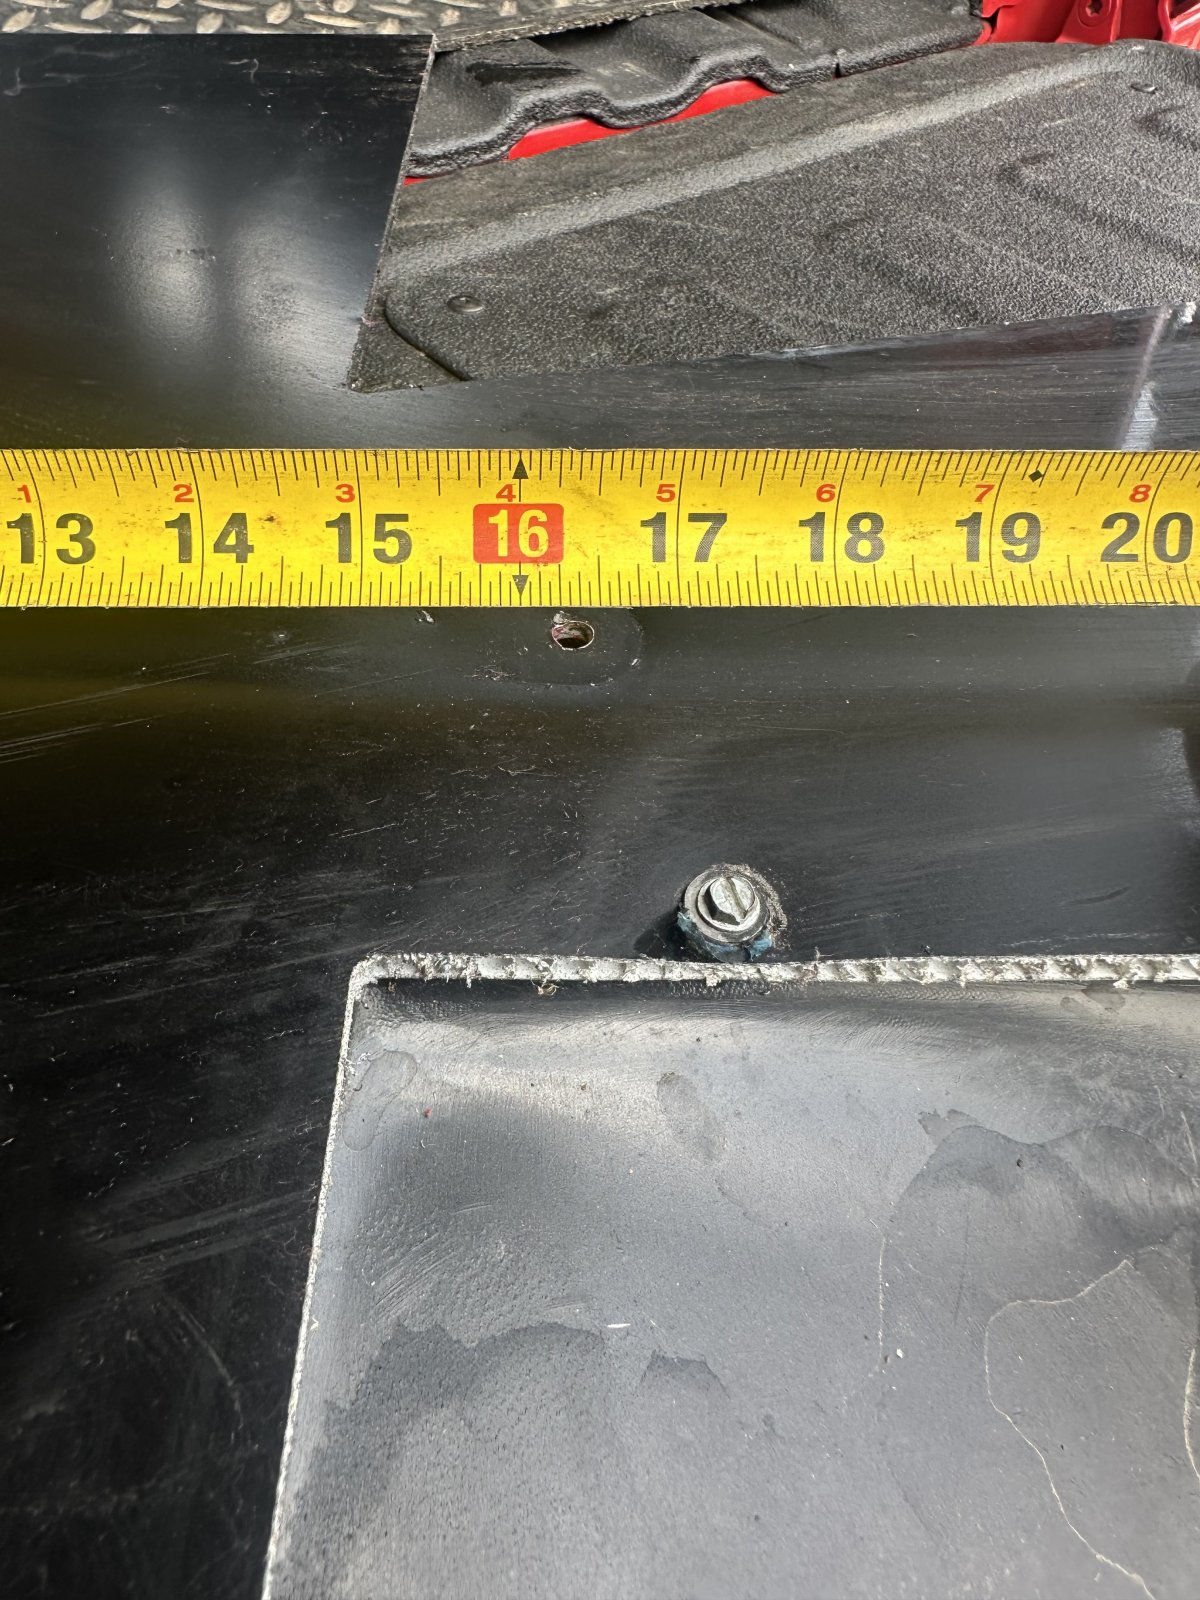
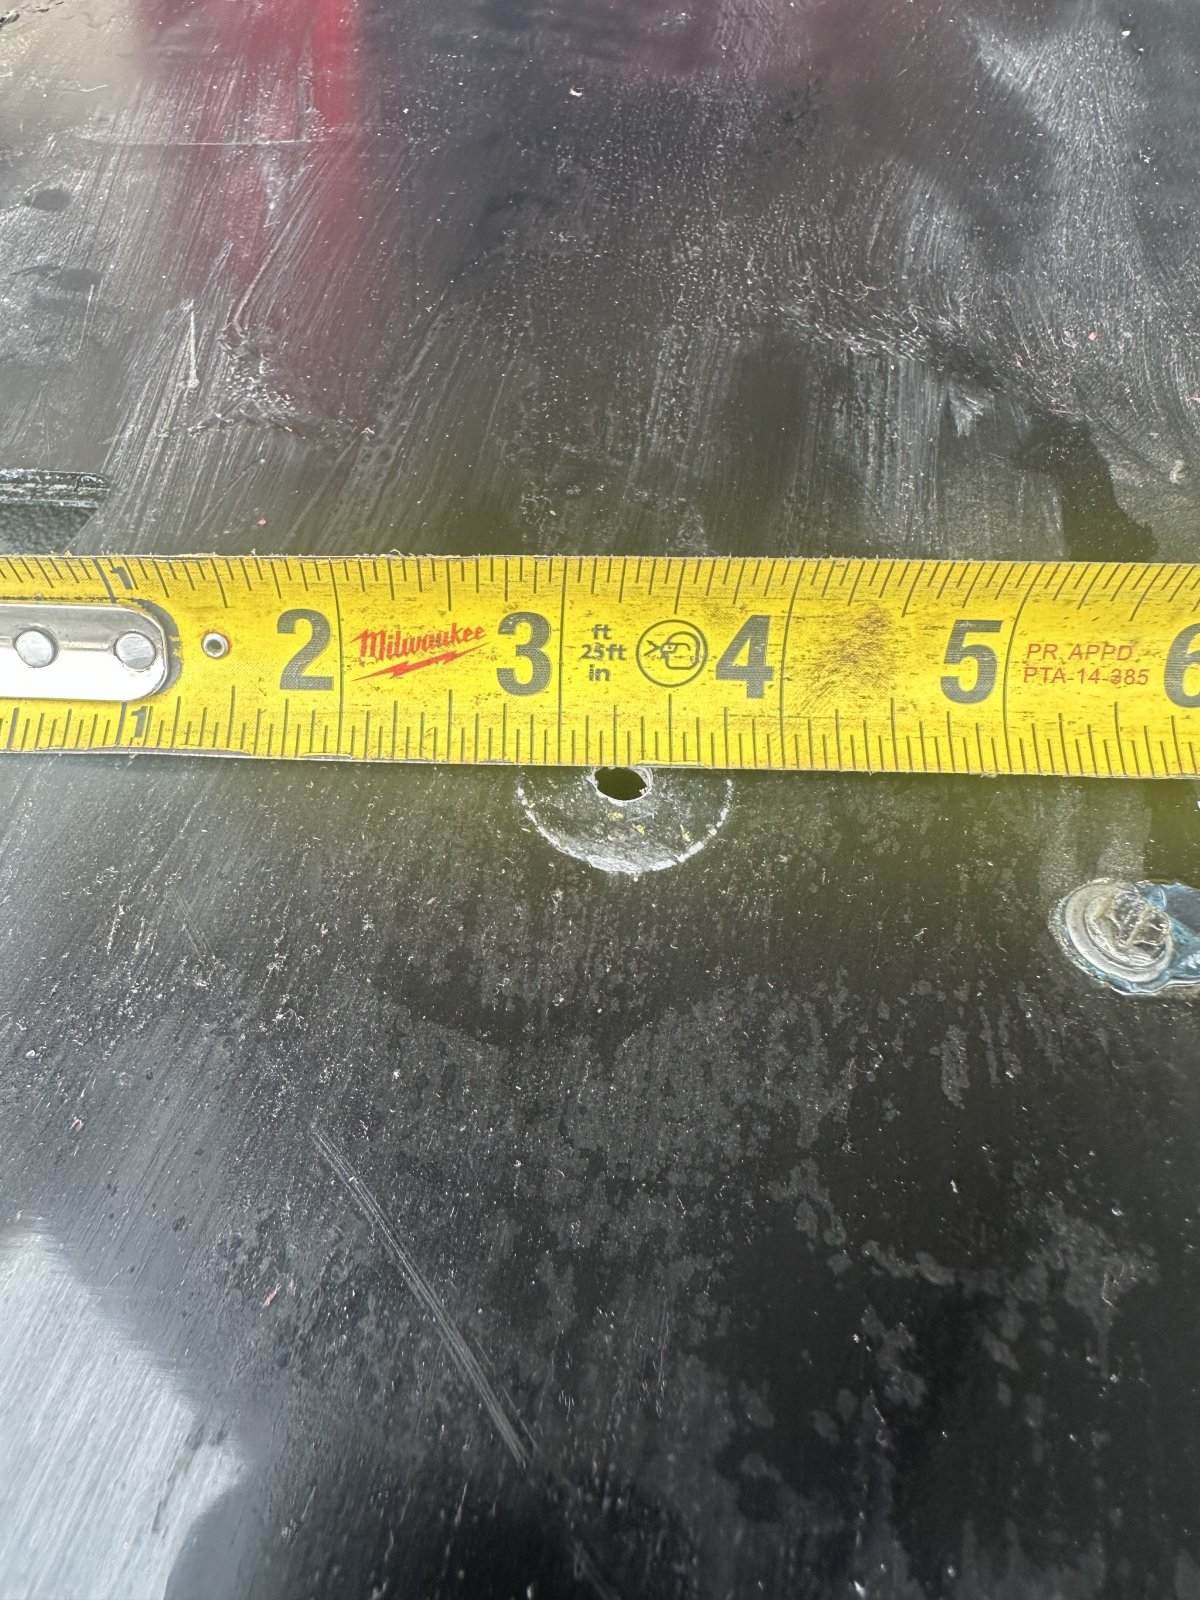
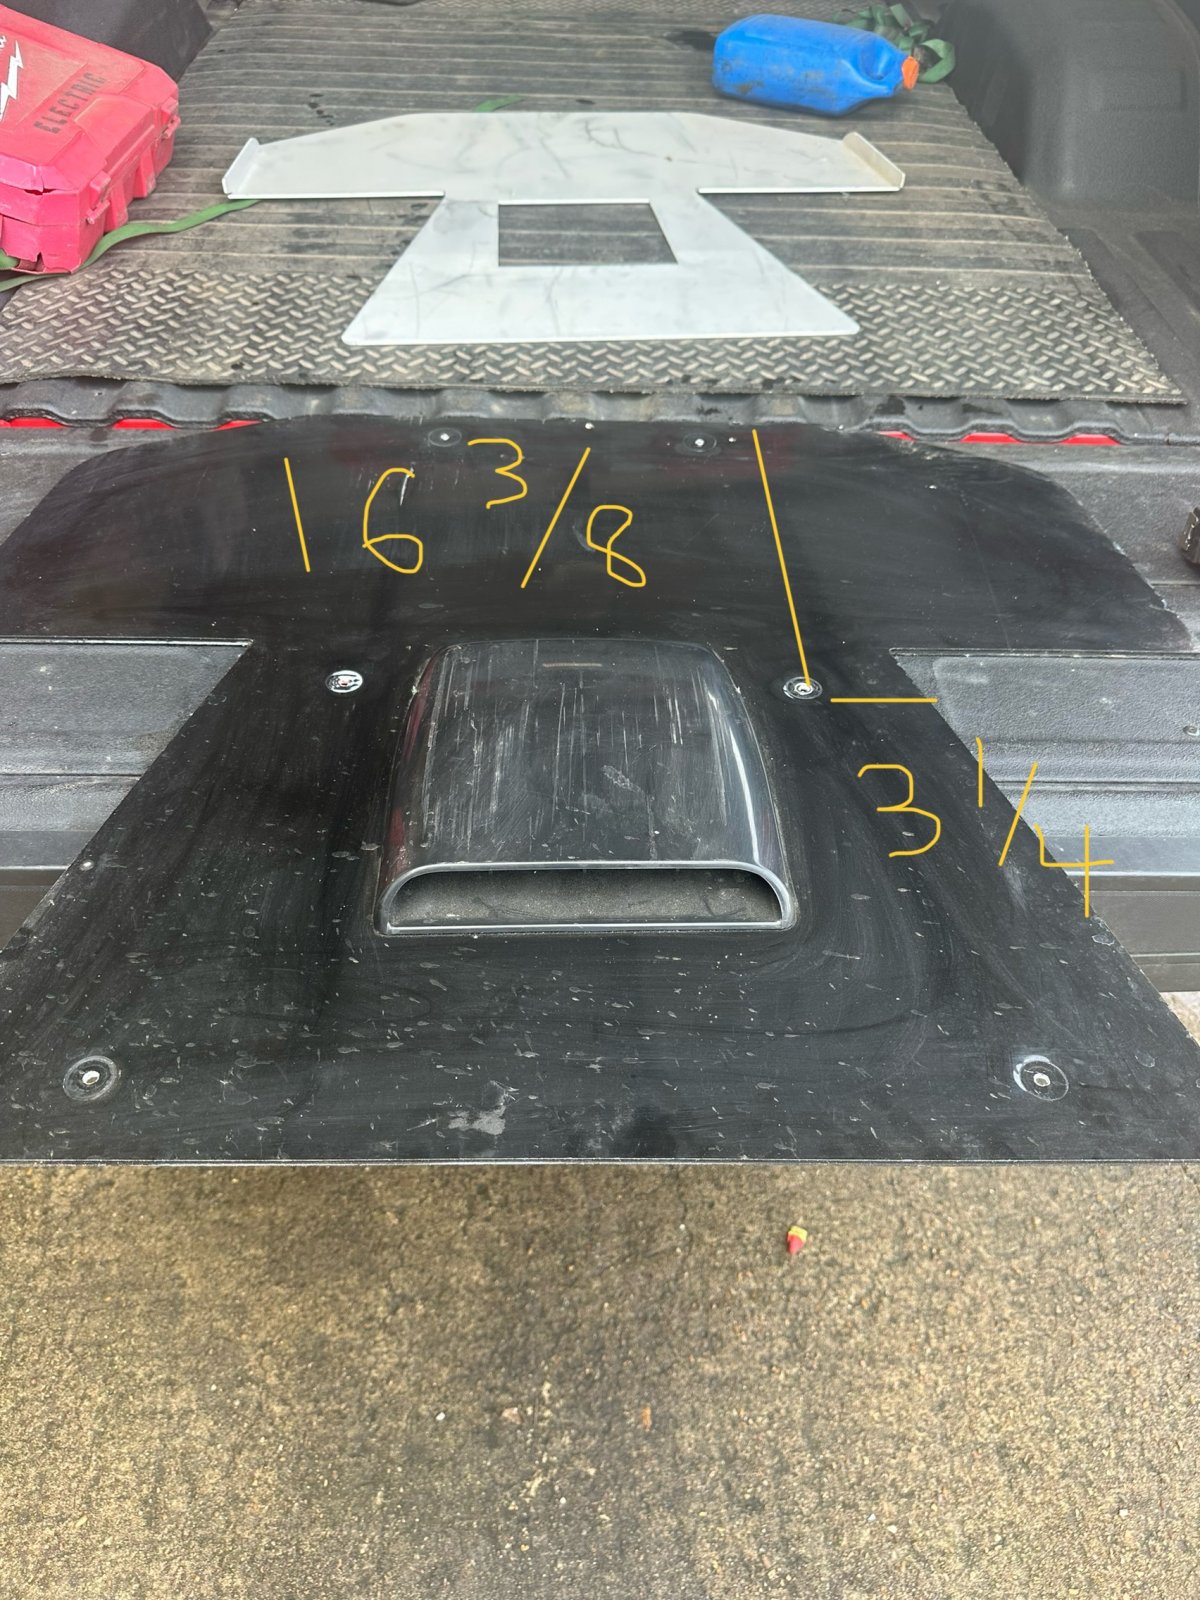
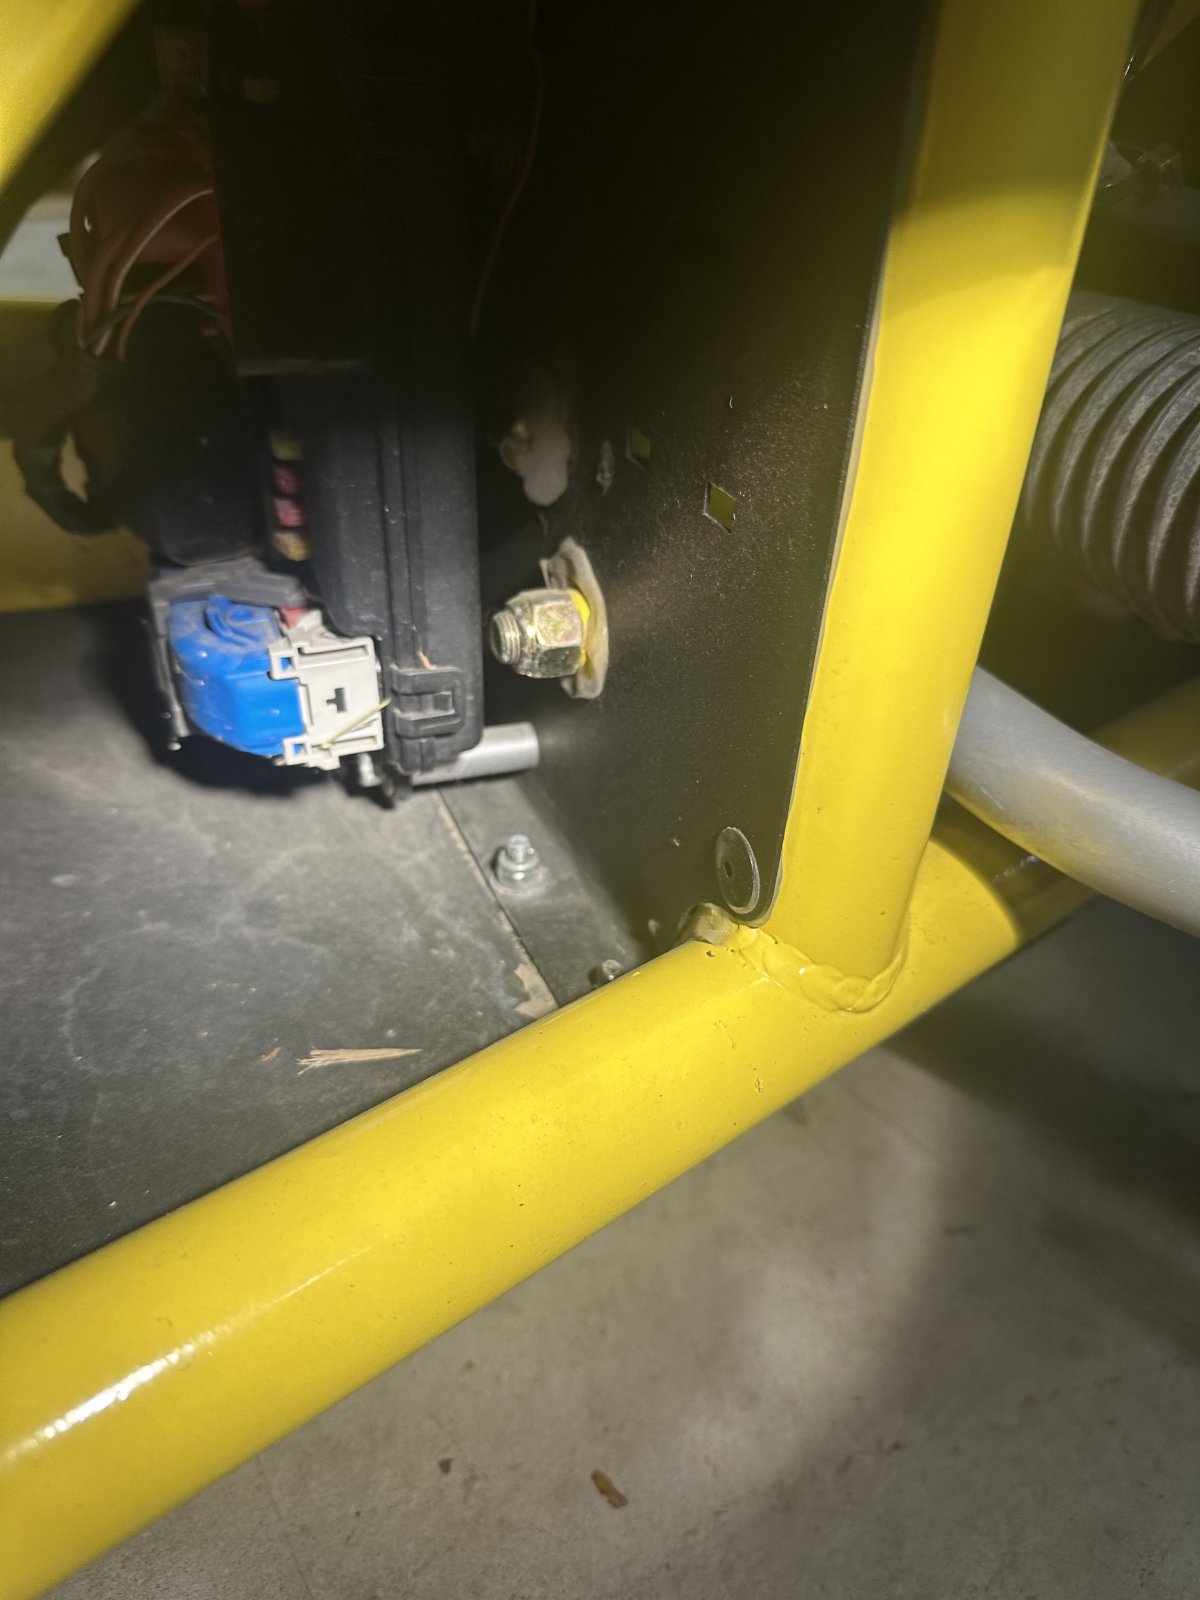
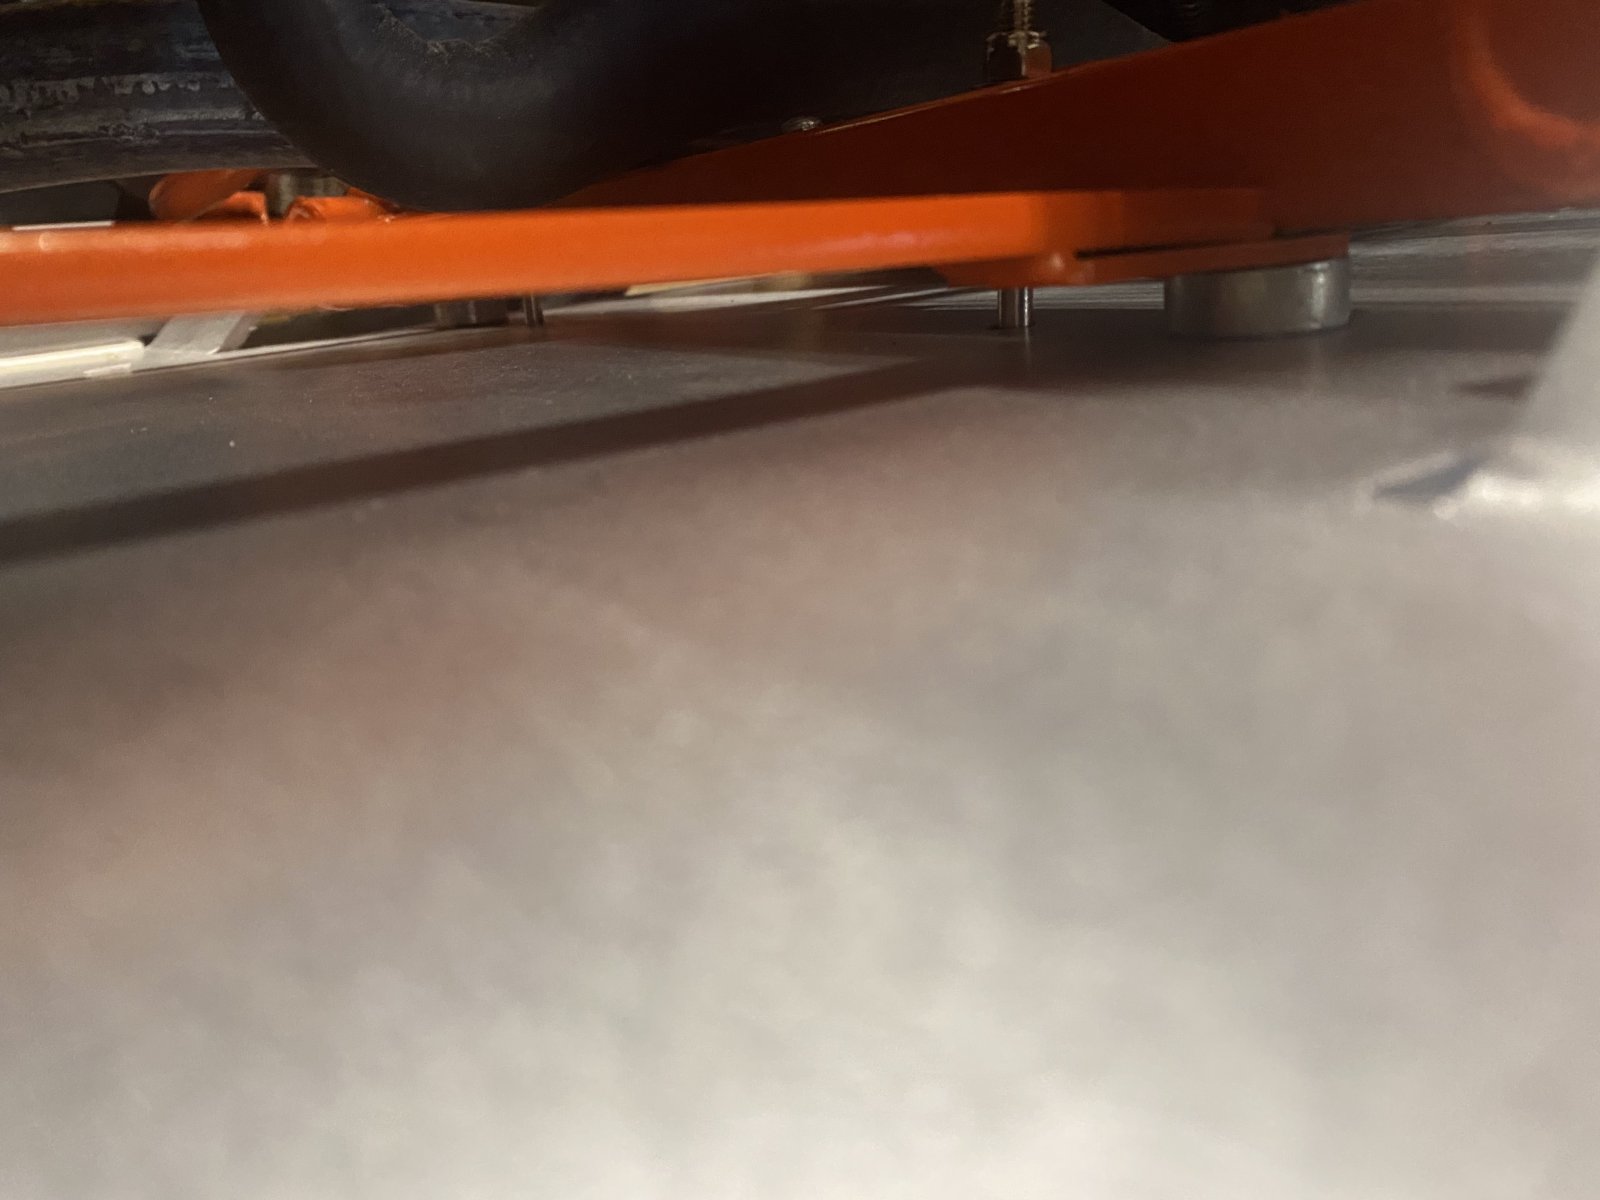
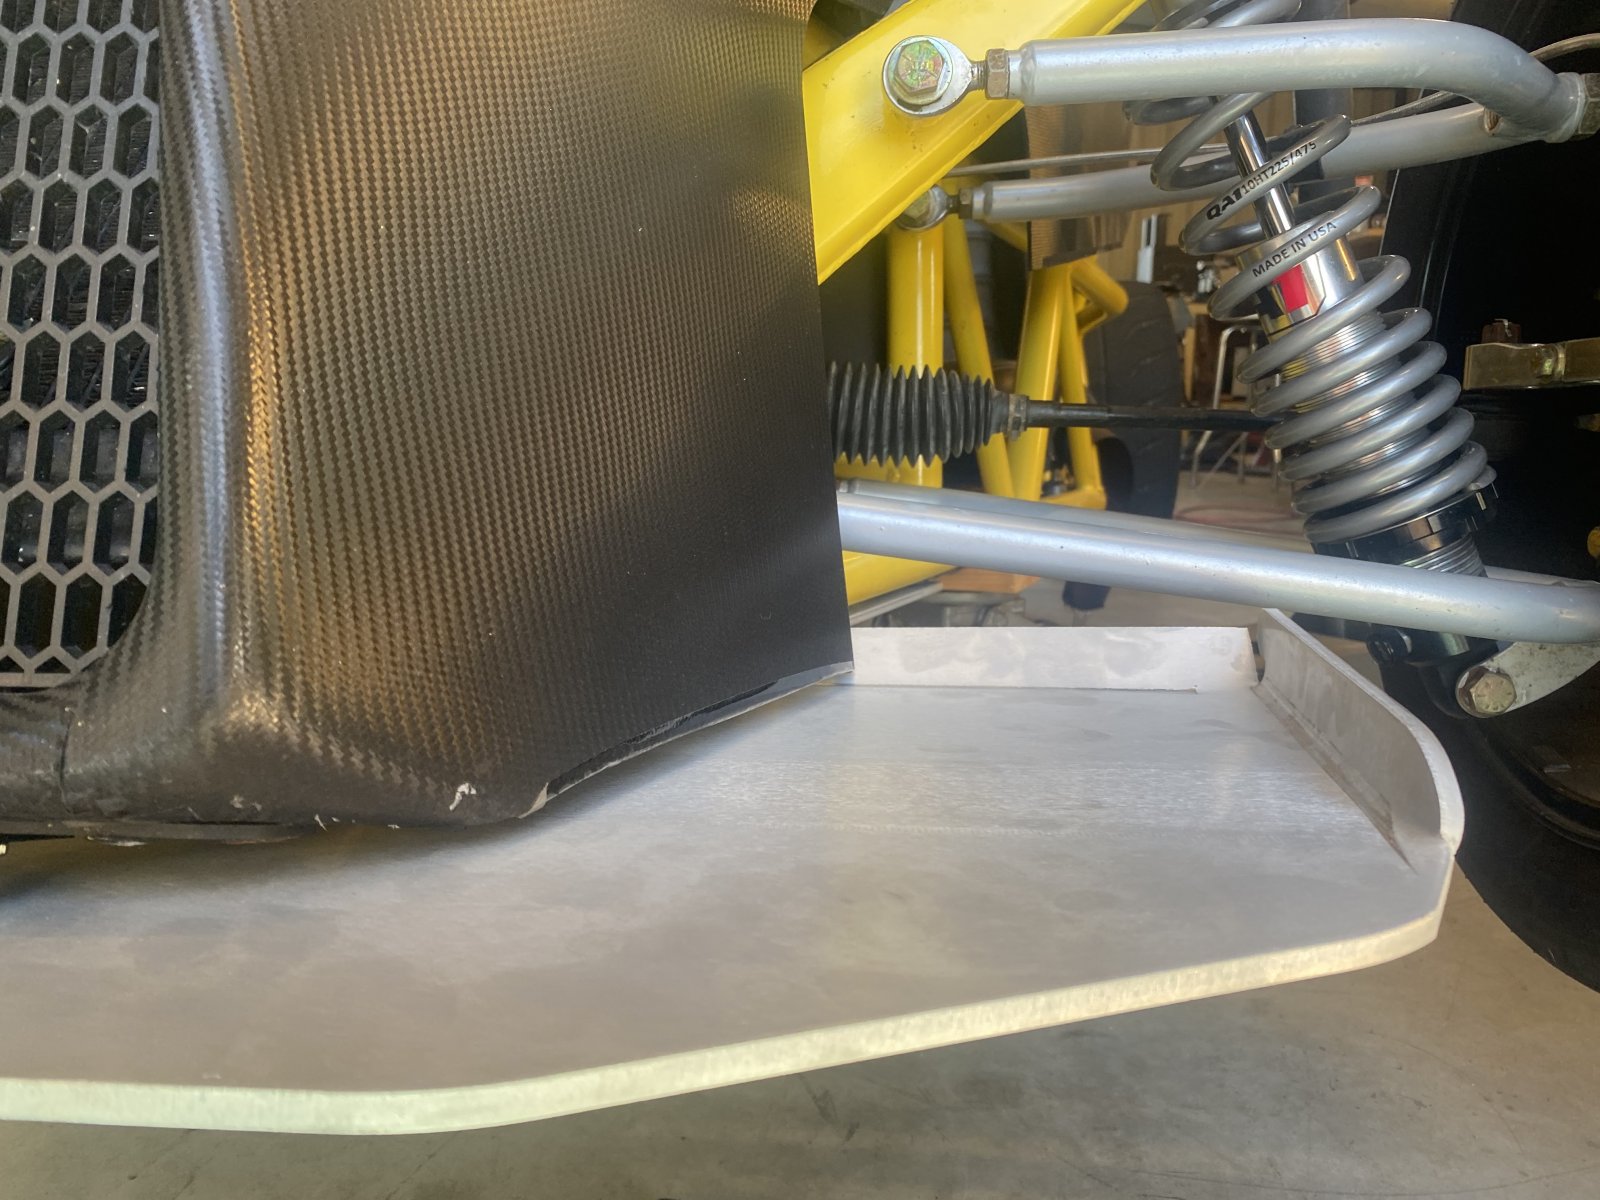
The main thing is to use the 2 bolts for the radiator support as the main mount. It’s also a good idea to use a longer bolt for this too. If you measure from the front of the splitter back, the bolt location will be approximately 16 3/8”. From the sides in at that location will approximately be 3 1/4”. There’s a few variables here, so do your measuring to make sure everything lines up properly. Mostly finding centerline and measuring from there is the best. The splitter can go a little forward or back too, so this all changes your measurements.
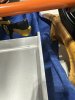
In the back, I drilled 2 holes through the floorboard, where the “firewall” meets the floor. I used 2 bolts, but feel free to add as many as you want.
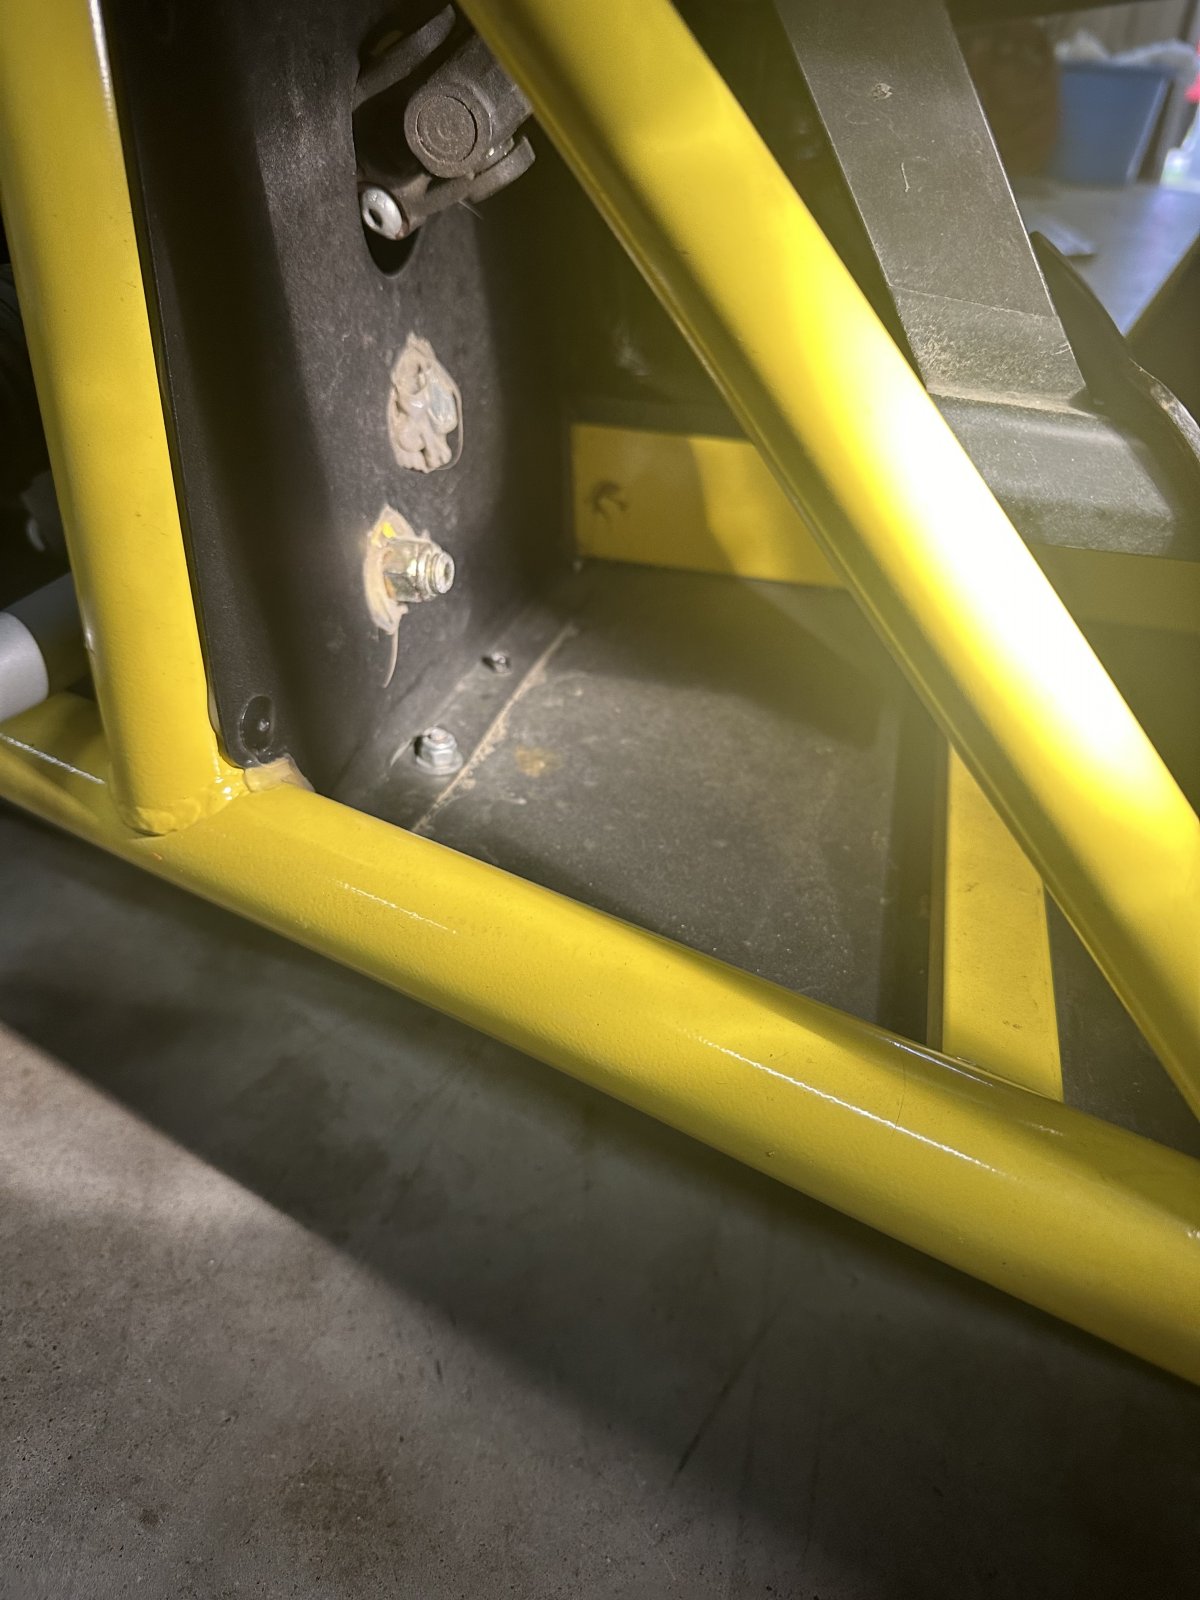
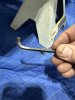
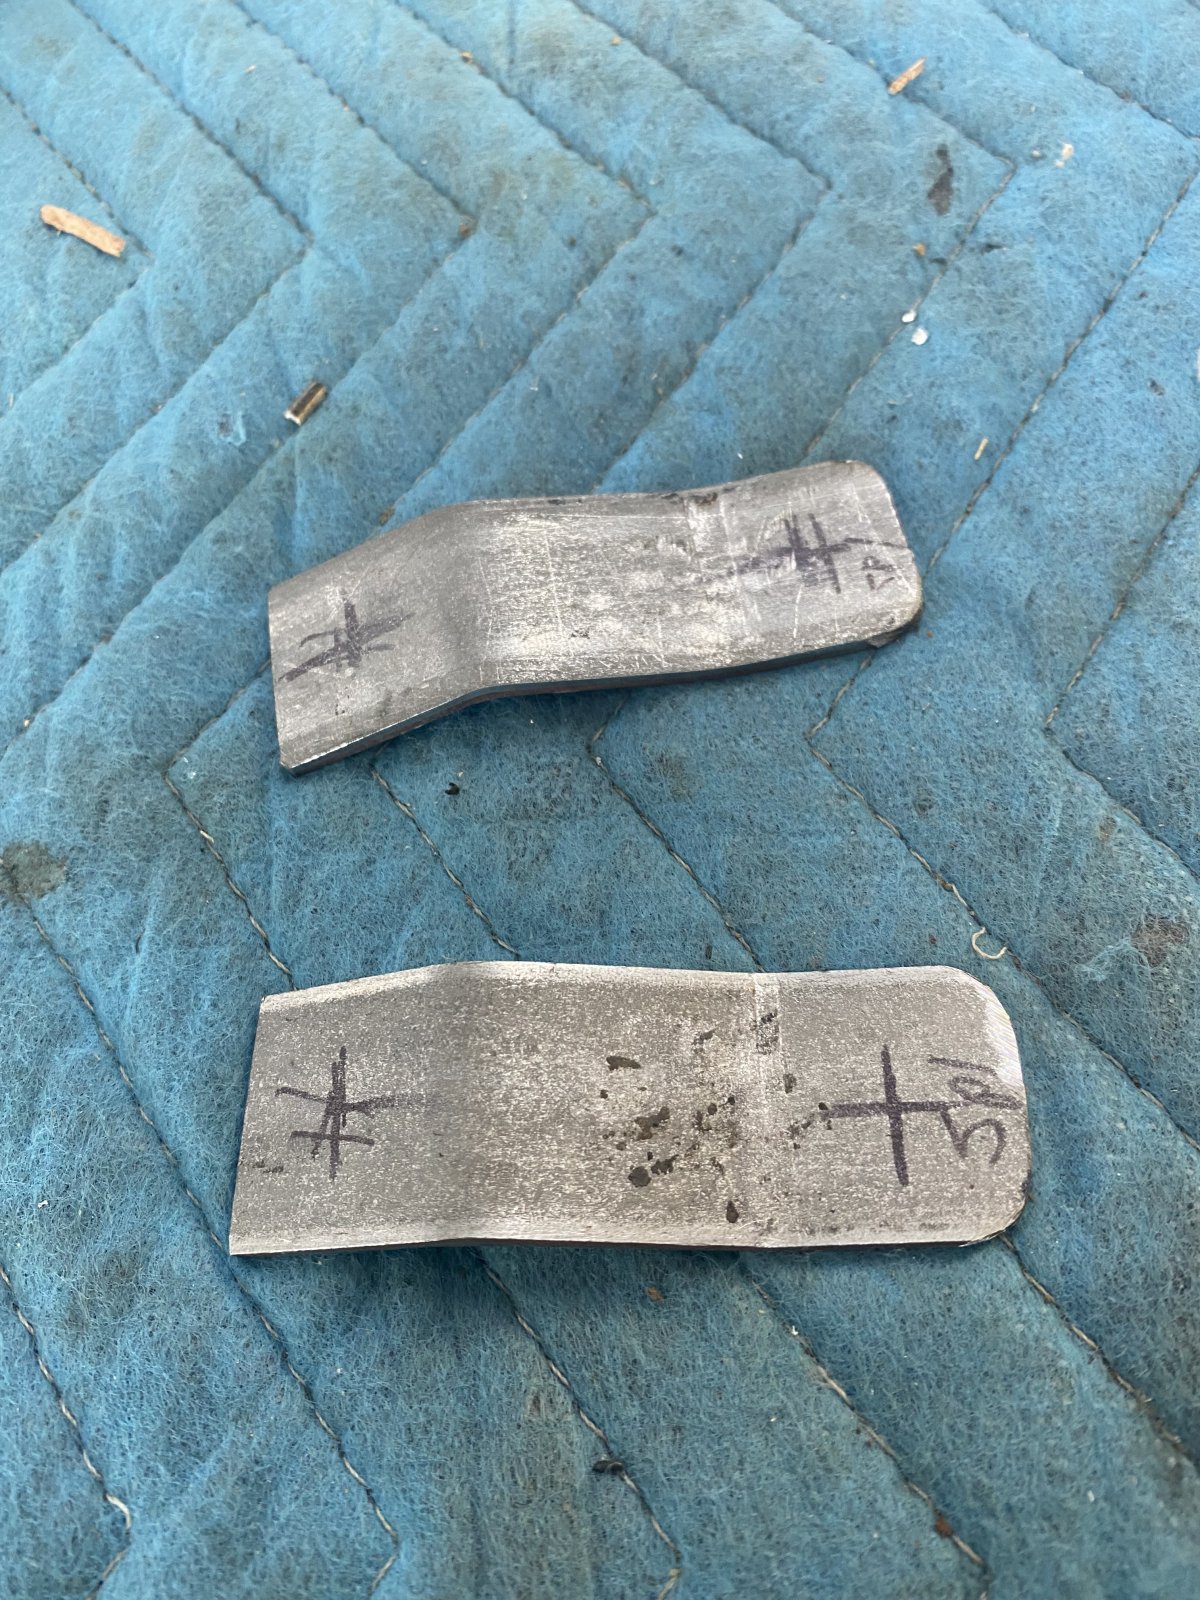
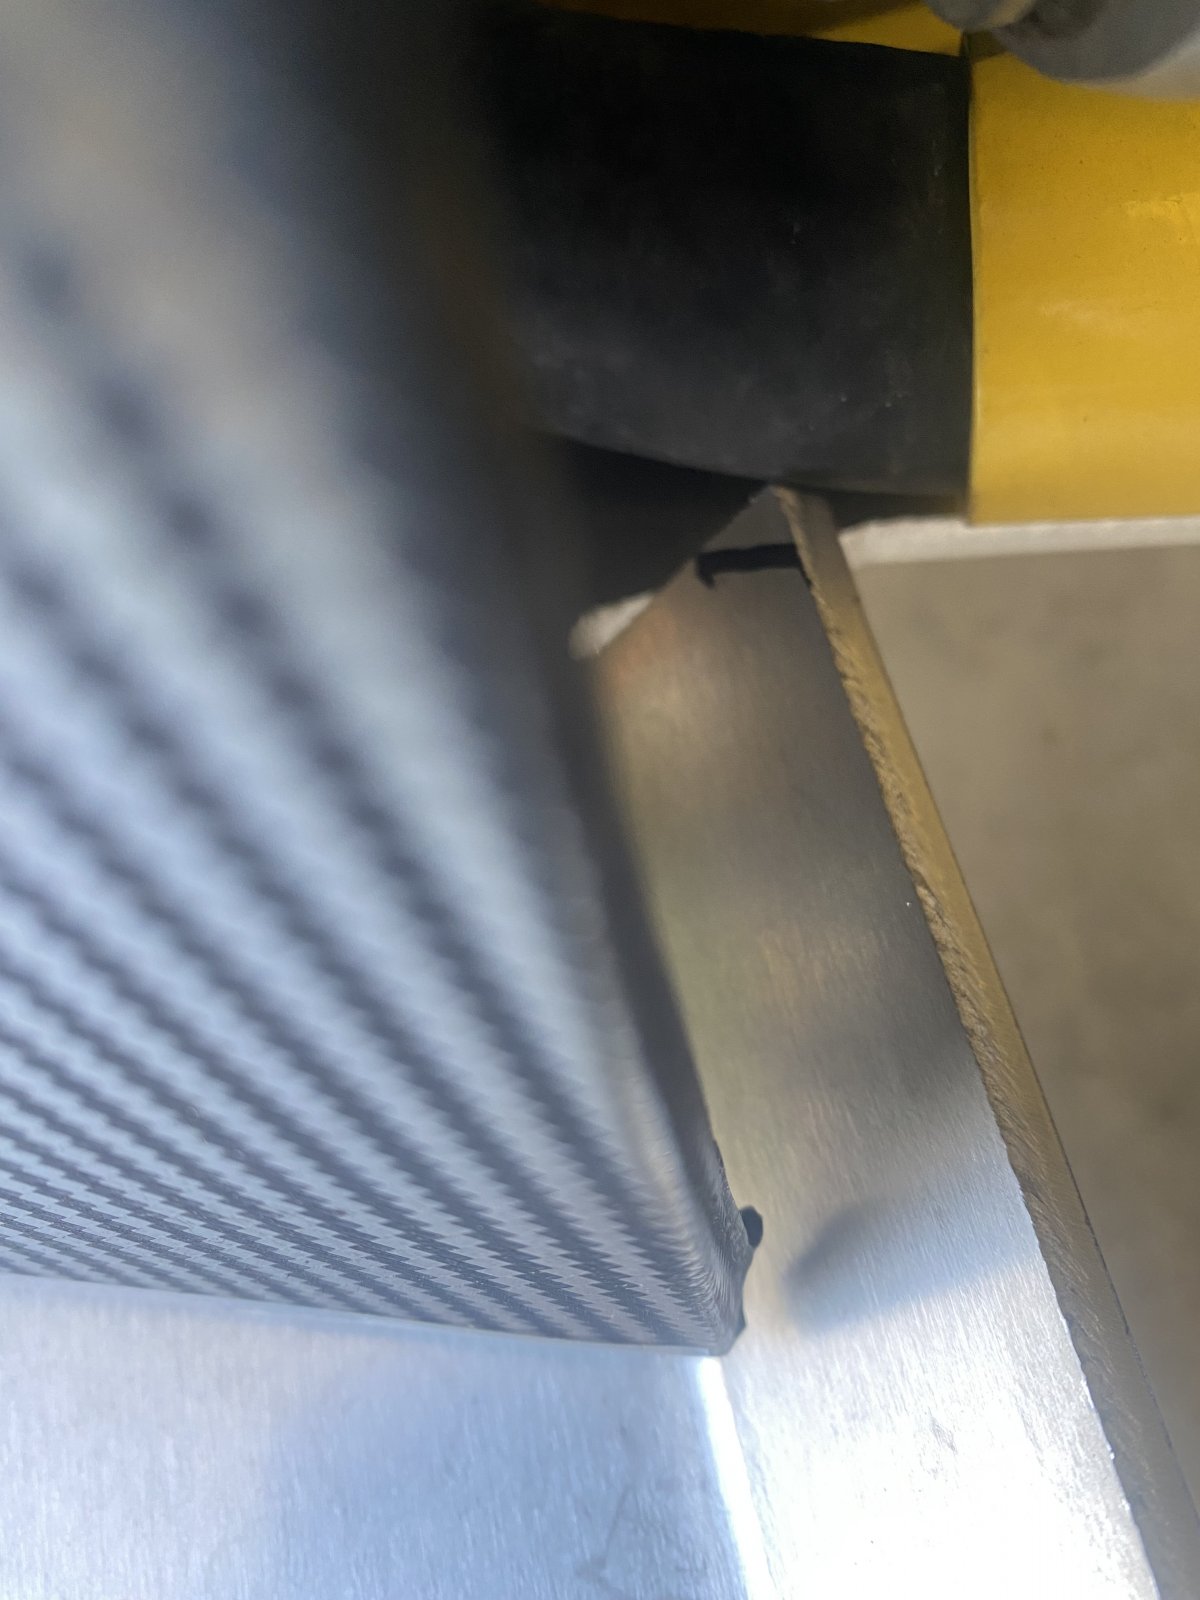
You can do what you want for the front. I made little “S” brackets that mount to the hood mount. This really stabilizes the front. Others have used cables coming off the upper control arm mount to the front of the splitter, and some use nothing. I think some sort of front mounting helps stabilize and support the whole splitter, plus makes it look more finished.

I also had to trim my hood just a little for clearance, but Brett and a few others used small spacers in the front to bring it down a tad. The options are up to you. No 2 hoods are alike.
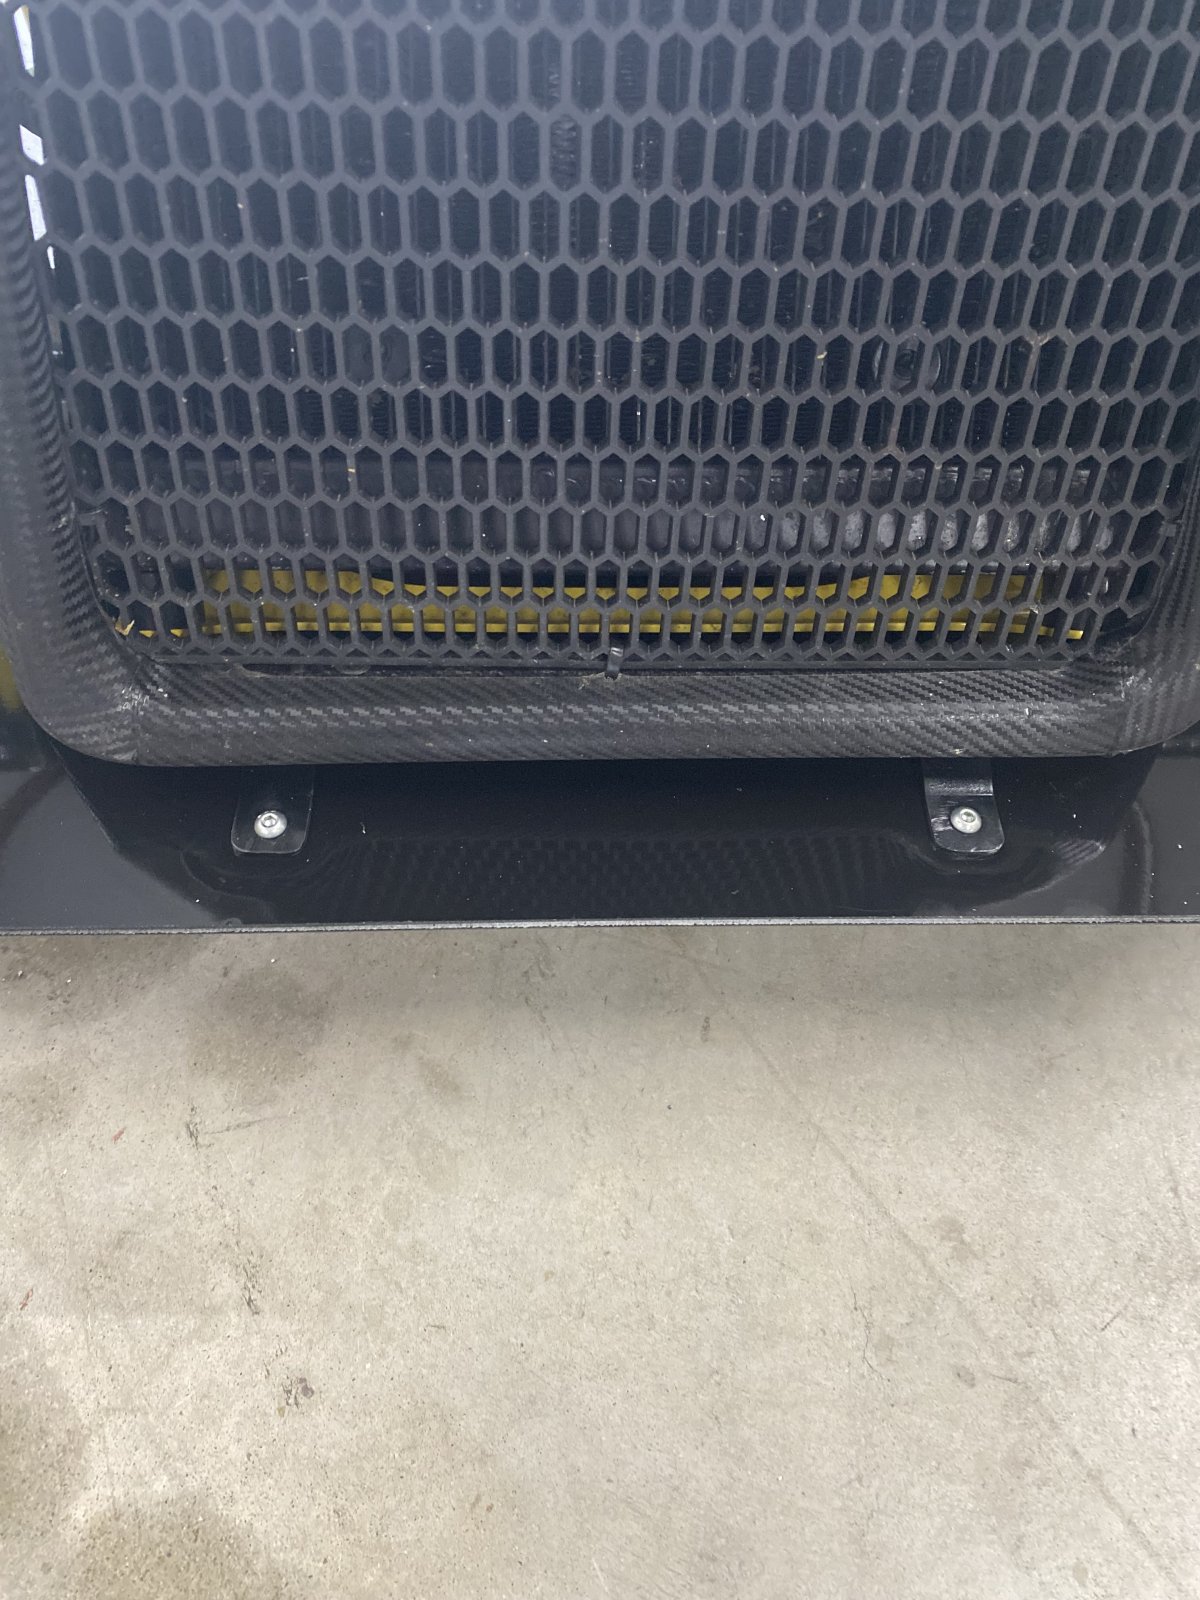
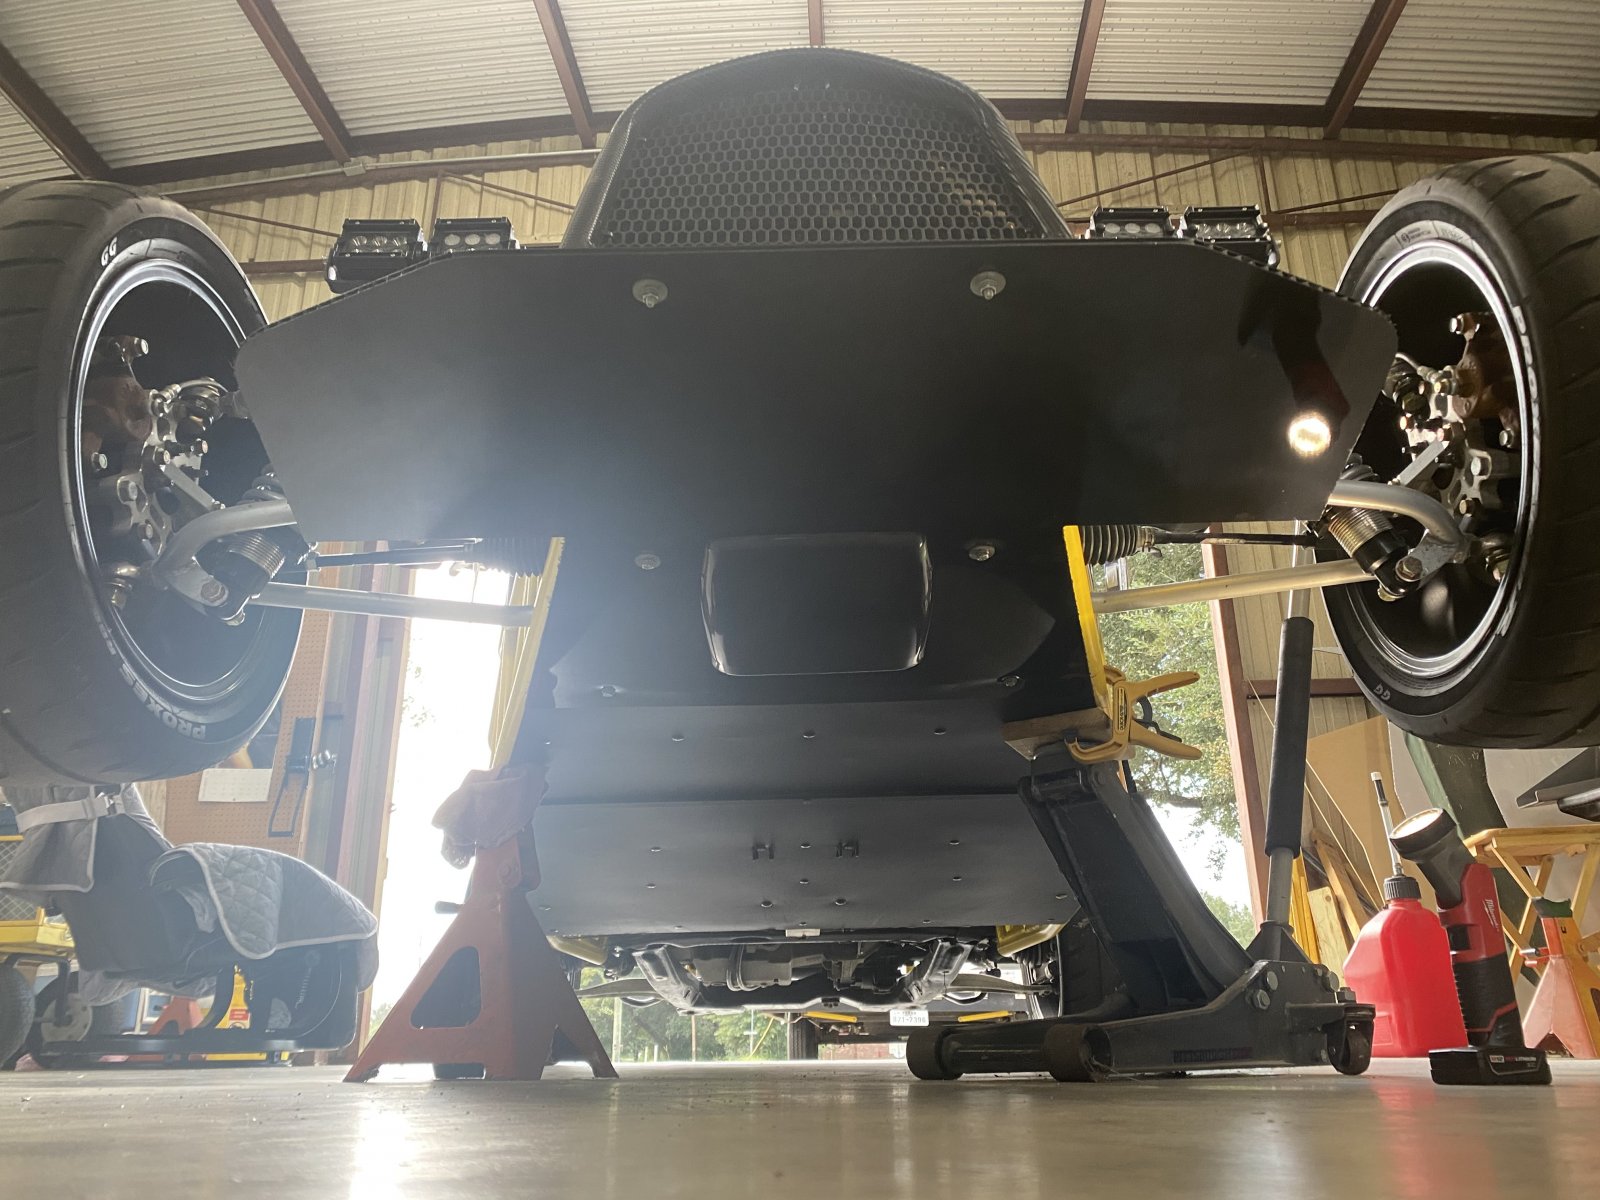
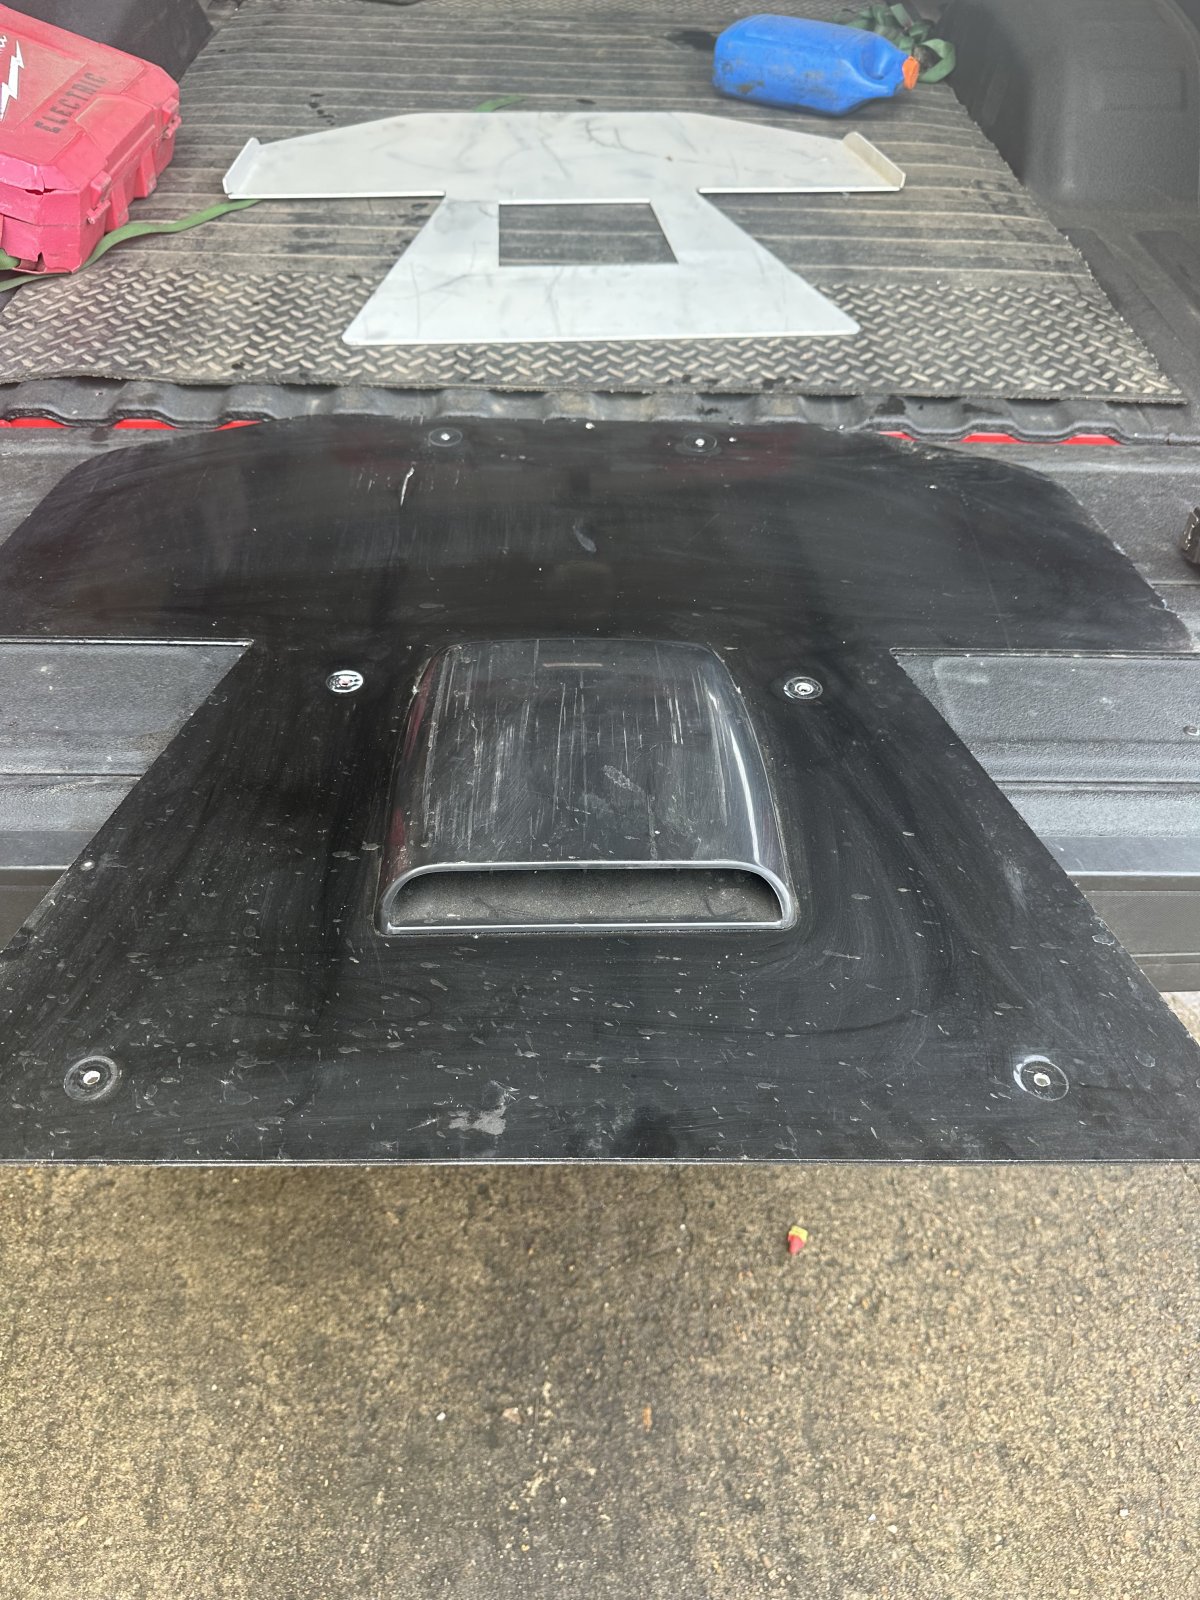
If you cut out for the intercooler, I used a cheap “hood scoop” in the backwards position for air to get out of the heat exchanger (reference some of my pics on the forum), via fan or the neca ducts. Yes, It is counter productive in some ways, but how it’s set up, there’s not many other choices other than relocating the heat exchanger.
The main thing is to use the 2 bolts for the radiator support as the main mount. It’s also a good idea to use a longer bolt for this too. If you measure from the front of the splitter back, the bolt location will be approximately 16 3/8”. From the sides in at that location will approximately be 3 1/4”. There’s a few variables here, so do your measuring to make sure everything lines up properly. Mostly finding centerline and measuring from there is the best. The splitter can go a little forward or back too, so this all changes your measurements.
In the back, I drilled 2 holes through the floorboard, where the “firewall” meets the floor. I used 2 bolts, but feel free to add as many as you want.
You can do what you want for the front. I made little “S” brackets that mount to the hood mount. This really stabilizes the front. Others have used cables coming off the upper control arm mount to the front of the splitter, and some use nothing. I think some sort of front mounting helps stabilize and support the whole splitter, plus makes it look more finished.
I also had to trim my hood just a little for clearance, but Brett and a few others used small spacers in the front to bring it down a tad. The options are up to you. No 2 hoods are alike.
If you cut out for the intercooler, I used a cheap “hood scoop” in the backwards position for air to get out of the heat exchanger (reference some of my pics on the forum), via fan or the neca ducts. Yes, It is counter productive in some ways, but how it’s set up, there’s not many other choices other than relocating the heat exchanger.
Last edited: