Front suspension Video where is it?

Jareth

Goblin Guru
I know some months ago I saw a good video that someone did on front suspensions do now I can not find it?

I think the video started with screwing the tiered ends all the way in and then backing them out a few turns?

Anybody know who’s video that was?

Just watched a Goonzquad video and the mention watching a DF Kitcar video?

.
 
Last edited:

JBINTX

Goblin Guru
I know some months ago I saw a good video that someone did on front suspensions do now I can not find it?

I think the video started with screwing the tiered ends all the way in and then backing them out a few turns?

Anybody know who’s video that was?

Just watched a Goonzquad video and the mention watching a DF Kitcar video?

.
I think it was this one. However they recently had to take it down due to some donors having parts that were inferior for the suggested torque info.
maybe they can edit out the problem section and post the remainder?


Jareth

Goblin Guru
Great, i saw that one was no longer available earlier :mad: And was hoping it was not the one I was looking for.

They will most likely wait until they get to recording that point in the new videos they are making, but I can’t wait until then.

Will have to see what I can figure out based on other builds?

.
 

Gtstorey

Goblin Guru
I don’t know the number of turns are supposed to get the alignment set but more to ensure you have some adjustment both directions.
 

Ross

Goblin Guru
From memory, my lower control arm was 1 turn, the upper control arm was 8 turns. Check your camber after.
 

JBINTX

Goblin Guru
And when possible, alway choose to screw the helm joint IN versus out - either top or bottom control arm to set the camber. Limiting the length of the linkage and ensuring thread engagement are both good reasons to do so.
 

Brett

Goblin Guru
Also 4 turns on the big ones. You will end up adjusting based on your alignment settings.

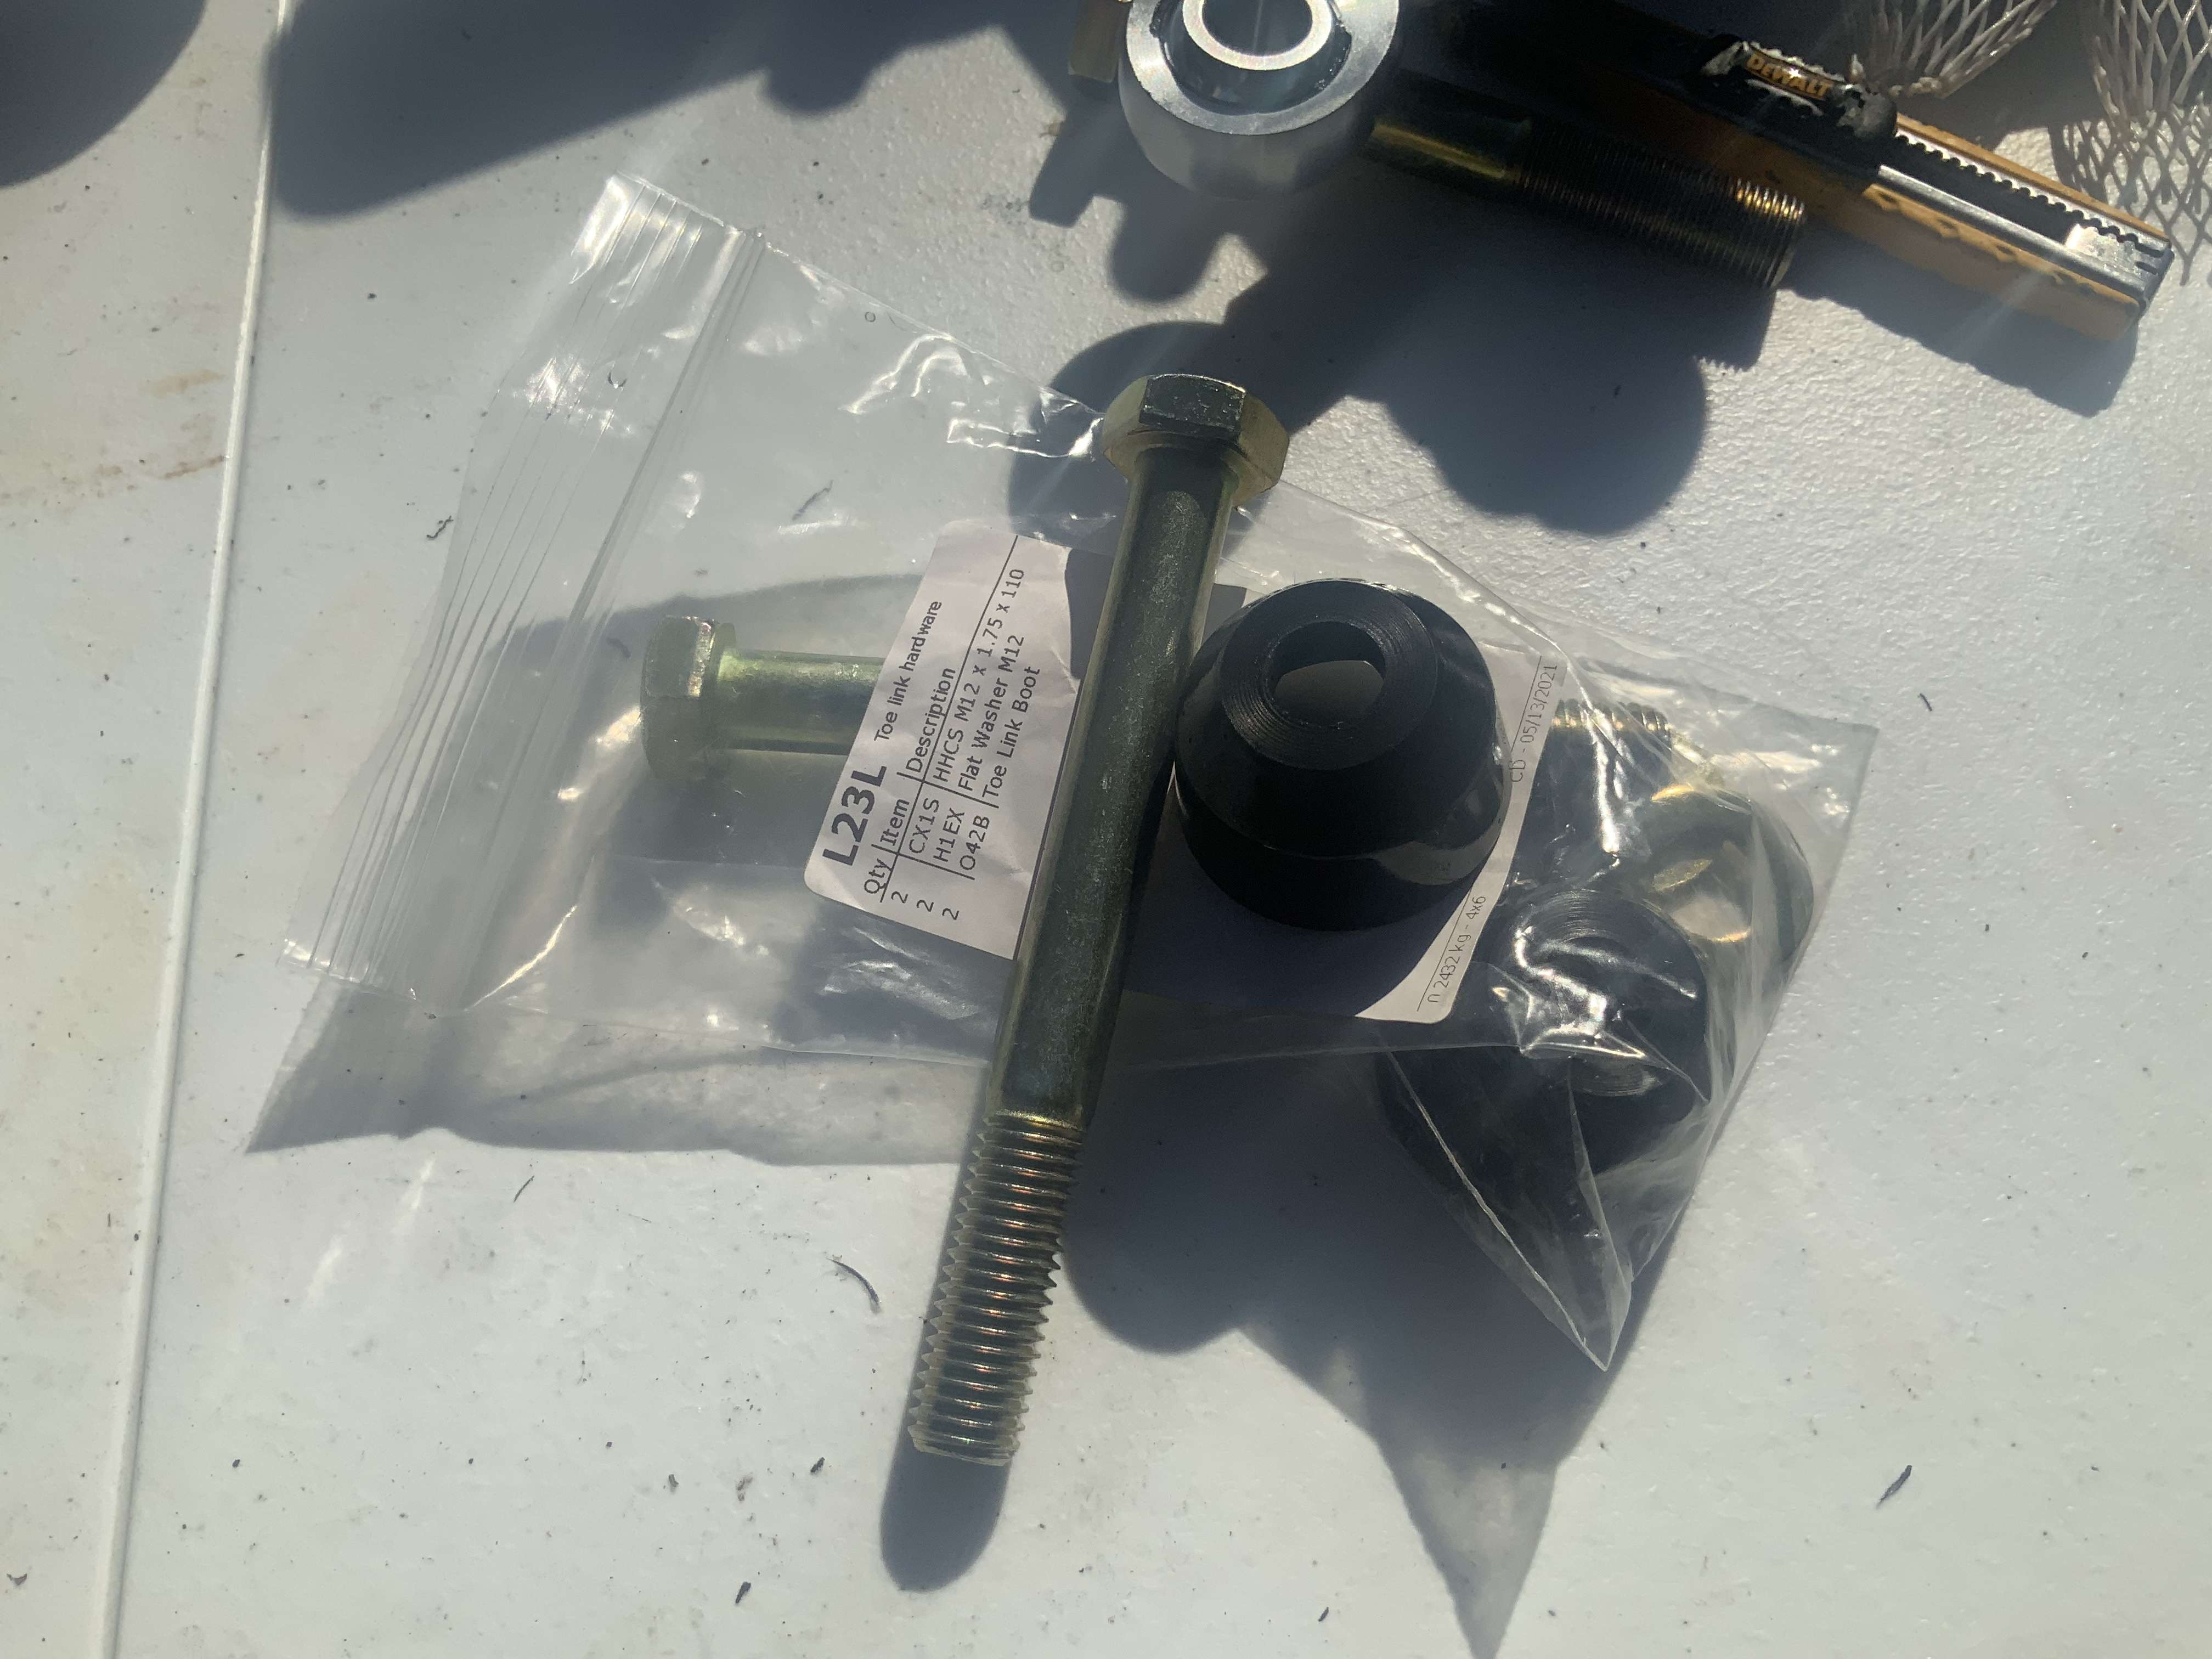
Toe link hdw is for the bar at the rear of the goblin that keeps the hubs pointed on the right direction.
 

Brett

Goblin Guru
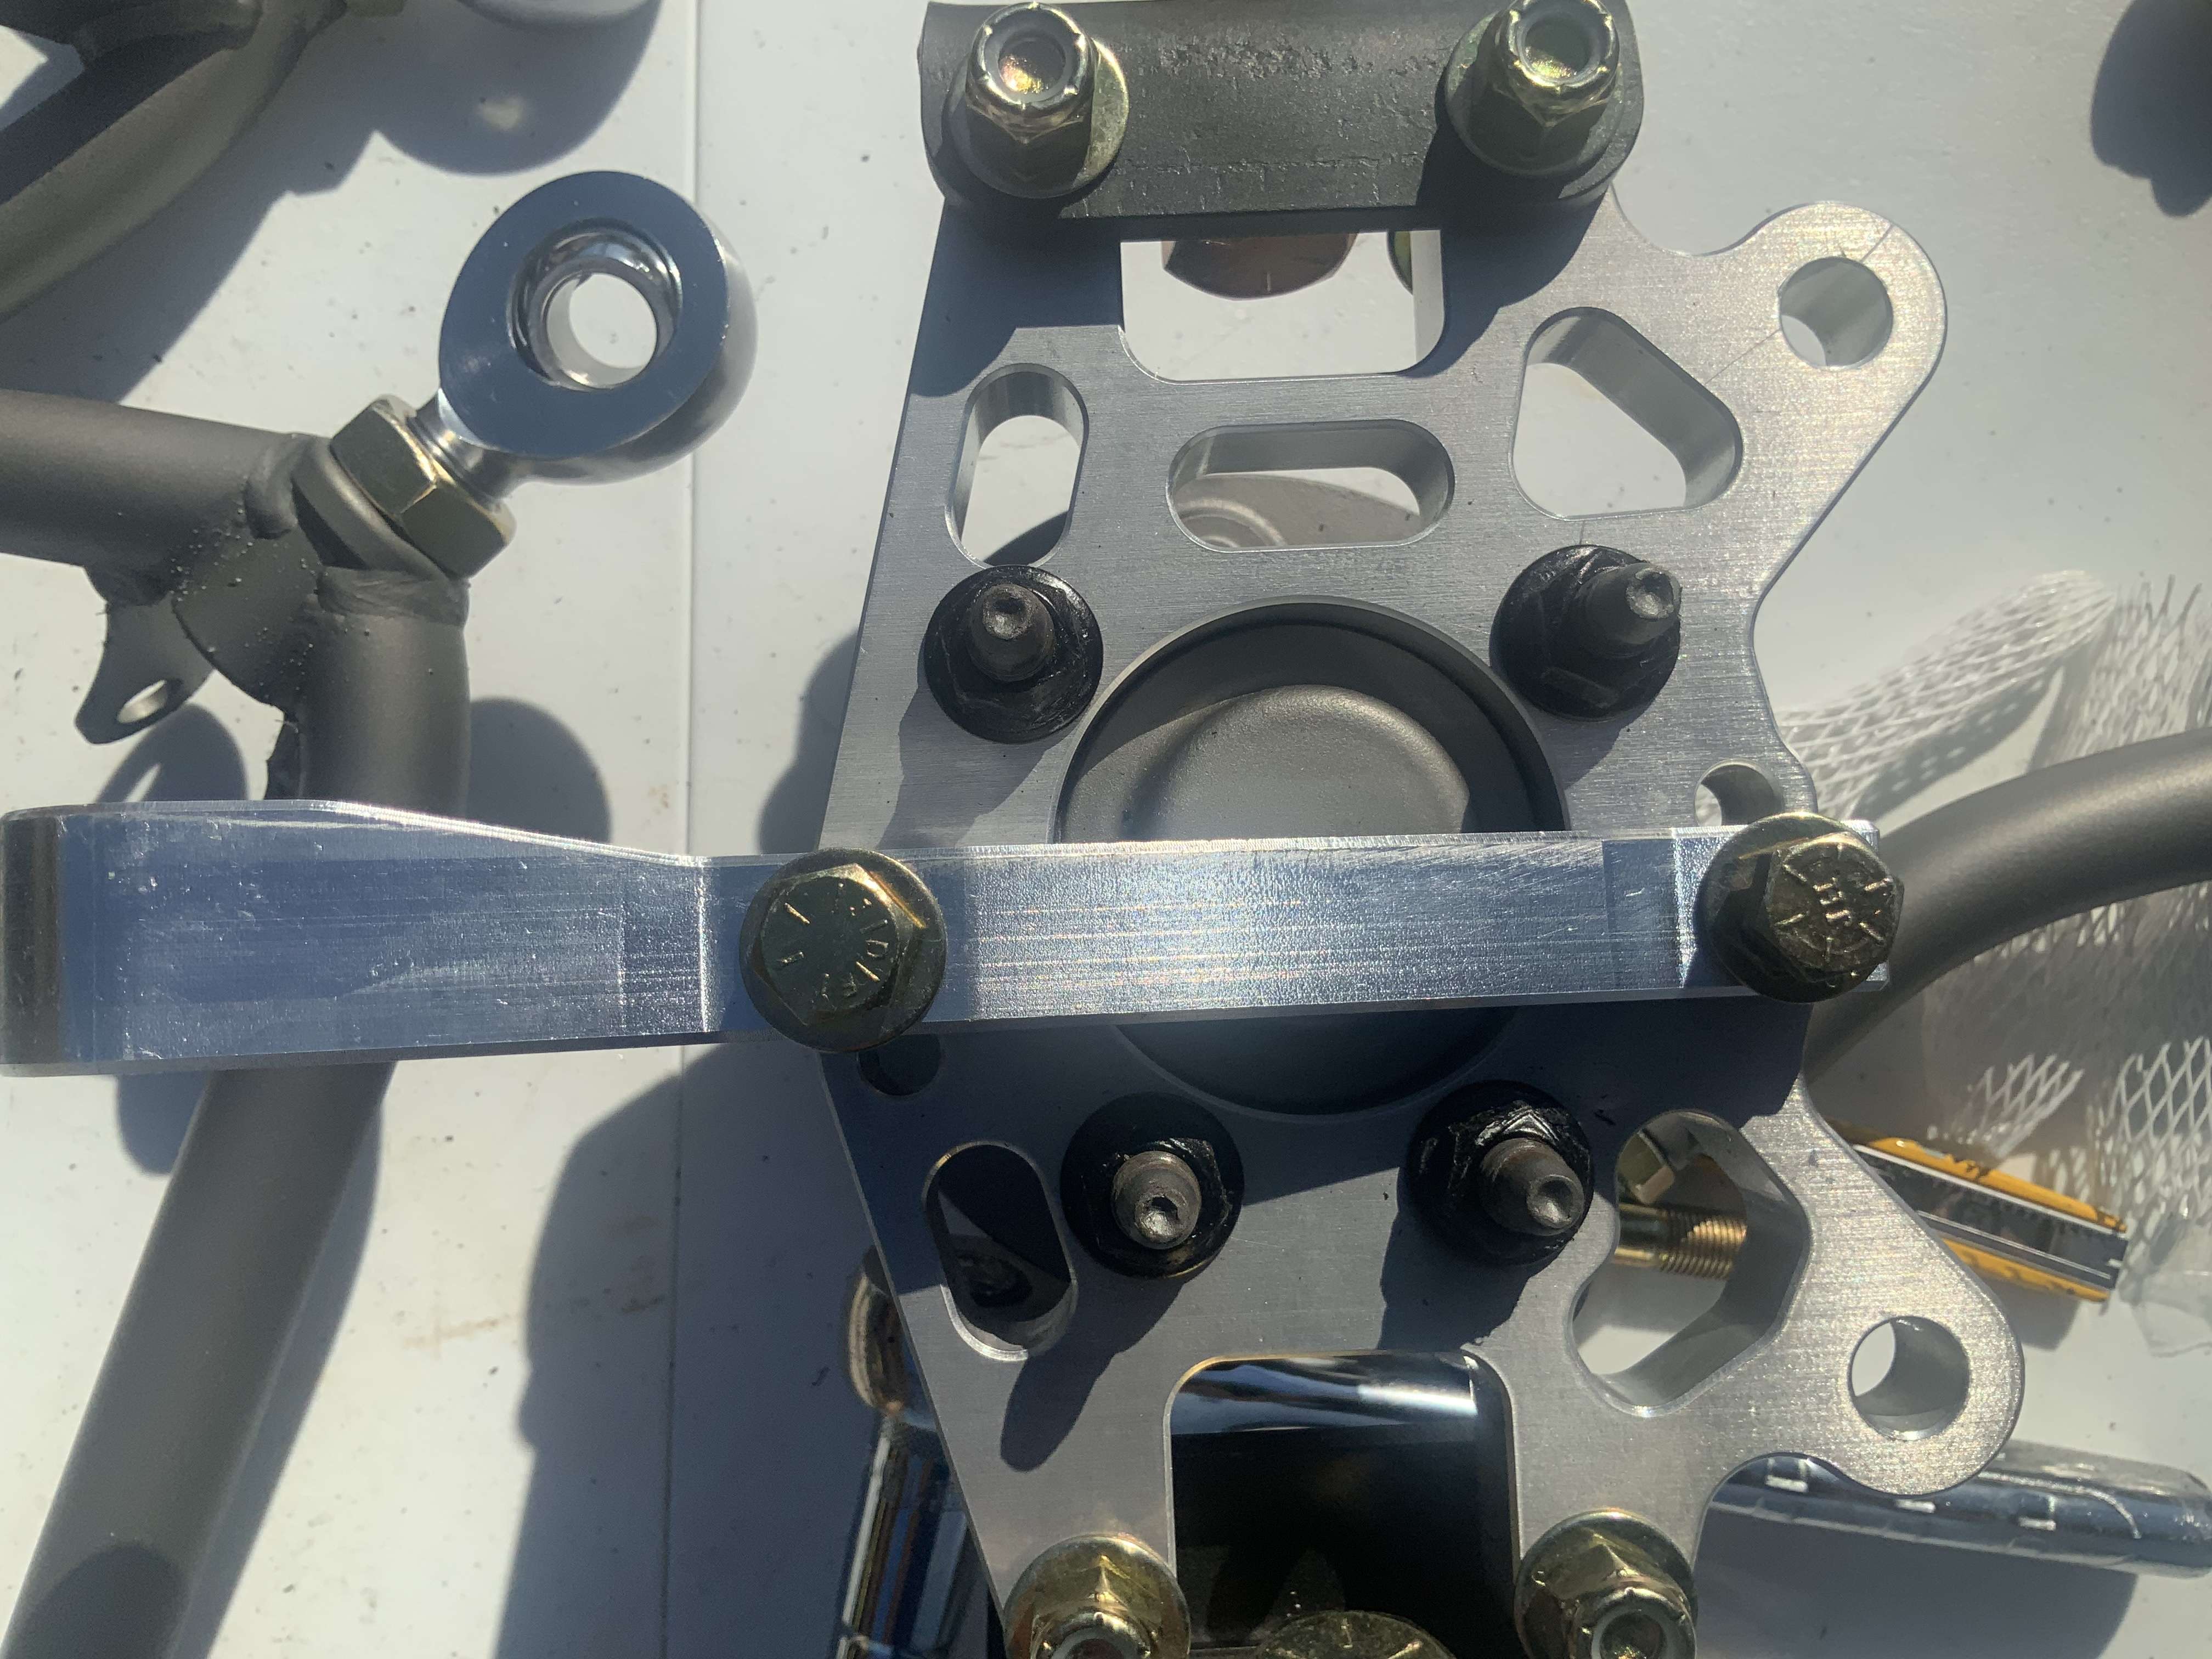
I'm not near my goblin to compare but I believe I did top hole on the brake side and bottom hole on the rear side for the steering arm.

Somebody will be along shortly to verify or correct me.

Check the photos below, looks like I am remembering incorrectly.
 
Last edited:

Brett

Goblin Guru
Check the helpful photos thread for photos of the front suspension to verify.


Jareth

Goblin Guru
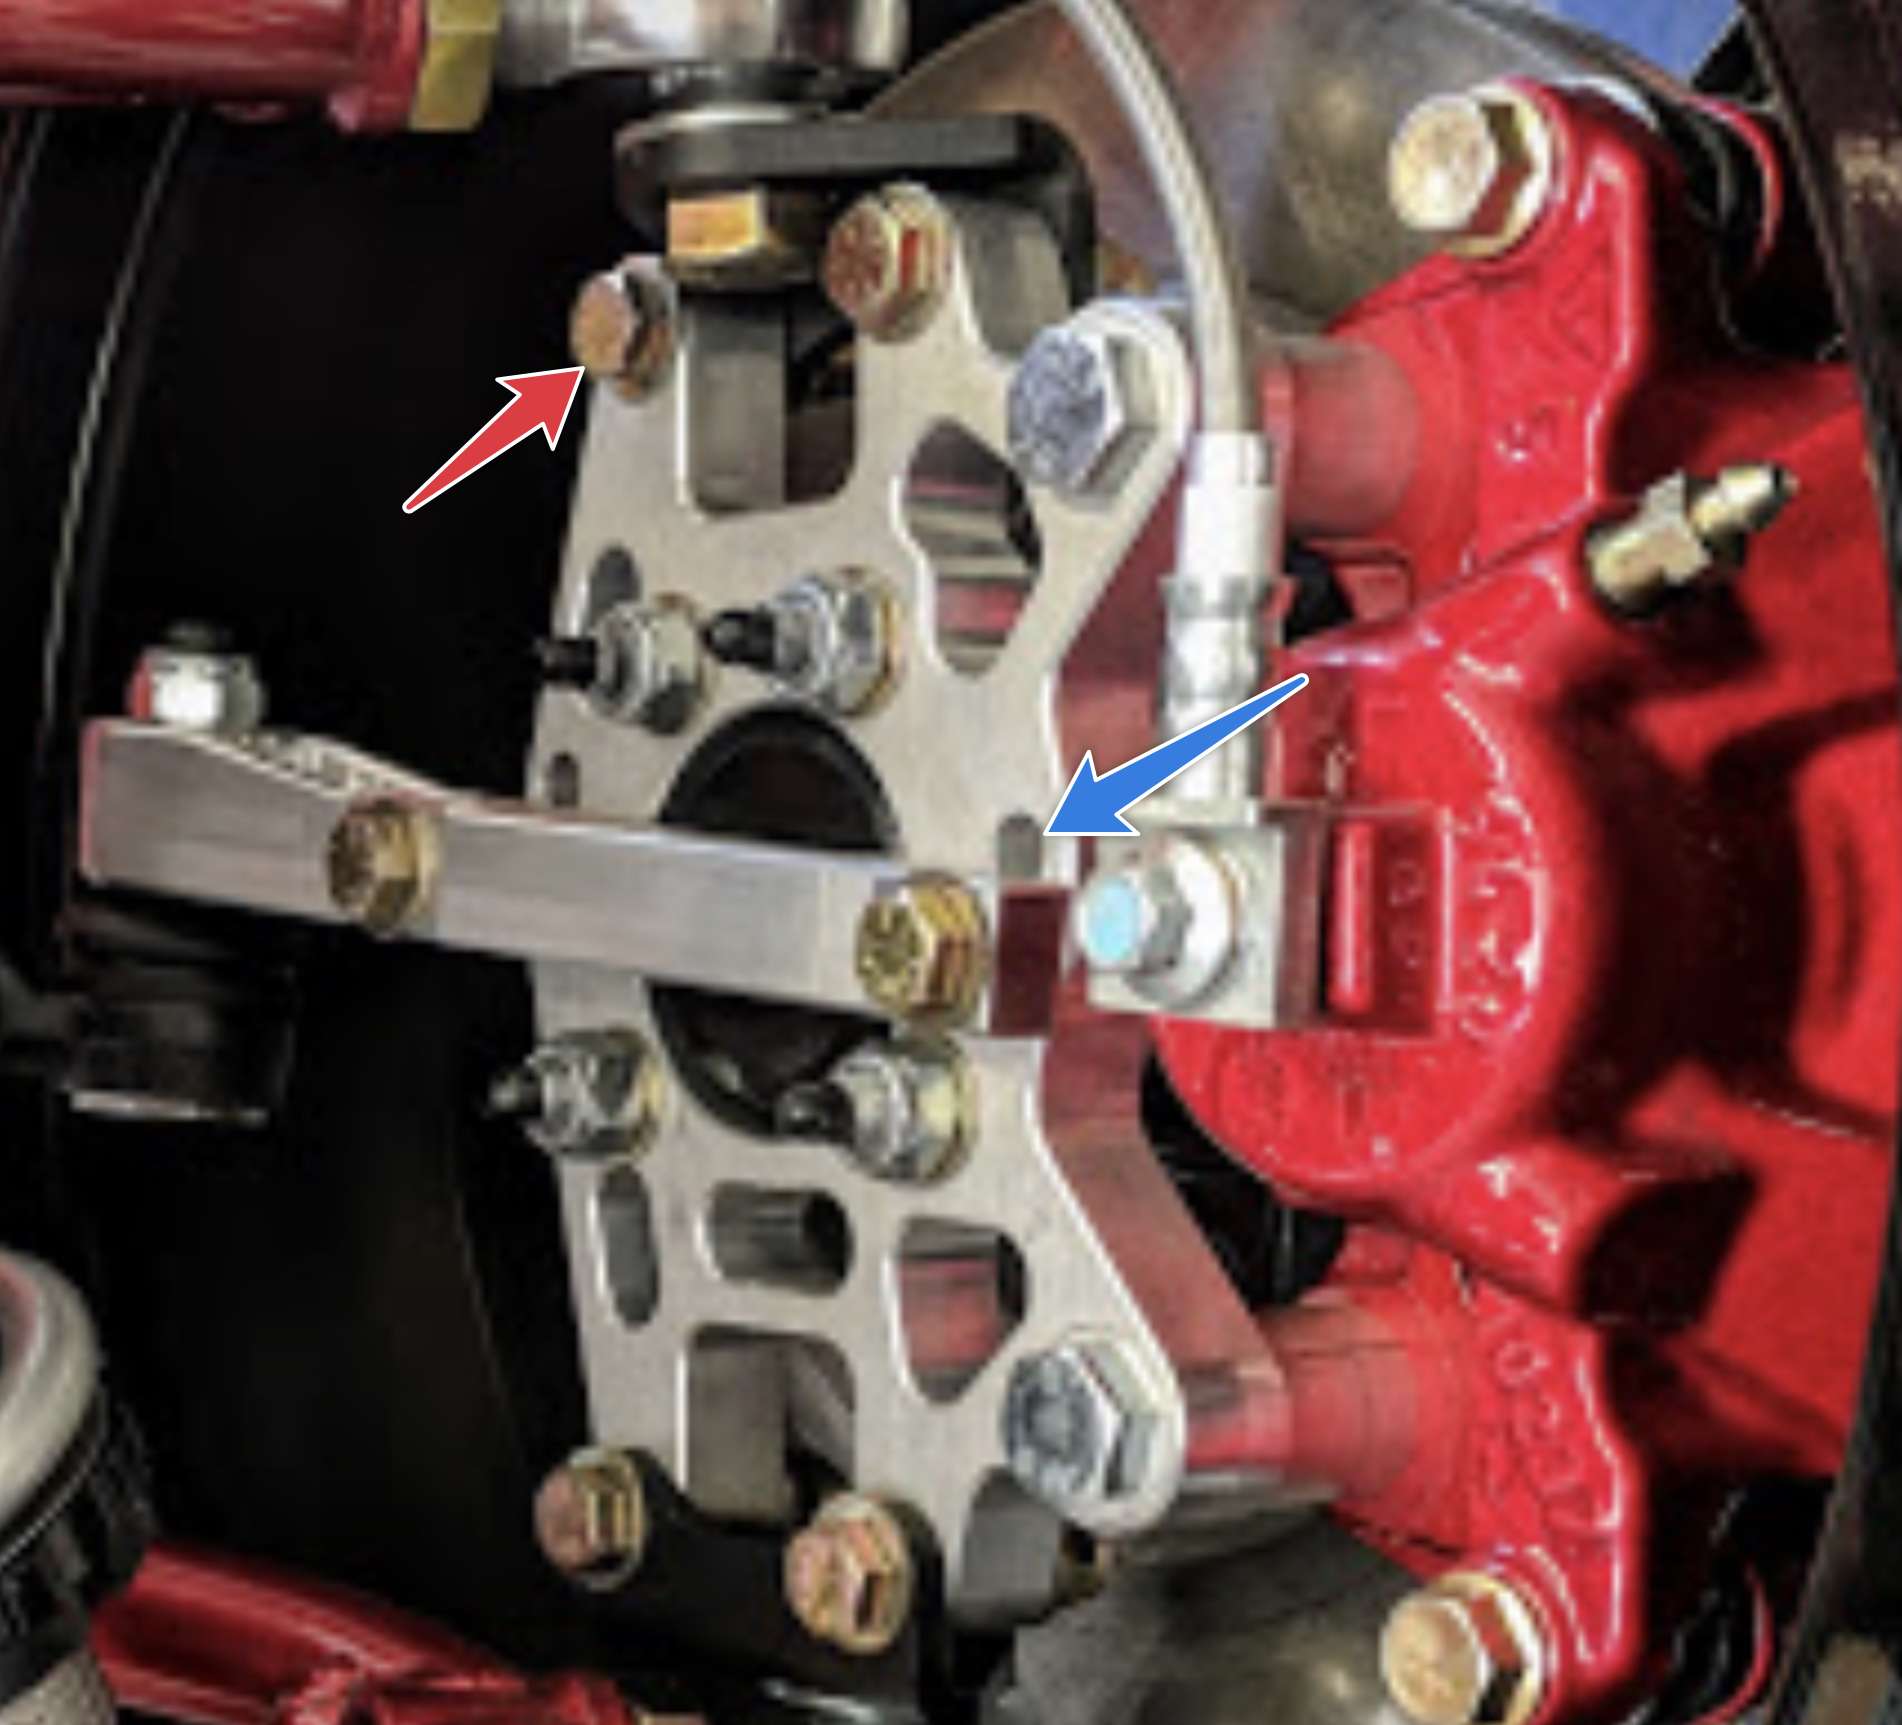
Thanks Brett, based on this photo the red arrow points to bolts I had coming in from the other side which seem that the threads of the bolts may have interfered with the shock bracket?

I also moved down to both blue lower mounting holes?


Jareth

Goblin Guru
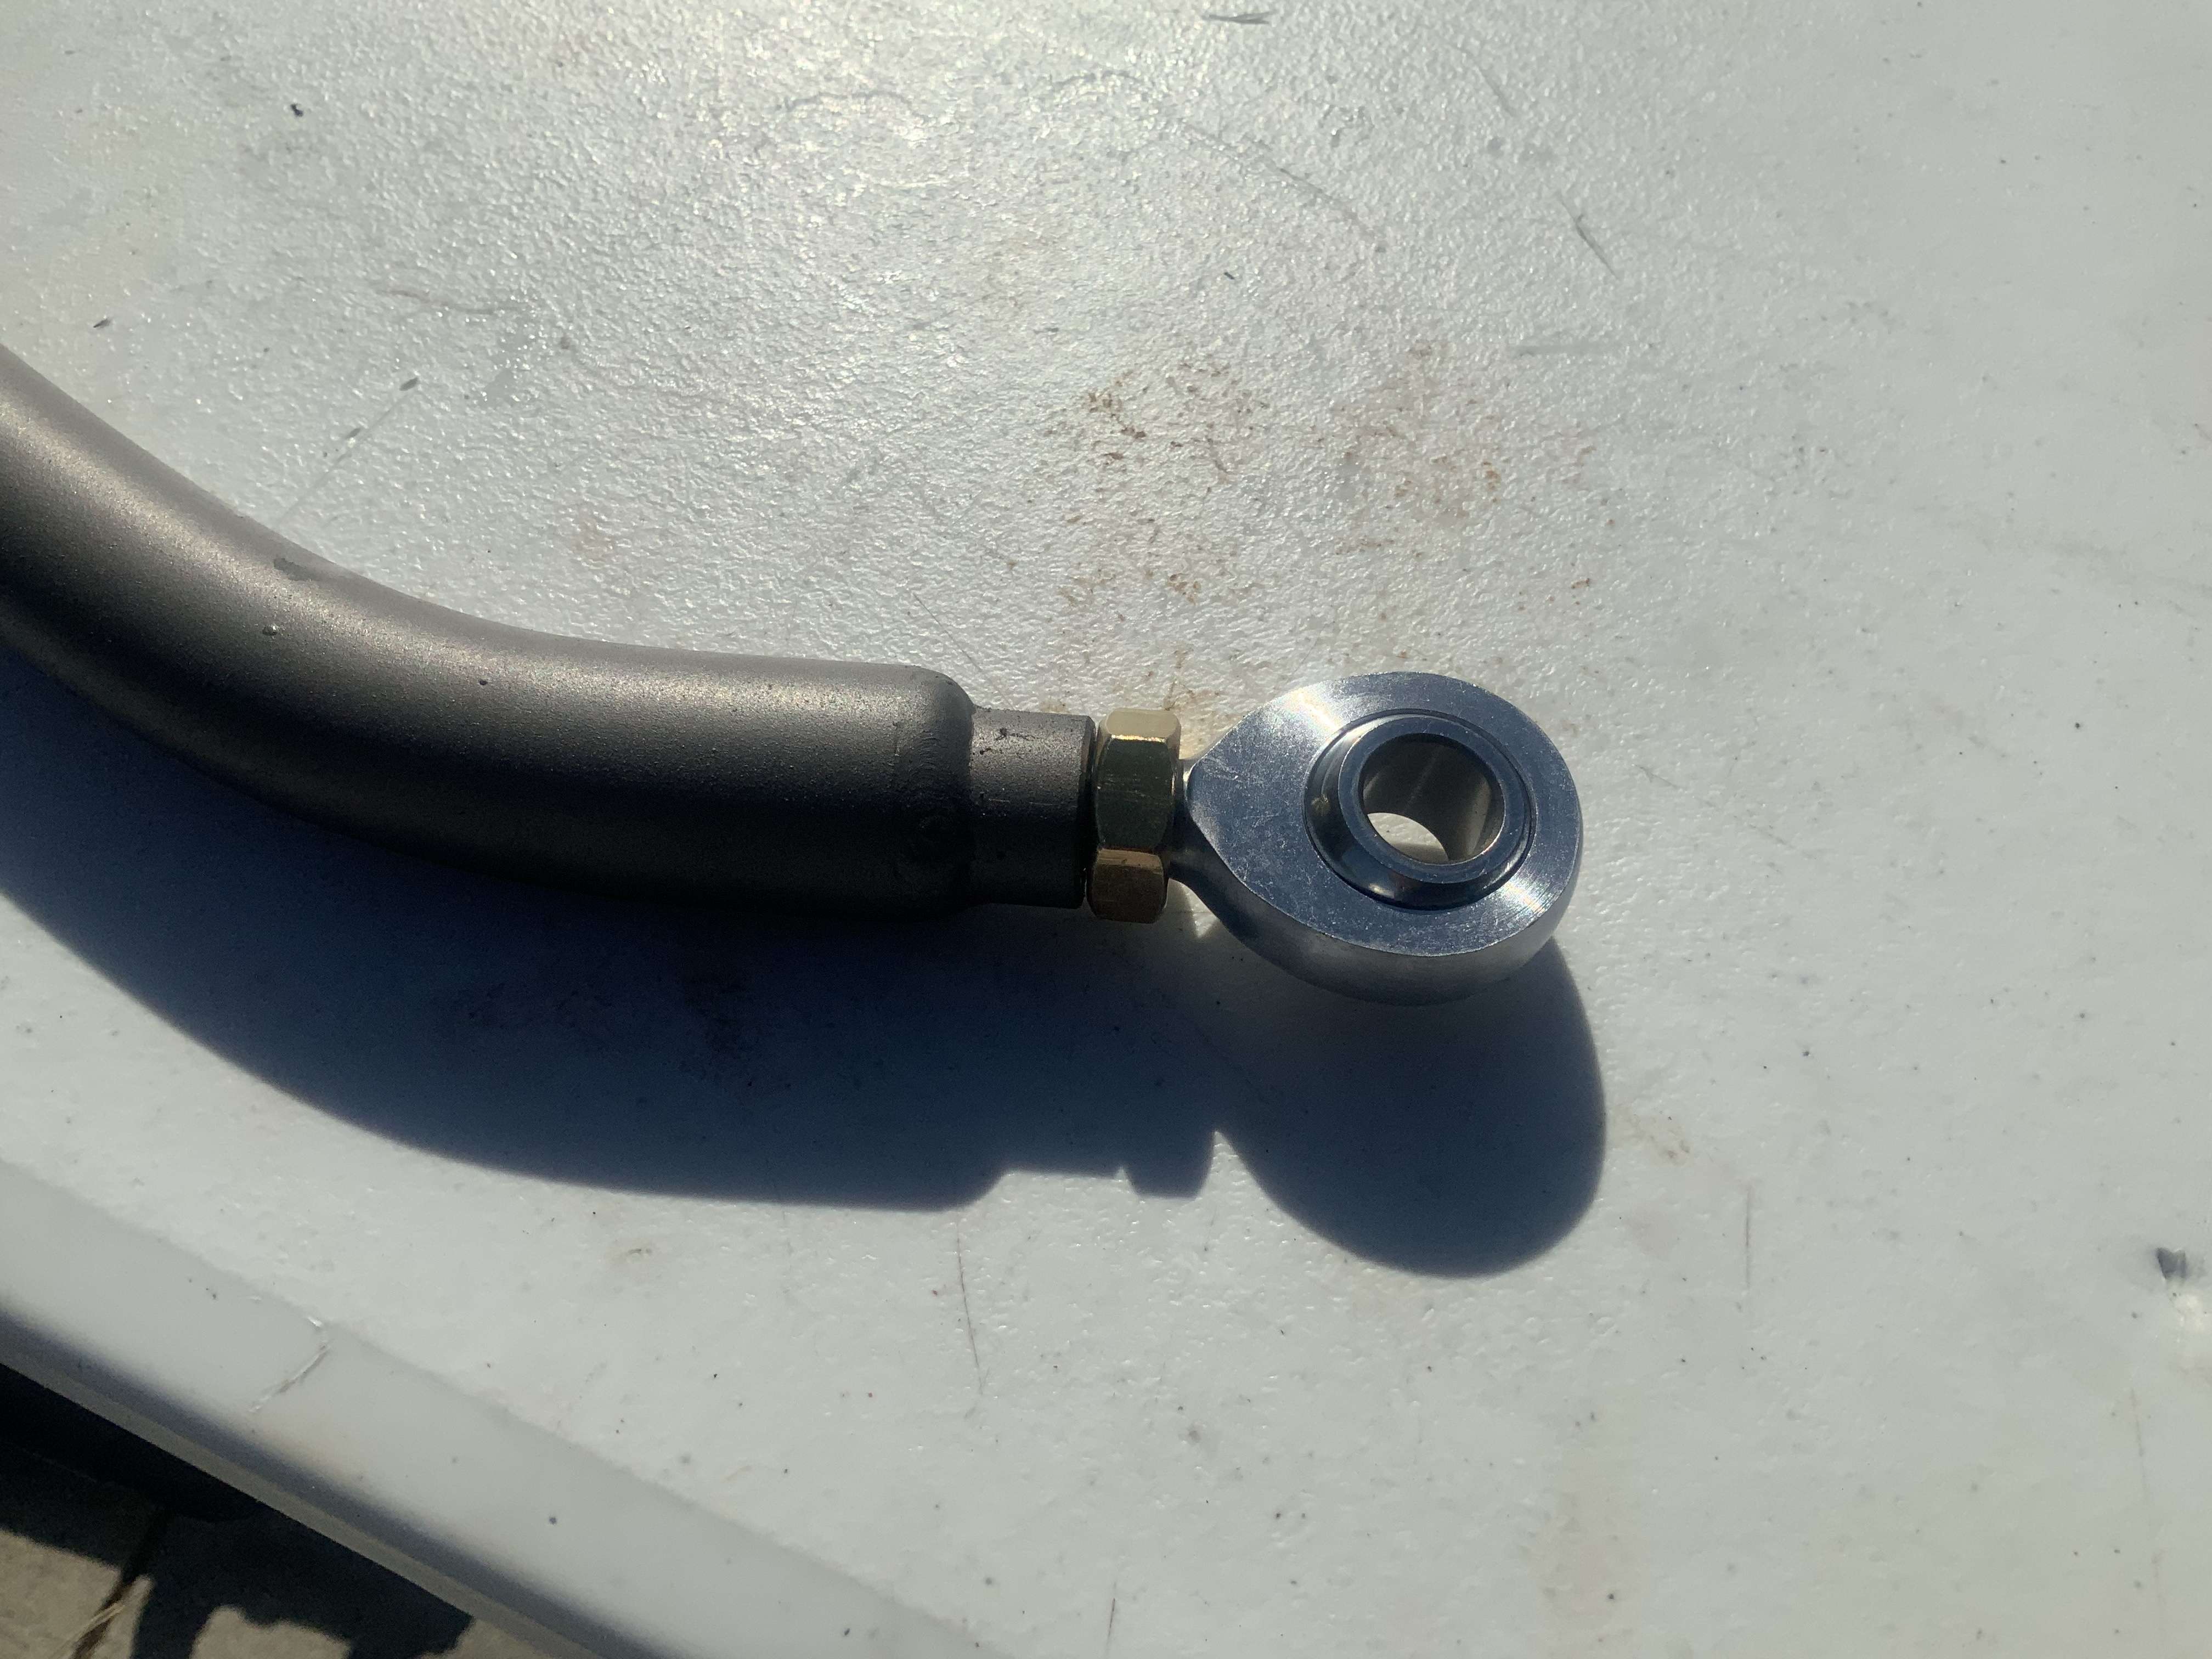
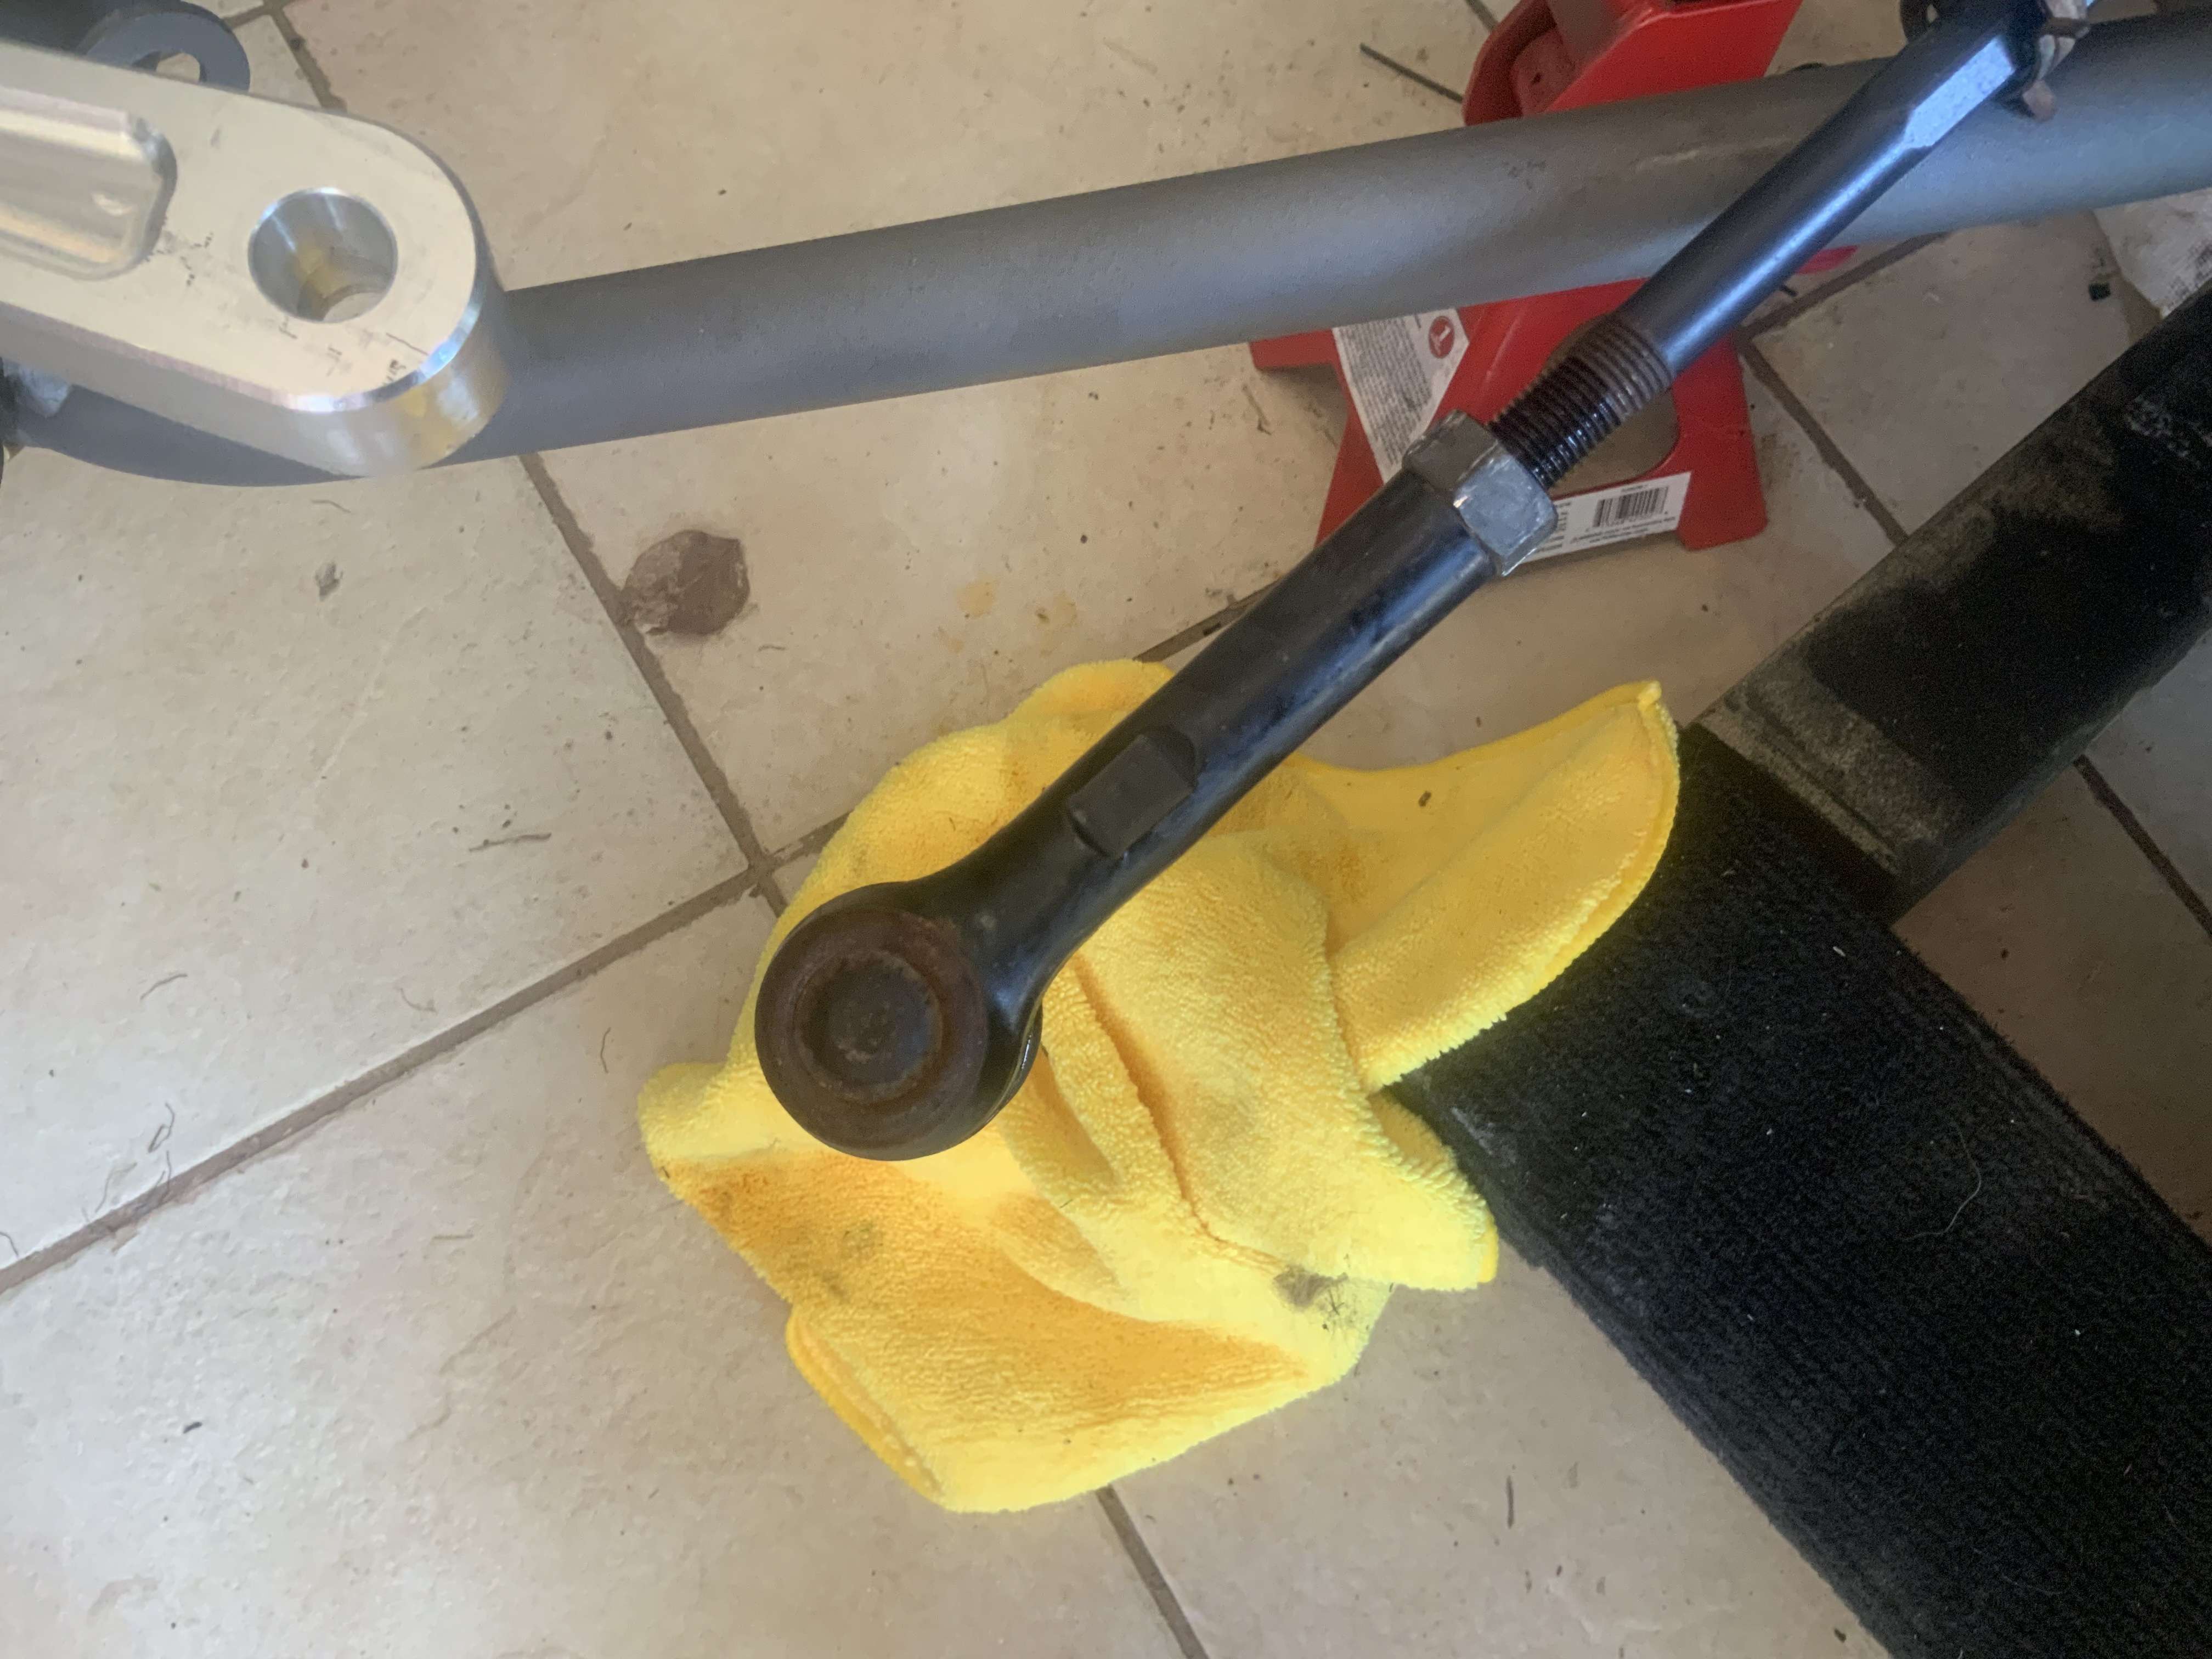
Next question, I soaked with PB-Blaster but with all the strength I have at the moment I can not seem to remove these tie rod ends :mad:

Any recommendations, other than to go and eat a can of spinach?


Ark :D

Goblin Guru
It's a jam nut on the inside, there. Also, you really need two wrenches to remove those, if that's not what you're already doing.
 

Jareth

Goblin Guru
Yes, using a 2nd wrench on that flat portion of the tie-rod and can not get the jam nut to budge.

.
 
Top