Once you get driving, you notice some small things. The kind of things you might change if easy to rectify. Or, things you might do a little differently the next time around.
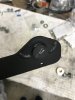
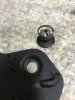
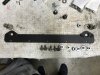
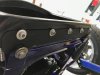
When you attach the outside of your seat harnesses, the side panels are probably not installed yet. So, everything is nice and open. Once the side panels are riveted in place, the seat belt anchor bolts are very tight. And unfortunately, if you install the bolt from the outside, it will be too long if you need to remove it hitting on the inside of the side panel. If and when the time comes, I will address that issue.
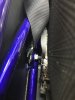
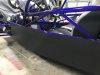
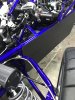
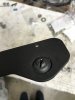
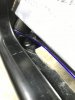
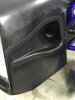
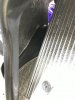
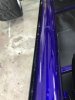
When the side panels go on, they have rivet holes already drilled. Lining them up and down with the equator of the horizontal tube seems logical - which I did. However, this creates a little trough for debris to collect in. Might be able to lower the panels a little to mitigate this. I put silicone to reduce any rattles. Minus the silicone, maybe the debris would work its way out on its own.
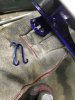
Got the TPMS sensors talking to the BCM. All good there, now.
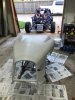
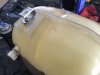
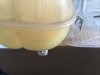
Started sanding the hood to prep for painting. Hopefully that goes well and is easy. Will post pics soon.
")
Talked to Lonny shortly today. He has all the answers running around his head. The Goblin Factory is definitely busting their butts trying to get everything done these days with everything going on.