• We've upgraded and reskinned the forum. Notice something off? Email us at [email protected] and we'll fix it.

V1 DCMoney's Extended Street Goblin - 06 SS SC - #111 Registered

DCMoney
Posted in another thread but figured itd update it in this thread as well.

I've got a design in the works for slightly different body work.

Haven't finalized the hood yet, redesigned it 4 times, that's hood number 2 but I cant decide on what I want. The tab are burned out just haven't welded them in yet for the individual side panels which will be an .050 pre-painted white hardened aluminium sheet that is used a lot for trailer skins, wrapped in a snow camo. The hood just barley clears the reservoir cap for the master cylinder and brake booster.

20181217-203537.jpg


20181217-203544.jpg


Capture1.jpg


Capture2.jpg


Burned out the tabs and got the drivers side welded in, went back and forth on the weld on the outside or inside of the frame. Planning on a 1/8" gap between the frame and sheet in each opening so welded them on the outside, didn't want to look at my welds while driving around.

Burned out a tab for the fuse box but making a slight changed to it.

20190409-125219.jpg


20190410-135257.jpg


20190410-160842.jpg
 
BaltimoreHokie
Posted in another thread but figured itd update it in this thread as well.

I've got a design in the works for slightly different body work.

Haven't finalized the hood yet, redesigned it 4 times, that's hood number 2 but I cant decide on what I want. The tab are burned out just haven't welded them in yet for the individual side panels which will be an .050 pre-painted white hardened aluminium sheet that is used a lot for trailer skins, wrapped in a snow camo. The hood just barley clears the reservoir cap for the master cylinder and brake booster.


Burned out the tabs and got the drivers side welded in, went back and forth on the weld on the outside or inside of the frame. Planning on a 1/8" gap between the frame and sheet in each opening so welded them on the outside, didn't want to look at my welds while driving around.

Burned out a tab for the fuse box but making a slight changed to it.

Hurry and get this done so we can see how it turns out. :)
 
askiles
I thought of doing something similar, either mounting side panels in the tube as you have it, or simply inside the passenger area instead of on the outside. I like to see that nice tube chassis.
 
DCMoney
Forgot some of the other things I've got done.

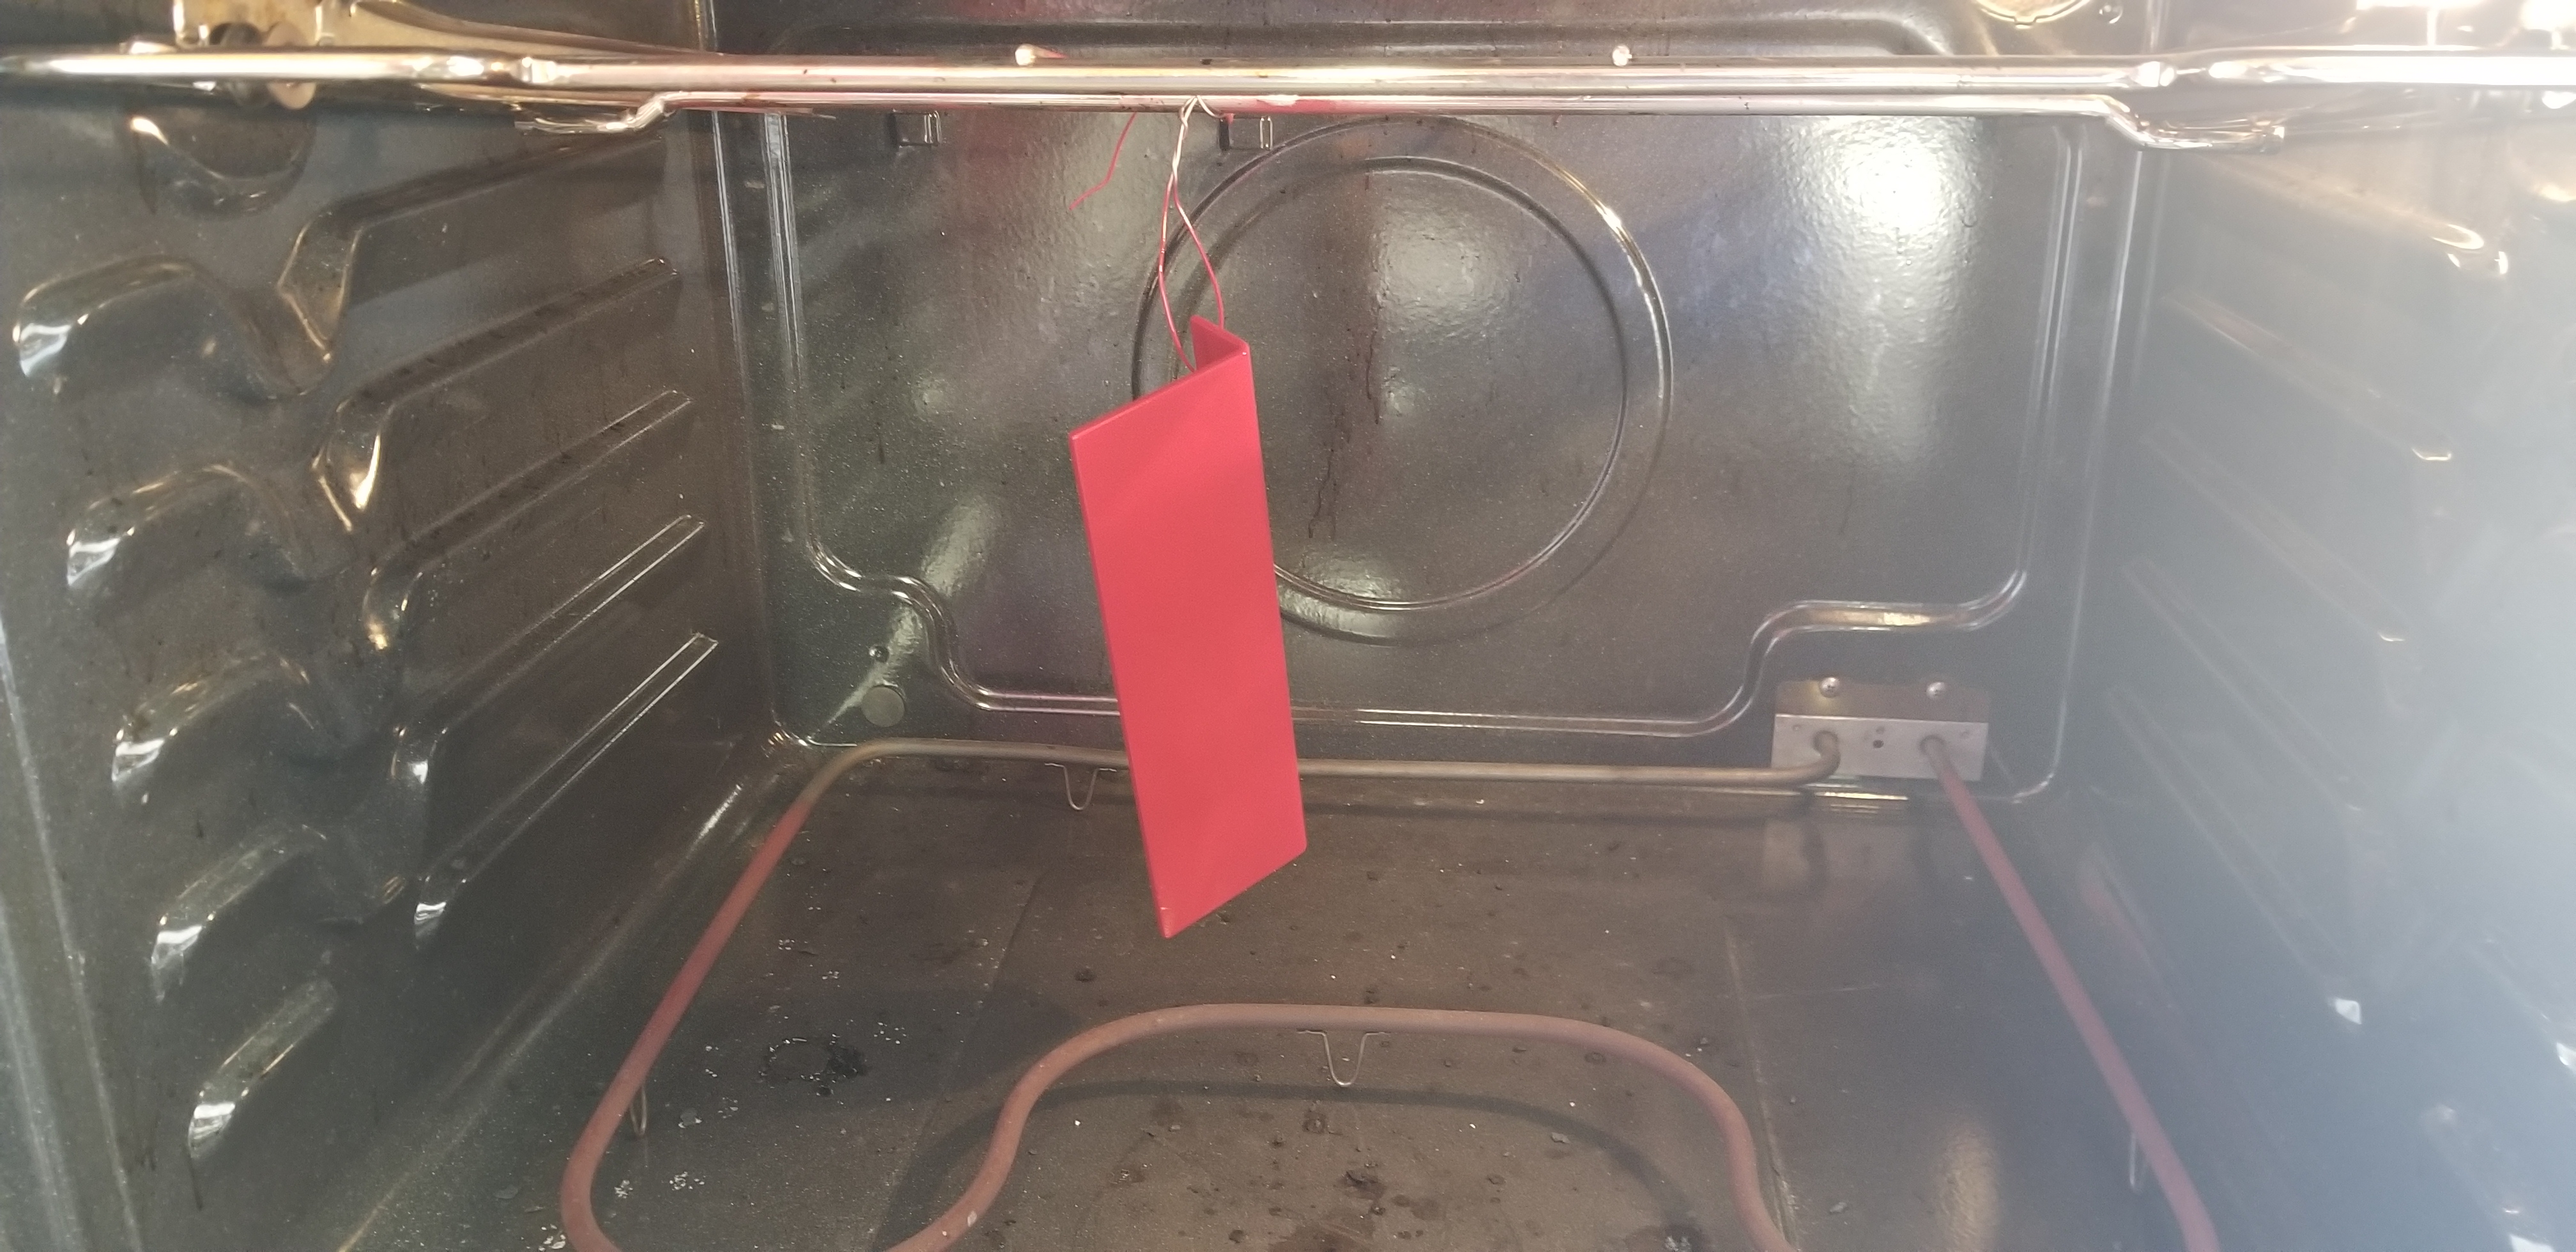
Set up my powder coating oven etc, tested on a piece of aluminum I had laying around, really happy with the way it came out for my first part.

20190331-163347.jpg


20190331-170721.jpg


Tested out my soda blaster by blasting the engine, turned out ok, still going to scrub more before paint.

20190408-162515.jpg


Oh dear Jesus the steering shaft was a total pain. Cut off the staked portion of shaft, then heated the ever living **** out of it till it finally pulled apart. Tried kroil, even drilled a hole in the end of the female shaft and put kroil in for over a week, nothing touched it like heat did.

20190406-111317.jpg
 
jennam
Oh dear Jesus the steering shaft was a total pain. Cut off the staked portion of shaft, then heated the ever living **** out of it till it finally pulled apart. Tried kroil, even drilled a hole in the end of the female shaft and put kroil in for over a week, nothing touched it like heat did.

Yeah, the steering shaft is a pain. I used a heavy ratchet strap wrapped around the front end of the donor to pull it apart.
 
DCMoney
Burned out my panels to test fit them, not the final versions, slight tweaking on most of them but overall happy with my first attempt. Didn't get a chnace to burn the rear most upper panel so its missing in the photo. Knew the two main center sections were going to need multiple attempts. Like I said overall happy with the results.

20190412-194520.jpg


20190412-194538.jpg
 
DCMoney
Got all the tabs welded in this past weekend. 62 tabs in total. Dropped off the frame, fuel cell and tunnel at the powder coater this morning.

20190428-162601.jpg


Now to start powder coating all the small parts.
 
DCMoney
Spent a good amount of time in the shop this weekend. Tested the different powders that came with the kit I bought from a guy, plus a few others to see which one I like for each part.

Tested on random parts.

Hot rod textured, gloss, and satin black.

20190505-144033.jpg


Bare aluminum, Bronze metallic.

20190504-164946.jpg


Sits on my desk at work. Only thrown it a few times.

20190504-153431.jpg


Decided on the hot rod textured for the control arms. Really happy with the results.

20190505-175244.jpg
 
Tony
The 'nade is the bronze metallic? That looks like it would match my wheels really well if I ever need to do that, do you know what brand the powder is?
 
DCMoney
The 'nade is the bronze metallic? That looks like it would match my wheels really well if I ever need to do that, do you know what brand the powder is?

Should have labeled that one, it's a gold powder. All powder is Eastwood brand.

The bronze metallic is was darker than I was hoping, reminds me of oil rubbed bronze you see in houses for door knobs etc.
 
DCMoney
Its been a long productive day.

Powder coated a few more of the small parts.

20190511-161927.jpg


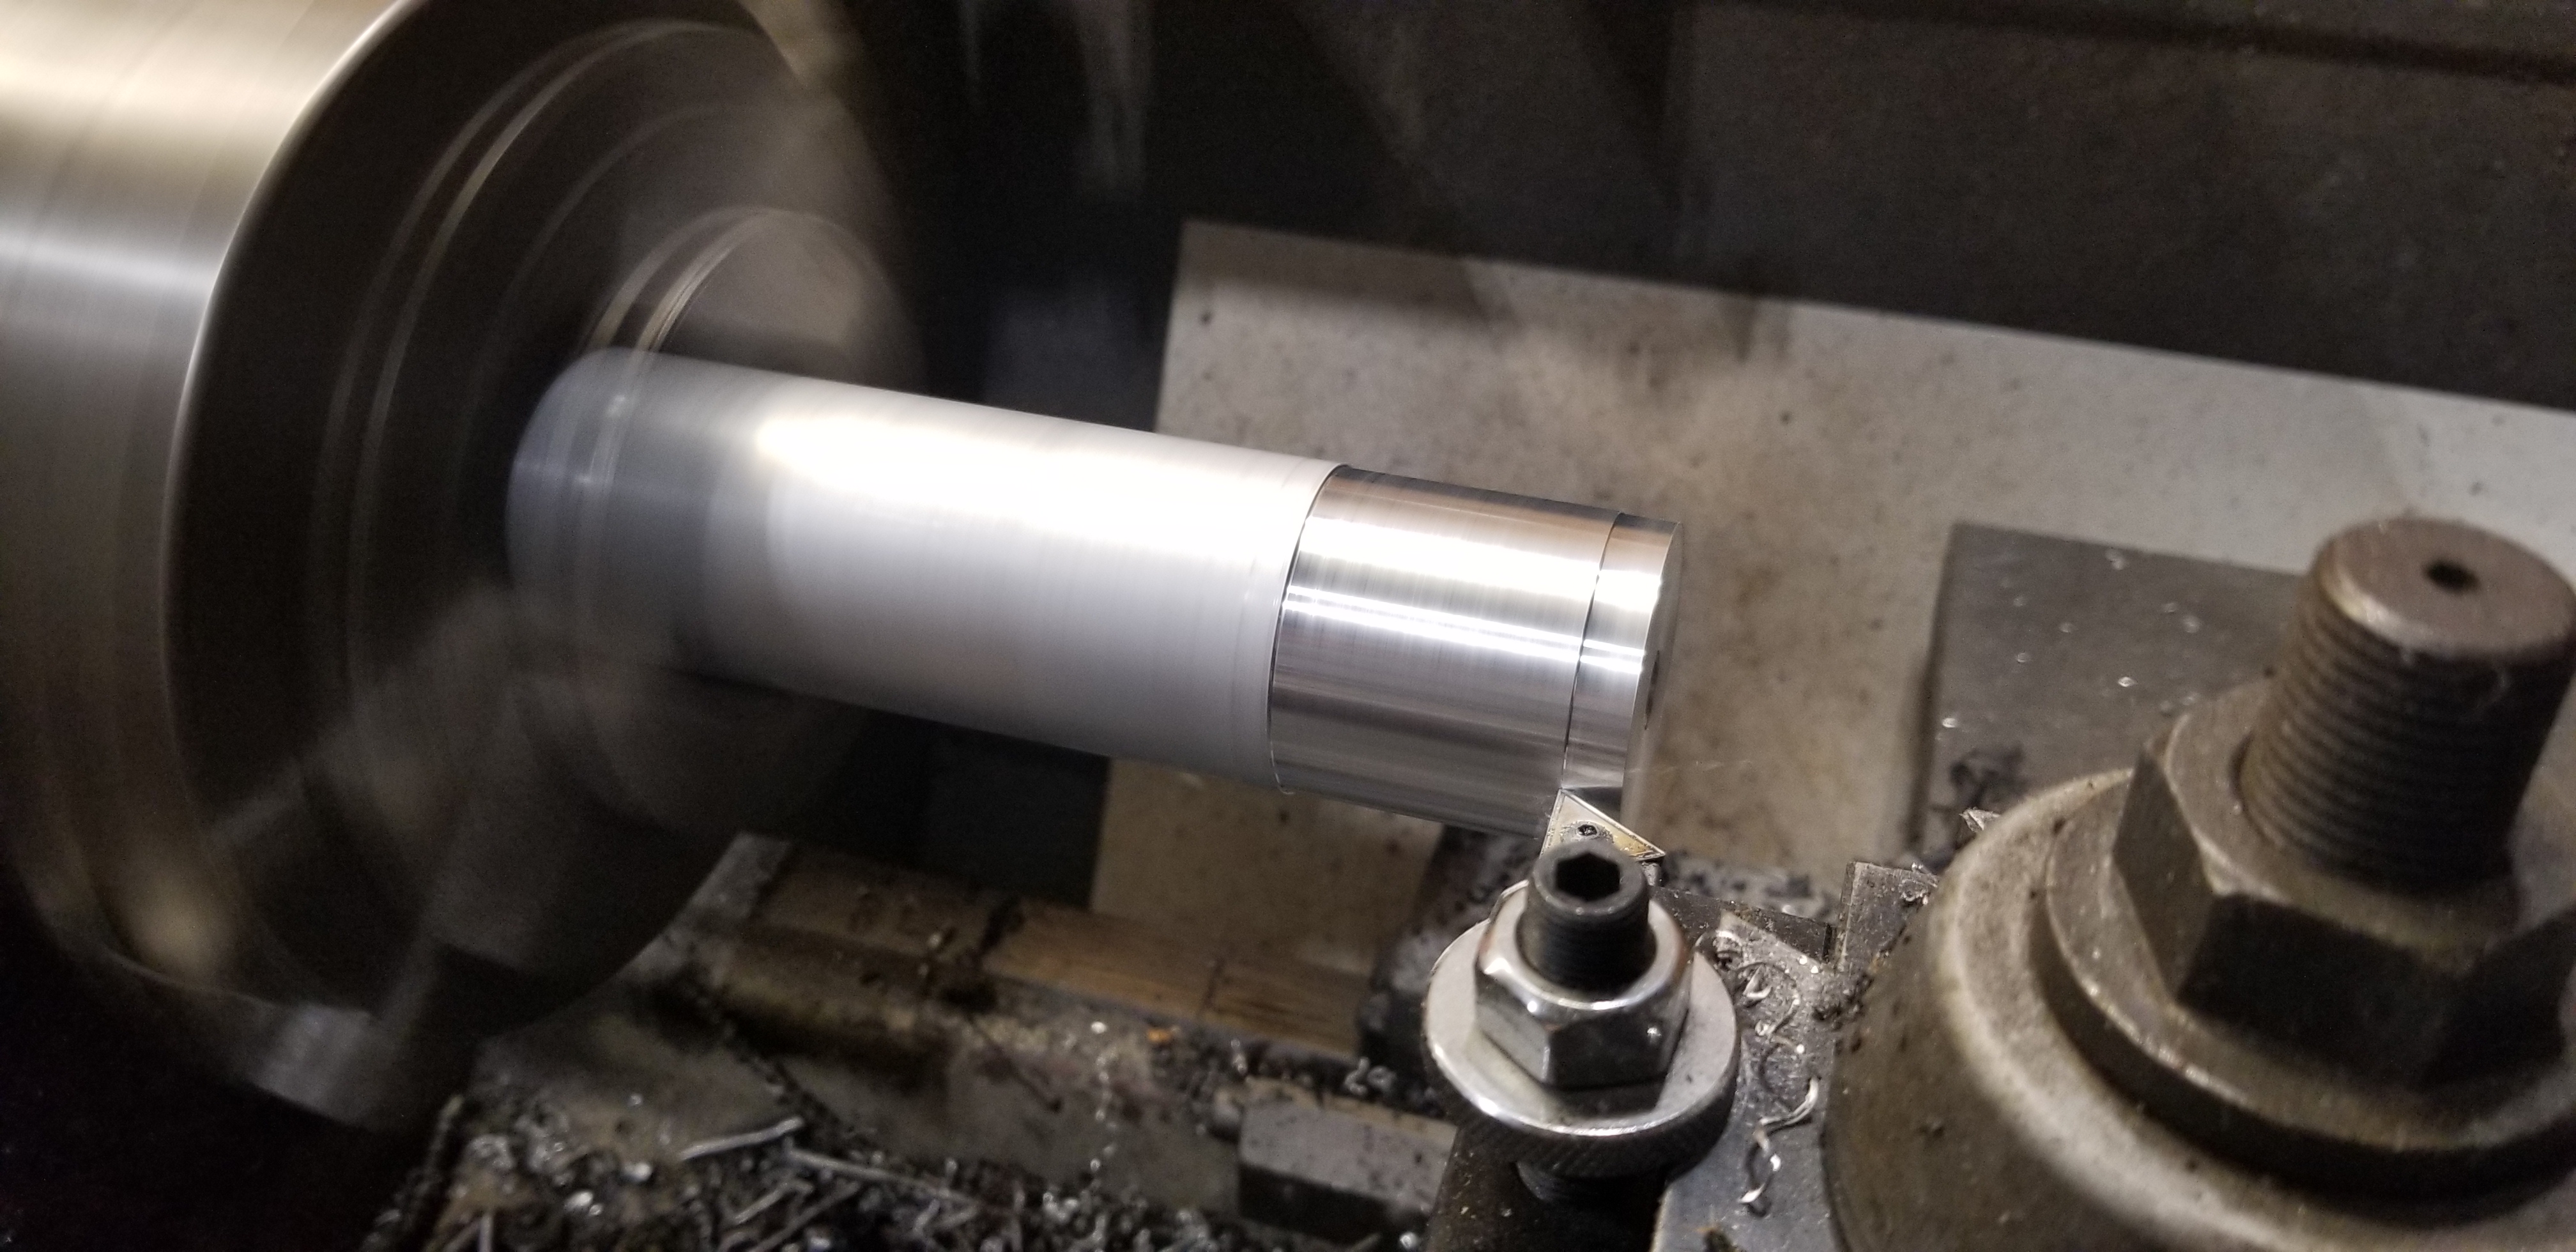
Noticed my new hubs were the ones with the larger ABS sensors on them (extremely cheap ones off amazon), popped it off, removed the ABS ring, separated the hub from the spindle, chucked it into the lathe and turned some off the end to reduce the overall length, drill and tapped it. Made a plug out of delrin. The counter sunk bolt is going to spin with the hub but not too worried about it, will throw some loctite on it and the plug it self is a press fit. Might make a new plug to be more of a cap with a flange for the cap to bottom out against. We'll see.

20190510-165435.jpg


20190510-181114.jpg


20190511-091223.jpg


20190511-093828.jpg


20190511-094346.jpg


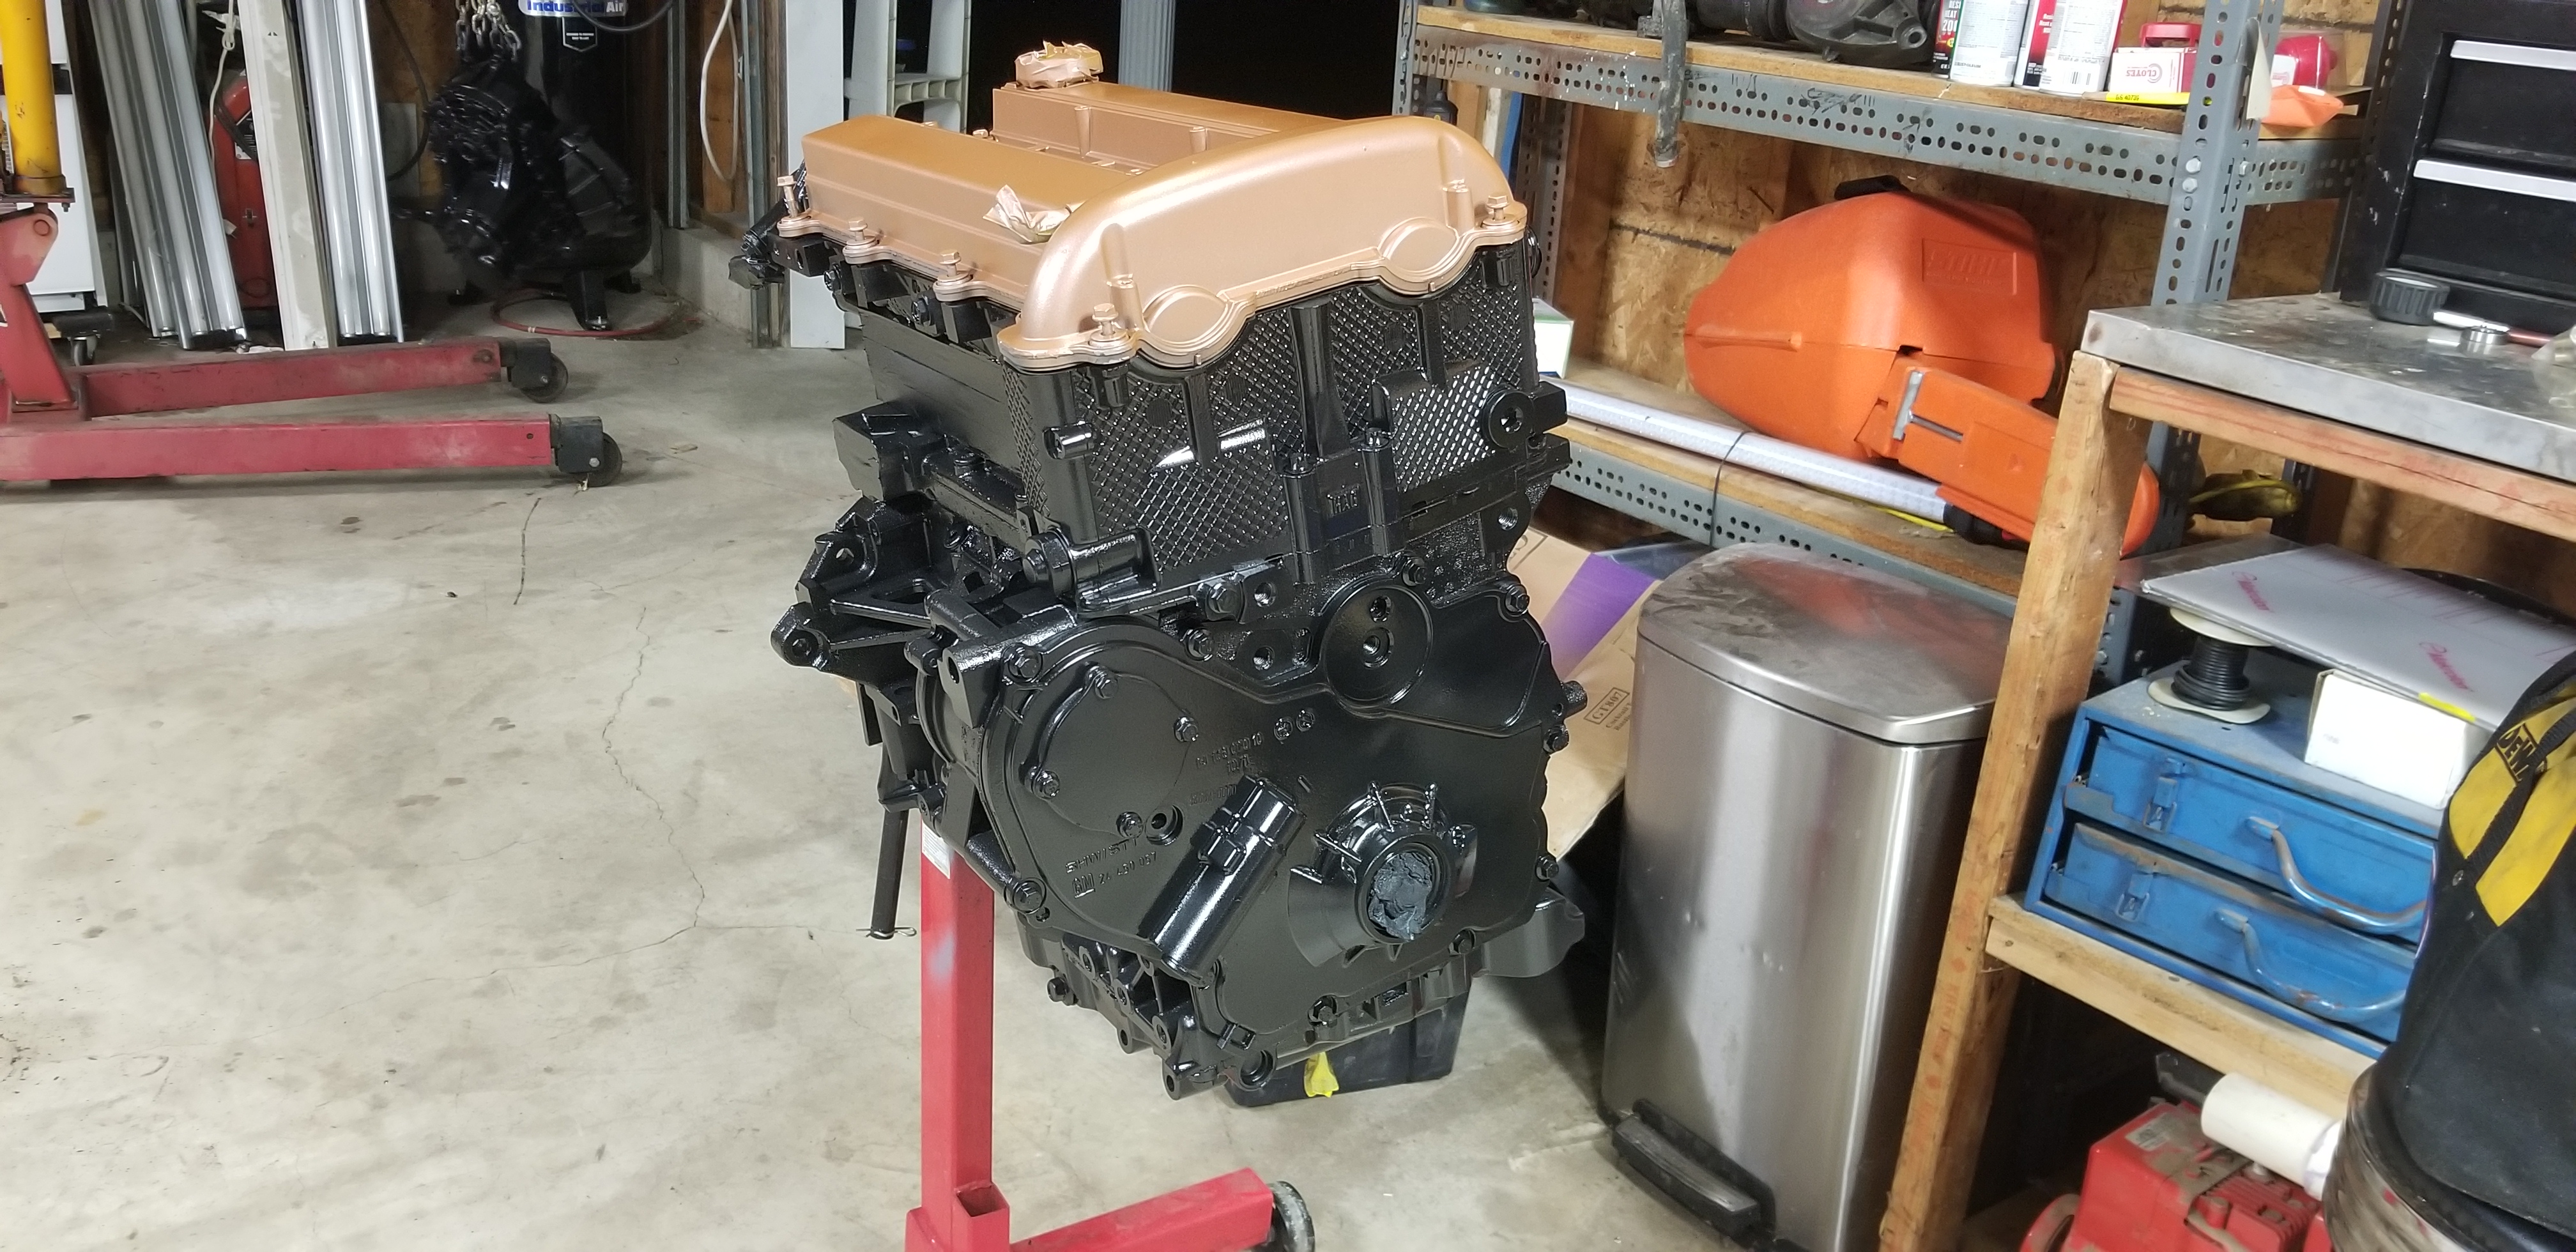
Primed and painted the engine. Will be soda blasting the valve cover so didn't bother taping it off. With one coat the engine looks better than I expected. Going to apply a second and probably 3 rd next weekend.

20190511-161219.jpg


20190511-174316.jpg


The red powders I have are not an exact match to my frame, might see if the shop that coated the frame for me would sell me a pound or two, cardinal powder coat only sells in bags of 5 pounds and I don't really need that much. Picture doesn't do it justice, its more noticeable in person the differences in the 3 reds shown.

Frame is cardinal powder coat RD01.

Small piece in the center is prismatic really red PSS-4416.

Right part is Eastwood ruby red.

20190511-170602.jpg
 
DCMoney
Picked up my tires on Thursday Bridgestone RE71r, valve steams and lug nuts came in yesterday. Mounted one of the fronts today to see how it looks. Autocross guys around here swear by the RE71r's, cant wait to try them.

20190512-092224.jpg


20190512-092234.jpg
 
DCMoney
Quite a bit of work done this weekend.

Started off Friday after work turning my adapters to run the BC Racing coil overs on the goblin.

20190517-152846.jpg


20190517-155732.jpg


20190517-161435.jpg


20190517-161722.jpg


20190517-161728.jpg


20190517-161733.jpg


20190517-164320.jpg


Saturday morning wanted to get the hoses pulled through the frame, spent time Friday night reading through a few of the threads on how bad it was going to be to pull. Got the roller, tire wet etc like DF says. Didn't bother trying to pull by hand when your friend has a 50 horse 96in deck diesel mower... Took less than a minute on each to pull through. Highly recommend pulling the hoses this way!

20190518-103522.jpg


20190518-170244.jpg


20190518-170400.jpg


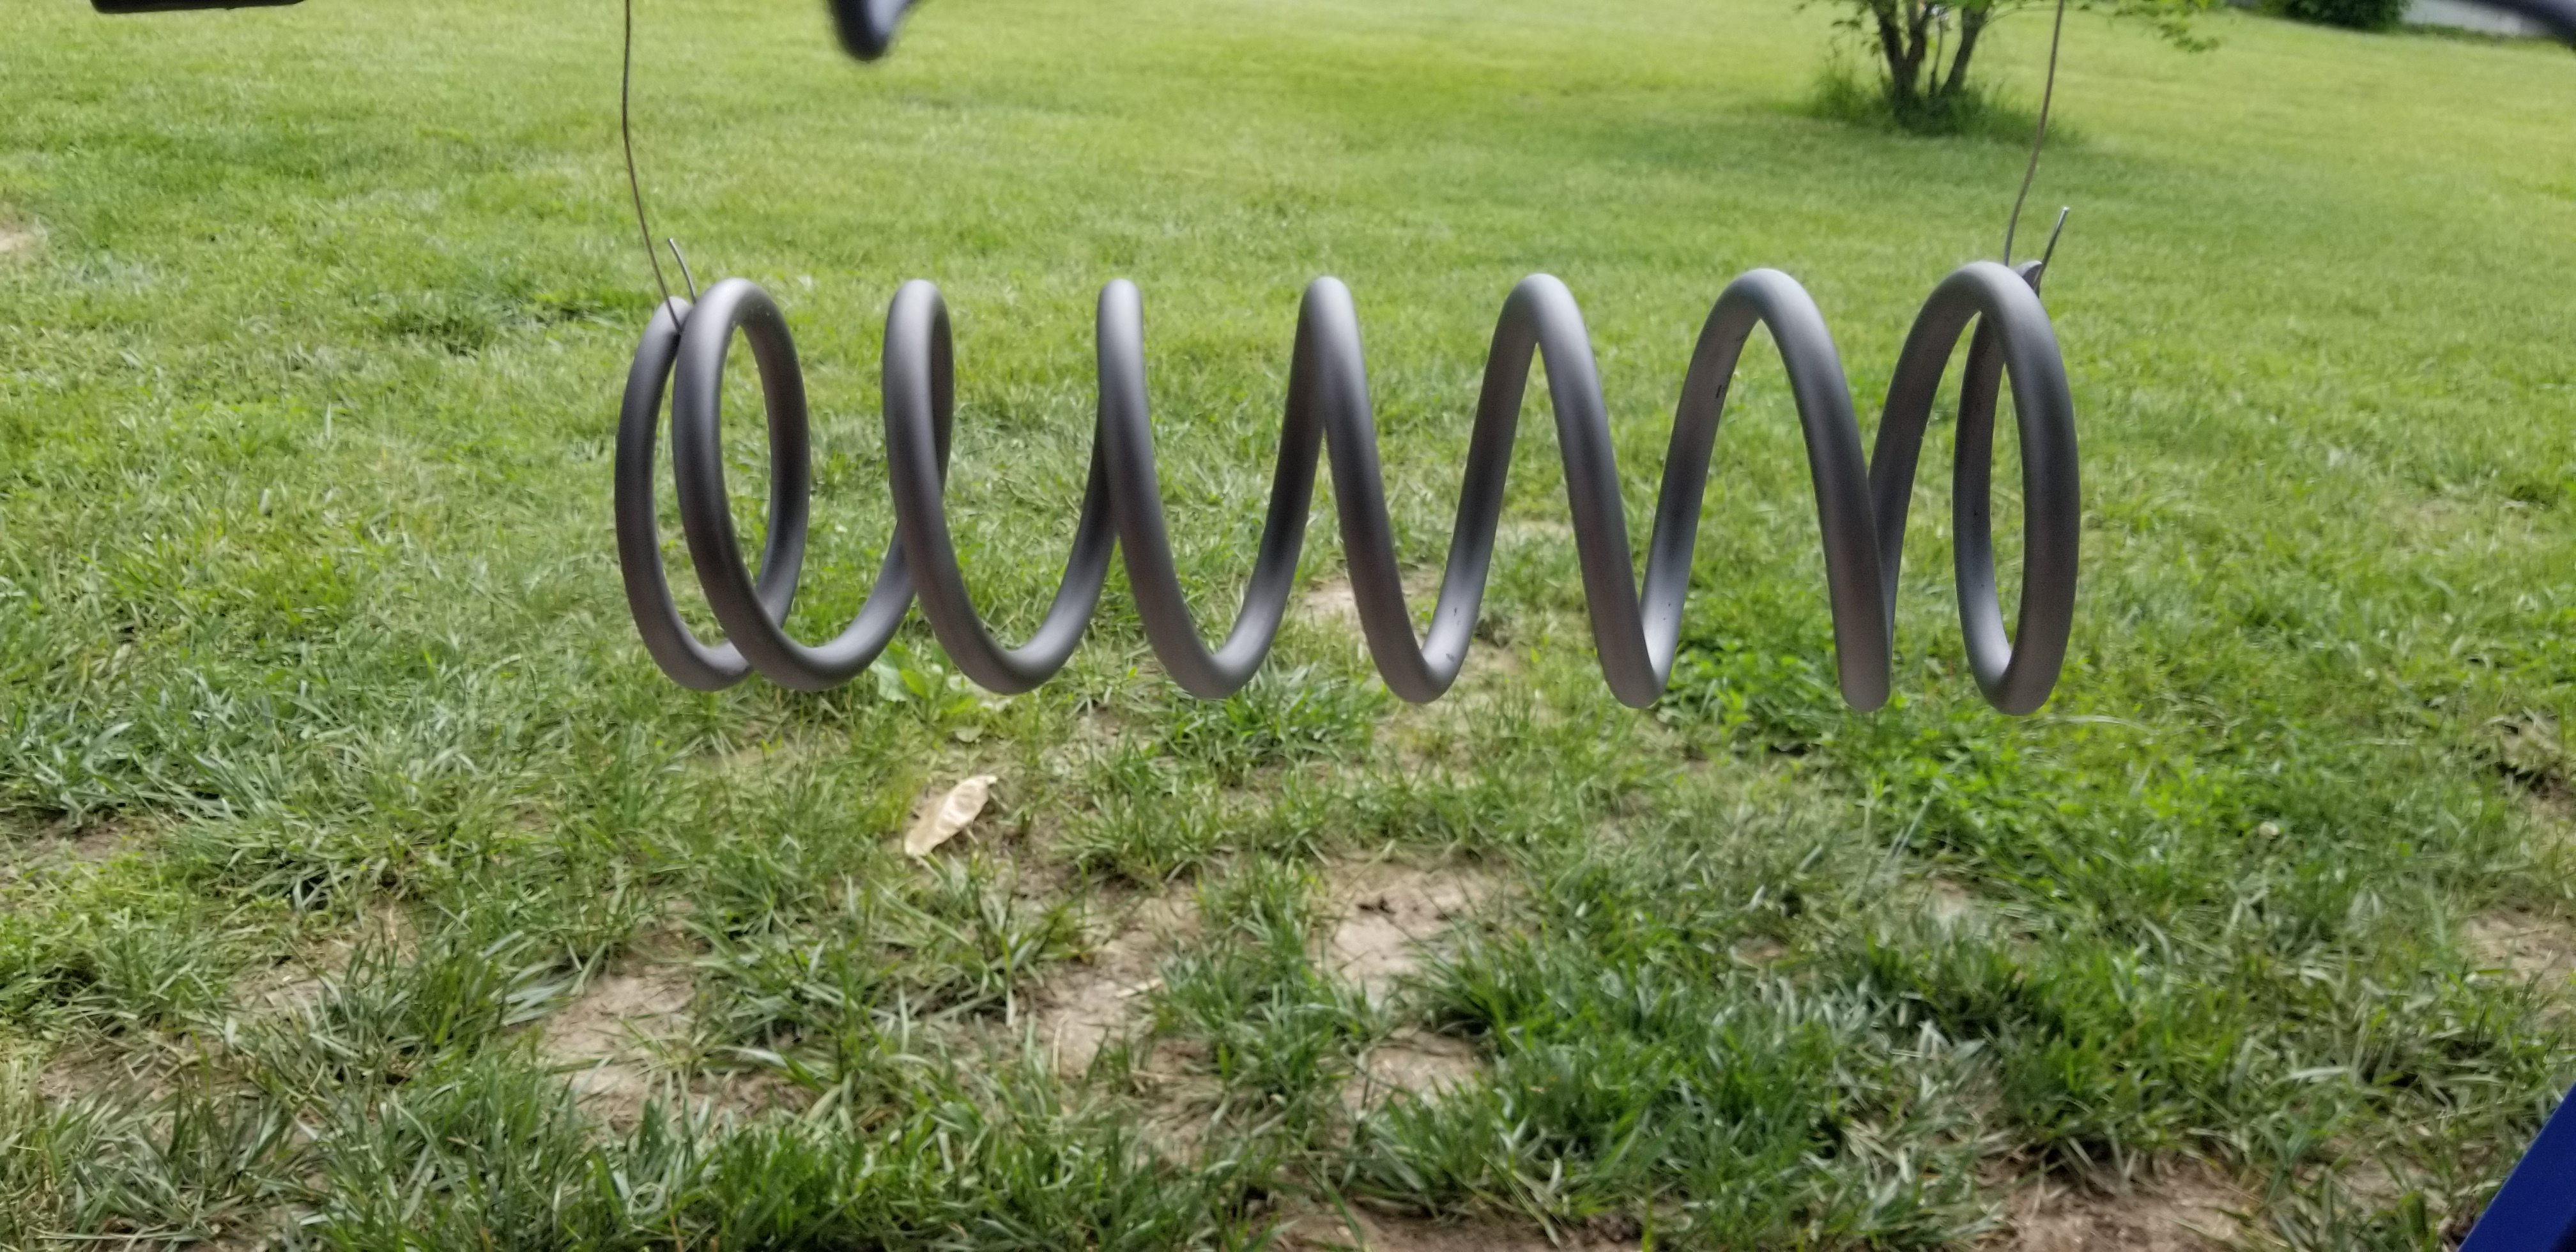
Finished stripping my springs and powder coated them.

20190518-144409.jpg


20190518-152159.jpg


Finished cleaning the tranmission and gave it a primer coat and a black coat.

20190518-215848.jpg


20190519-001105.jpg


2nd and final black coat on the engine, put a coat of bronze on the valve cover, not really pleased with the color, will probably strip and soda blast and powder coat the same color as my springs.

20190519-001053.jpg


My BC Racing stuff finally arrived, ordered it back in April. Happy with the colors.

20190519-122051.jpg
 
DCMoney
Got the floor on today, used 3M VBH tape, went on really well, stuck well to the bed liner I had work spray on my floor piece.

20190524-131349.jpg


20190524-144010.jpg


20190524-145243.jpg


Made my own pulley puller, used the 5/8" threaded rod out of one of my other puller kits. Even with some penetrating oil that pulley did not want to come off, bowed my 3/8" thick steel plate.

20190522-162358.jpg


20190524-094317.jpg


20190524-095328.jpg


One of my control arm bushings was shot so ordered 2 new ones. Found out my RZR 900 flywheel puller is the perfect OD to push the old bushings out. Made swapping them out a 2 minute job.

20190524-213939.jpg


Spent the rest of the afternoon cleaning parts getting them ready for paint.
 
Ross
I ordered those same rubber Dorman 905-508 Control Arm Bushing mounts before I found the Moog K201285 Control Arm Bushing.
Wish I would have known about the Moog parts earlier... much better than the rubber ones.
 
Desert Sasqwatch
The 3M tape is a super bonding tape used in heavy industrial applications and is perfect for adhering the panels on the Goblin. I plan to use this when it comes time to install all of my panels. Adding the supplied rivets will also be used for a 'belt-and-suspenders' piece of mind.
 
Back
Top