
-
We've upgraded and reskinned the forum. Notice something off? Email us at [email protected] and we'll fix it.
You are using an out of date browser. It may not display this or other websites correctly.
You should upgrade or use an alternative browser.
You should upgrade or use an alternative browser.
V1 RichN City Goblin - 2007 LT donor

JSATX
Goblin Guru

- JSATX Goblin Guru
Major bummer. Rotors don't fit.
The center bore on the 4 lug rotor is 60.2mm ; I have the 5 lug which is 65.8mm.
I already powder coated them too. I'm hoping this is something a machine shop can take care of.
Yes centering rings are provided in second stage. I believe they are out of stock at the moment but contact Adam and ask.

RichN
Well-Known Member

- RichN Well-Known Member
Yes centering rings are provided in second stage. I believe they are out of stock at the moment but contact Adam and ask.
Arrrgh. I dropped them off this morning when they opened.
Just got back a few minutes ago from the only machine shop in town. $47 to bore them to 66mm.
And they still don't fit.
The donor hubs don't fit inside the rotors from the kit.
I'll wait for Adam to reply to see the solution.
JSATX
Goblin Guru
- JSATX Goblin Guru
Arrrgh. I dropped them off this morning when they opened.
Just got back a few minutes ago from the only machine shop in town. $47 to bore them to 66mm.
And they still don't fit.
The donor hubs don't fit inside the rotors from the kit.
I'll wait for Adam to reply to see the solution.
Sorry I misunderstood your post. I thought you said the hub was smaller than the rotor.
The rotors they provided me were 5 hole rotors redrilled for 4 hole. Then a centering ring takes up the slop.
I have no idea why the 5 hole rotors wouldn't fit your 5 stud hub...


RichN
Well-Known Member
- RichN Well-Known Member
Progress report.
After talking to Lonny on Monday, everything is clear now.
Larger rotors should go on the front otherwise things get squirly if the back lock up.
So, we moved all the donor brakes to the front.
The smaller brakes supplied with the kit go to the rear.
I dropped the donor front hubs and knuckles at the machine shop and they recommended new bearings even though I only have 52k milkes.
I ordered new hubs online; they should be here Wednesday.
This week, the girls and I installed the seats, seat belts, steering column and wheel, and front brakes and lines. (picture taken before we did all that)
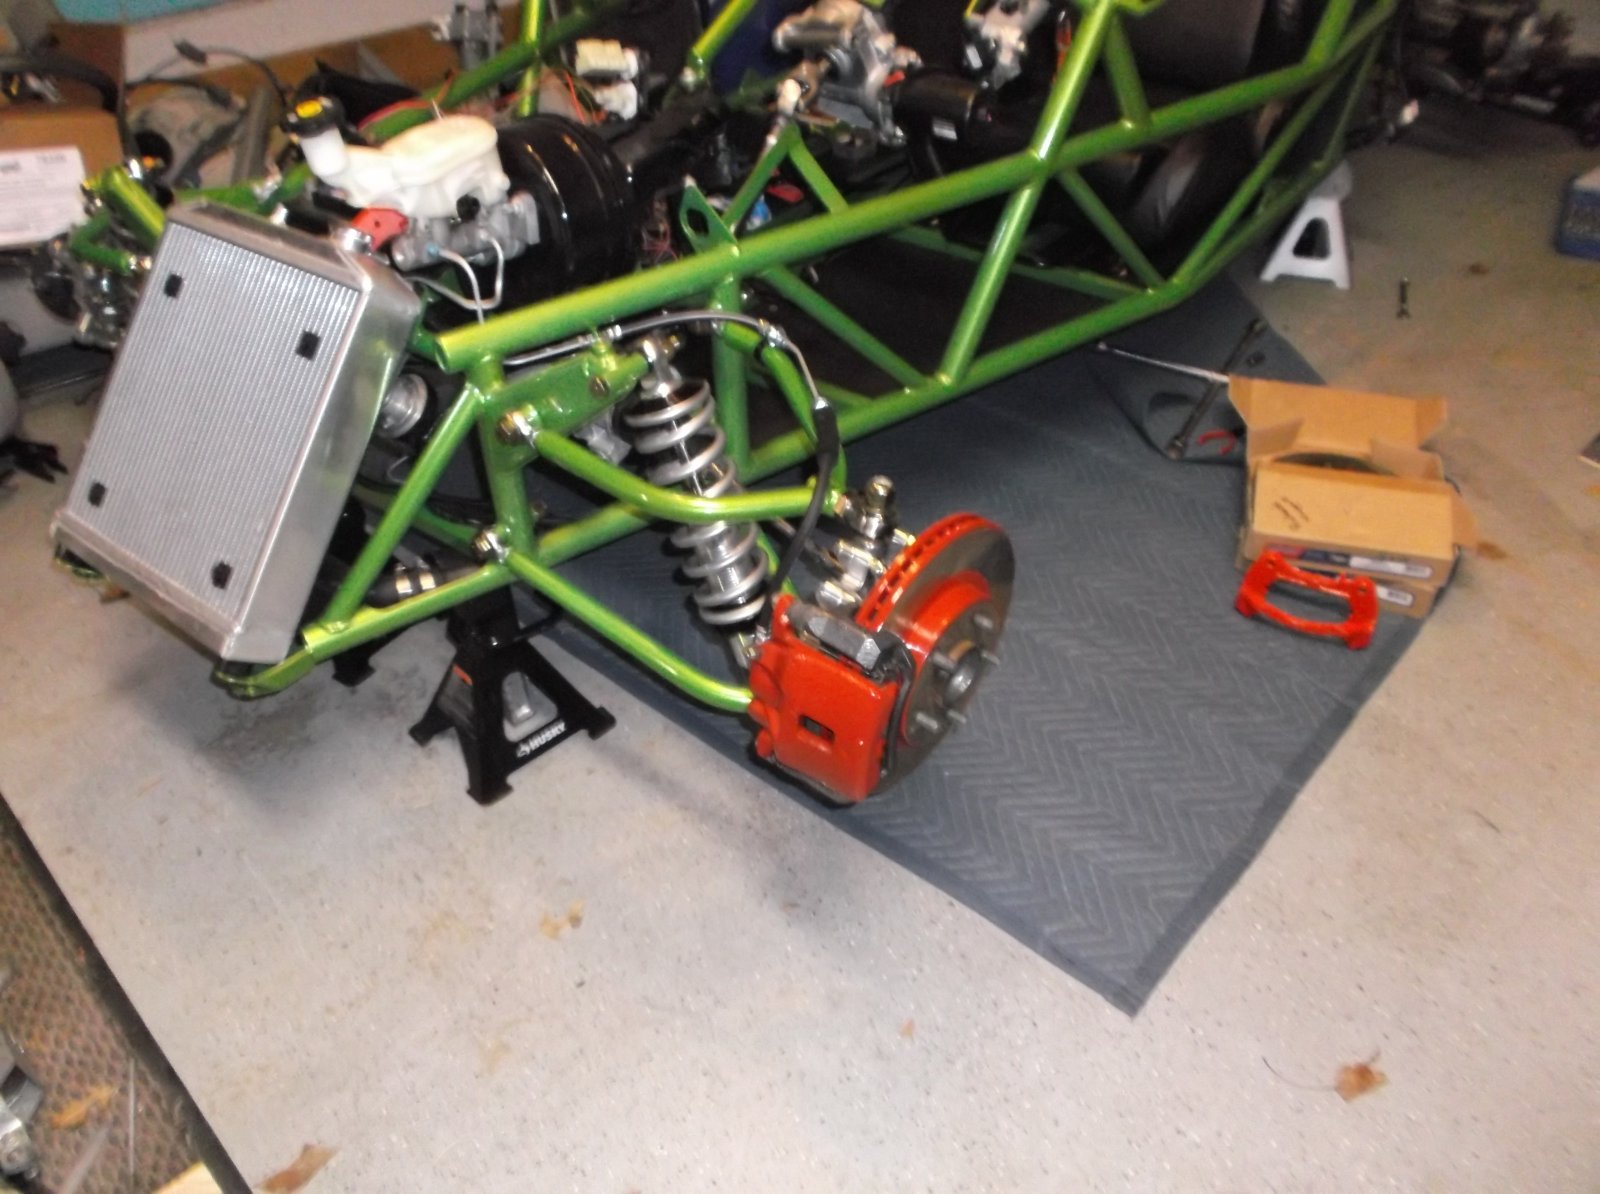
After talking to Lonny on Monday, everything is clear now.
Larger rotors should go on the front otherwise things get squirly if the back lock up.
So, we moved all the donor brakes to the front.
The smaller brakes supplied with the kit go to the rear.
I dropped the donor front hubs and knuckles at the machine shop and they recommended new bearings even though I only have 52k milkes.
I ordered new hubs online; they should be here Wednesday.
This week, the girls and I installed the seats, seat belts, steering column and wheel, and front brakes and lines. (picture taken before we did all that)
RichN
Well-Known Member
- RichN Well-Known Member
When we build my brother's Goblin, I would suggest he buy a donor with 4 lug to save all the extra machine work and rear bearing caps.
With the bearing caps, I spent a lot of hours trying to find something to fit, when in the end it was a very easy solution with the trailer caps.
Another option for those who have 5 lugs, to avoid sending parts to the machine shop would be a $50 brake proportioning valve.
Just let Adam or Lonny know so they can send you the 11" brakes.
Then, whenever you need to do a brake job, you can go to the local parts store and everything is from the front and nothing needs to be modified.
With the bearing caps, I spent a lot of hours trying to find something to fit, when in the end it was a very easy solution with the trailer caps.
Another option for those who have 5 lugs, to avoid sending parts to the machine shop would be a $50 brake proportioning valve.
Just let Adam or Lonny know so they can send you the 11" brakes.
Then, whenever you need to do a brake job, you can go to the local parts store and everything is from the front and nothing needs to be modified.
RichN
Well-Known Member
- RichN Well-Known Member
New bearings came in Wednesday, dropped them off at the machine shop Thursday morning, picked up Friday afternoon.
Thursday we all worked for a couple of hours aligning the front end, it looks good now.
Tabitha and I installed the knuckles and hubs Saturday morning.
When we went to install the brakes we realized the brackets are for the larger rotors.
Compared them to the front and they are the same.
Luckily, I have a second donor with 4-lugs.
Pulled those brackets off; they will work, so I cleaned them up and painted them.
Since I have 2 sets for larger brakes, I decided to put the powder coated ones on the front and will install the painted ones on the back.
The plan later today is to install everything on the back, bleed the brakes, then put on the tires and rims.
Thursday we all worked for a couple of hours aligning the front end, it looks good now.
Tabitha and I installed the knuckles and hubs Saturday morning.
When we went to install the brakes we realized the brackets are for the larger rotors.
Compared them to the front and they are the same.
Luckily, I have a second donor with 4-lugs.
Pulled those brackets off; they will work, so I cleaned them up and painted them.
Since I have 2 sets for larger brakes, I decided to put the powder coated ones on the front and will install the painted ones on the back.
The plan later today is to install everything on the back, bleed the brakes, then put on the tires and rims.
RichN
Well-Known Member
- RichN Well-Known Member
Up...
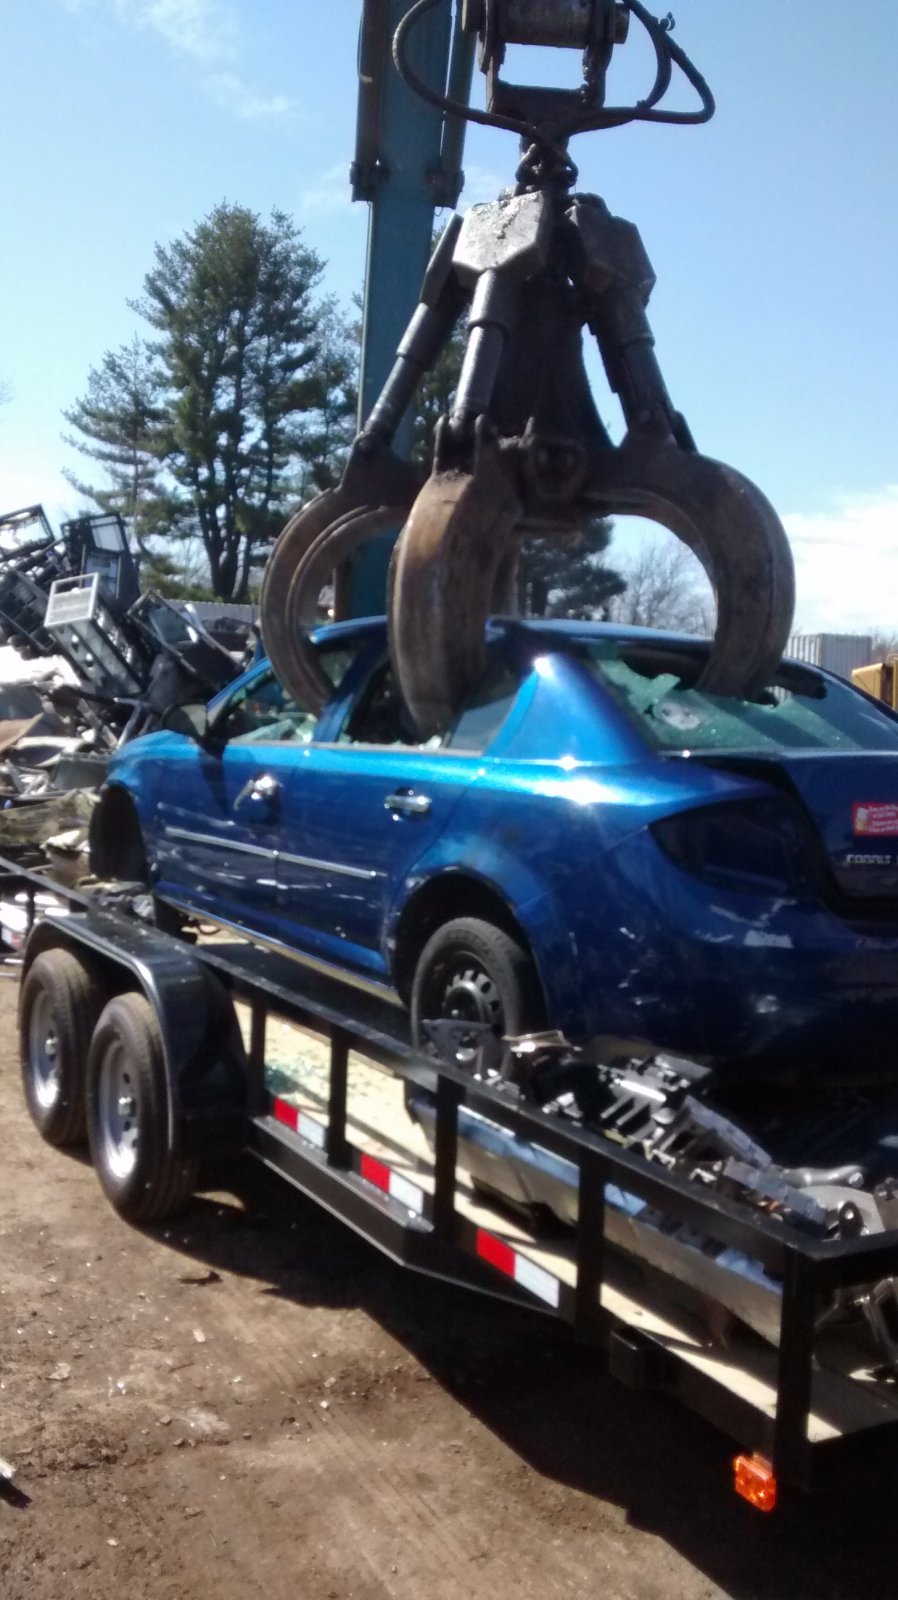
Up...
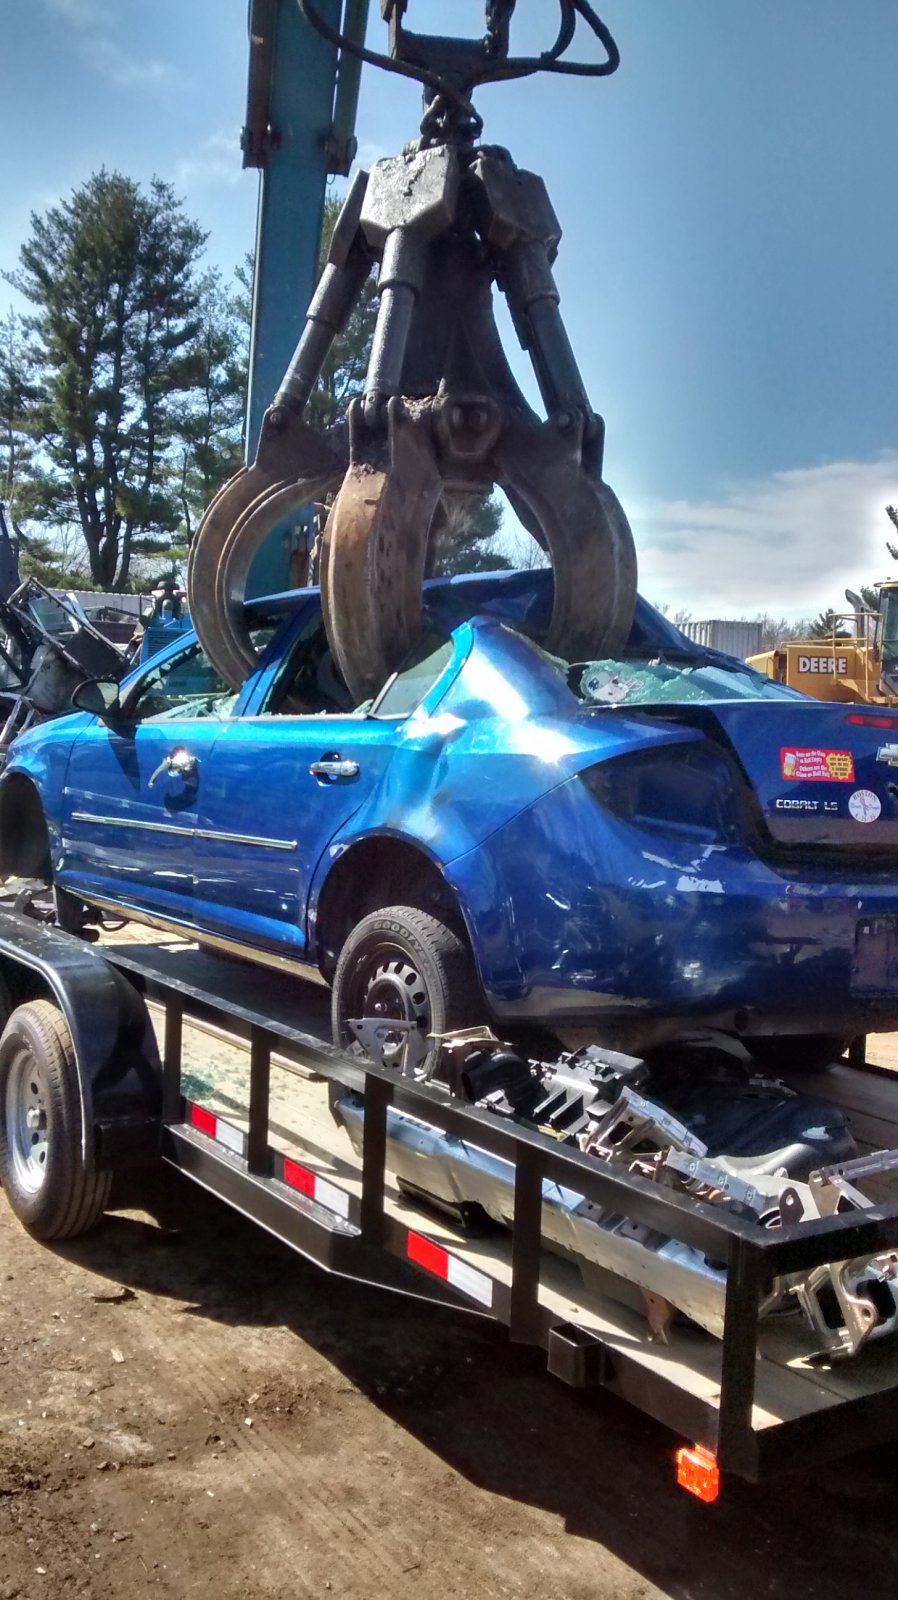
And AWAY!!!!
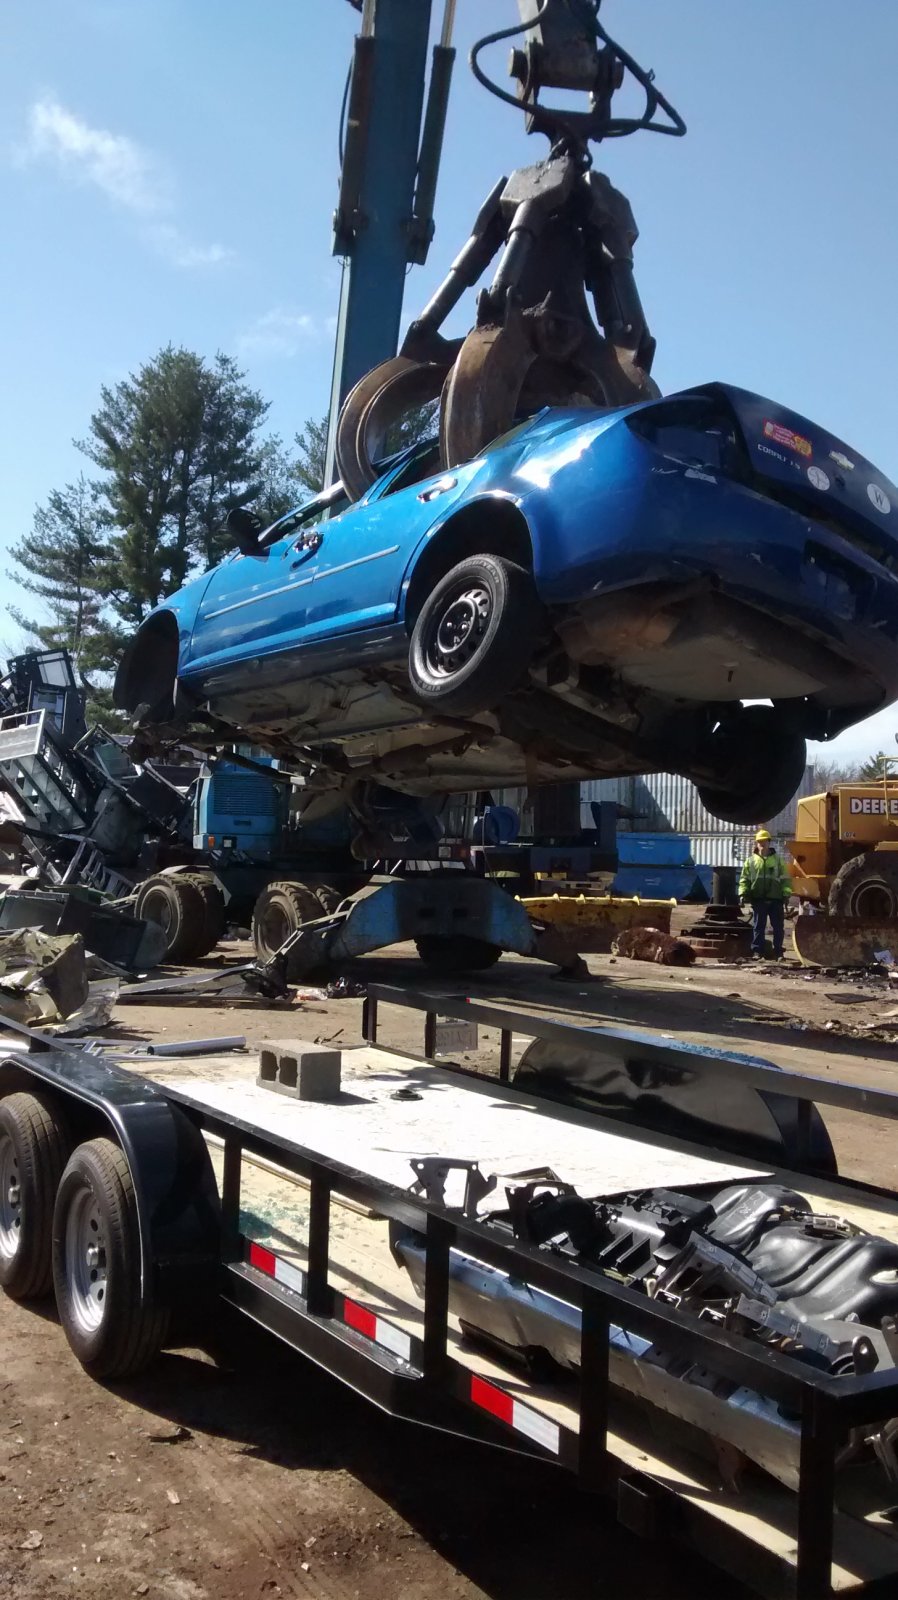
$85.66, scrapped the condenser and radiator separately, aluminum is worth more than steel.
I paid $200, sold extra parts I didn't need for $190, kept LOTS of parts for myself.
Plan on selling a bunch of small high dollar parts on eBay like air bags, sensors, switches, and other electrical items.

Up...
And AWAY!!!!
$85.66, scrapped the condenser and radiator separately, aluminum is worth more than steel.
I paid $200, sold extra parts I didn't need for $190, kept LOTS of parts for myself.
Plan on selling a bunch of small high dollar parts on eBay like air bags, sensors, switches, and other electrical items.


DanPerryy
Well-Known Member

- DanPerryy Well-Known Member
Ouch!Up...
View attachment 873
Up...
View attachment 874
And AWAY!!!!
View attachment 875
$85.66, scrapped the condenser and radiator separately, aluminum is worth more than steel.
I paid $200, sold extra parts I didn't need for $190, kept LOTS of parts for myself.
Plan on selling a bunch of small high dollar parts on eBay like air bags, sensors, switches, and other electrical items.
RichN
Well-Known Member
- RichN Well-Known Member
Fuel pump pigtail arrived today; installed it after supper with Virginia.
Hopefully this week the lights, mirrors, & intake will arrive.
Fuel pump will be here Wednesday.
Last weekend;
All of us installed the brakes, bled the lines, tightened up some loose connections.
Filled the coolant and found the radiator was leaking, removed it; fixed it with JBWeld for aluminum, re-installed everything, no more leak.
Walked around and tightened up all the electrical connectors and nuts and bolts.
Installed rims and tires, such a great feeling to roll it around and outside.
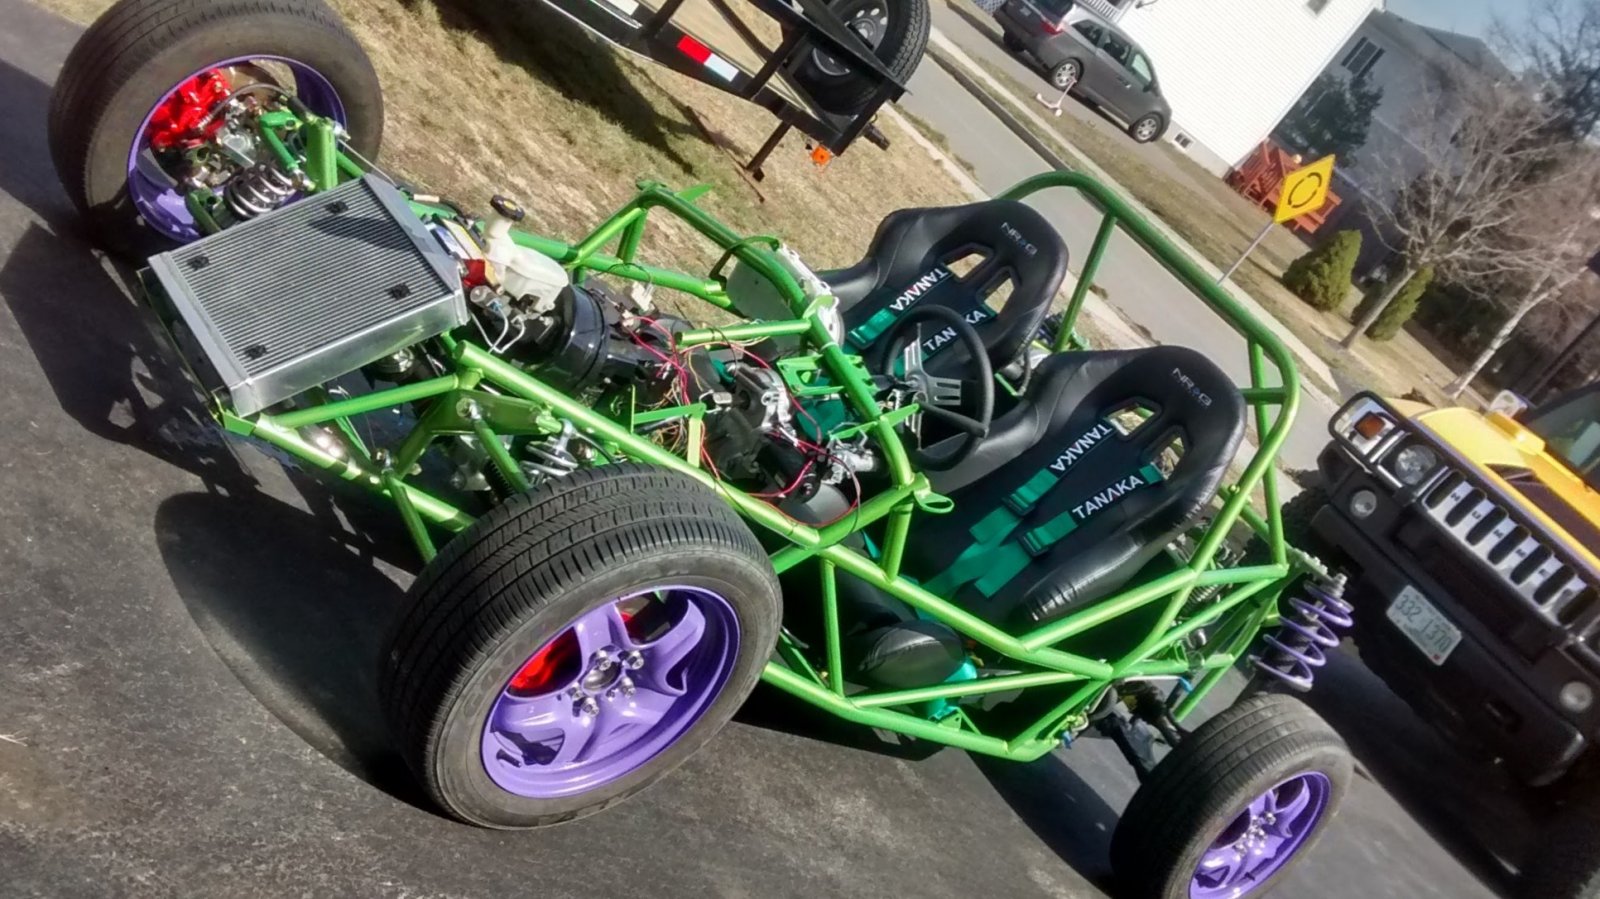
Hopefully this week the lights, mirrors, & intake will arrive.
Fuel pump will be here Wednesday.
Last weekend;
All of us installed the brakes, bled the lines, tightened up some loose connections.
Filled the coolant and found the radiator was leaking, removed it; fixed it with JBWeld for aluminum, re-installed everything, no more leak.
Walked around and tightened up all the electrical connectors and nuts and bolts.
Installed rims and tires, such a great feeling to roll it around and outside.
Last edited:
RichN
Well-Known Member
JSATX
Goblin Guru
- JSATX Goblin Guru
IT'S ALIVE!!!
Tabby and I went out to do the rear alignment following the instructions on Justin's post #111.
She asked if we tried starting it lately, I said no, let's try.
So we hooked up the battery, poured a little gas down the throttle body; fired right up.
Should be all smooth sailing from here! Be careful when re-locating the brake fluid reservoir. Like you I did not wait to receive all the parts and installed the brakes and fluid with the tank in the stock GM location. Well no matter how much I pumped out first I still spilled fluid all over my frame when I took the tank off and installed the adapter and hoses.
Similar threads

- Replies
- 13
- Views
- 386


- Replies
- 168
- Views
- 19K


- Replies
- 8
- Views
- 1K
