Ark's City Goblin #187 (2008 SS/TC donor)
- Thread starter Ark :D
- Start date
Ark :D
Goblin Guru
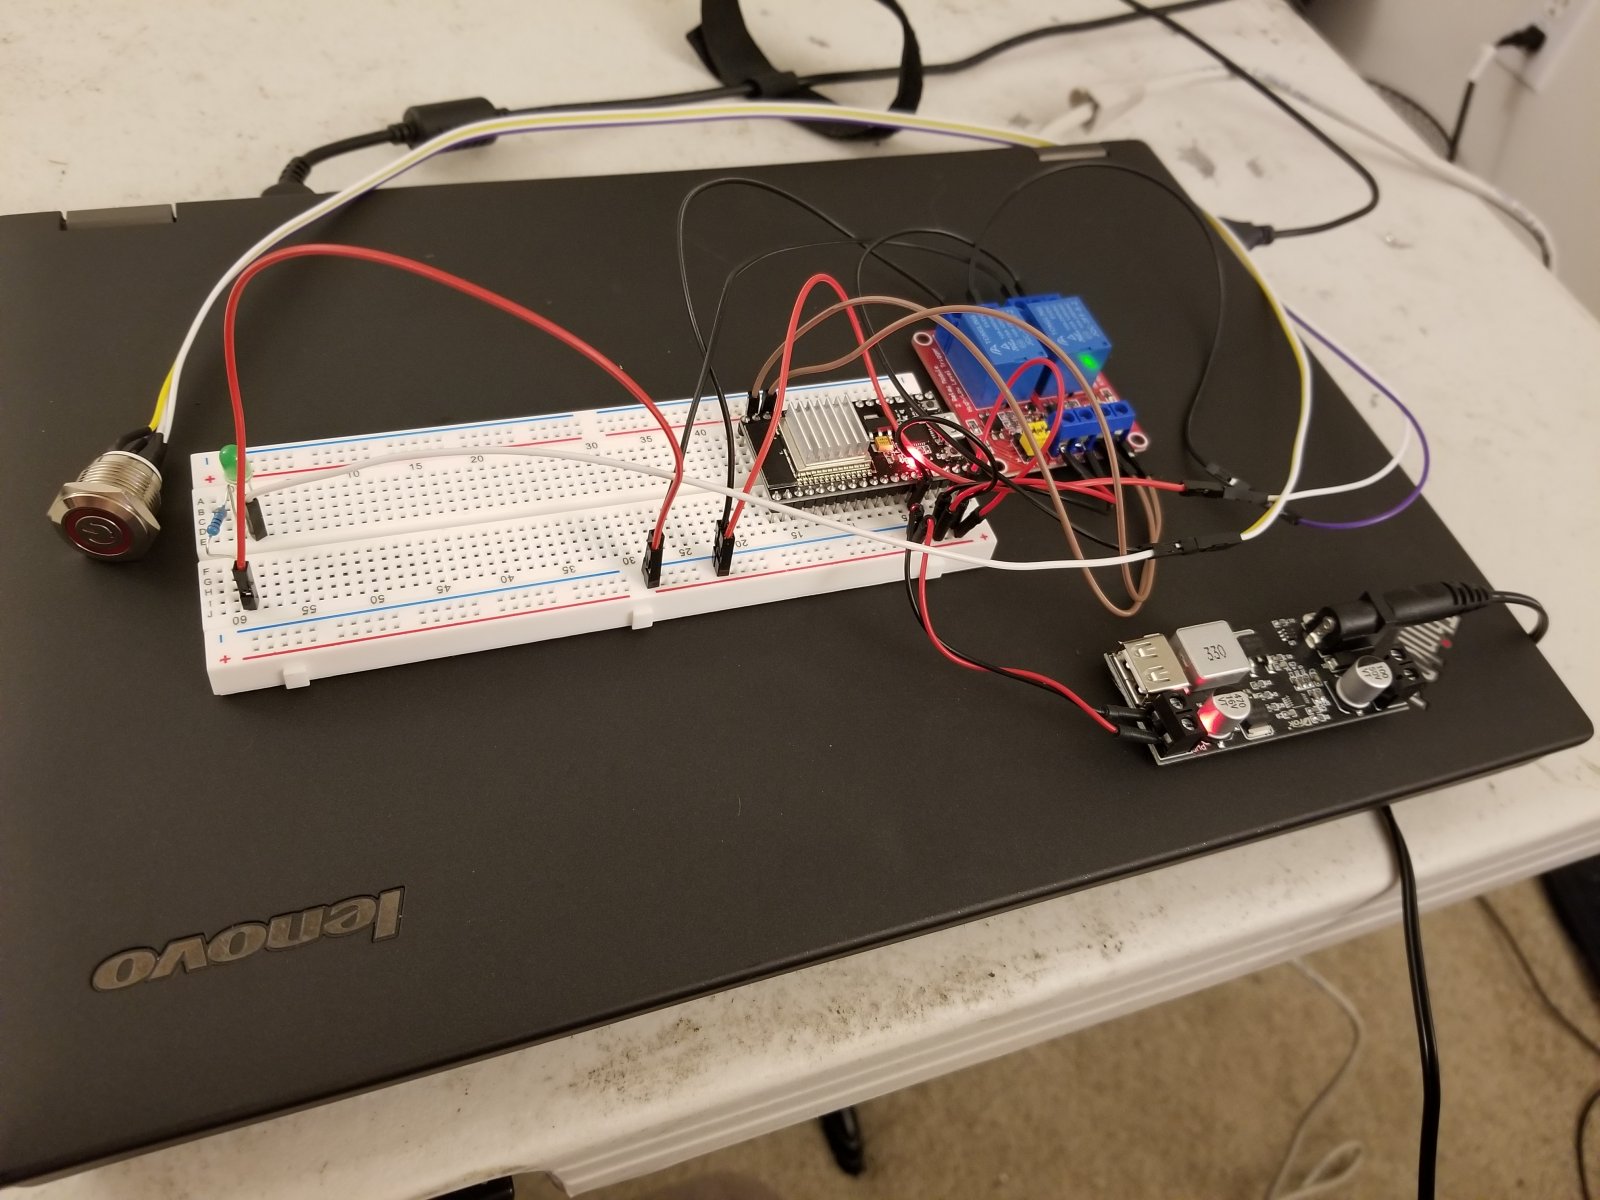
I've got my push-button ignition "proof of concept" done.
The code needed some tweaking, as well as delays and maximum distance the beacon can be away from the ESP32, and it still might need more, but I've got it pretty honed in, I think. Also had to use a different relay than I initially bought for this project. My next step is to get it into a project box.
It works like this.
I have a buck converter that will accept a variable voltage input (9v-36v) from the Goblin. I have not yet determined whether that power will be supplied all the time, or whether a kill switch will need to be toggled on (it will depend on the final current draw of this apparatus). That buck converter drops the voltage down to 5v, and sends output to both a positive and negative pair, as well as a USB port. The USB port will be used for device charging. The pos/neg pair runs to the power input pins on the ESP32, and to the power input on a dual relay module. I/O pins on the ESP32 are connected to those two relays for triggering. One of the relays then connects to the LED in my momentary push-button, and the other relay connects the actual push-button switch to a green LED behind a 330-ohm resistor. Finally, both the green LED, and the red LED in the push-button, connect back to the pos/neg pair on the buck converter. Whew.
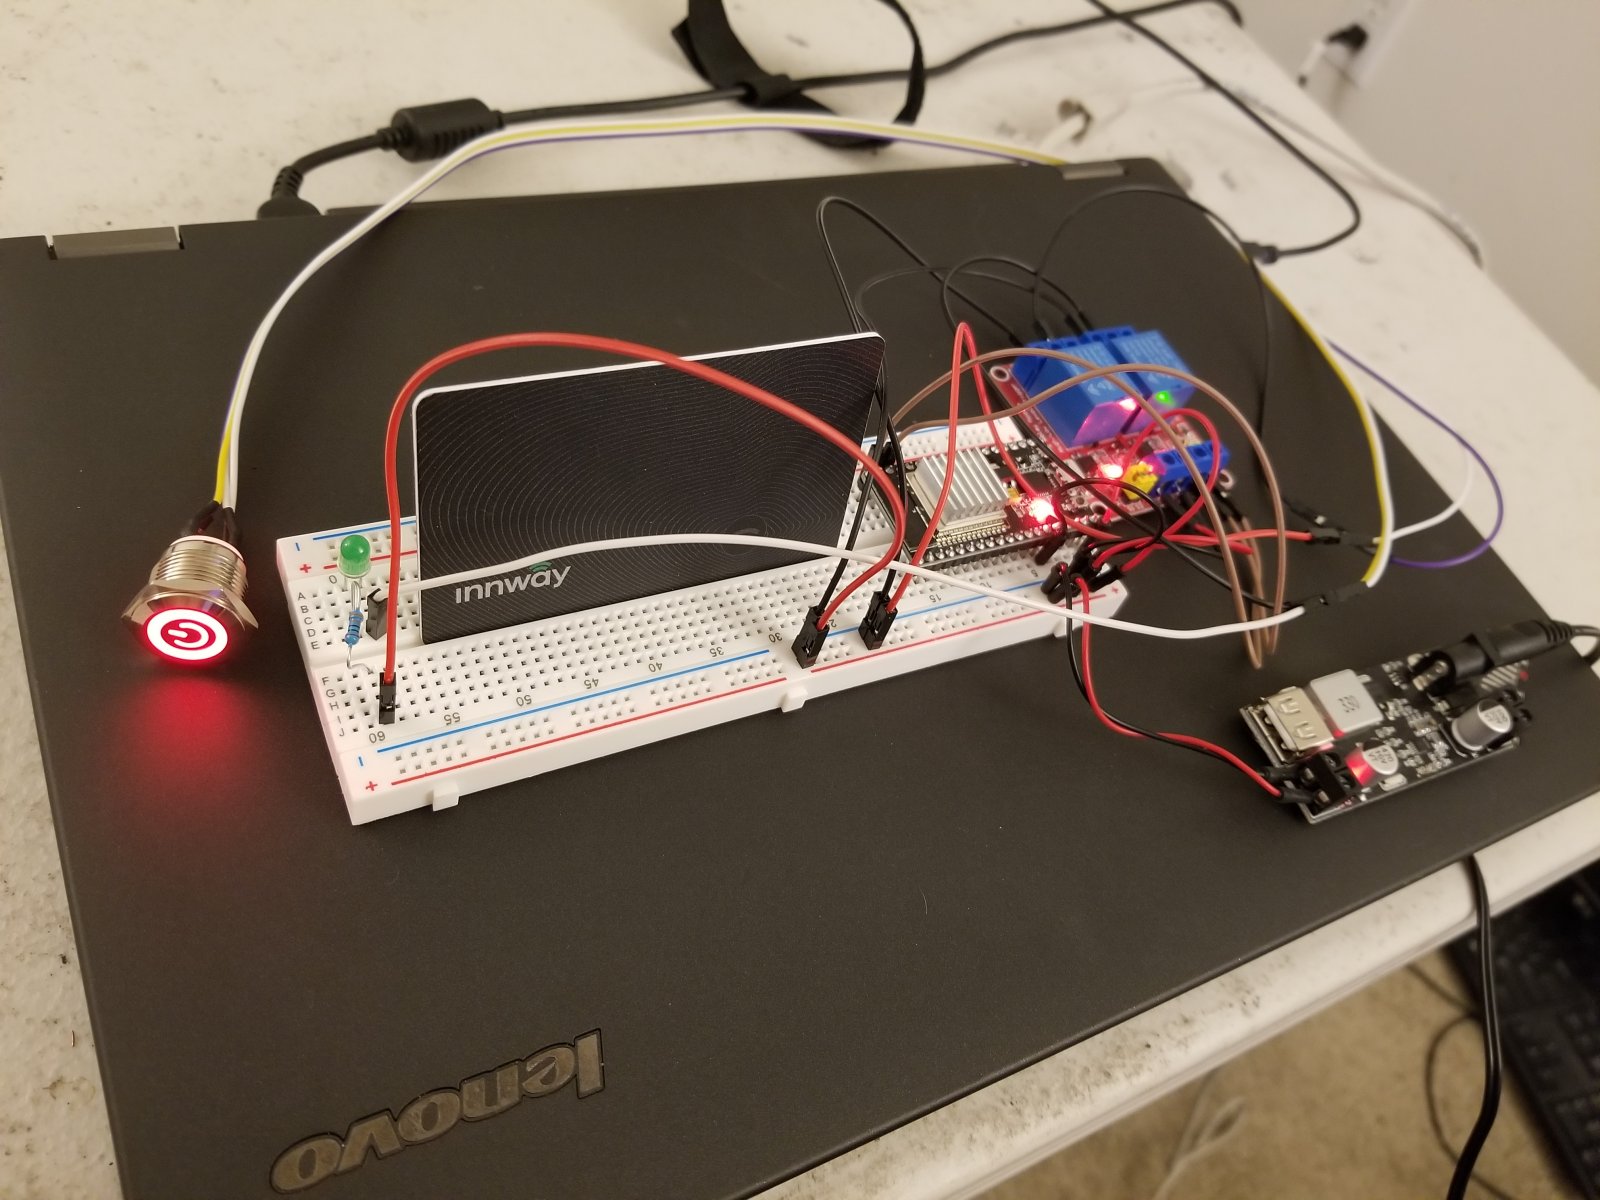
The ESP32 module is programmed to detect the proximity of a BLE beacon (in my case, an Innway card). Here it is, without the card anywhere nearby. The red LED on the buck converter and the ESP32, plus the green LED on the relay module, indicate they have power.
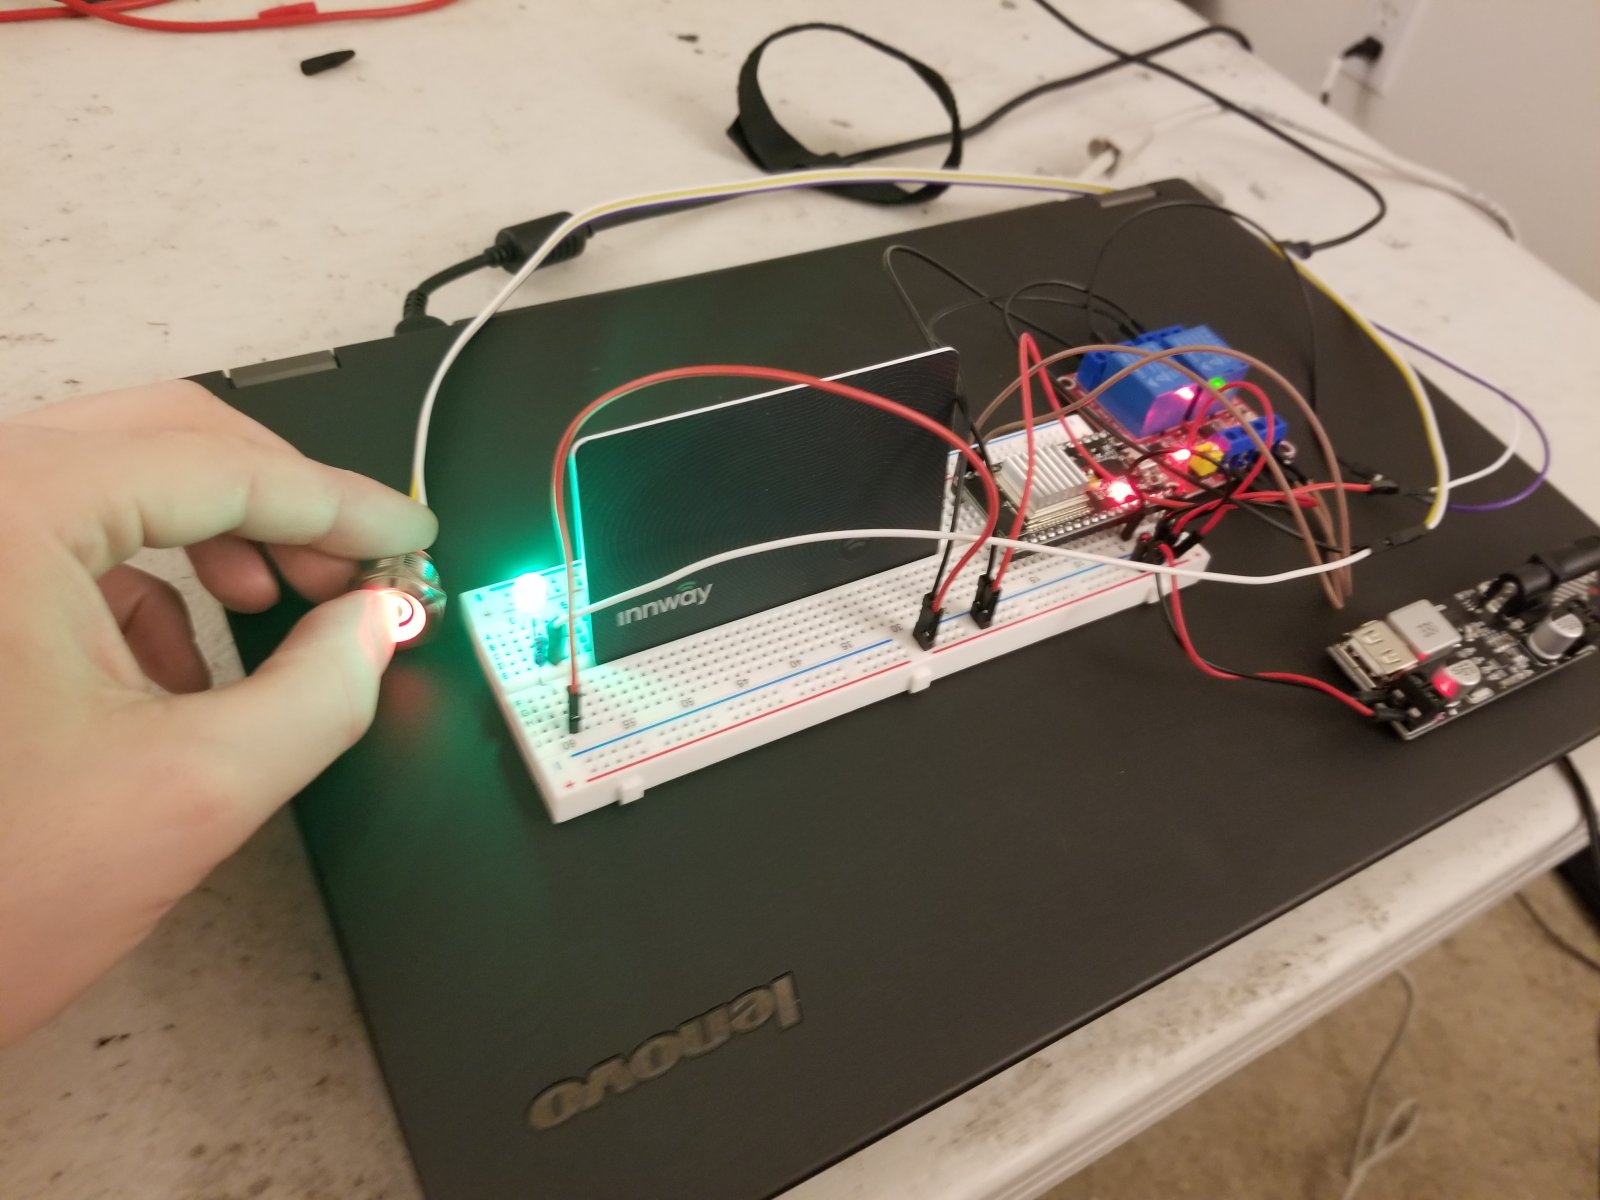
Here it is, with the Innway card in close proximity. The LED on the push-button comes on, and the switch itself becomes active. (I added a 30-second delay for the card being removed from proximity before the relays shut off). A kill switch will need to be flipped to put the ignition in the "On" position.
And here it is with the button being pressed. The green LED is just a placeholder for the starter cranking. Naturally, if the card is not in close enough proximity, the push-button does nothing and the green LED doesn't light.
This probably is not the MOST secure system out there, but I think it'll be good enough to prevent any casual theft.I believe I am going to add a third relay that will be used to only allow the ignition to be "On" while the card is in range. Actually, scratch that last bit. I'm only going to need two relays, I think.
The code needed some tweaking, as well as delays and maximum distance the beacon can be away from the ESP32, and it still might need more, but I've got it pretty honed in, I think. Also had to use a different relay than I initially bought for this project. My next step is to get it into a project box.
It works like this.
I have a buck converter that will accept a variable voltage input (9v-36v) from the Goblin. I have not yet determined whether that power will be supplied all the time, or whether a kill switch will need to be toggled on (it will depend on the final current draw of this apparatus). That buck converter drops the voltage down to 5v, and sends output to both a positive and negative pair, as well as a USB port. The USB port will be used for device charging. The pos/neg pair runs to the power input pins on the ESP32, and to the power input on a dual relay module. I/O pins on the ESP32 are connected to those two relays for triggering. One of the relays then connects to the LED in my momentary push-button, and the other relay connects the actual push-button switch to a green LED behind a 330-ohm resistor. Finally, both the green LED, and the red LED in the push-button, connect back to the pos/neg pair on the buck converter. Whew.
The ESP32 module is programmed to detect the proximity of a BLE beacon (in my case, an Innway card). Here it is, without the card anywhere nearby. The red LED on the buck converter and the ESP32, plus the green LED on the relay module, indicate they have power.
Here it is, with the Innway card in close proximity. The LED on the push-button comes on, and the switch itself becomes active. (I added a 30-second delay for the card being removed from proximity before the relays shut off). A kill switch will need to be flipped to put the ignition in the "On" position.
And here it is with the button being pressed. The green LED is just a placeholder for the starter cranking. Naturally, if the card is not in close enough proximity, the push-button does nothing and the green LED doesn't light.
This probably is not the MOST secure system out there, but I think it'll be good enough to prevent any casual theft.
Last edited:
Ark :D
Goblin Guru
Very minor progress today.
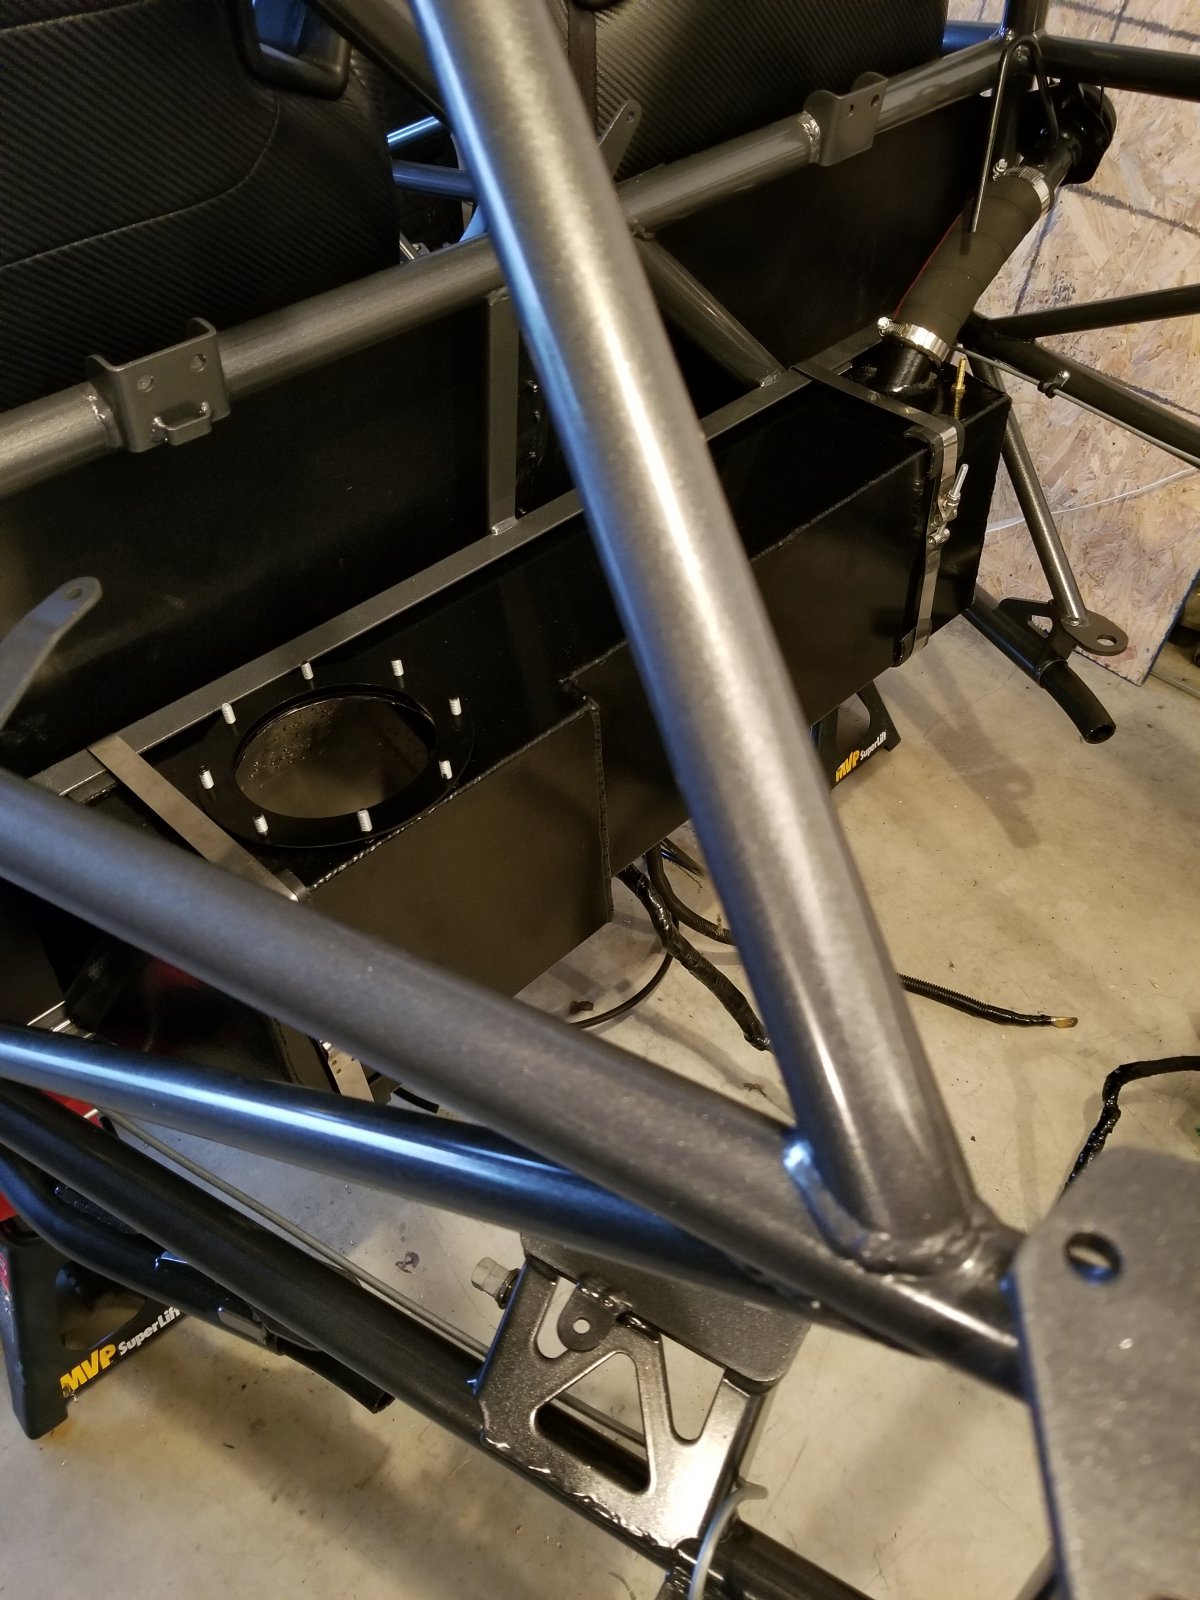
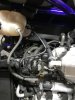
I got the radiator hoses connected up. I still need to find a self-tapper to ground the radiator fan, and I don't have any quick disconnects to crimp onto the power wire so I'll do that another time. I've found that I don't care much for that Eastwood radiator paint, it doesn't seem durable. Some chipped off my radiator on the top part, so I taped it off and used some standard glossy black spray paint to touch it up. Looks alright since I did the whole top part. Question about the radiator fan though ... does it actually pull air through the radiator, or does it spin the opposite way and blow air out through the front of the radiator? Common sense says it's the former, but it's one of the things I'm going to be sure of ahead of time.
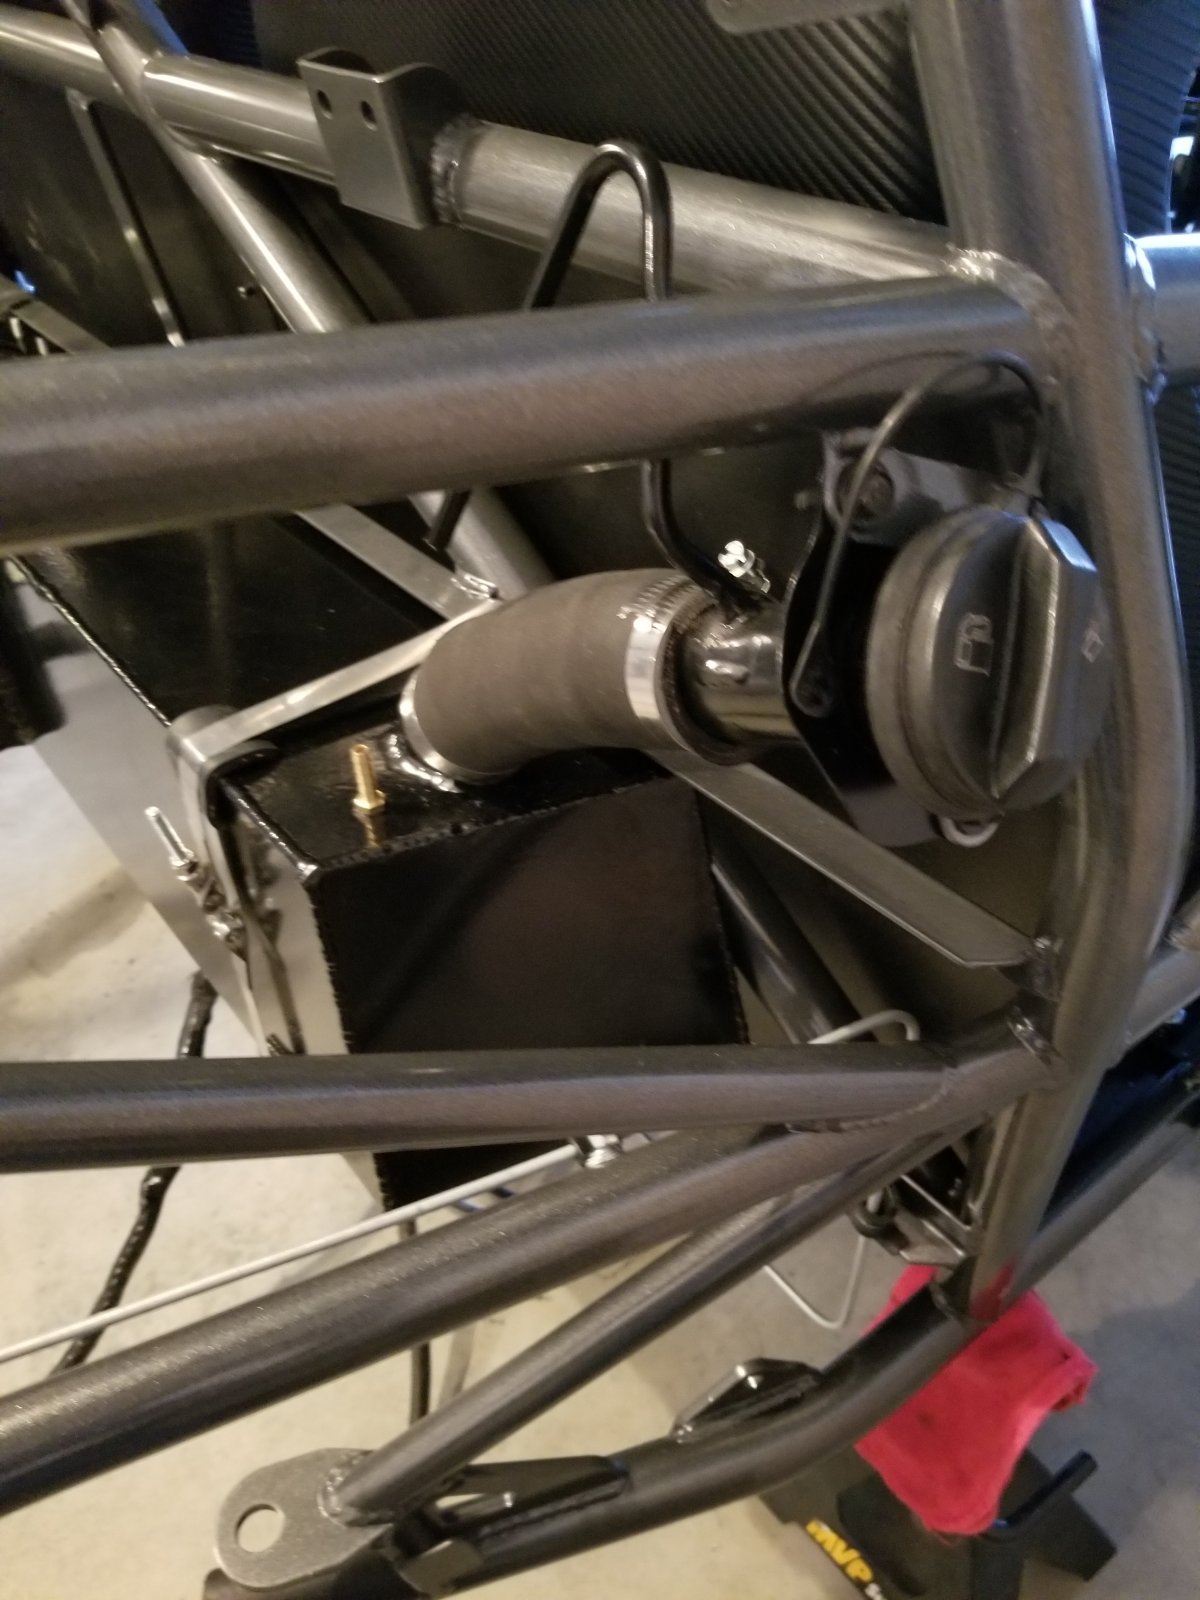
I also got my fuel tank cleaned out and mounted, along with the fuel filler neck. Like I said, minor progress ... I'm getting pretty close to that first start. That'll be very telling ... I've got questions about my wiring harness job, and I know I need to do a relearn for all of the ignition, brake pos sensor, and clutch pos sensor. At this point, I'm hoping for a miracle, lol.
I got the radiator hoses connected up. I still need to find a self-tapper to ground the radiator fan, and I don't have any quick disconnects to crimp onto the power wire so I'll do that another time. I've found that I don't care much for that Eastwood radiator paint, it doesn't seem durable. Some chipped off my radiator on the top part, so I taped it off and used some standard glossy black spray paint to touch it up. Looks alright since I did the whole top part. Question about the radiator fan though ... does it actually pull air through the radiator, or does it spin the opposite way and blow air out through the front of the radiator? Common sense says it's the former, but it's one of the things I'm going to be sure of ahead of time.
I also got my fuel tank cleaned out and mounted, along with the fuel filler neck. Like I said, minor progress ... I'm getting pretty close to that first start. That'll be very telling ... I've got questions about my wiring harness job, and I know I need to do a relearn for all of the ignition, brake pos sensor, and clutch pos sensor. At this point, I'm hoping for a miracle, lol.
Desert Sasqwatch
Bigfoot Goblin
Ark, looking good! The radiator fan is a 'puller' that will draw the air through from the front to the back. If your fan is blowing air forward it will not allow much airflow through the radiator when the car is moving forward. If in doubt, test your fan to be sure it is blowing towards the battery box.
Desert Sasqwatch
Bigfoot Goblin
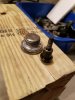
Better safe than sorry. My brand new LNF is getting a Dorman tension bolt before it even gets installed into the chassis for the first time.
JeffsGoblin
Goblin Guru
It provides better grounding between the engine and the frame. I did it and I know Chad did it on his two KTM Orange builds. If you feel you have enough grounding points you may not need it.
Briann1177
Goblin Guru
I did mine that way to eliminate the ground strap between the engine and the frame.
Ark :D
Goblin Guru
Murcielago311
Well-Known Member
Sweet! Is your engine in? I've been wondering if there's a way to test some of my wired systems before I get my engine mounted.
Ark :D
Goblin Guru
It's sort of in, but not really. I had to order a new mounting adapter for the transmission side, mine is cracked. So the engine is still up on a furniture dolly but it's all in position. Starter's not hooked up yet, harness needs a little reshaping at the back end, and I need to figure out a couple grounds.
Ark :D
Goblin Guru
Could someone with an SS/TC show me the following?
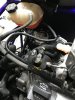
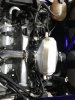
1) The fuel line that connects the fuel pump to the fuel rail ... I believe I have the right line, but it doesn't fit quite right and looks very awkward .... https://dfkitcar.com/forum/index.php?attachments/screenshot_20190108-193537-jpg.6787/
2) The line that connects your coolant overflow tank to your engine
Thank you in advance!
JBINTX
Goblin Guru
I ziptied the fuel line because it vibrates all over the place.
JBINTX
Goblin Guru
let's go! VROOM VROOM....I’m at this same stage and going to make my own fuel lines like some of the others have done. I will use the stock stuff, just to get it started, then I know I can move on.