Sluggonaut's Extended Track #364 - 2007 SS/SC (Turbo) Donor

Sluggonaut

Goblin Guru
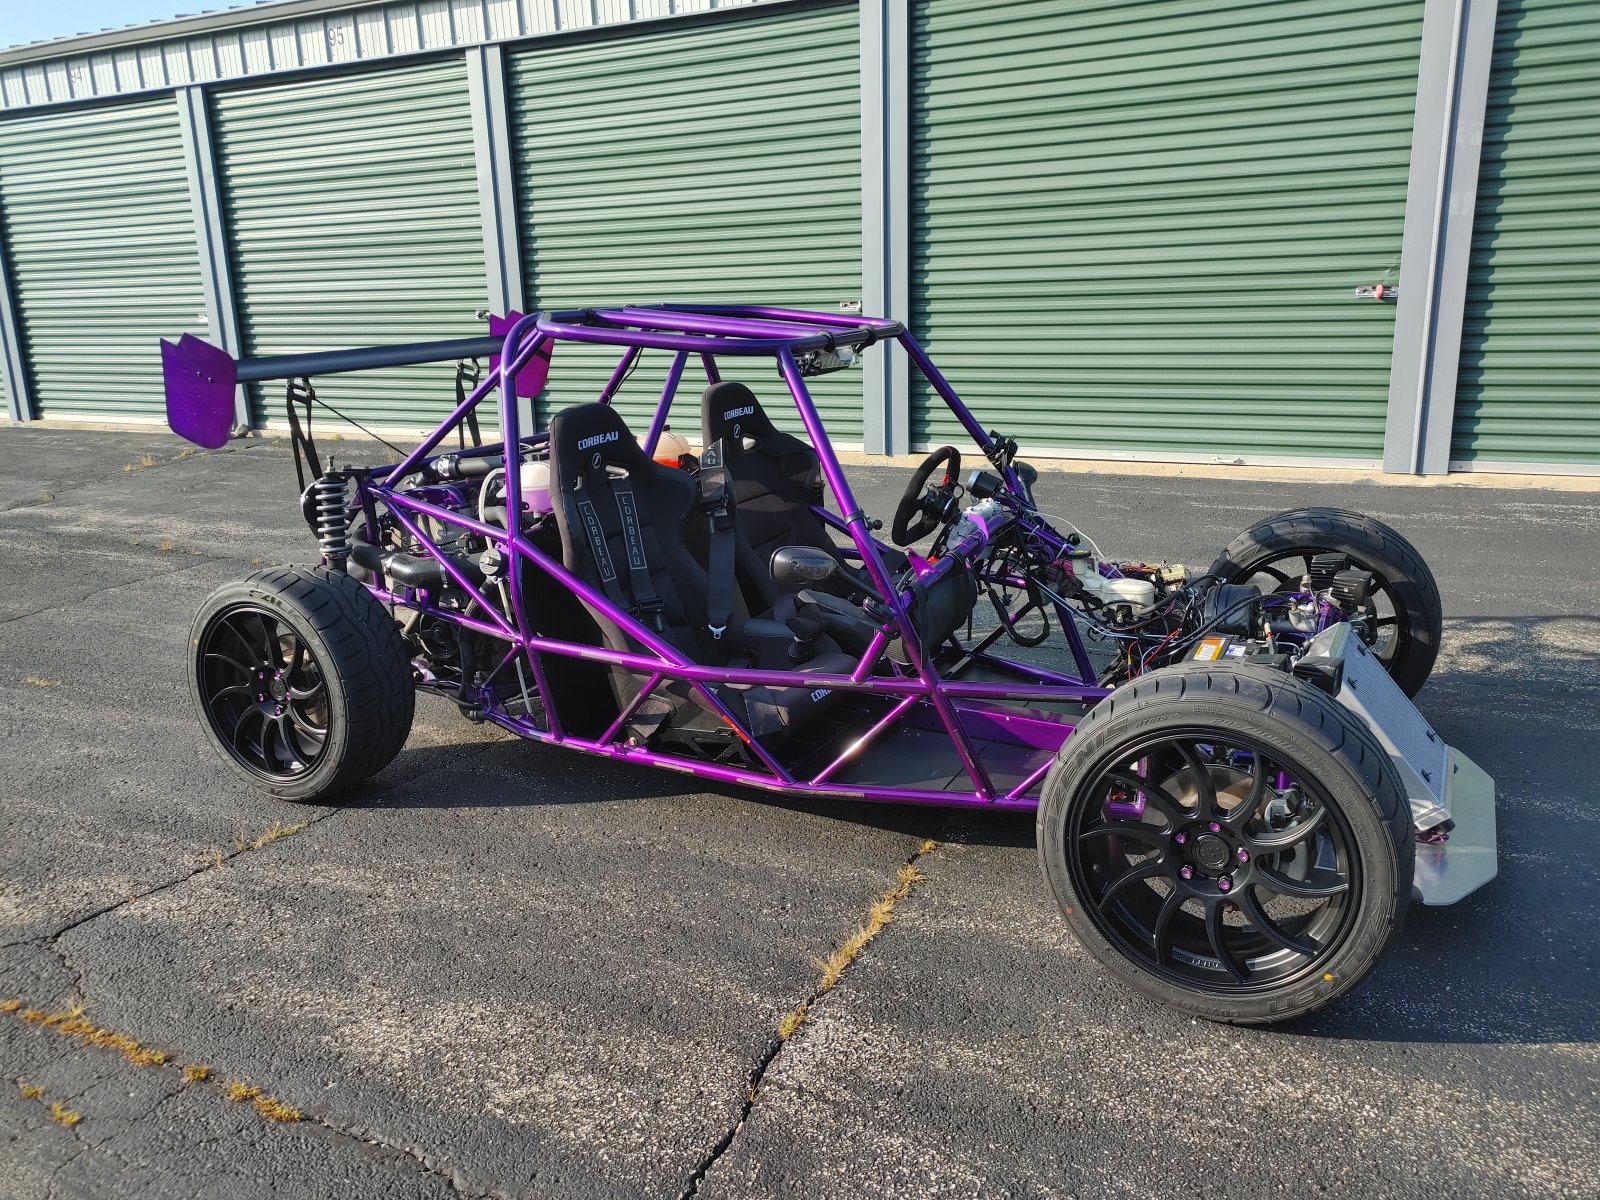
Finished up just about everything except the footwell cover. That will go on the list of off-season projects that should be starting in just a couple of months.

I got some Falkens mounted to the wheels I bought last year on a deep discount and got those mounted today. It should look a lot better once I get the body parts back on. I now understand the rock flinging issue and have started a small collection in the seats:
42406


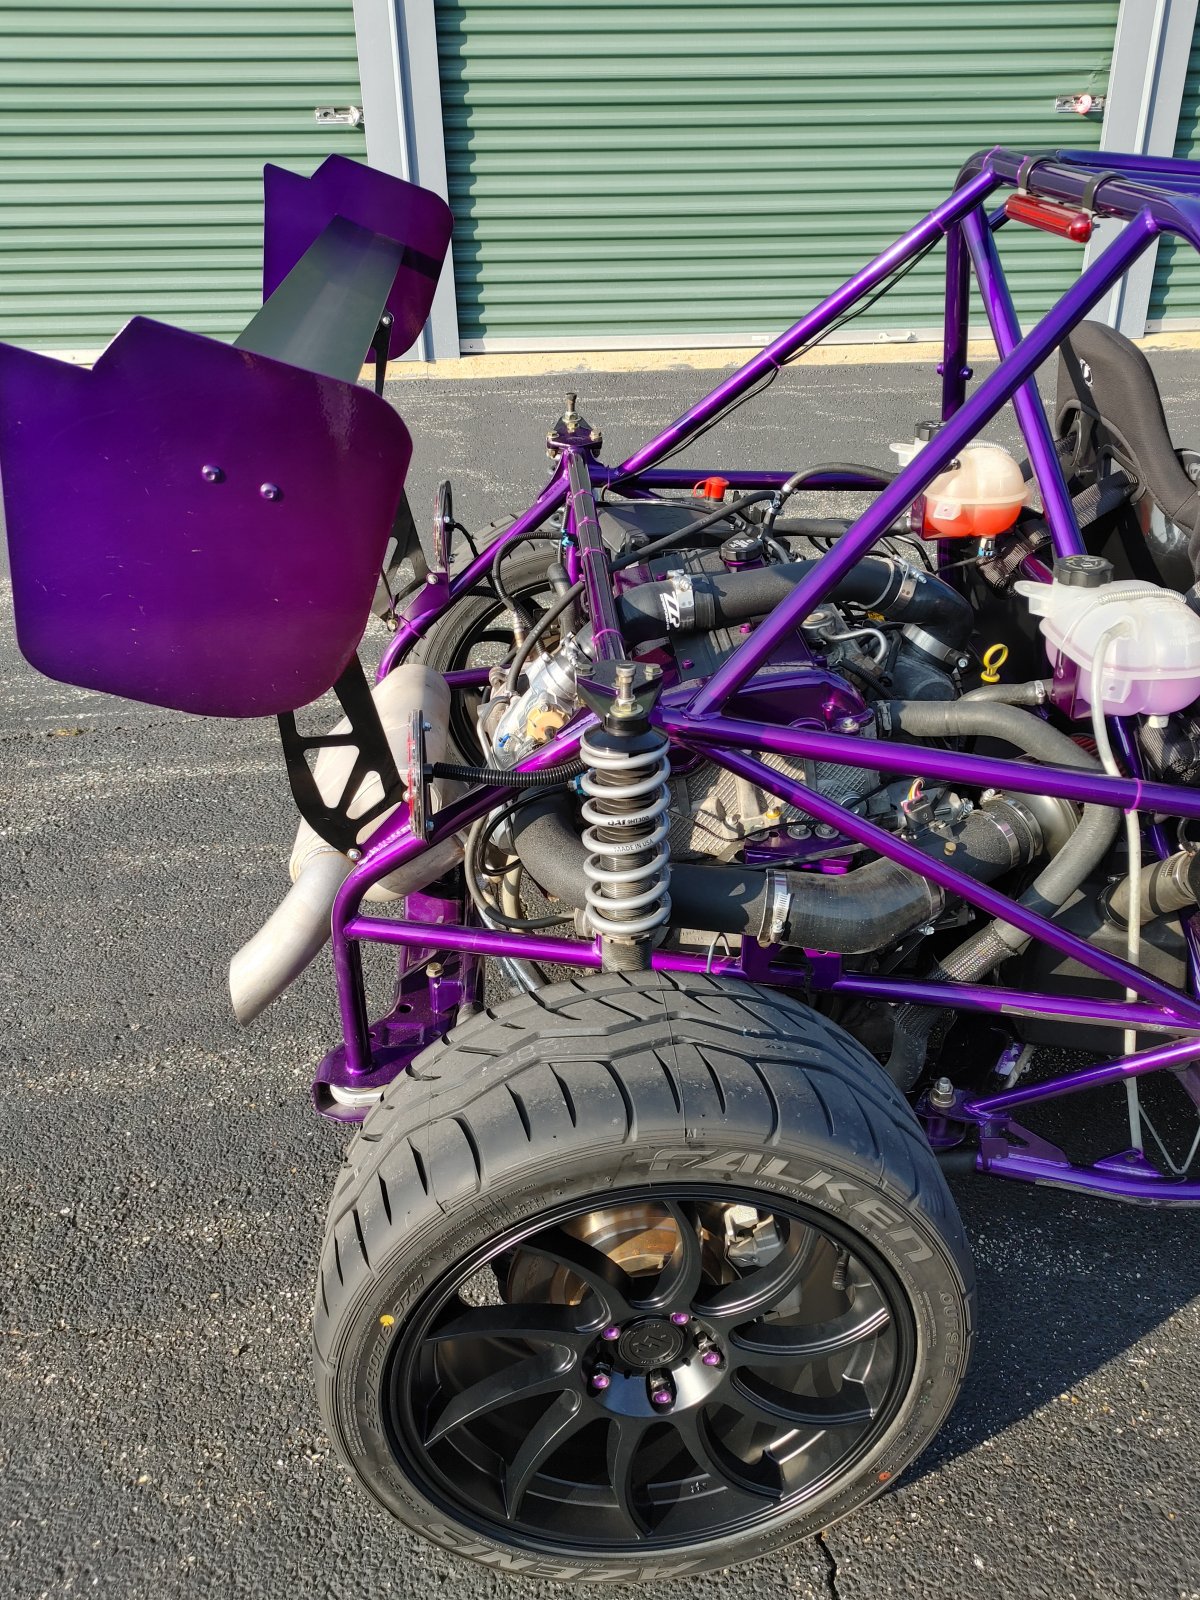
I'm adding this pic because it captures what Prismatic Powder's Illusion series of colors looks like in the sun:
42407


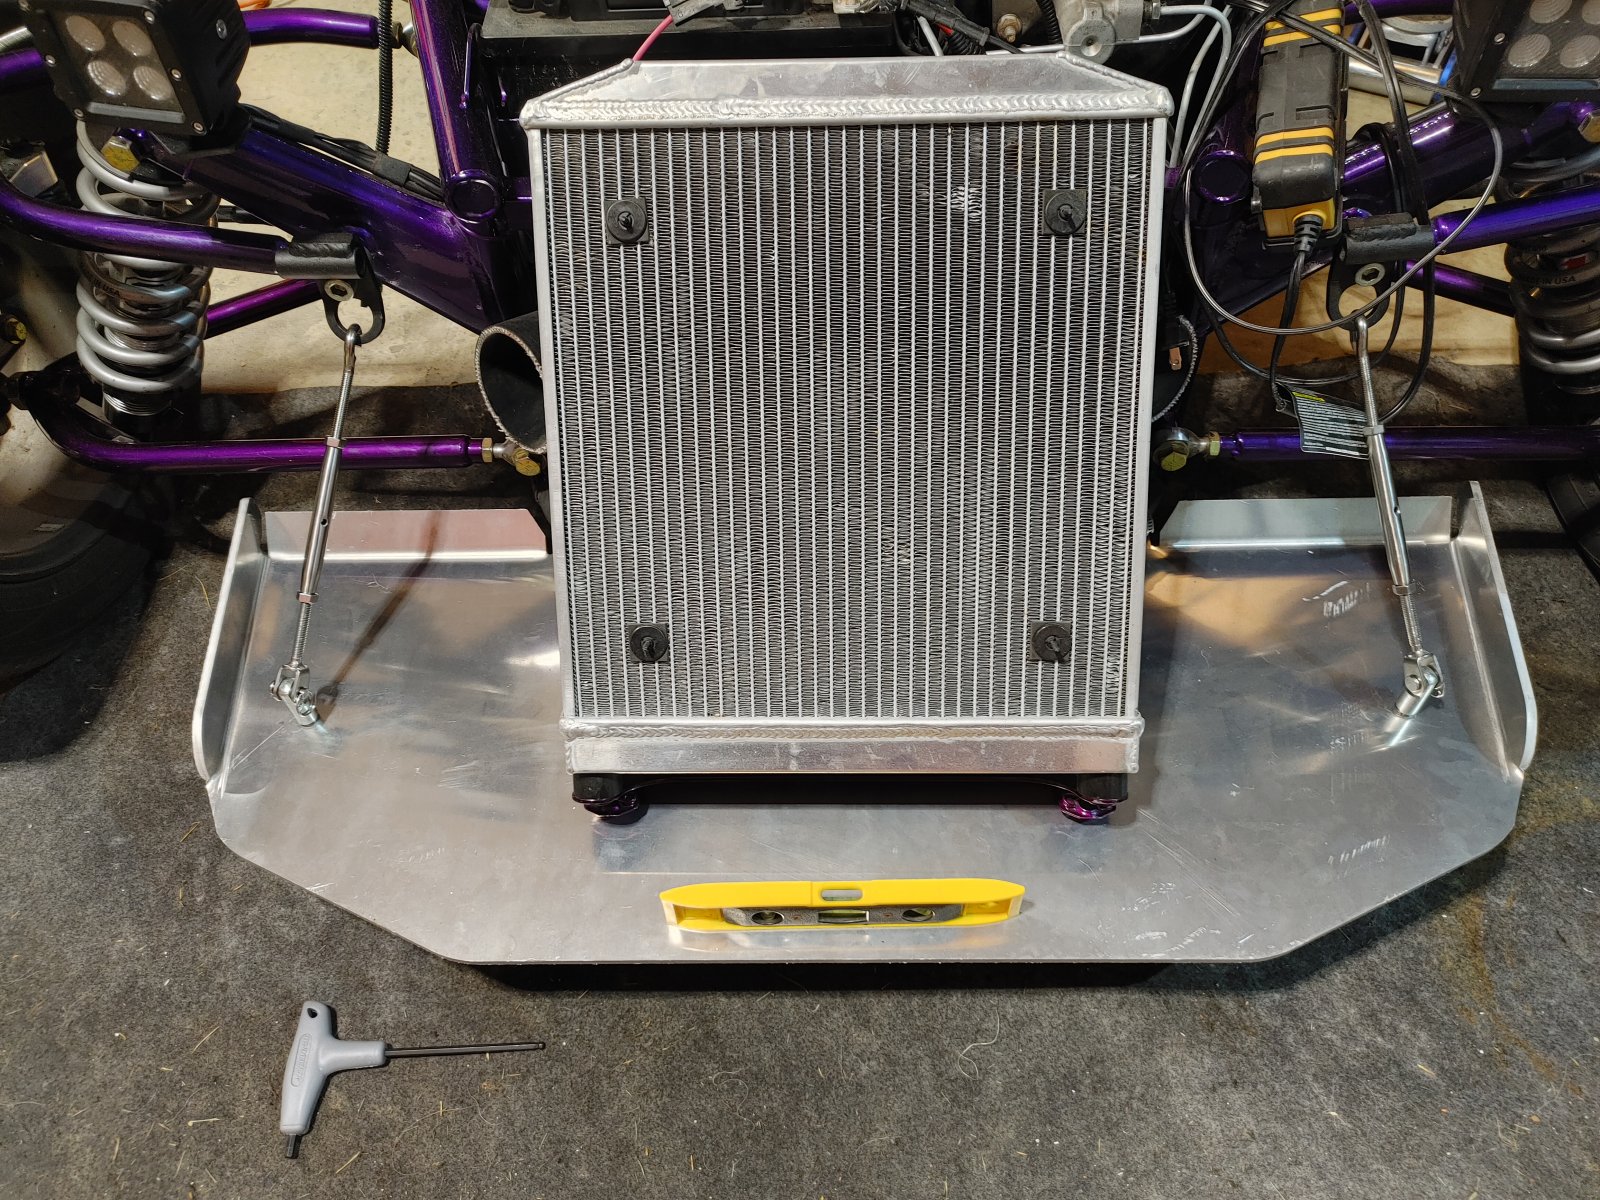
Other things that have been finished in the past couple of weeks include the splitter and supports:
42408


Boost controller mount under the cluster:
42409


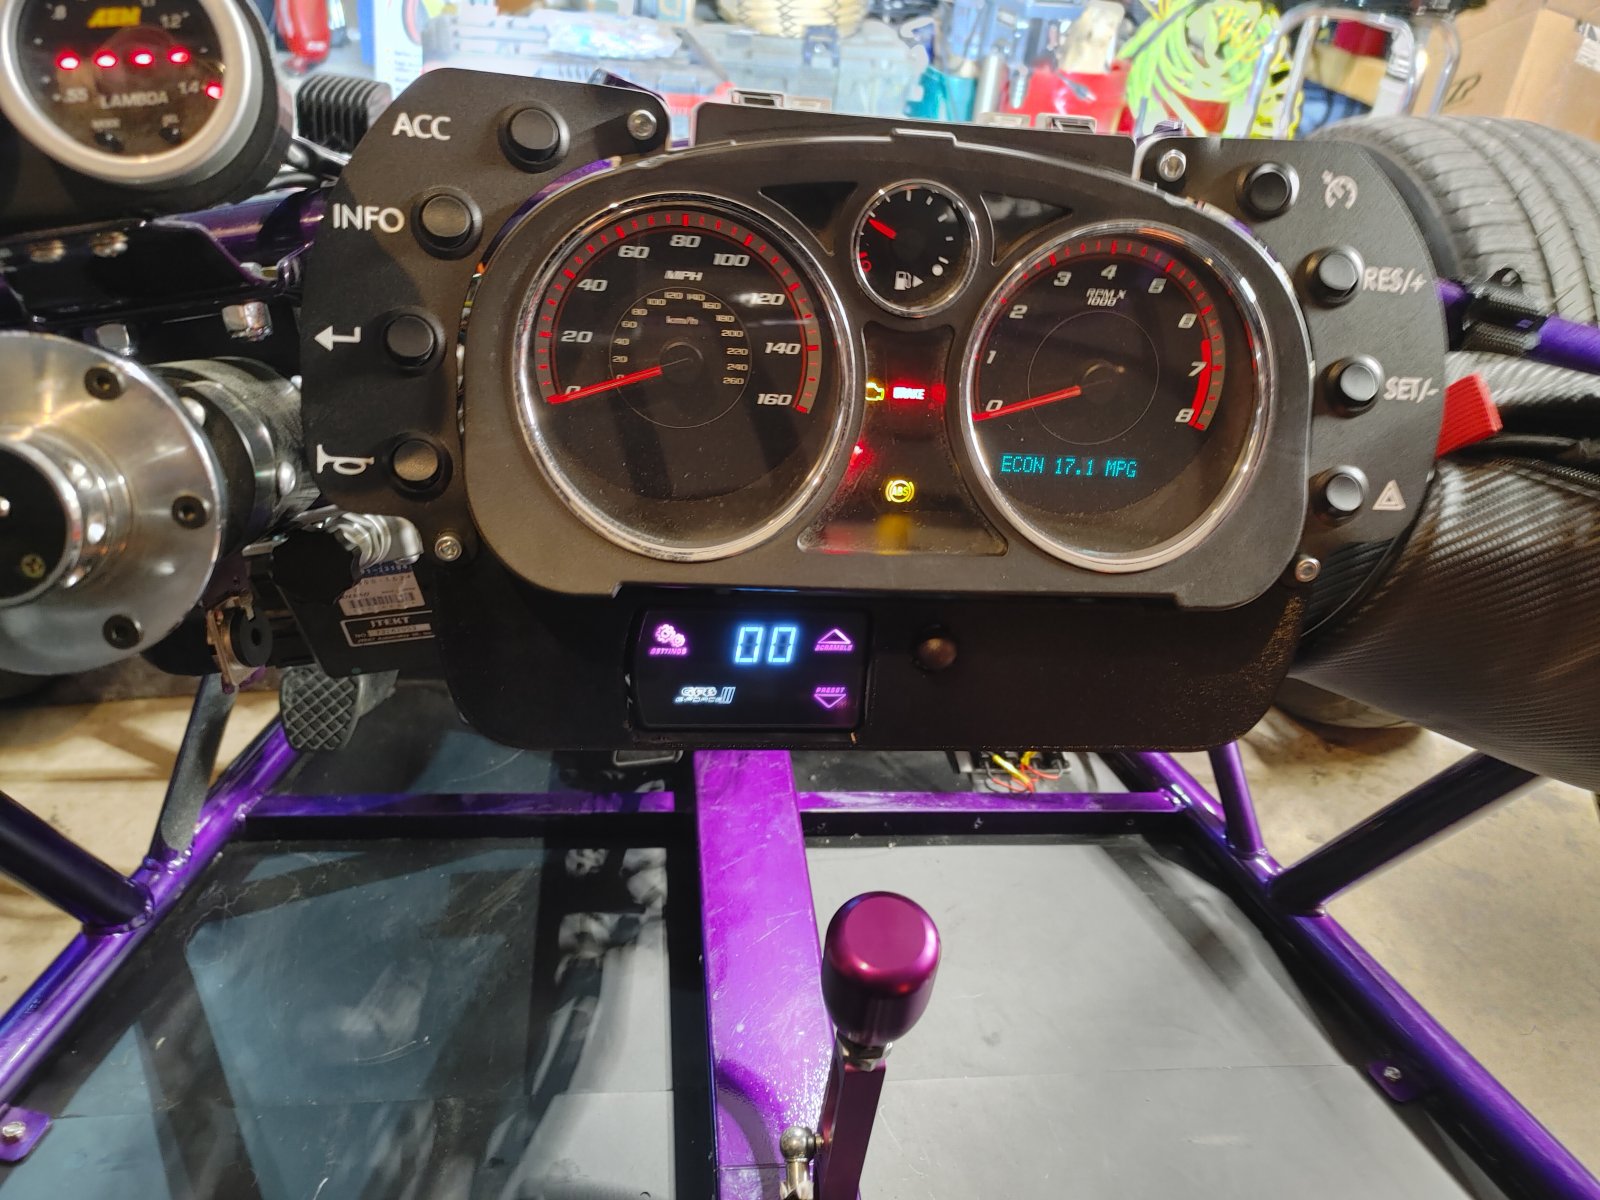
A blurry pic of the steering wheel buttons quick connect and brake proportioning valve...:
42410


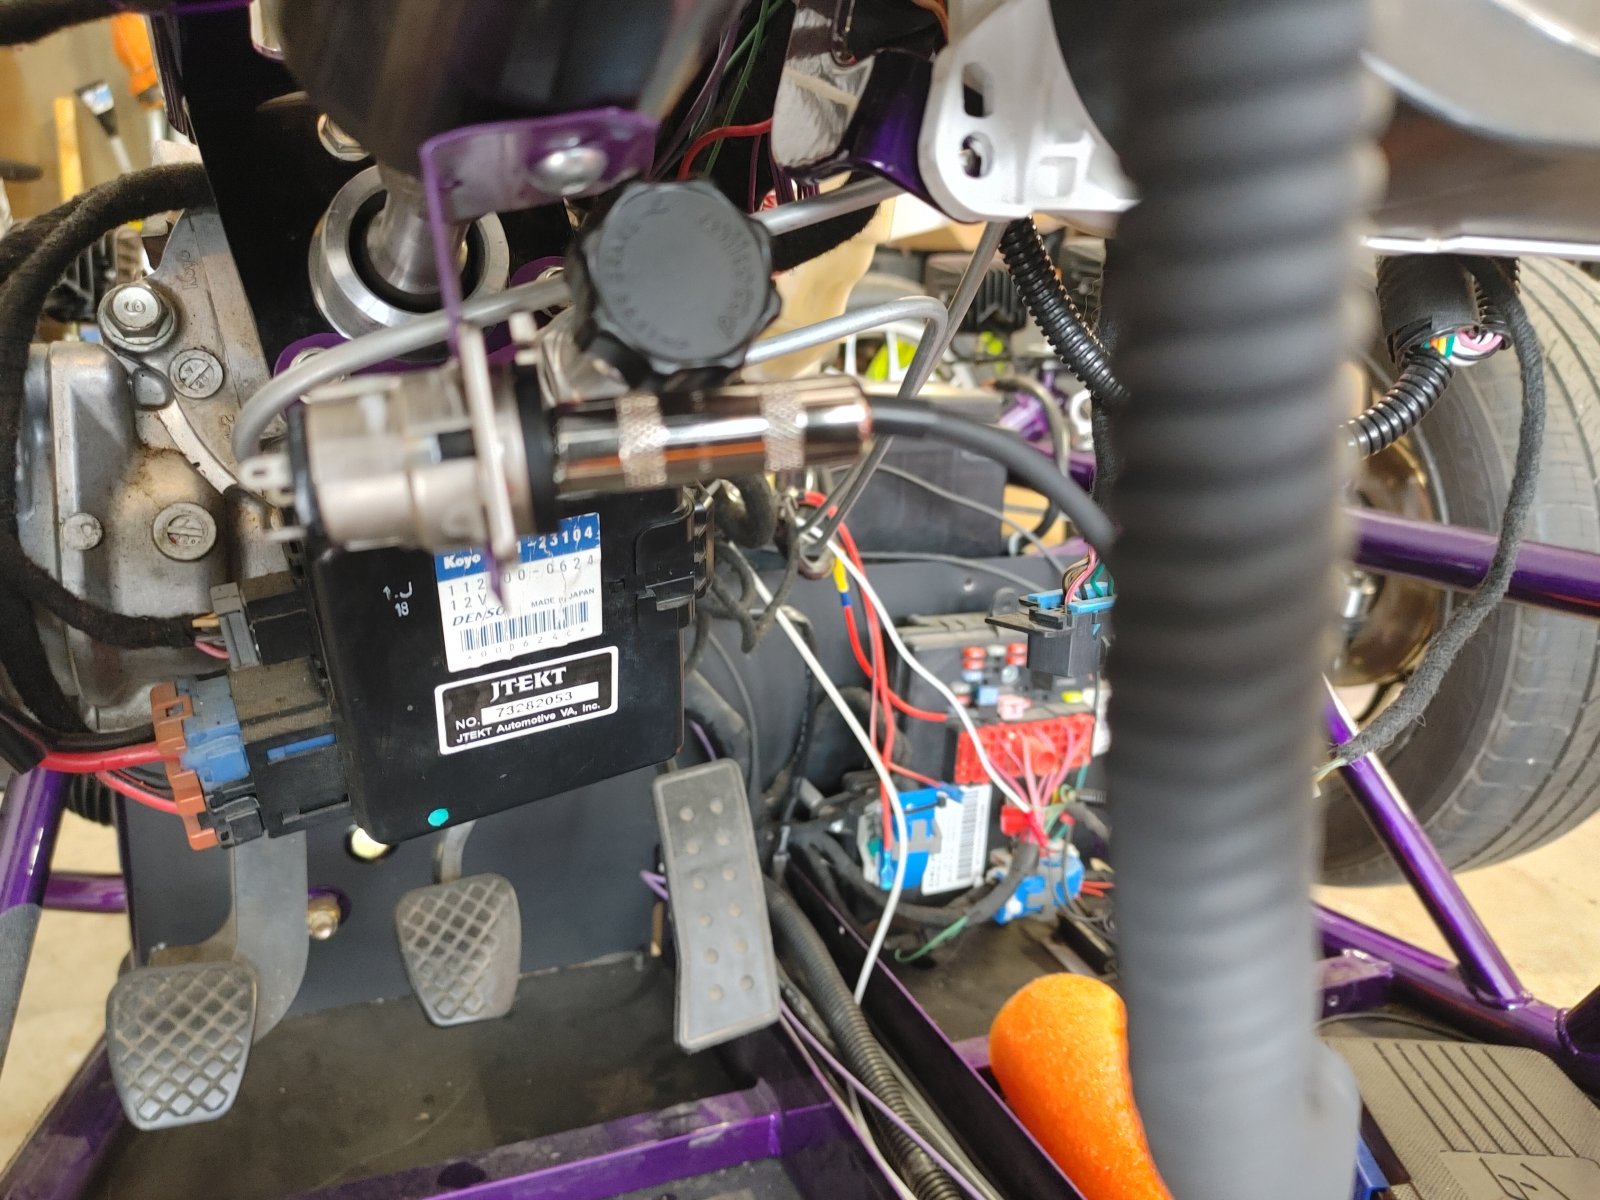
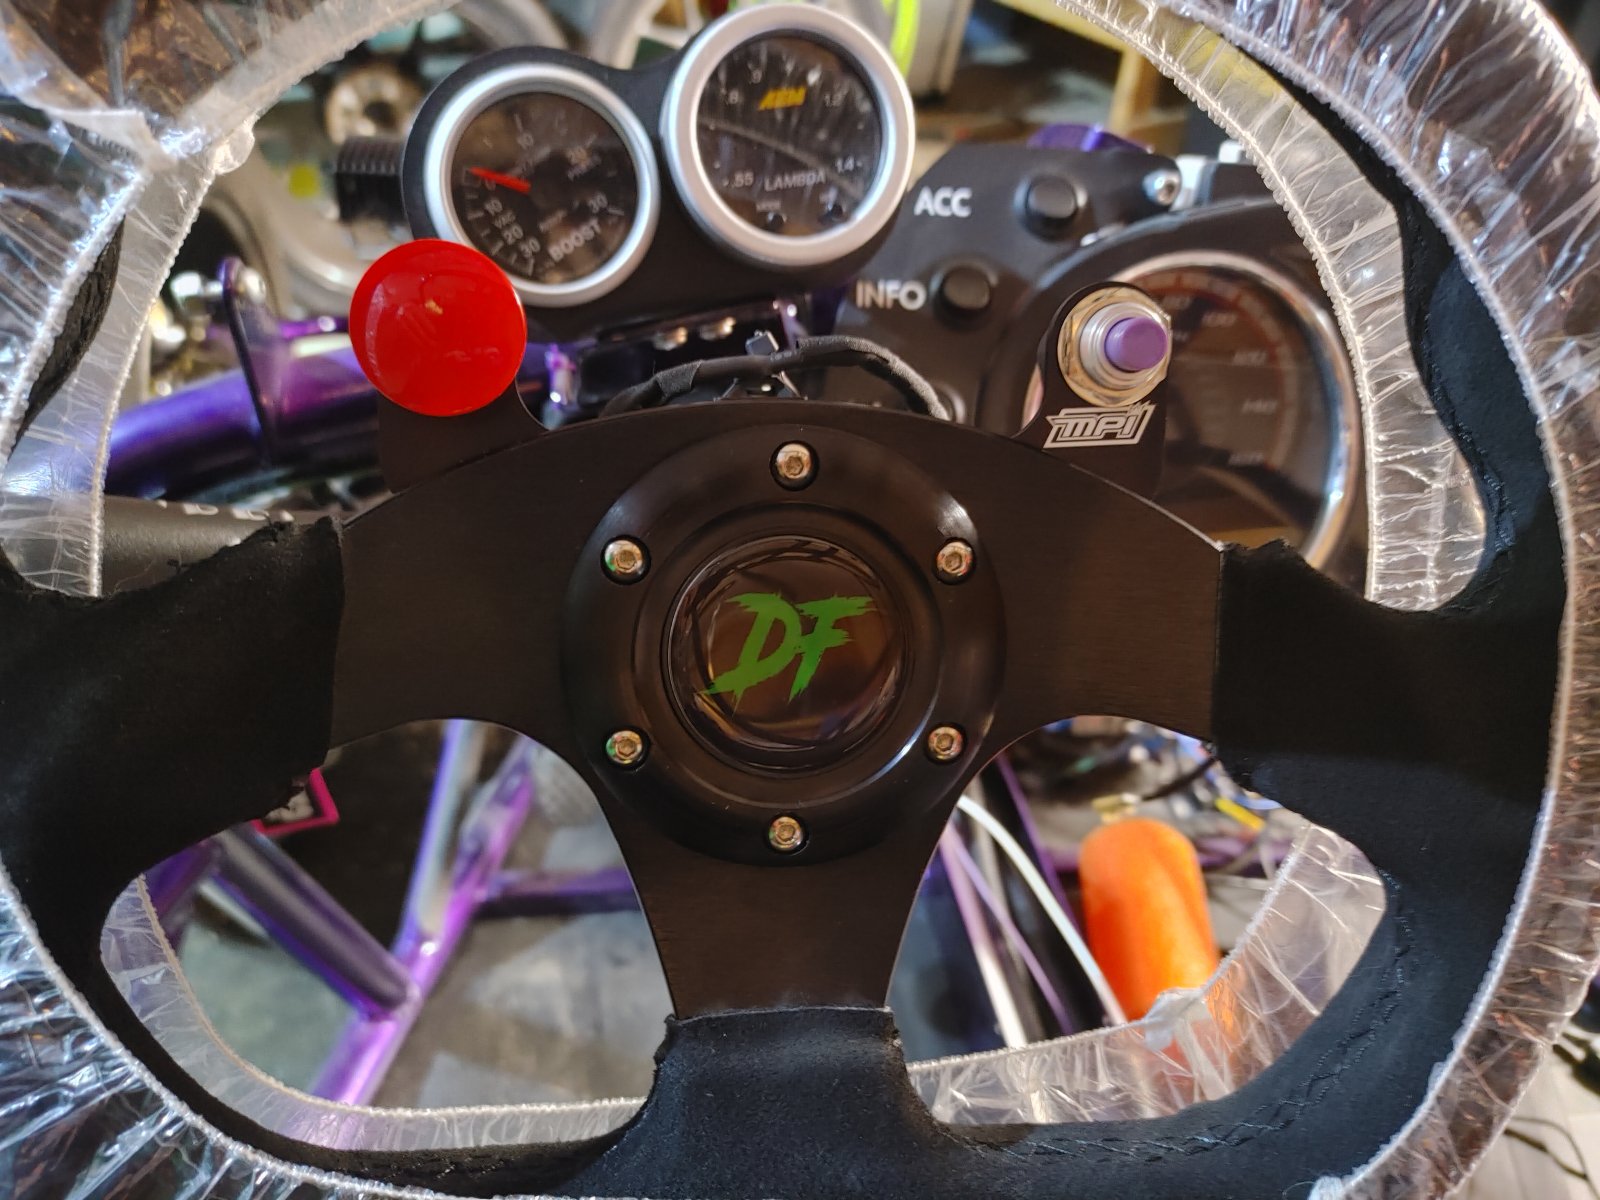
...and the buttons that use that cable - scramble button on the left and horn on the right:
42411


The last things on my list are to get the hood/side panels mounted and to set up the boost controller. I installed some rivnuts for the side panels but I had trouble getting the 4mm rivnuts to anchor in a few spots so I'm working through some solutions there. I need to configure the GFB Gforce III presets so I can use the scramble button to switch between them. I'm likely going to use one setting for lower boost (12psi), one setting with some gain to control spooling, and another for straight 23 psi and no gain input. I'll go from there based on the results.
 

Sluggonaut

Goblin Guru
I haven't posted in a while but the Gfroce III configuration was a breeze and makes the car driveable at all boost levels now, especially with the stickier tires. I'm still not a fan of the ever-growing rock collection, but the traction upgrade is appreciated.

I was able to take it out last week when we hit 80 degrees for no reason right before the snow fell this week, and I tried the cruise control again for no other reason than to see if doing nothing actually fixed it. It worked fine. I'm not sure what changed, but I could never seem to get it to work before. It was likely driver error previously or the few fusebox removal/installs I've done since last trying may have done something.

I never got the side panels back on (I'm not a fan), but I've added that to my list of winter projects. I haven't removed the tires to store inside just yet, as we may hit the 60's this weekend. Hopefully, I can squeeze in one more cruise before I call the season over.
 

Sluggonaut

Goblin Guru
I was doing my pre-season maintenance as I prepared to start driving regularly for the season and there's no better reminder that I keep putting off the battery charger cable installation than having to remove the front spoiler and hood just to hook the battery charger up.

After messing around with that for 45 minutes, it took all of 2 minutes to install the cable so I can spend 30 seconds hooking up the trickle charger going forward. I love the performance of the front spoiler and naca ducts, but a hinged hood seems like it would make a lot of things much simpler.
 

Rttoys

Goblin Guru
You could have put your quick connection at the fuse box jump start terminal, then you wouldn’t have had to mess with the hood.
47248
 

Lndshrk Steve

Well-Known Member
I was doing my pre-season maintenance as I prepared to start driving regularly for the season and there's no better reminder that I keep putting off the battery charger cable installation than having to remove the front spoiler and hood just to hook the battery charger up.

After messing around with that for 45 minutes, it took all of 2 minutes to install the cable so I can spend 30 seconds hooking up the trickle charger going forward. I love the performance of the front spoiler and naca ducts, but a hinged hood seems like it would make a lot of things much simpler.
I just attach my trickle charger at the positive on the fuse box and grab an upper shock bolt.

47253
 

Sluggonaut

Goblin Guru
You could have put your quick connection at the fuse box jump start terminal, then you wouldn’t have had to mess with the hood.
Yes, that is an option but I don't need any more wires cluttering up the rear. I like it hidden under the hood where the wire won't be exposed to the sun and elements.
 

Desert Sasqwatch

Bigfoot Goblin
9pxX.gif


I'm going to need to stop by Poplar Grove the next time I'm back in Rockford to show you how it's done - bolt holes are not speedholes when there is a piece of metal in them. LOL! :D

Remember there is nothing lighter than a hole!
 

Sluggonaut

Goblin Guru
View attachment 47560

I'm going to need to stop by Poplar Grove the next time I'm back in Rockford to show you how it's done - bolt holes are not speedholes when there is a piece of metal in them. LOL! :D

Remember there is nothing lighter than a hole!
You are correct, bolt holes are not speed holes, but if you drill speed holes and have them share space with bolts, it still counts as weight savings, especially if the hole is larger than the bolt that occupies it.
 

Sluggonaut

Goblin Guru
The original donor battery finally took a dump, so I used the opportunity to get the correct size battery. The donor battery was too wide to use the bolts included with the kit's battery hold-down bar I had powder-coated with the rest of the parts 2 years ago. The bar has been living in my spare parts box waiting for its chance to go to work before finally getting installed. I can officially say that my kit is now fully assembled. lol

While maneuvering the positive battery cable, it bumped into the horn causing the plastic part to disintegrate and now it sounds even more anemic and ridiculous. I ordered a new one but I'm not looking forward to installing it. I'm not sure I can even get in there to remove what's left of the original without significant disassembly.

Any tricks on replacing the horn without major disassembly up front?
 

Robinjo

Goblin Guru
How far down is yours? Mine is easy to get to with the hood off. But it is on the drivers side of the car.
 

Gtstorey

Goblin Guru
Place the new horn where you can access it, and run a new wire to it. And leave the old horn in place until you have another reason to access the area.
 
Top