there is a guy on facefook name is Michael Reitz that is 3D printing some parts for me, he said he has printed parts for other ppl as wellWhen shopping quotes for 3D printing services, what printing type and material should I be requesting?
I'm getting prices quoted from $70-$180 for the gauge pod alone. I am sure I am just selecting the wrong printing process or material; otherwise, for that price, I am better off just buying my own 3D printer.
The problem is between work, family, and a kit car build project (one you might have heard of) I don't have time to research, buy, and learn 3D printing also.
Any tips would be appreciated. If anyone knows of a decent 3D printing service, feel free to share that as well.
Sluggonaut's Extended Track #364 - 2007 SS/SC (Turbo) Donor
- Thread starter Sluggonaut
- Start date
Ghostknife
Goblin Guru
What gauge pod are you wanting to print? If you have a STL file I can print it for you but probably won’t be able to do it until the next week or soWhen shopping quotes for 3D printing services, what printing type and material should I be requesting?
I'm getting prices quoted from $70-$180 for the gauge pod alone. I am sure I am just selecting the wrong printing process or material; otherwise, for that price, I am better off just buying my own 3D printer.
The problem is between work, family, and a kit car build project (one you might have heard of) I don't have time to research, buy, and learn 3D printing also.
Any tips would be appreciated. If anyone knows of a decent 3D printing service, feel free to share that as well.
Ghostknife
Goblin Guru
Also as long as it’s not subjected to high heat PLA will be fine for printing a gauge pod. ABS would probably be the best but a lot of people don’t like printing with it because it is a very stinky process
Rauq
Goblin Guru
That'd be me. I'm working on a gauge pod as well that I'm willing to print and send out for not much more than cost if you're willing to deal with my slowness. I'm working with PETG at the moment. I'm halfway through a spool of black and then have a spool of gray to go next. I can pick up more gray if need be.there is a guy on facefook name is Michael Reitz that is 3D printing some parts for me, he said he has printed parts for other ppl as well
Ghostknife
Goblin Guru
I have a spool of PETG that I haven’t tried yet, do you feel it’s a good mix between PLA and ABS ?That'd be me. I'm working on a gauge pod as well that I'm willing to print and send out for not much more than cost if you're willing to deal with my slowness. I'm working with PETG at the moment. I'm halfway through a spool of black and then have a spool of gray to go next. I can pick up more gray if need be.
Sluggonaut
Goblin Guru
I found a guy locally on FB who prints and waiting for a quote. I'm hoping it is more palatable than these larger outfits.
I already ordered the Jegs aluminum gauge panel to be used with ctuinstra's design. So I'm committed to using the STL files found in that thread.
I am going to need/want a few other items printed from the STL file thread and I don't want to keep asking for favors to get things printed. I'm willing to pay for time/materials/shipping if someone has the time to provide the service.
I'd rather get it from someone who has already used the part or is familiar with our cars over someone who doesn't have a clue, not to mention I'd rather send my money to someone who can use it to support their Goblin habit.
So if anyone is interested in providing that service, please DM me so we can hash out the details. I'm not in a hurry and don't even know what all I need to be printed yet, just that I will keep coming up with things to print as my build journey progresses.
Sluggonaut
Goblin Guru
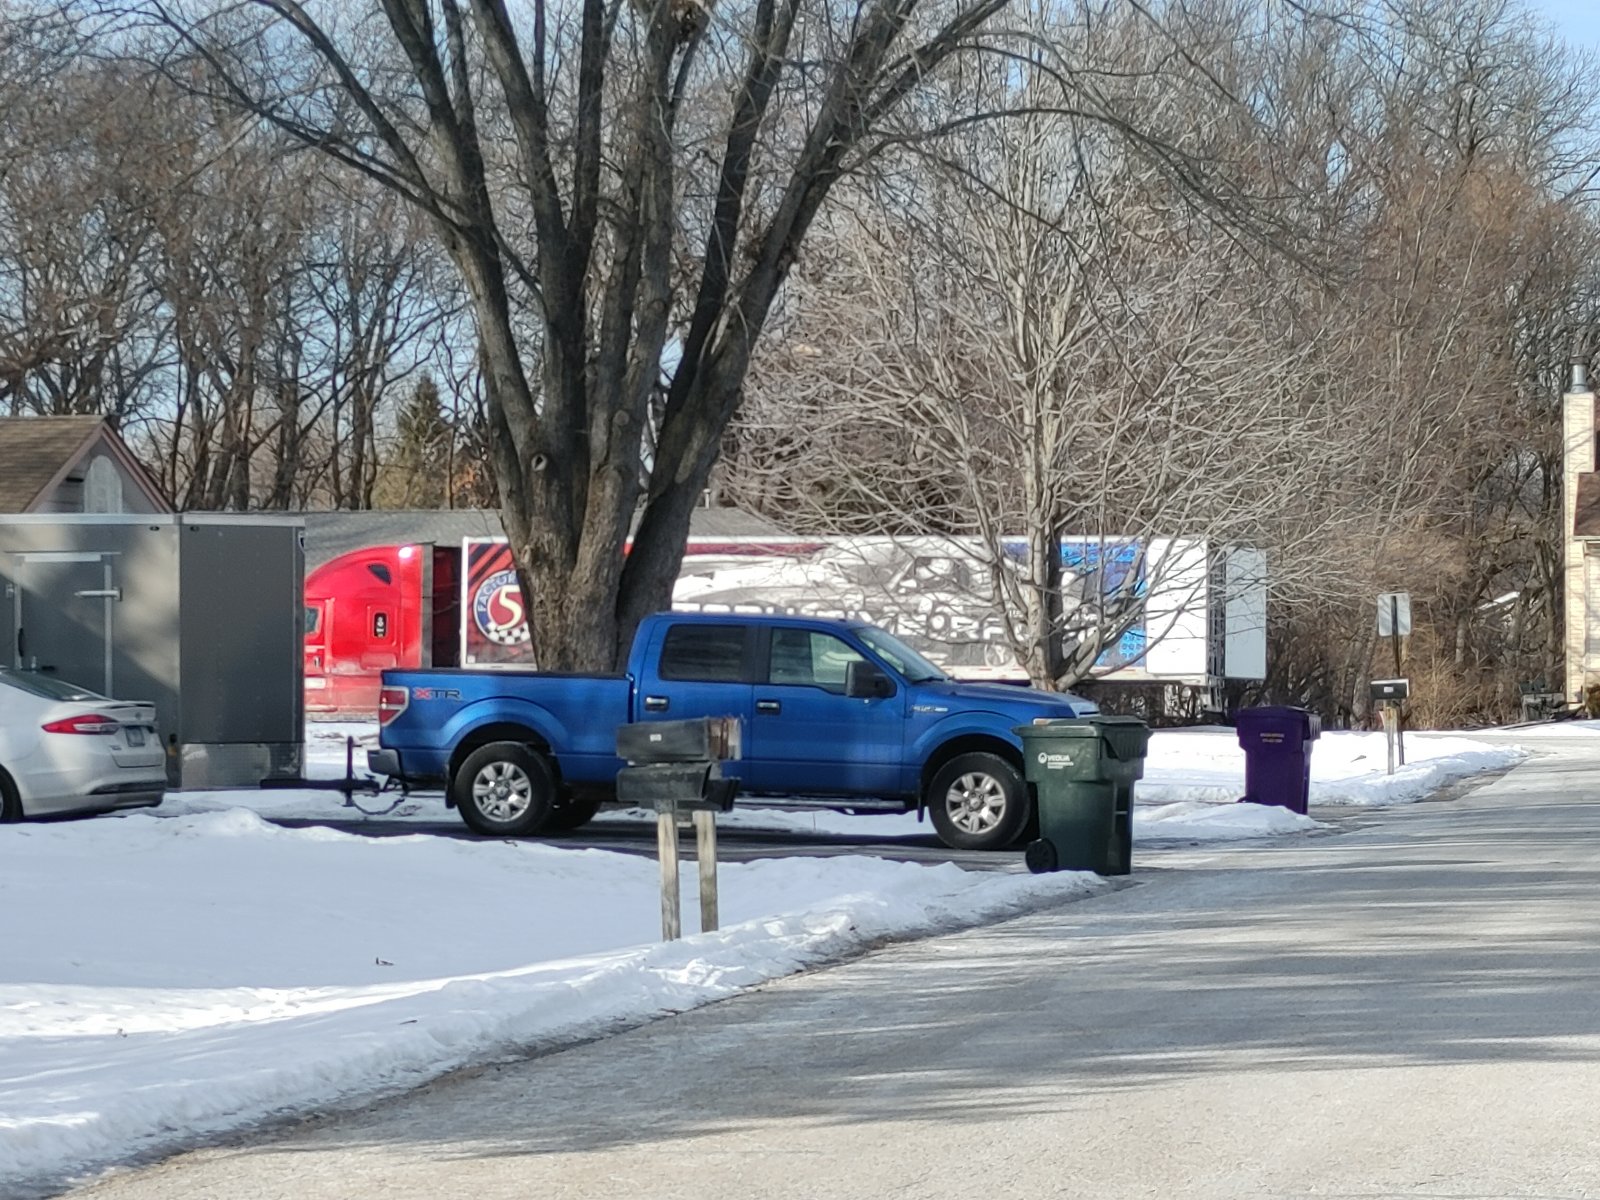
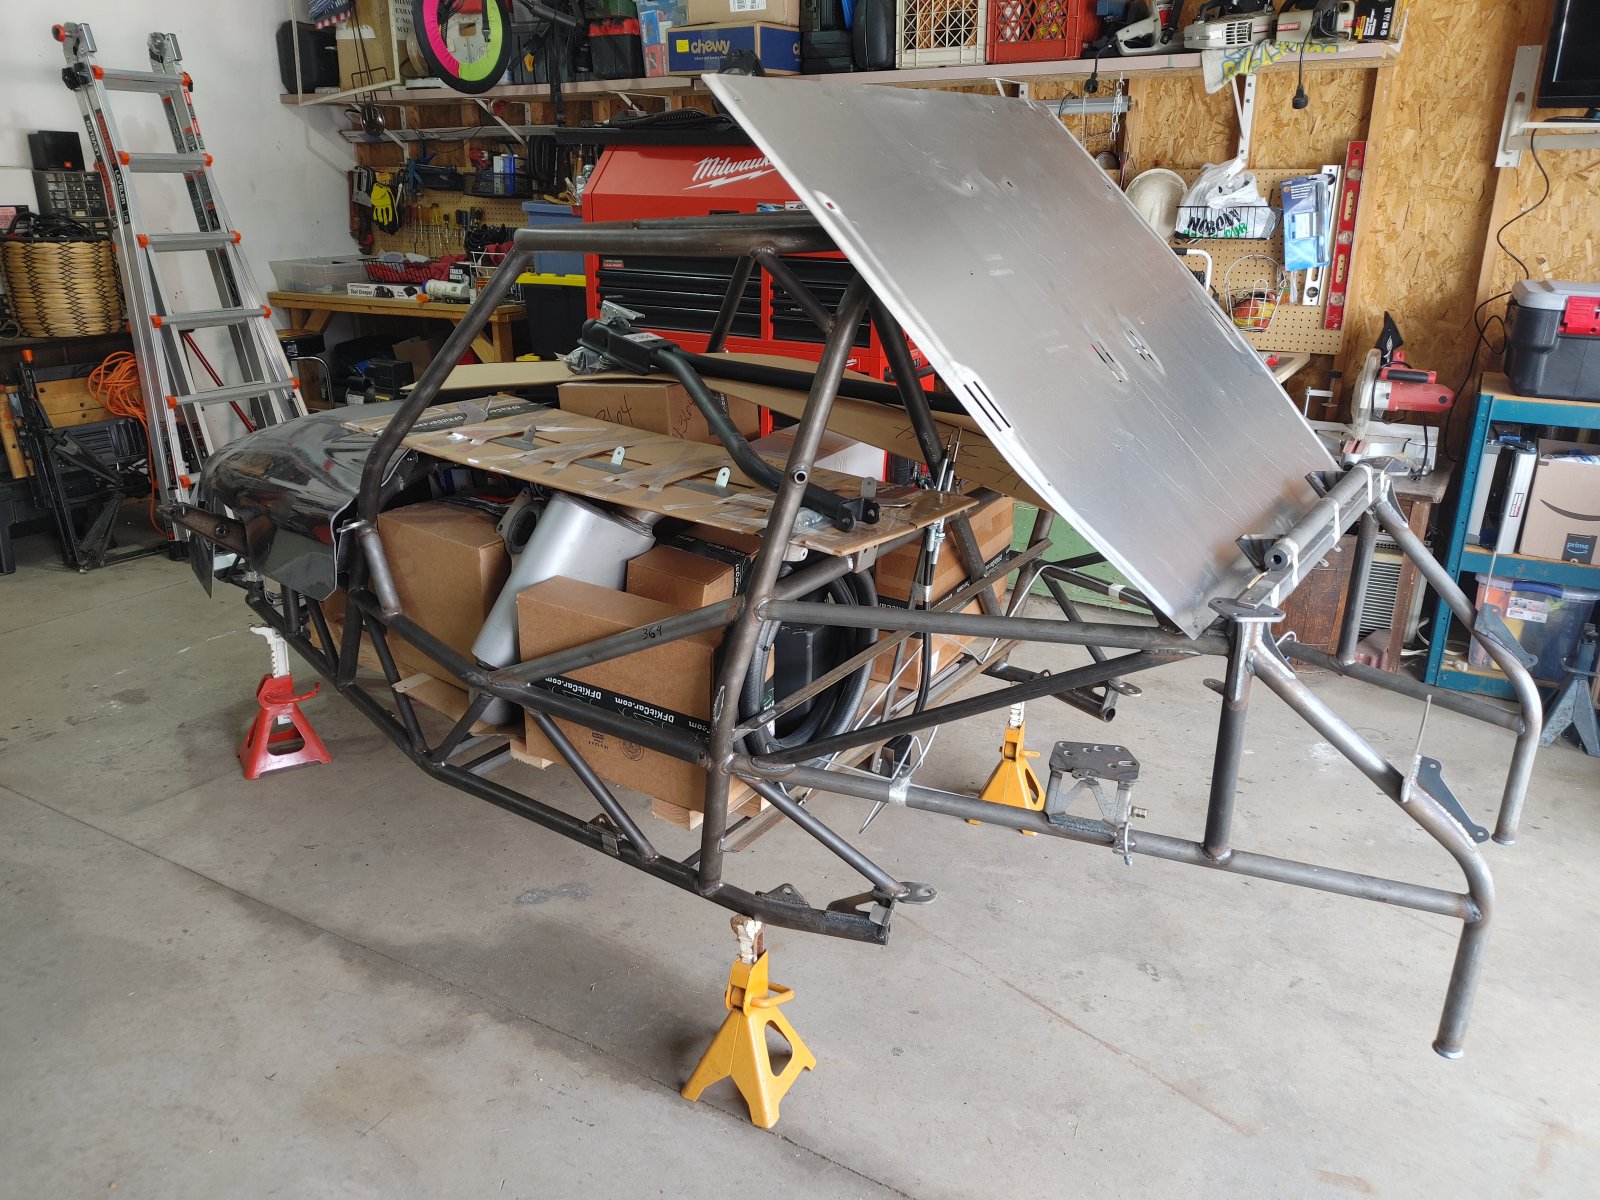
Eric from Stuart Transportation knocked on my door today. He had already unloaded the kit at the end of my street and carted it down to my house.
We had it off the cart onto jack stands in a few minutes. It was great chatting with him for a few minutes before he headed off to Ohio. It's not typical that a trip through Iowa and Illinois in February provides temporary relief from inclement weather, but that's exactly what Eric got between the storms in Kansas and what he faces the next 24 hours East of here.
Godspeed Eric and stay safe!
Ark :D
Goblin Guru
I've had great results with CraftCloud, for 3d prints.
Rauq
Goblin Guru
I wish I'd started with PETG instead of PLA. I'm still fine tuning but I also wish I'd learned with PETG from the start. I haven't tried ABS but its shrinkage characteristics aren't appealing to me.I have a spool of PETG that I haven’t tried yet, do you feel it’s a good mix between PLA and ABS ?
Once I get back into a groove where I can crank out prints I'm willing to send them out for not much more than my cost.
I’ll second what Rauq said. I started with PLA because it was given with the printer. But I bought PETG because it’s a nice mix between ABS and PLA. It is a little difficult to get started I find (usually do a brim so it sticks to the glass plate) but once it gets that first layer down, it prints nicely and is quite strong. I’d recommend PETG for any prints if you can. PLA might warp a tad in direct sunlight I feel, specially sitting behind the windscreen
Sluggonaut
Goblin Guru
I went to mock up my Corbeau FX1 seats to see if I need a higher harness bar welded in before powder coat and when I installed the DF seat brackets the first time, they were too narrow to accept the wider FX1 seat. So I switched the brackets so I could mount them with the bolt tab oriented to the inside of the bracket so the brackets are farther apart. Well, they are definitely wider and I now have about 1-1/2" to 2" between the bracket and each side of the seat. This means the seat bolts that came with the seats are way too short and if these are the correct brackets I'll need much longer bolts and a spacer of some kind.
The label on my seat bracket indicates they are the "standard" seat brackets. I'm not sure if there are different brackets for the FX1 and FX1 Pro offerings through DF, but seeing "standard" on the label suggests there is an alternative part. I'll be shooting an email off to DF but I wanted to see if anyone else had this experience with the FX1 seat kits purchased from DF.
I did get some productive work done that resulted in crossing off some prep items. I cleaned up the knuckles and LCA's. The amount of corrosion in the knuckles was pretty bad but the wire wheel made short work of it. The LCA's cleaned up really easy considering how gunked up they were. I have new Moog hardware to get pressed in next week. I also have my ignition switch and pedal box on the workbench to address after my hands warm up a bit.
Last edited:
Scott #321
Well-Known Member
I had this issue with the wide corbeau fx1 seats as well. Brackets will mount with the lower mounting tabs facing the center of the car on both sides. Loosely install the bolts and tighten only once all mounting bolts are in. This worked for me with both brackets in the outside mounting slots. Pics are from the front looking under the seat.
Scott #321
Well-Known Member
I did have to drill out the excess powder coating to get the carriage bolts to go through the holes but no metal was removed to my recollection.
Sluggonaut
Goblin Guru
Thanks for the tip!Brackets will mount with the lower mounting tabs facing the center of the car on both sides.
I had only tried it with both tabs facing away from each other and both tabs facing in towards each other. I will try it with both tabs facing the same direction and see if that helps.
Sluggonaut
Goblin Guru
I didn't get carriage bolts with my seats but the tab on my frame has a square hole and looks to be expecting a carriage bolt.I did have to drill out the excess powder coating to get the carriage bolts to go through the holes but no metal was removed to my recollection.
The bolts I received are very short-shouldered shoulder bolts. I could make them work if they were small enough to fit through the hole in the tab. I'm using some other hardware currently for the mock up but I guess I'll be picking up some carriage bolts for final assembly after powder coating.
Scott #321
Well-Known Member
Those were the bolts for the 5 point harness, you should also have some carriage bolts in the DF kit separate from the seat hardware. Stage 2 or 3 hardware I'm not sure as I purchased everything at once.
Sluggonaut
Goblin Guru
Ok, that makes more sense.Those were the bolts for the 5 point harness, you should also have some carriage bolts in the DF kit separate from the seat hardware. Stage 2 or 3 hardware I'm not sure as I purchased everything at once.
I'll dig through the other boxes. The nuts were zip-tied to the seat brackets and there was a lot of hardware in the box with the brackets but nothing close to what is needed for them.
Sluggonaut
Goblin Guru
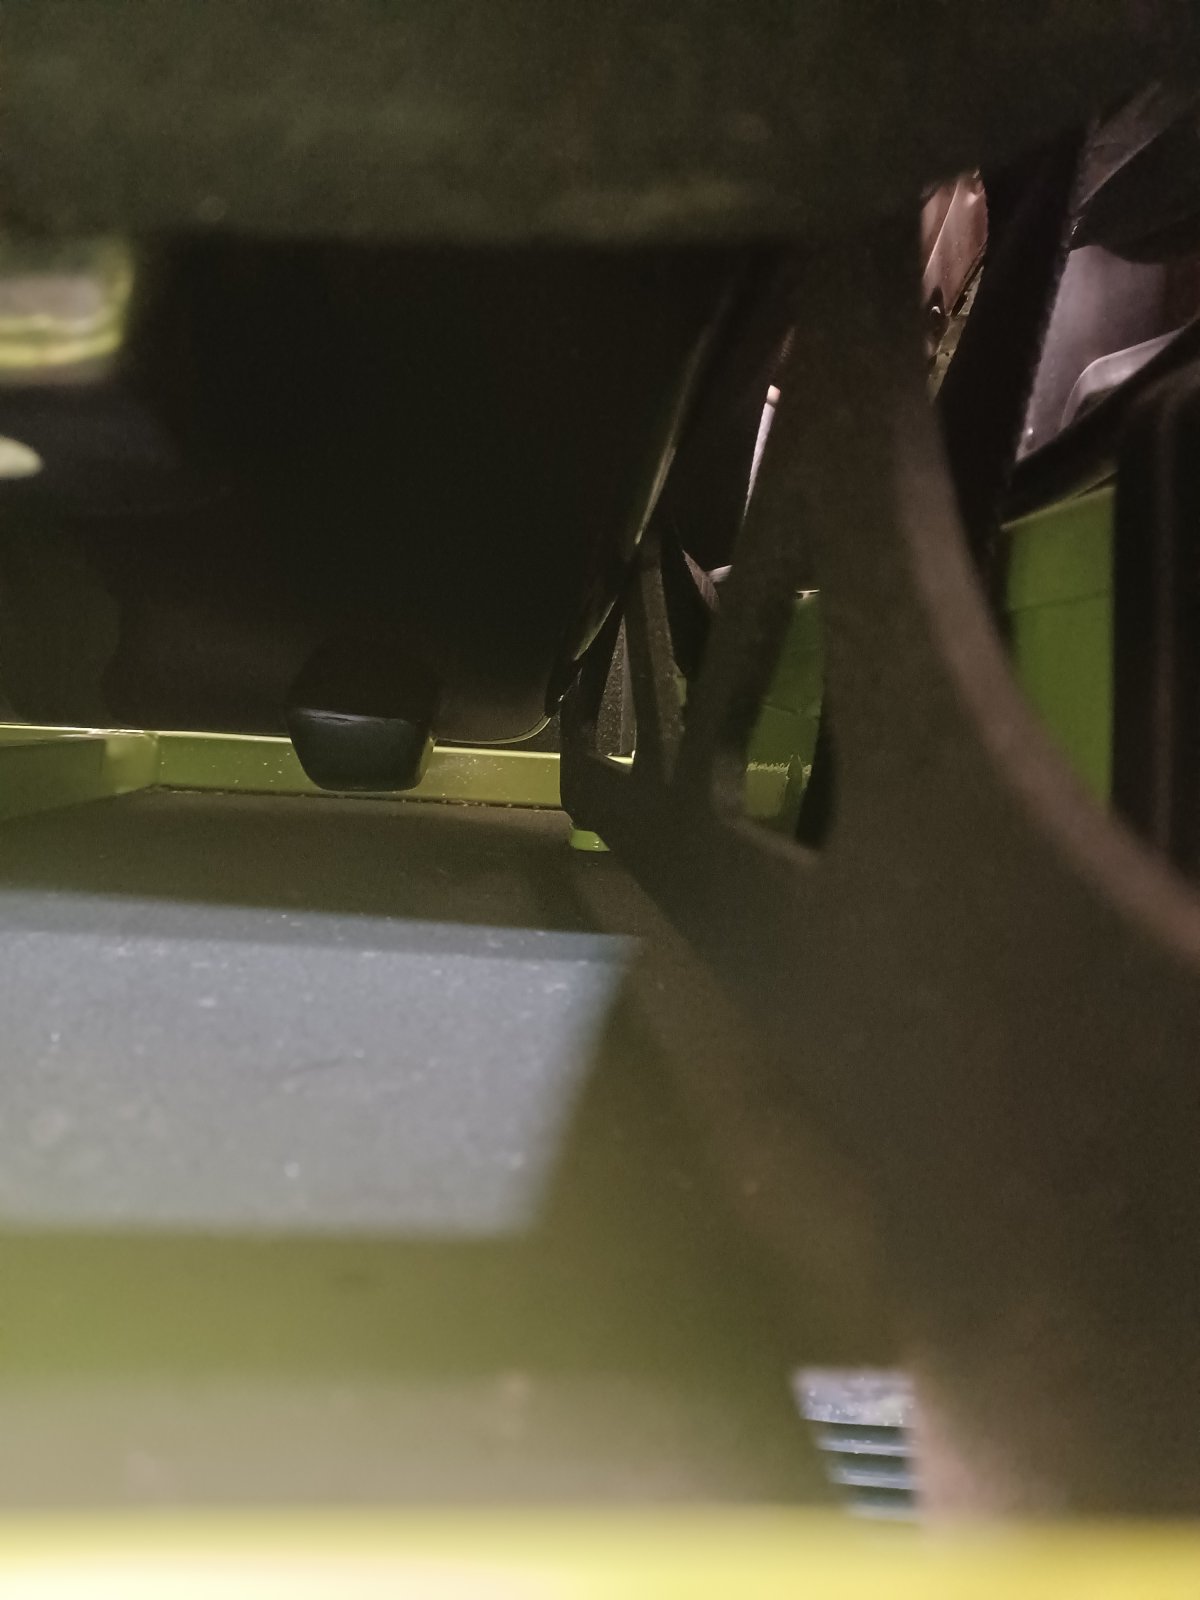
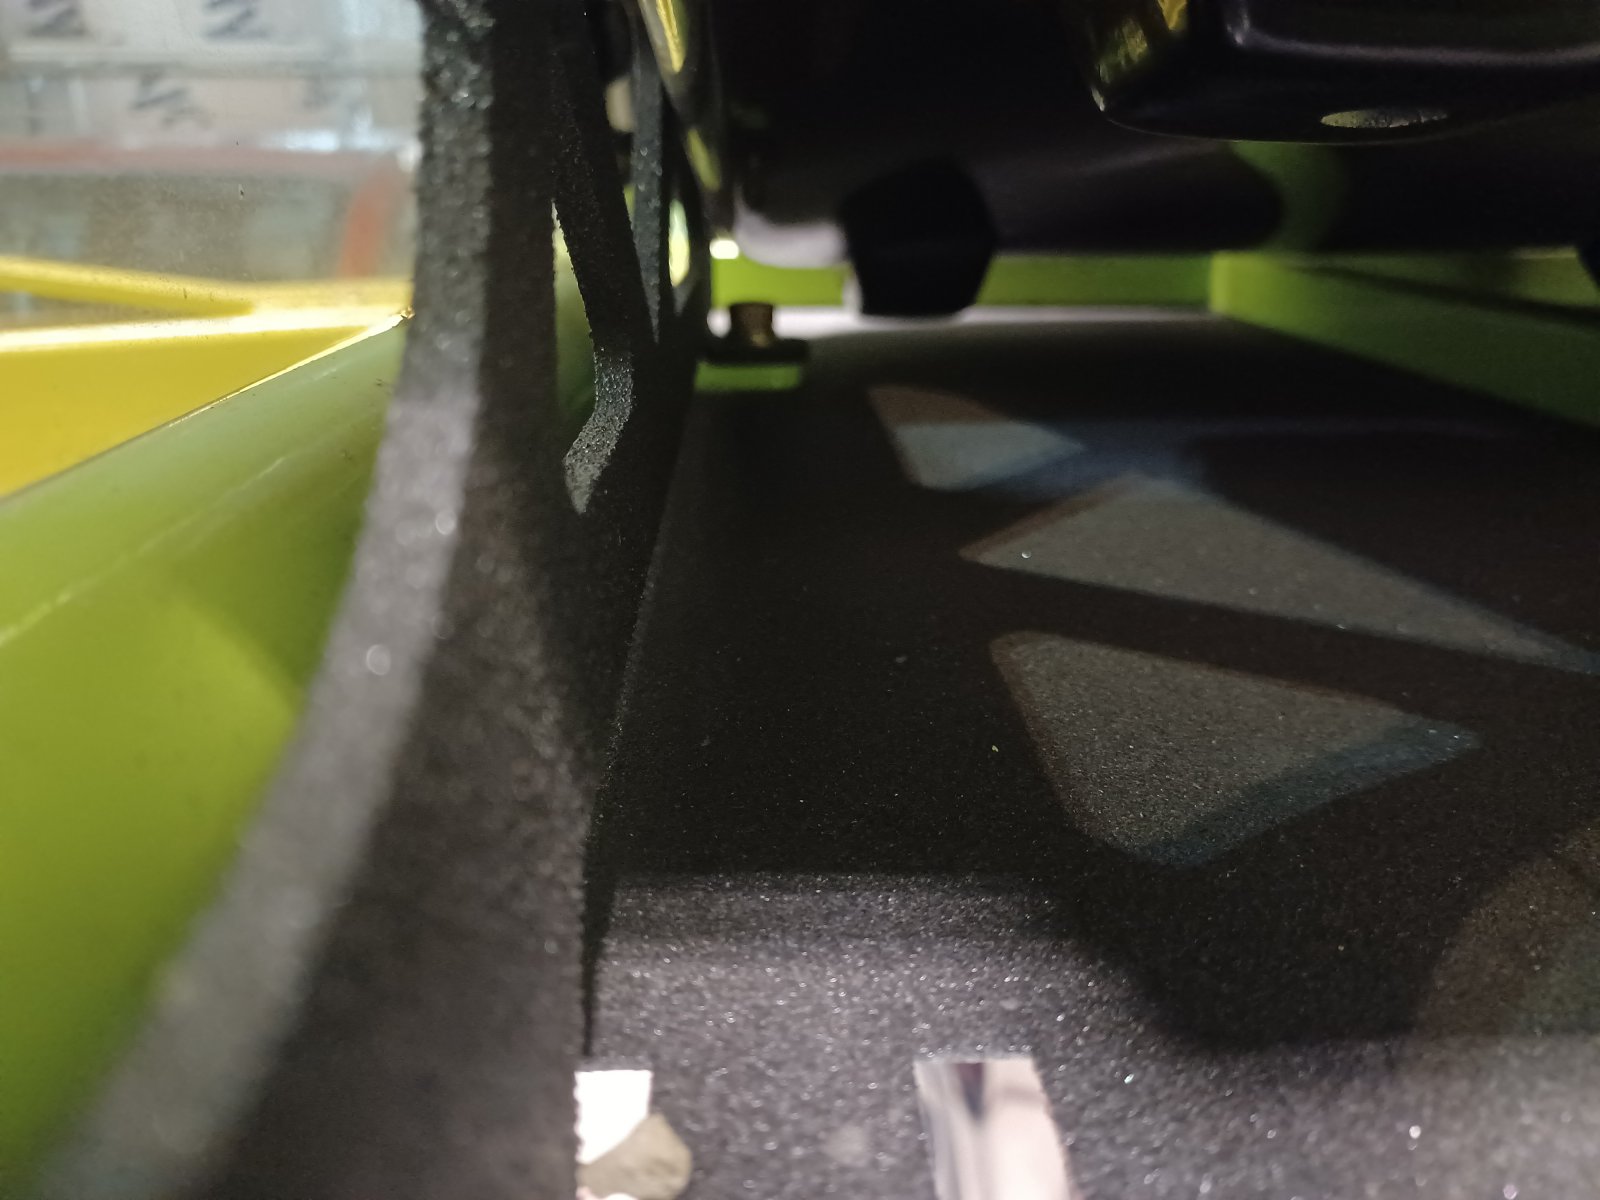
I'm rounding up parts for powder coating and found one I need help identifying. I just need to know if it goes in the frame color pile or the black pile.
I believe this was in the same box as the kick plate, but nothing jumped off the box's packing slip as to what it was. If you know what the bracket part is please let me know:
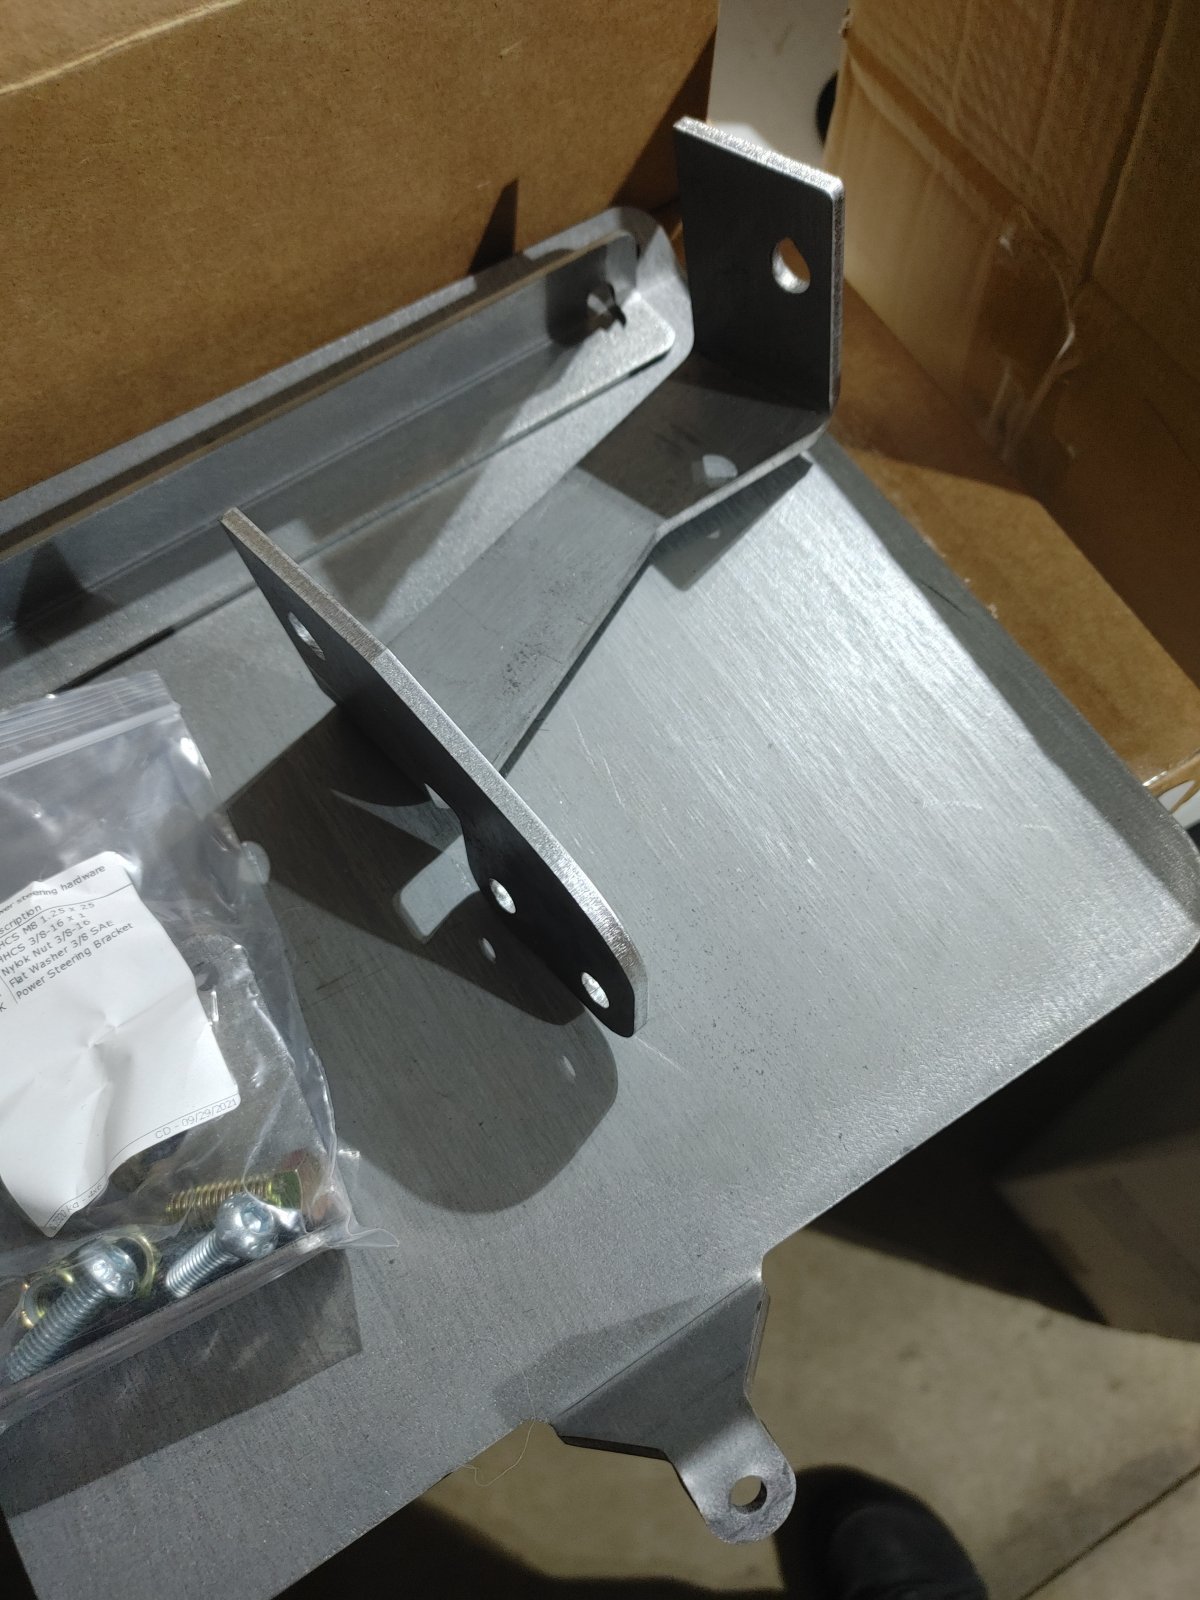
I believe this was in the same box as the kick plate, but nothing jumped off the box's packing slip as to what it was. If you know what the bracket part is please let me know:
Sluggonaut
Goblin Guru
I am going to be installing the steering rack limiters this week and wanted to confirm what I've understood from reading other posts on the forum. The existing stock inner/outer tie rod parts get moved to the rear and the inner/outer tie rod parts that came with the kit get installed on the front, correct?
I just want to make sure I put the right parts on the steering rack so I only have to do it once.
I just want to make sure I put the right parts on the steering rack so I only have to do it once.