Took a little hiatus but finally got back to it tonight after picking up my harbor freight hoist and engine stand. I have only 3 item remaining before the engine can be pulled, but I'm stuck. Both physically and mentally because one of these I've made an attempt for over 2 hours and had no progress.
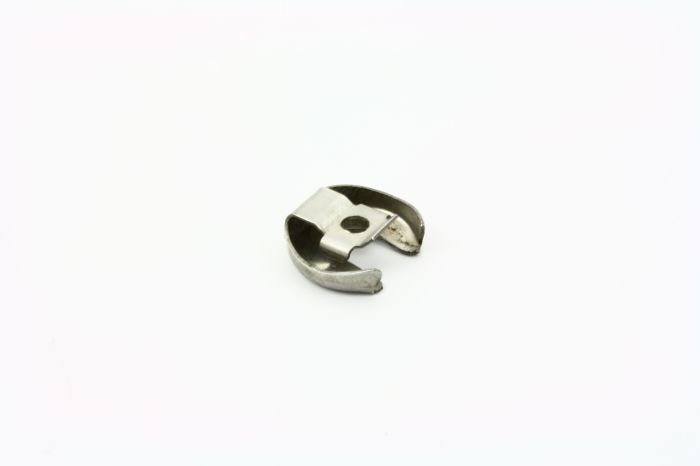
First one is the shifter cable, probably the easiest one on my list but I just don't really know how it's supposed to come out. I found some stuff that says you're supposed to just pop it out of the ball joint, but it's pretty tight, i feel like i'm gonna break something.