Desert Sasqwatch
Bigfoot Goblin
- Desert Sasqwatch Bigfoot Goblin
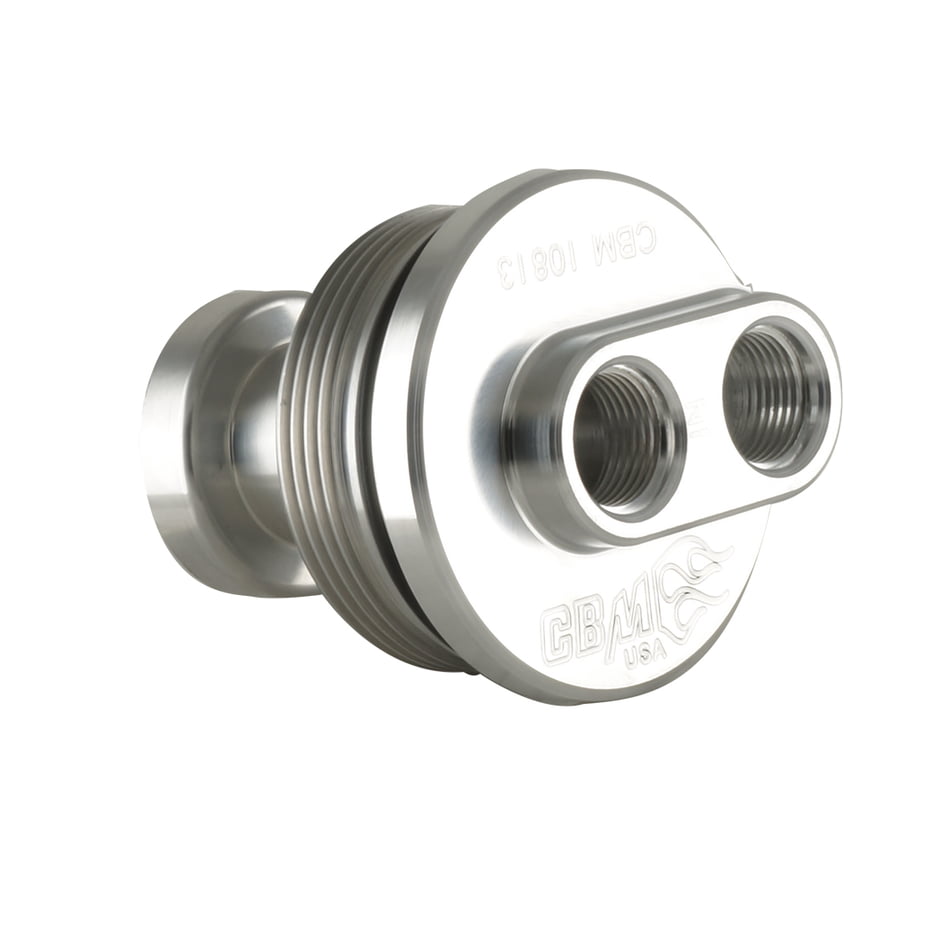
Get one that fits a standard filter - 3/4x16 threads is the most common. Check valve is not necessary needed with the accumulator installed on the outlet side of the remote filter mount. The filter back pressure keeps most of the pressure released from the accumulator going into the pressure circuit in the engine and not back into the oil pump. As long as you don't mount the filter upside down there will be little delay in pressure at start up or a momentary drop in pressure during operation.Anything in particular to look for on the remote filter mount? Like what type if filter is the best or any check valves required?


 I do remember playing a game or two on yahoo games, though.