
-
We've upgraded and reskinned the forum. Notice something off? Email us at [email protected] and we'll fix it.
You are using an out of date browser. It may not display this or other websites correctly.
You should upgrade or use an alternative browser.
You should upgrade or use an alternative browser.
V1 Murcielago311's City/standard build - 06 SS/SC - Chassis #177 *REGISTERED*


Zoom Zoom
Goblin Guru

- Zoom Zoom Goblin Guru
That will be what he will learn to drive in and have a ever lasting experience with his farther.No bending. I was able to cut enough of the little switch leg off to clear the shaft and still grab almost all of the switch. Good eye.
He loves 'HIS' new racecar. Gonna be a hard wait until he's big enough to leave the neighborhood in it. I'm imagining we'll have to rack up some serious neighborhood miles.

Desert Sasqwatch
Bigfoot Goblin

- Desert Sasqwatch Bigfoot Goblin
The rubber bushings? Mine were cracked 2/3 the way through, so I cut the rubber with a sawsall being careful to not get crazy. Then I used a stiff wire wheel on a drill and cleaned out the rest of the rubber to leave a clean steel sleeve in the arm. If you are planning to use poly bushings you will leave this sleeve in. If you are planning to go with the steel bushing (Moog), then judiciously cut the sleeve in a couple places and it will come right out. 


Murcielago311
Well-Known Member

- Murcielago311 Well-Known Member
That would be awesome. I still need to see your car. I saw someone on YouTube pop it right out with an air hammer. I'm gonna give that a go and if it's no luck I'll pm you. Thanks!You're welcome to stop by I can press them in and out in a few minutes.
Murcielago311
Well-Known Member
- Murcielago311 Well-Known Member
I left my key-fob receiver box in my wiring, even though it didn't work in the donor.
Is there any reason it needs to be installed from an 06 donor without TPMS? thanks
Is there any reason it needs to be installed from an 06 donor without TPMS? thanks


- Lonny Administrator
No, only for TPMS.I left my key-fob receiver box in my wiring, even though it didn't work in the donor.
Is there any reason it needs to be installed from an 06 donor without TPMS? thanks
Murcielago311
Well-Known Member
- Murcielago311 Well-Known Member
Great, thanks Lonny. Because the housing is literally crumbling in my hands, lol.
Murcielago311
Well-Known Member
- Murcielago311 Well-Known Member
Starting on my footwell cover and hood, so I had to relocate the upper clutch switch. Here is what I came up with.
On the hood, does the front mounting plate go inside the nose or under? I'm guessing either would work. I'm thinking I'll attach it inside.
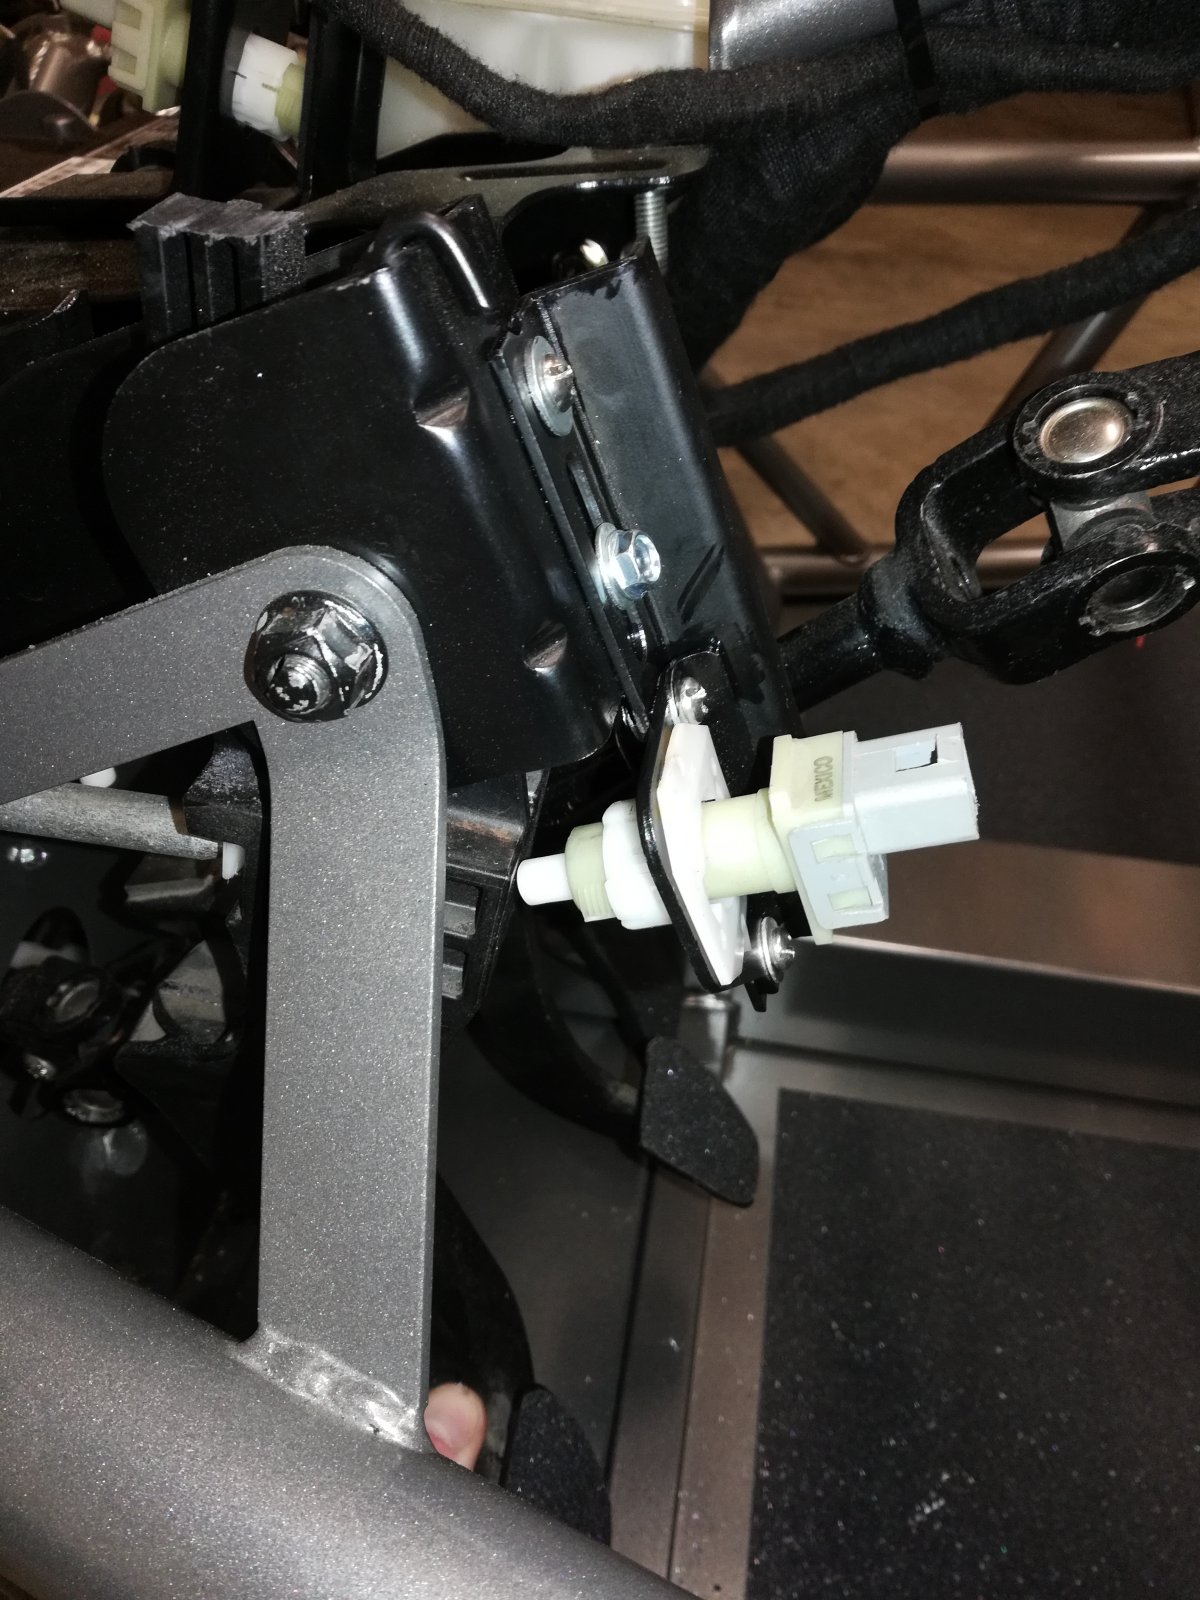
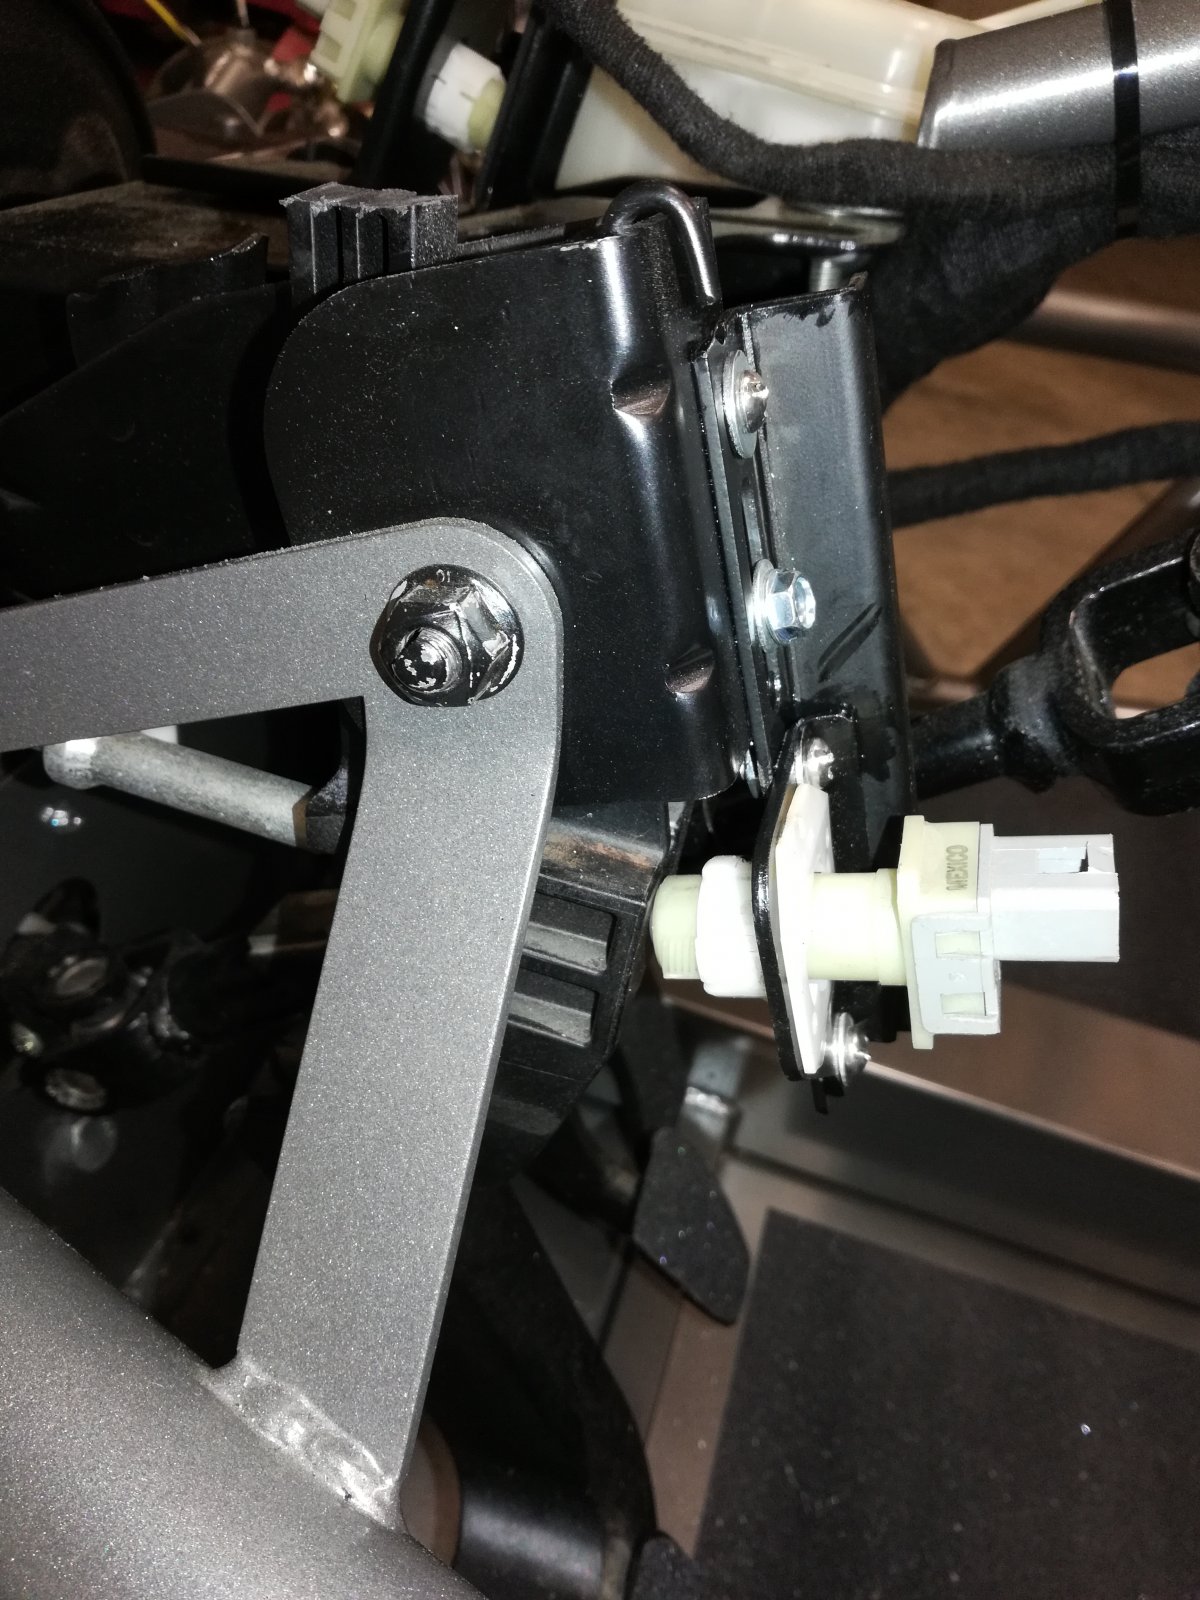
On the hood, does the front mounting plate go inside the nose or under? I'm guessing either would work. I'm thinking I'll attach it inside.
Last edited:
Murcielago311
Well-Known Member
- Murcielago311 Well-Known Member
Took today off work and put in 12 hours in the garage. It was glorious.
Finished my engine and engine parts cleaning and it was a nice warm sunny day perfect to lay down some paint. I never want to clean an engine this gross again. Hopefully with all the gasket and seal work I'm doing it won't re-oil itself.
It's mostly reassembled except the intake manifold and SC.
Shorty header, valve cover, and brake calipers are off to the powder coat shop tomorrow.
I discovered I have a cloyes timing set, and the redesigned tensioner, but not the dorman guide bolt so that's on the way.
Valve cover insides were a little dark but 160k on the clock, working with what I have. Still need to do the trans and then no more paint left to do!
Finished my engine and engine parts cleaning and it was a nice warm sunny day perfect to lay down some paint. I never want to clean an engine this gross again. Hopefully with all the gasket and seal work I'm doing it won't re-oil itself.
It's mostly reassembled except the intake manifold and SC.
Shorty header, valve cover, and brake calipers are off to the powder coat shop tomorrow.
I discovered I have a cloyes timing set, and the redesigned tensioner, but not the dorman guide bolt so that's on the way.
Valve cover insides were a little dark but 160k on the clock, working with what I have. Still need to do the trans and then no more paint left to do!
Attachments


Desert Sasqwatch
Bigfoot Goblin
- Desert Sasqwatch Bigfoot Goblin
The engine cleaned up nicely, what solvent did you use?
Murcielago311
Well-Known Member
- Murcielago311 Well-Known Member
what solvent did you use?
Thanks! High-velocity crushed walnut media on the block and a whole lotta wire wheel action on the smaller parts. Wiped down with brake cleaner before shooting paint.
Murcielago311
Well-Known Member
- Murcielago311 Well-Known Member
Intake side is done (I think), with the dual-pass installed and plumbed. Dropped the valve cover and brake calipers off for the last of powder coating yesterday. Going for a pop of accent color with prismatic limelight. Shooting for this Lamborghini color scheme.
Not a whole lot I can work on for the three weeks it will take to get those back except maybe the shifter area and passenger seat. I ordered the Seibon GT wing over a month ago...
Big shout-out to @Dale E for saving the day with a discontinued pcv. I owe him an elbow bump and a few beers. Also I think I forgot to mention @DCMoney pressed my control arm bushings for me, and they didn't make it easy on him. Thanks guys. Feel like it's finally coming together soon.
Not a whole lot I can work on for the three weeks it will take to get those back except maybe the shifter area and passenger seat. I ordered the Seibon GT wing over a month ago...
Big shout-out to @Dale E for saving the day with a discontinued pcv. I owe him an elbow bump and a few beers. Also I think I forgot to mention @DCMoney pressed my control arm bushings for me, and they didn't make it easy on him. Thanks guys. Feel like it's finally coming together soon.
Attachments


OptimizePrime
Goblin Guru

- OptimizePrime Goblin Guru
Looking great! I like the color scheme too.
The seibon wing took me 20 business days and just showed up out of the blue (no tracking number). It's worth the wait though it's a beautiful piece
The seibon wing took me 20 business days and just showed up out of the blue (no tracking number). It's worth the wait though it's a beautiful piece
Murcielago311
Well-Known Member
- Murcielago311 Well-Known Member
Engine is mounted in the frame. I kind of wish I would have used a different color so as not to clash with the frame, oh well. I would recommend protecting your frame with tape or something near where the water pump cover sits and on the fuel tank at the HE fill tube. Tight fit at these two points. Couple small scratches, no big deal.
I used 3 cobalt seat bolts on the passenger mounts, 1 on the driver mount. The 2 bolts on the driver side with the spacers got original cobalt engine mount bolts.
Also got my wing, obviously.
Went to change my SC oil before mounting and it was bone dry... I put in 4 oz and I'll keep an eye on it but I'm guessing it probably needs to be rebuilt soon.
I used 3 cobalt seat bolts on the passenger mounts, 1 on the driver mount. The 2 bolts on the driver side with the spacers got original cobalt engine mount bolts.
Also got my wing, obviously.
Went to change my SC oil before mounting and it was bone dry... I put in 4 oz and I'll keep an eye on it but I'm guessing it probably needs to be rebuilt soon.
Attachments


Murcielago311
Well-Known Member
- Murcielago311 Well-Known Member
It's the Seibon GT wing. It's expensive but seeing it in person I'm really glad I didn't go with any of the cheaper options. It's so solid and looks amazing.I like your wing, Is that the one from DF
Similar threads

- Replies
- 2
- Views
- 652

- Replies
- 47
- Views
- 9K
- Replies
- 53
- Views
- 6K

- Replies
- 13
- Views
- 2K
- Replies
- 2
- Views
- 869