Metal Mech's Goblin #397 - 2.4L N/A Standard Frame (Project Phoenix)
- Thread starter Metal Mech
- Start date
Metal Mech
Well-Known Member
Yeah sorry about that: I can see how it was confusingYes, that’s how I read it and was giving suggestions on how to get hose out. I didn’t do the paint roller lube method.
I actually didn’t do the paint roller method to Lube the tube, probably should have. I just did a dry run to get out all the nasty gunk inside the tube.
Metal Mech
Well-Known Member
And now the hose is stuck 2/3 of the way in the tube. I don’t understand why this second one has to be such a pain in the butt when the first one went so smoothly.
i did everything exactly the same. So frustrating.
i did everything exactly the same. So frustrating.
Joebob
Goblin Guru
Use the paint roller to lube as well. If you are winching it into the chassis from the front to the back, lower the front, have a helper rub lube on the hose as it goes in AND you can pour a 1/2 cup of lube from the back into the tube after pulling a foot or so of hose it to keep it from running out the bottom. This will keep the leading edge wet and help pull it in easier. Like @Rttoys stated, you need the hose warm either from the sun or sitting in hot water for a while to get it pliable.
Metal Mech
Well-Known Member
Yeah gonna have to get it back out first that that’s not easy either.It looks like it was 50* overnight in your neck of the woods. That hose is cold. Set it out in the sun for a bit.
I have had help with the kid cranking the winch while I push the hose and lube it. I didn’t have time to sit it out in the sun but it was in the warm house so it didn’t get too cold. Also was trying to get it done since the wife decided to take him to the water park today even though I had made it clear I wanted to get things done on the car.
So now I have no help and doing other things to not think about it at the moment.
Joebob
Goblin Guru
When you winch, make sure the rope or strap does not stretch under load. A lot of people can struggle with the hose breaking for whatever reason and at least one admitted to the winch end smacking him in the chest which is doubly worse if a shorter person in the one cranking on the buisness end of the car. Stay safe and don't rush it.Yeah gonna have to get it back out first that that’s not easy either.
I have had help with the kid cranking the winch while I push the hose and lube it. I didn’t have time to sit it out in the sun but it was in the warm house so it didn’t get too cold. Also was trying to get it done since the wife decided to take him to the water park today even though I had made it clear I wanted to get things done on the car.
So now I have no help and doing other things to not think about it at the moment.
Joe
Metal Mech
Well-Known Member
Success. Comegetjoe came over to help out. Finally after three tries we got it through the frame. Now I can move on to the floor boards but have to work on dinner first
Last edited:
Metal Mech
Well-Known Member
Found a damaged spot on my floor pan.
Not worried about how it will look or rusting. More about it possibly being a weak point for the powder coat to peel/flack. Rustolioumn paint has bee suggested. Anything else I should do or am I just over worrying about it?
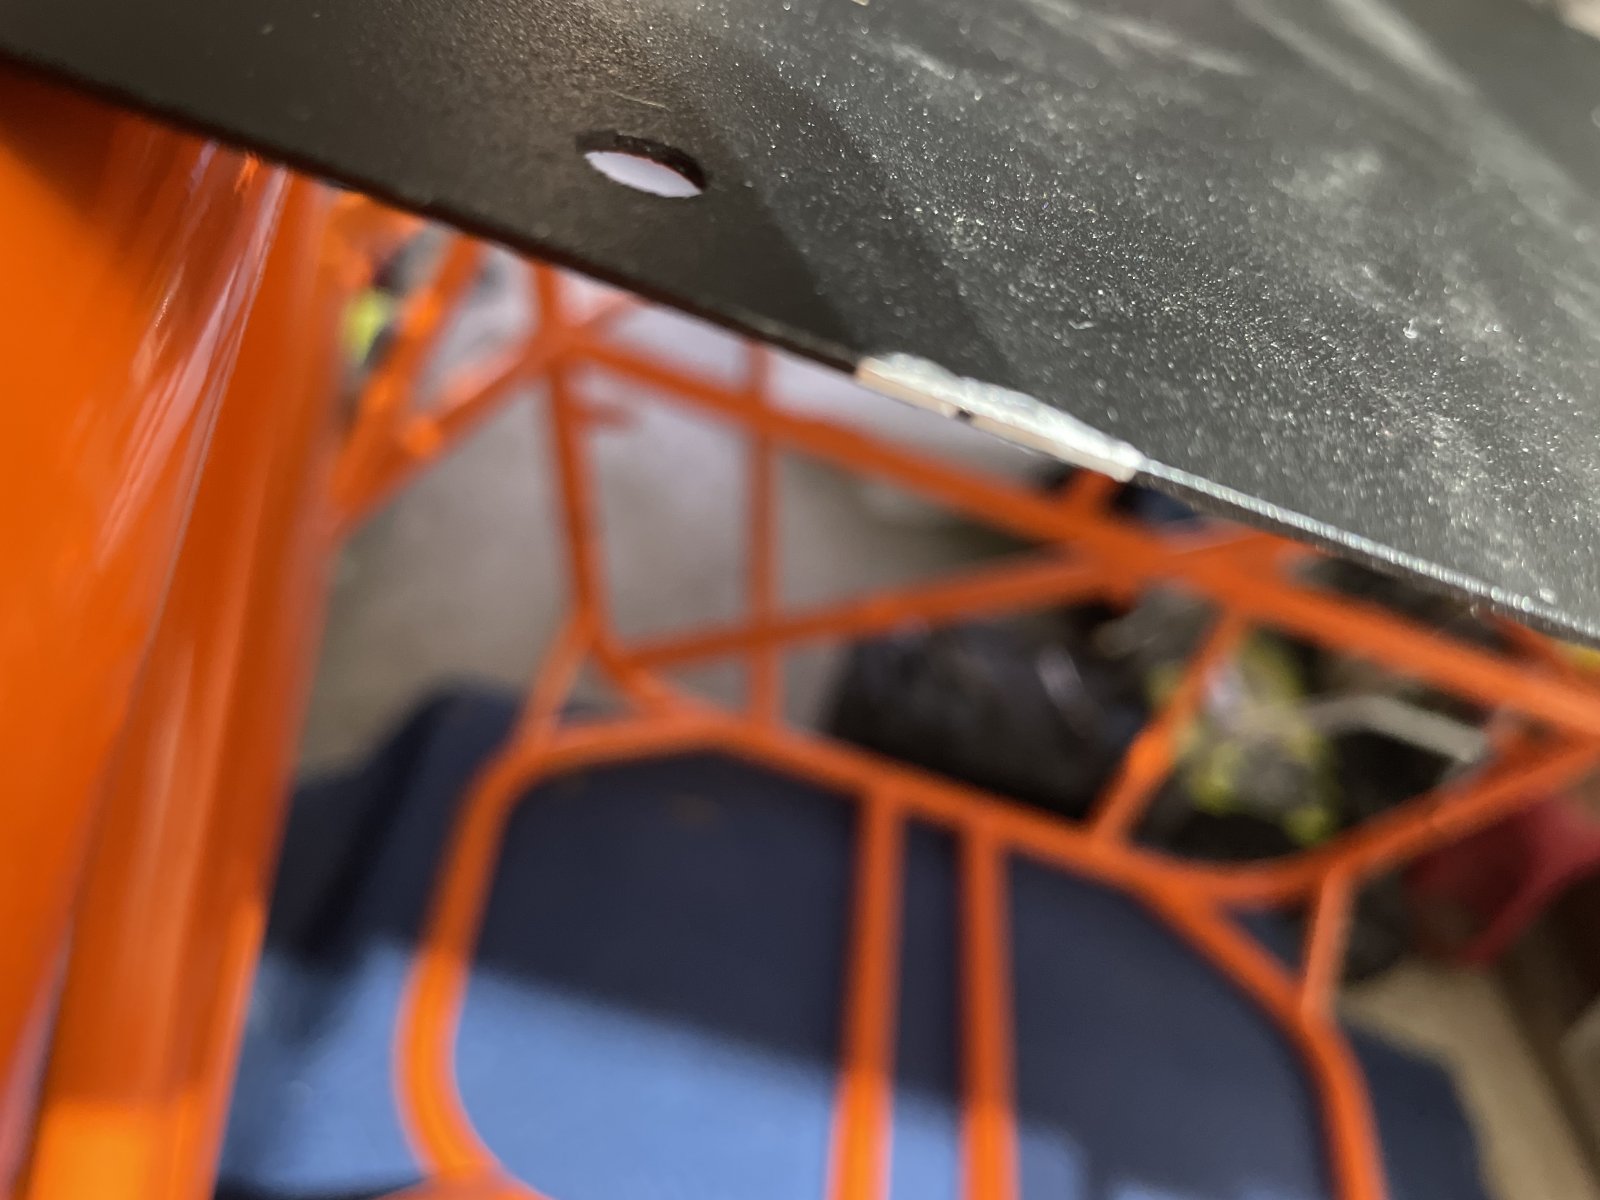
Not worried about how it will look or rusting. More about it possibly being a weak point for the powder coat to peel/flack. Rustolioumn paint has bee suggested. Anything else I should do or am I just over worrying about it?
Desert Sasqwatch
Bigfoot Goblin
The floor pan is aluminum so it will not rust. Hit it with some rattle can in the same color and finish - and we promise we won't tell the concours judges you have a paint flake missing on your floor pan. LOL! 
Metal Mech
Well-Known Member
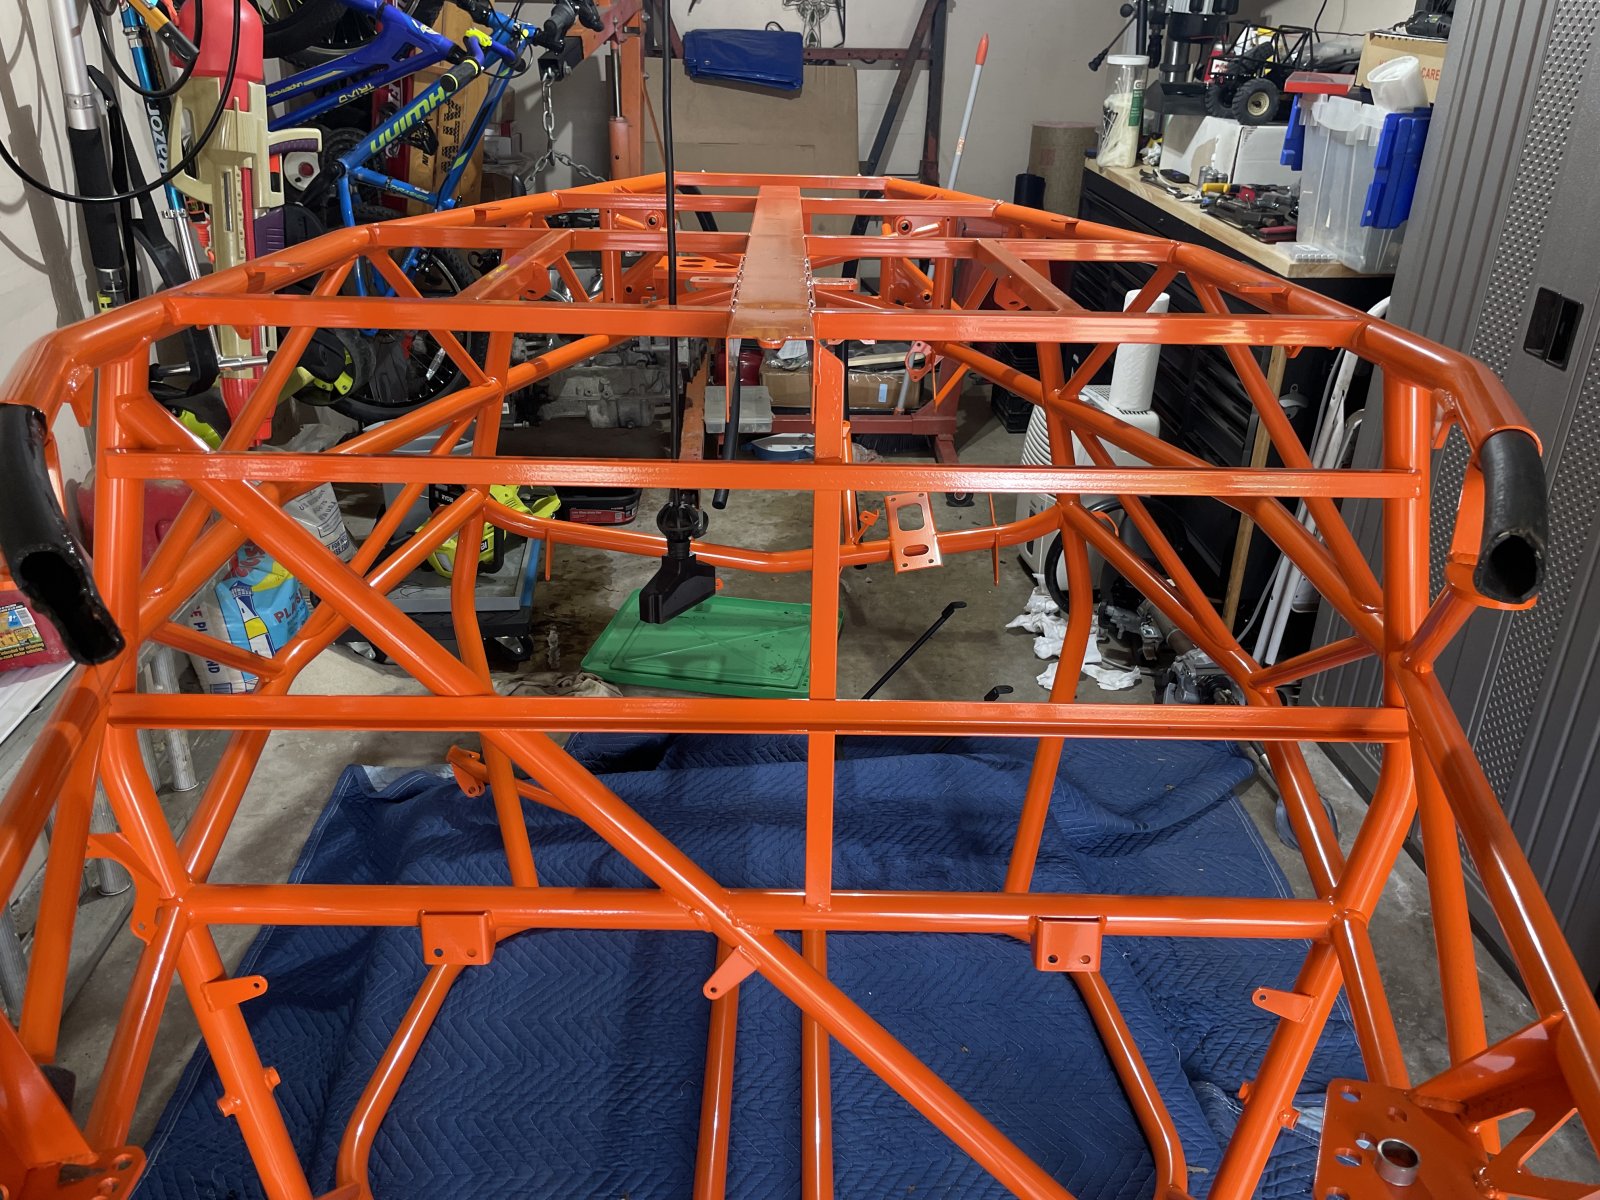
Test fitted the floor pans, bulk head and brace.
All good. I’m excited to get these permanently mounted but I figured I should probably drill out the holes for the tunnel cap. I plan to install threaded rivets and I’m sure I will have to make the holes bigger. Probably easier to do it while the floor pan is off. I just wish I had thought to do it before I sent it to powder coat.
All good. I’m excited to get these permanently mounted but I figured I should probably drill out the holes for the tunnel cap. I plan to install threaded rivets and I’m sure I will have to make the holes bigger. Probably easier to do it while the floor pan is off. I just wish I had thought to do it before I sent it to powder coat.
Attachments
-
 276.9 KB Views: 201
Metal Mech
Well-Known Member
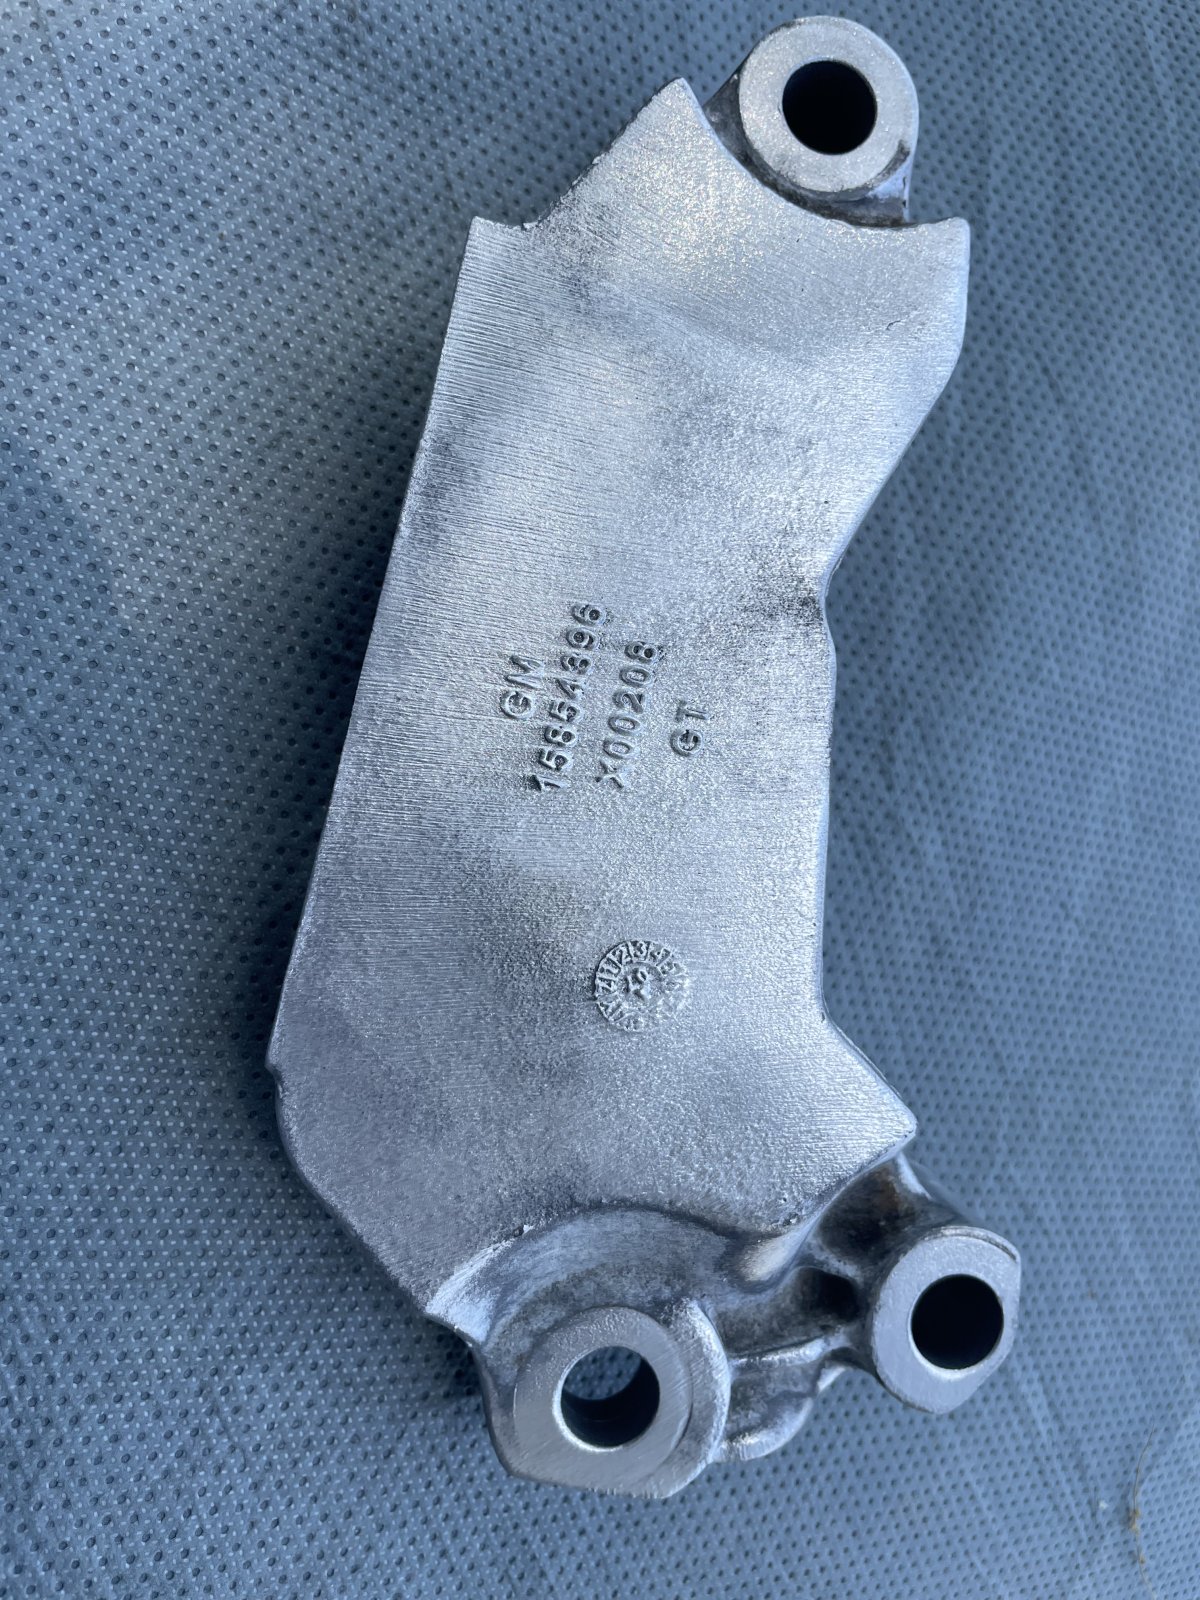
I like that idea I may just do that. No plans for any of that but gives me options down the road.View attachment 40753
I replaced these location from rivets to rivnuts. They make a great mounting location for a front splitter/ spoiler/floor panel with the HE rivnuts already in place on the frame.
View attachment 40754
Joe
Metal Mech
Well-Known Member
What size rivnuts did you use in those spots?View attachment 40753
I replaced these location from rivets to rivnuts. They make a great mounting location for a front splitter/ spoiler/floor panel with the HE rivnuts already in place on the frame.
View attachment 40754
Joe
Metal Mech
Well-Known Member
So haven’t really done much in the last week or so. Just other things going on.
Did a little clean up on the engine just messing around.
Need to get a small wire wheels for my drill and maybe dremel to clean up the hard to get areas, but it cleaned up pretty good.
Did a little clean up on the engine just messing around.
Need to get a small wire wheels for my drill and maybe dremel to clean up the hard to get areas, but it cleaned up pretty good.
Joebob
Goblin Guru
I want to say 10-24tpi rivnuts. For the number and load, 8-32tpi should also work and be less of a hole to drill to fit.What size rivnuts did you use in those spots?
Metal Mech
Well-Known Member
That’s what I was thinking your were using. Was worried they might be a bit big but there is plenty of meat on the floor pan for them.I want to say 10-24tpi rivnuts. For the number and load, 8-32tpi should also work and be less of a hole to drill to fit.
like you said could go smaller but it would be nice to keep all the bolts the same size. Cuts done on confusion when bolting things up.
Metal Mech
Well-Known Member
Planning to rivet down the floor pans this weekend and then start working on the steering rack. Planning to order a new steering shaft today. Does it matter which one? Do I need to spend $75 on the Dorman or is the el check $45 one good enough?