Kingchuck's (and friends) Street Goblin #435 - 06 LT Manual (Aftermarket Supercharger)

KingChuck24

Well-Known Member
So I have been working a bunch today and have a few questions.

What do these go on?
35913


Do I need to change the fan connection for the heat exchanger?
35914


I am assuming I cut this tube in half to create the connection between the heat exchanger and the plastic tubes, is that correct?
35915


Is this far enough and will it leak? There is about 3 raps of Teflon tape around both connections.
35916
 

Ark :D

Goblin Guru
1) They came with the heat exchanger, you won't use them.
2) You have to connect the positive on the heat exchanger fan to the ignition power line you ran for it. You'll ground the negative on the frame nearby.
3) Correct, cut that hose in half.
4) That may or may not be enough. Mine leaked no matter what I did, until I switched to a liquid thread sealant.
 

KingChuck24

Well-Known Member
Got both the radiator and heat exchanger installed:
35918
35919
35920


I was wondering if anyone knew if the wiring harness service did the other end of the wires for the heat exchanger and radiator fan?

I also put in the fuel pump but I think there is an issue with it. When I push it down it springs back up, here are the photos illustrating how far I can put it down and then it will spring up after that. (Not sure if that makes sense):
35921
35922


Will it be sealed if I just install it like that?

In terms of the fuel neck the video says to cut it right at the turn but then in the install video it is cut significantly higher up the neck. Just confirming this is the proper thing to do?
 

Desert Sasqwatch

Goblin Guru
The fuel pump body has springs to push the sump/pickup to the bottom of the fuel tank. The metal flange needs to be tightened down so the gasket is compressed to leave about a 3/16 to 1/4 inch space between the bottom of the flange and the top of the fuel tank - about the thicknessof the nuts. This will ensure the gasket is not over compressed.
 

Robinjo

Goblin Guru
My fuel pump also sprung up a little. I just forced it down and bolted it into place.

I cut my fuel neck line like the vide and wish it had been about 4 inches longer. It sealed but the area further down would have filled the hose better.
 

Gtstorey

Goblin Guru
If you used cheap Teflon tape, 3 rounds probably won’t be enough to keep it from leaking. If you used the stuff labeled for gas installation, 3 rounds might be enough.
 

KingChuck24

Well-Known Member
10/1/2022
Day 5
Hours Worked: 7+3 (from day 4)
Total Hours: 22


Today went pretty well. I was alone so not as much got done but still quite a bit.
I started off by doing the entire heat exchanger setup on the front end, still need to do the wiring for the fan:
35925


Then I installed the front radiator and connected the hoses:
35926


After that I went and cut the fuel neck and installed that onto the fuel tank:
35927


Then I installed the fuel pump into the fuel tank:
35928


I then did the engine prep video, I did not know where the brake booster vacuum line was so I couldn't do that, I will figure that out tomorrow. No picture for that unfortunately.

After that stage 1 was pretty much done, I still am waiting on the wiring harness so I can't complete that part of it right now but here are the things that are left:
Tighten down fuel pump
Brake booster vacuum hose on engine
Put belt back on engine
Install engine
C clips for both brake pedal and clutch master cylinder
Wiring for radiator and heat exchanger
Radiator and heat exchanger connections to engine
Install ignition switch
Wire everything

Very tired right now so I will post my questions tomorrow for all the things that need to be addressed.

Based on our current speed how many hours do you think it will take to be finished? Less than 100?
 

KingChuck24

Well-Known Member
Man, that blue color is VIBRANT!! In the best way....
Thanks! We are very pleased with the color, the phone picture is definitely slightly more vibrant than the in person look but when it is in the sun or in "golden hour" it looks exactly like that picture. I think it might be the glass shards or whatever is in the powder coat that reflects and makes it look extremely vibrant.
 

KingChuck24

Well-Known Member
10/2/2022
Day 6
Hours Worked: 4
Total Hours: 26


Today was a rather calm Sunday, not too much got done but one of the most enjoyable times I have had building so far.

We got the steering system all finished up. No photo but it looks awesome! Because there was no video we had to use a photo album we found that had some helpful stuff about assembling the steering column. I was thinking how I could possible make a couple videos for installing smaller subsystems like that. Might disassemble to steering system and make one because I was not able to find that much great content on it and if I had it would have taken 1/5 the time.

I have slowly been tapping out all of the control arms and it takes A LOT of time. I have broken both of my tapping wrench things and I destroyed the threads of one of the eye bolts which I will attempt to tap that out or may just end up ordering a new one. Anyone know exactly what the 1/4 eye bolt is?


Other than that nothing else really got done. It is nice to see things that come together on the car and it gets me excited when I can sit down in the frame and turn the wheel!

Questions:
Still need to know if anyone has the links to buying the c clips for attaching the brake pedal to the brake booster and the clutch master cylinder to the clutch line

Do I need the top brake pedal position sensor, I can't find any other one and I don't think we had one:
35945

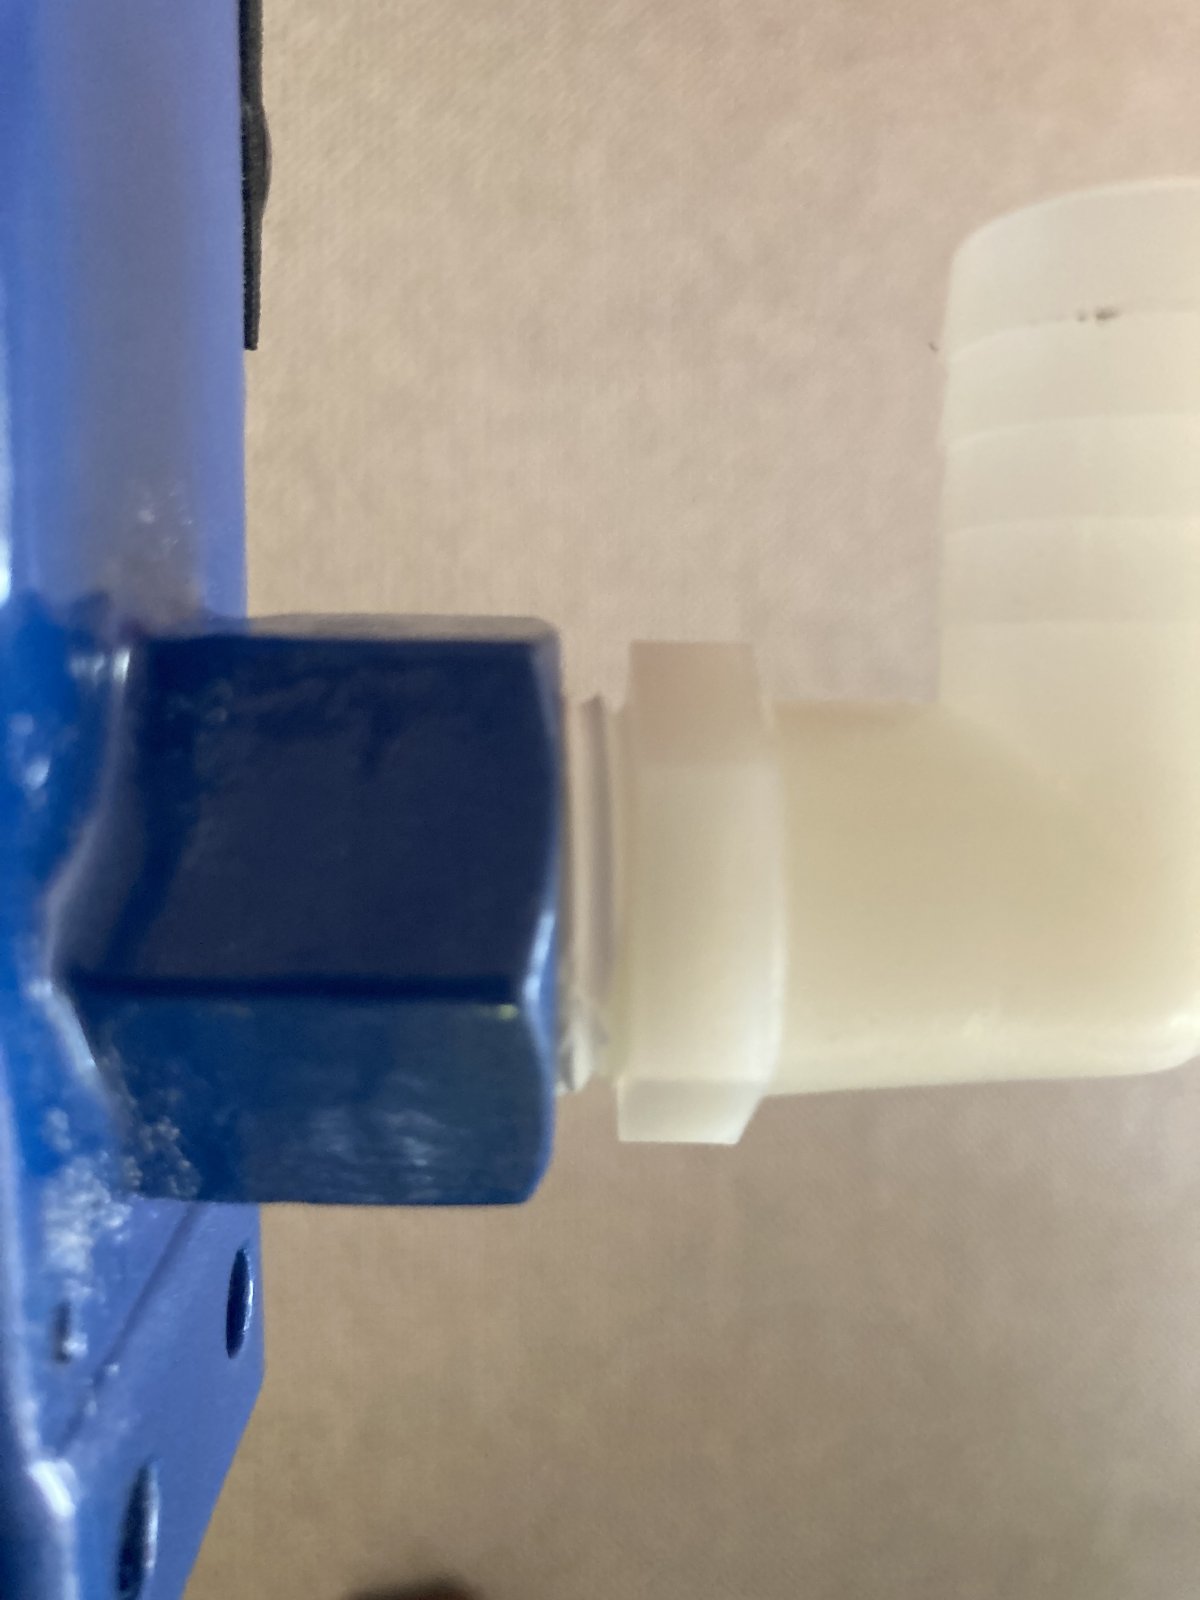
Is this going to hold it seems somewhat high up, not sure if the threads are going into the other half of the clamp. It doesn't seem to want to come off though which I suppose means something good:
35944

Where on the engine is the brake booster vacuum line? I have the 2.4l ecotec, I will post some more pictures in the next post about which ones I think it might be.

Does anyone have a guide to the early model brake fluid reservoir relocation kit. I only found one for the late model.

Summary:
Things are coming together now. It is somewhat daunting looking at the engine harness currently but I am sure we will be able to figure it out. We are going to put in the engine as soon as we get the parts back from powder coating. Still do not have an ETA on the wiring harness but hopefully that comes soon. Going to do the ignition switch probably Monday or Tuesday this week and continue to tap out all of the holes for the front suspension. Still need a lot of the parts from powder coating to put that all together as well. I really am not sure what our pace is but maybe we can finish in 60 hours at the rate we are going. I suppose that would all depend on if we get the engine running perfectly the first time or not.
 

Ark :D

Goblin Guru
Bear in mind, the engine harness doesn't need to be thinned at all. That was the one solace I had while doing my harness .... but by the end, I was a lot more comfortable. You will be too, when it's done.
 

Rttoys

Goblin Guru
I can look up those clips (retainers is the technical term) tomorrow at work. The brake lever one, should be available. The clutch is probably part of the master, unless bought aftermarket like at zzp.

those steering shafts seize all the time. Might be best to replace.
 

Robinjo

Goblin Guru
Photos of my relocation kit
 

Gtstorey

Goblin Guru
"I have slowly been tapping out all of the control arms and it takes A LOT of time. I have broken both of my tapping wrench things "

It sounds like you may need to change how you are tapping. If you have normal cutting taps, they are made to cut new threads in steel so they should be able to cut out powder coating. Use some lube/oil, and turn the tap until it gets a little hard to turn and then back it up a few turns. Maybe even take it out completely and clean the flutes of the tap out.
 

Robinjo

Goblin Guru
Use some lube/oil, and turn the tap until it gets a little hard to turn and then back it up a few turns. Maybe even take it out completely and clean the flutes of the tap out.
I used a bit of the left over silicone spray to cut mine. It was very easy, you may be using the wrong size or pitch.
Also, I would cut a half turn and then uncut 1/4 turn (backwards).
 
Top